In the last 2 years, Rae has become increasingly sensitive to sun exposure. So with a long trip to the beach scheduled for this summer, she is designing some new garments to keep her skin covered. Long sleeves and a rather high neck is the ticket. Because she had two terrific pieces of swimsuit/exercise fabric in her stash, she decided to make zip front rash guards to wear over a swim suit while playing with her granddaughter at the beach.
Carrie has already used these fabrics to make exercise tops and there is plenty left for this project. Today Rae will show you how the rash guard is progressing and what Fit for Art patterns and techniques are making this job a bit easier.
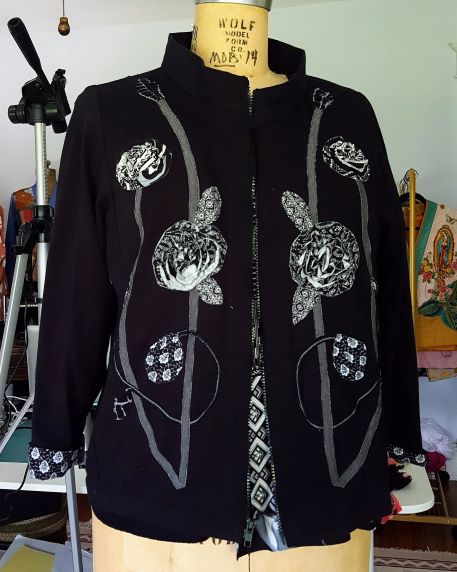

The pattern that seemed best for this project is the Tabula Rasa Knit Tee and Tunic with the Twin Set Variation’s Tailored Cardigan. In the spring of 2022 I made a long version of this pattern with a zip front. While I have not written about the zipper insertion, I did write about the top’s embellishment in Design Interrupted and Adjusted. Here we will look at inserting a separating zipper into a Tailored cardigan. I was happy to pull out the black and white cardigan as an example of how to do this successfully.
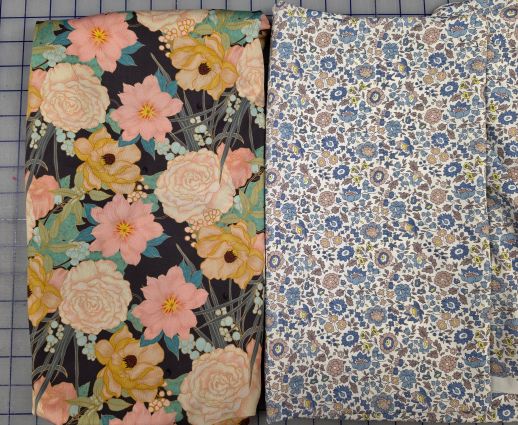
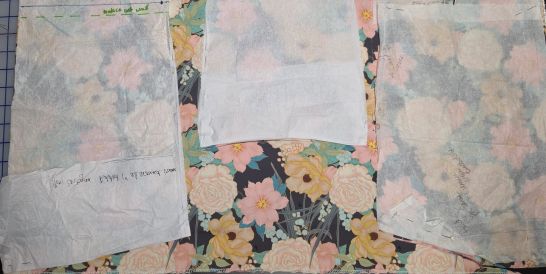
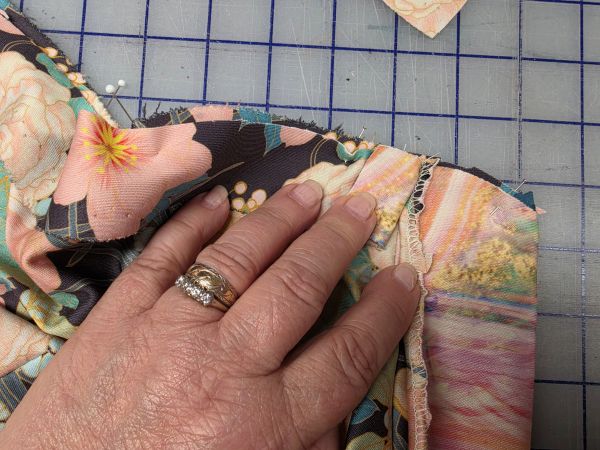
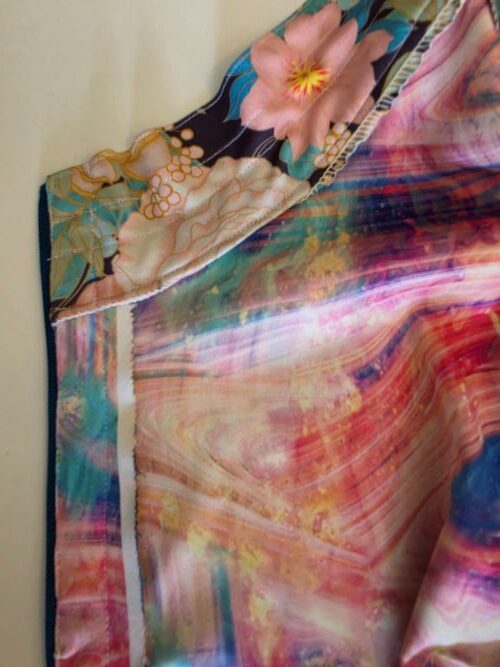
The fabric was prewashed on gentle cycle with cold water and dried in the sun. Then it was laid out on the cutting table with the pattern pieces to make sure there was enough. This fabric, purchased some time ago from Core Fabrics, is two sided but I decided to use the second side on the inside only. The zipper on hand was a better match to the floral side, which I preferred.
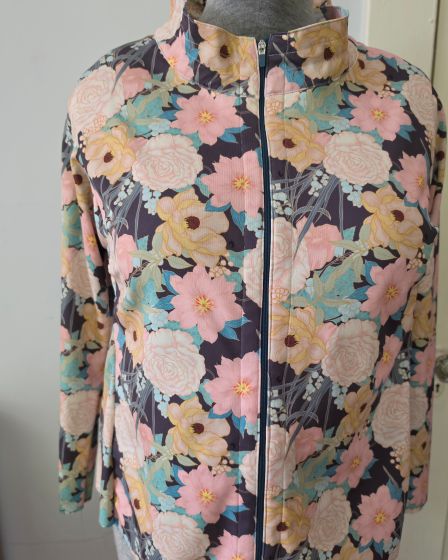
The design is driven by the length of the zipper which Edye and I picked up at the BMore Fabric Swap last fall. There was plenty of fabric, so I shaped the hem into a softer version of the curved hem found in Wide Neckline Variations. I think this shape is nice and provides coverage that I will appreciate. The length of the zipper should equal the length of the finished front (minus hem depth and seam allowances) plus the collar’s finished length.
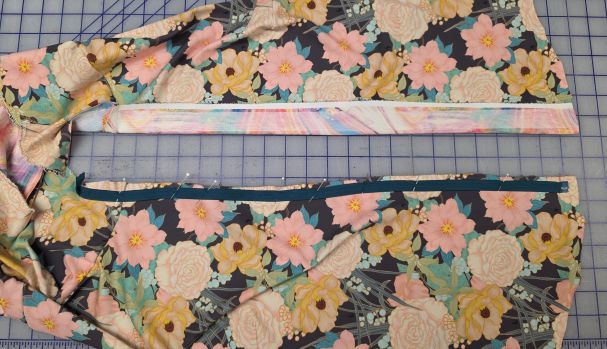
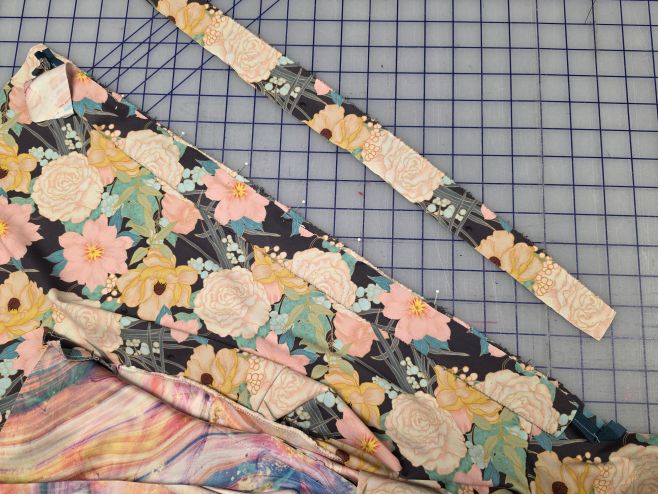
In addition to reshaping of the hem of the front, back and sides, the center front of the pattern was narrowed. The Tailored Cardigan features a 1½” wide self facing which I reduced to ⅝” so the zipper would fit in easily. I cut two 1½” strips for narrow facings to finish off the zipper up the front and across the collar seam. I cut them along the selvage which serves as the facings’ finish on the inside.
Once the fabric and a test sample was made the stitching began. The machine had been fitted with a stretch needle and a lilting straight stitch (like a very narrow zig zag). As per my usual style, I am not planning on a snug fit.
I stitched the shoulder seams and then attached the collar. This fabric was stretchy but quite stable, so the only interfacing added was to support the center front along zipper seam. I used a strip of french fuse, cut along the non-stretch direction.
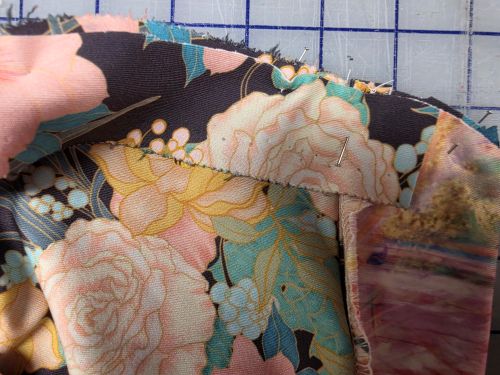
The collar is pinned and stitched to the neck, right sides together and the seam allowance pressed up toward the collar. Now attach the zipper with a classic zipper foot.
The separating zipper was placed along one side, pinned and then stitched into place using the zipper foot in the manner of an exposed zipper. This was repeated on the second side so the zipper aligned with the hem and collar seam on the first side. Check the zipper placement once both sides are stitched in place, by zipping up the front and observing the alignment. Change anything that is not aligned before putting on the facings.
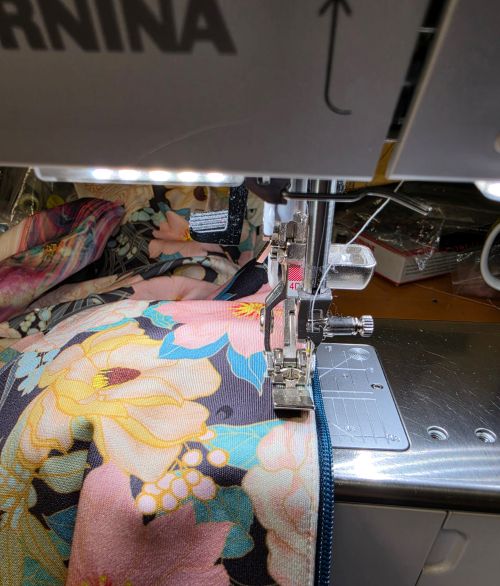
Stitch each facing to the wrong side of the zipper tape for a clean finish on the inside. It will extend into the collar at least a seam allowance, and down below the zipper to finish the hem around the zipper. Stop stitching the facing just below the collar seam, then position the collar around the zipper and the end of the facing on top of the collar.
Once the zipper has been inserted and faced, finish the collar around the top of the zipper. While stitching the collar and top of the facing down, be careful to avoid the zipper teeth between the layers.
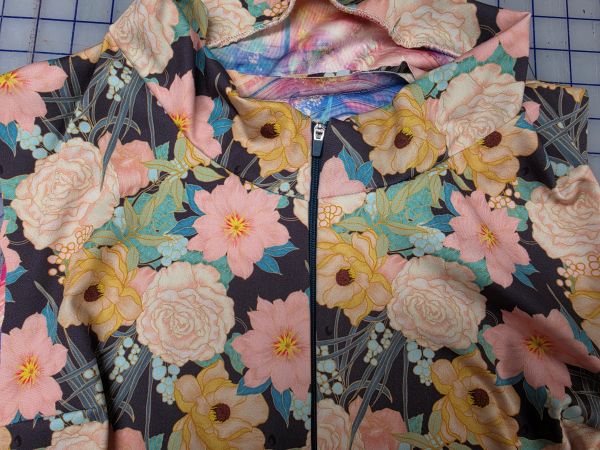
While the zipper foot is still on, topstitch close to the zipper capturing all the layers of the zipper. I stitched up one side, across the collar just inside the foldline and down the second side.
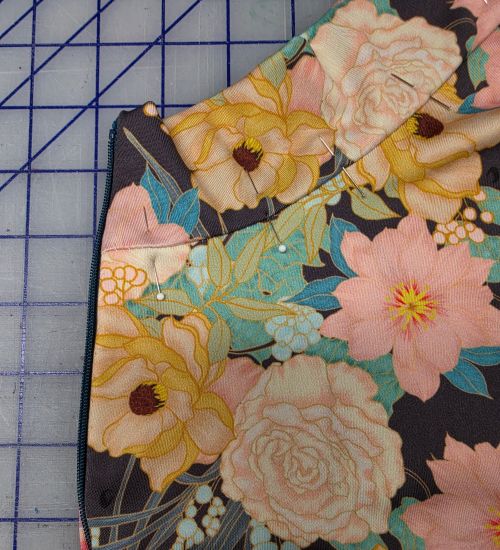
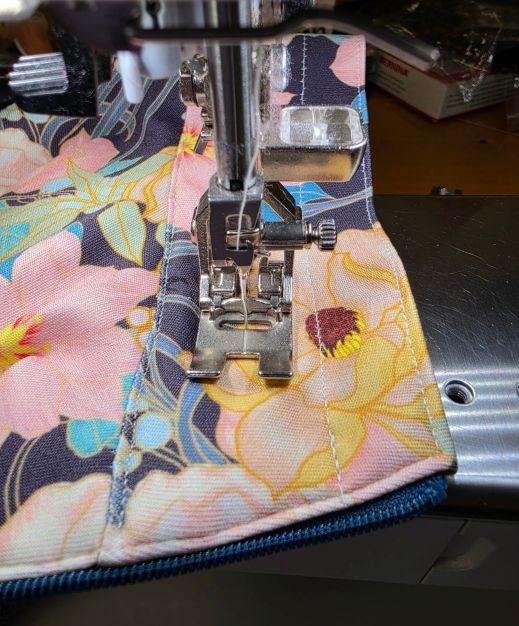
Change back to a basic presser foot and pin then stitch the inner side of the collar securely. I also topstitched the far edge of the facing in place on each side and added two lines of stitching on the collar to give it shape. I pinned these in preparation and stitched from the outside of the top.
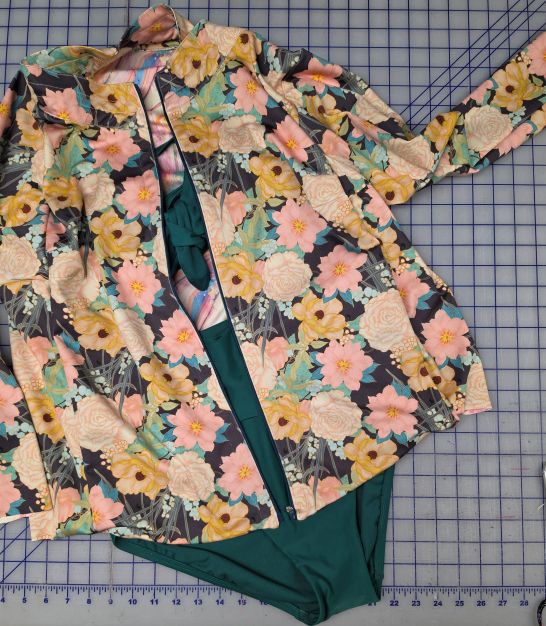
Then add the sleeve/side unit to the front back with the finished collar and zipper. Try on the top before finishing the seams. My seams needed to be reduced a bit for a comfortable fit. Once the top is comfortable, hem the lower edge of the top and the sleeves. I kept these very simple, with an overlock serged edge and a small turned up hem.

While deciding about the rash guard project, I happened to be in Target where there were swim separates in a variety of colors. I had hoped to find or make a swim trunk and maybe a modest swim top to wear under these rash guards. Turns out they had a lovely teal that worked with this top and a light blue that matches the Liberty Performance Fabric from Farmhouse Fabrics. The swim separates at Target were an impossibly good price and they fit well enough to peek out from this fun new swim/rash guard.
Now it is time to make the second zip front Rash Guard, with a half zipper this time. I will have to decide whether to keep the curved hem or make this one straight. What do you think? It is always great to hear your opinions. If you have sun sensitivity, make one for yourself!


Thank you so much. I have always loved your patterns. My husband and I have relocated to Gallatin, TN. Have a great summer and I look forwart to hearing you in the future. Glenda D Barnes, 591 Devon Chase Hill #3701, Gallatin, TN 37066 (252-947-0917)
So nice to hear from you Glenda! Best wishes with you move!
Good Idea- Hope she does not have to apply sun screen under the jacket! There are a lot of choices in SPF protective fabrics available- Since I am searching for myself- Thanks J