
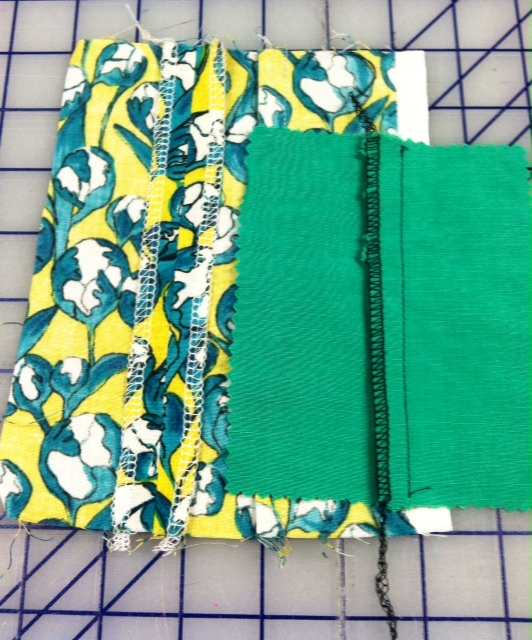
As we celebrate our 15th anniversary we are bringing you back to some evergreen posts that will teach you, or remind you, of great techniques to improve your sewing inside and outside your new creations. This post contains step-by-step photos of a number of clean finishes to keep the inside of unlined garments tidy.
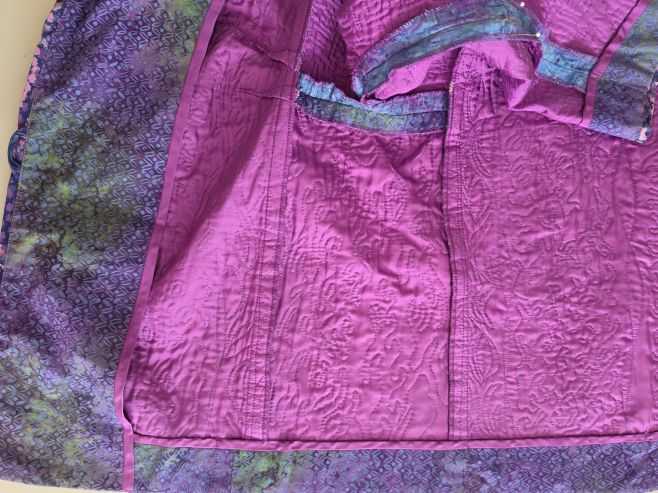
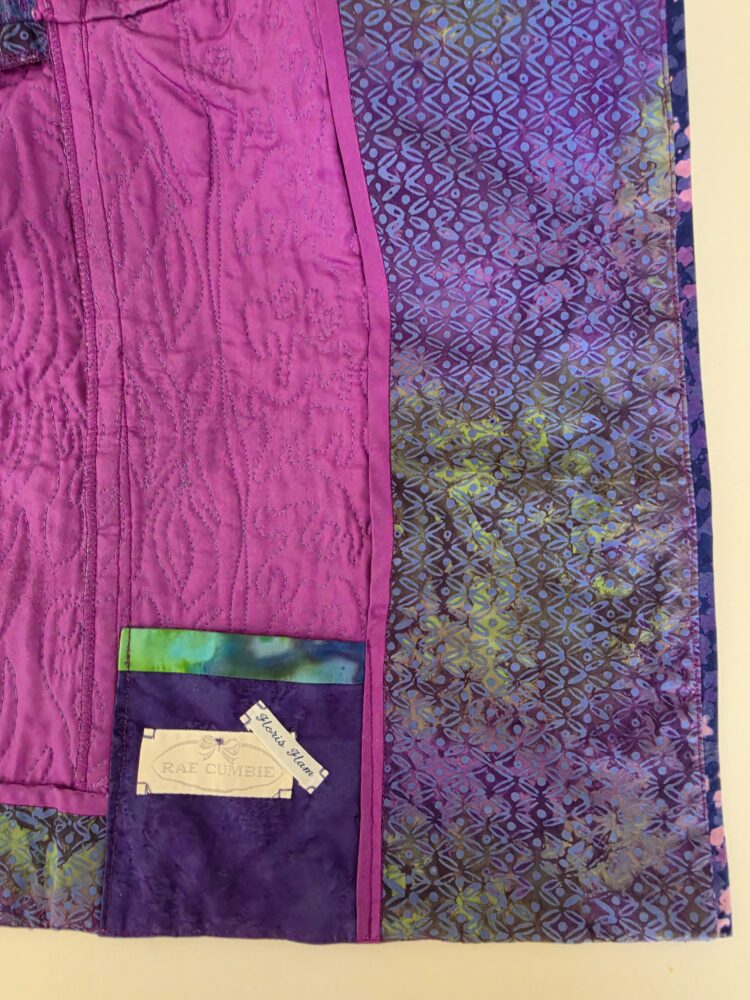
Here is the inside of a very tidy quilted jacket with a quilted-in lining that illustrates many of the techniques that will be featured close up in Fit for Art’s social posts as the week progresses. Read on to learn about each of these finishes.
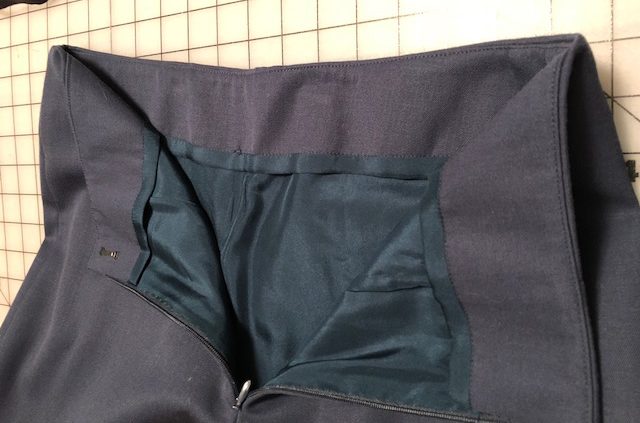
Clean finishing refers to the process of finishing a raw edge in a garment, such as a waistband, facing, seam allowance, or hem. Recently a student, who was making pants at home, asked me what that term means. You’ll find the term clean finishing in almost all Fit for Art patterns, so let’s take a look at a variety of techniques used in our finished garments.
Check in the Directions First
In the design section of the Eureka! Pants that Fit instruction booklet (Page 13) we say:
“Choices for finishing the raw edge of seam allowances, which we refer to as clean finishing, include pinking shears, a zig-zag stitch, serger or Hong Kong binding. The exposed edge of waistbands or facings can also be finished by these methods, all of which will lay flat and smooth on the inside of the pants.”
In the design section of the Tabula Rasa Jacket and Tabula Rasa Knit pattern instruction booklets there is also a discussion of finishing seams appropriately (on page 8 of both books) and also in the Carpe Diem instruction book (also on page 8, what a coincidence!).
Here are some photos and step-by-steps for several clean finishing methods. Neatly finishing seams and raw edges of hems and facings will assure that your garments wear well for years to come.
Pinked Edges: Using pinking shears to finish your seams and edges is simple and effective unless the fabric is loosely woven or frays easily.
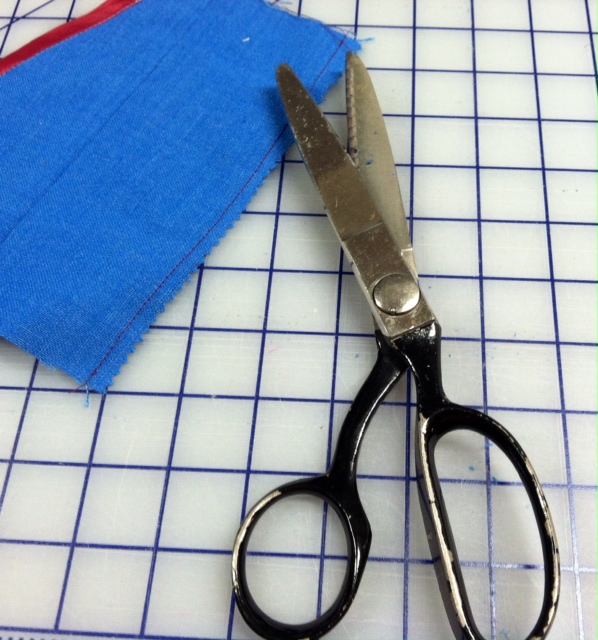
Run a simple machine straight stitch close to the pinked edge to provide additional support, especially at hems.
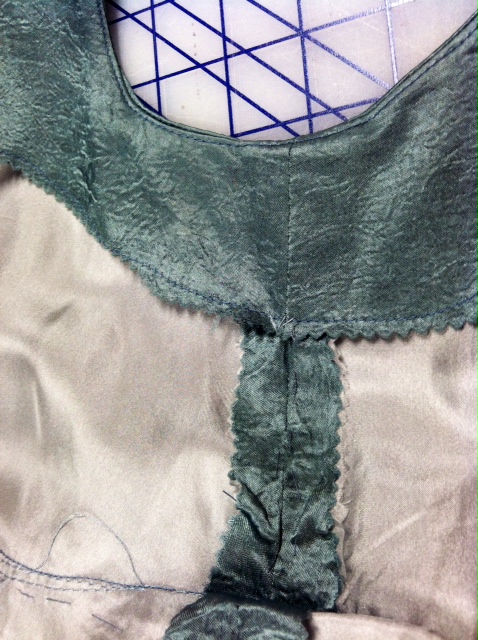
Three-Thread Overlock on a serger: This is my default option for most unlined garments, woven or knit, because it is quick and looks professional.
It can be used on seams that are pressed open and finished on each side or on seams that are pressed to one side and finished together.
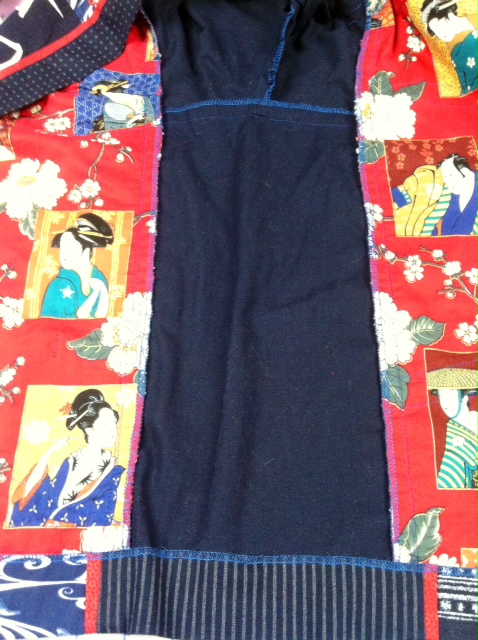
Zig-Zag or Overlock Stitch on a Sewing Machine: If you do not have a serger, overlock and zig-zag stitches can be your go-to for seam finishes in woven or knit fabric garments.
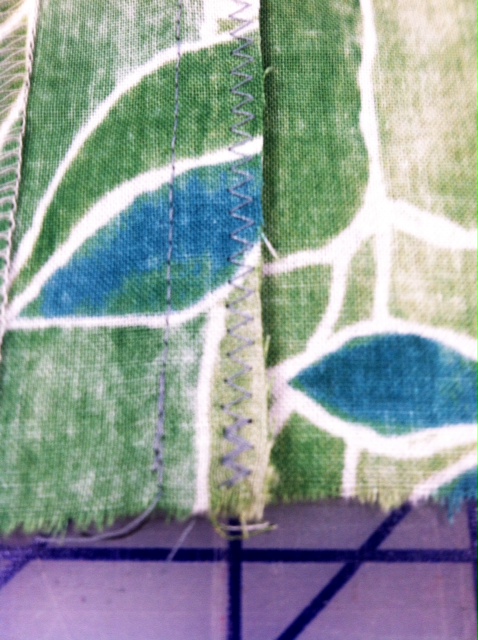
If you are using a zig-zag, make sure the stitch is wide enough to capture several fibers in each stitch. Stitch at least 1/4” away from the raw edge, so the edge of the seam does not curl into the zig zag. You can always carefully trim away the extra fabric after you are finished.
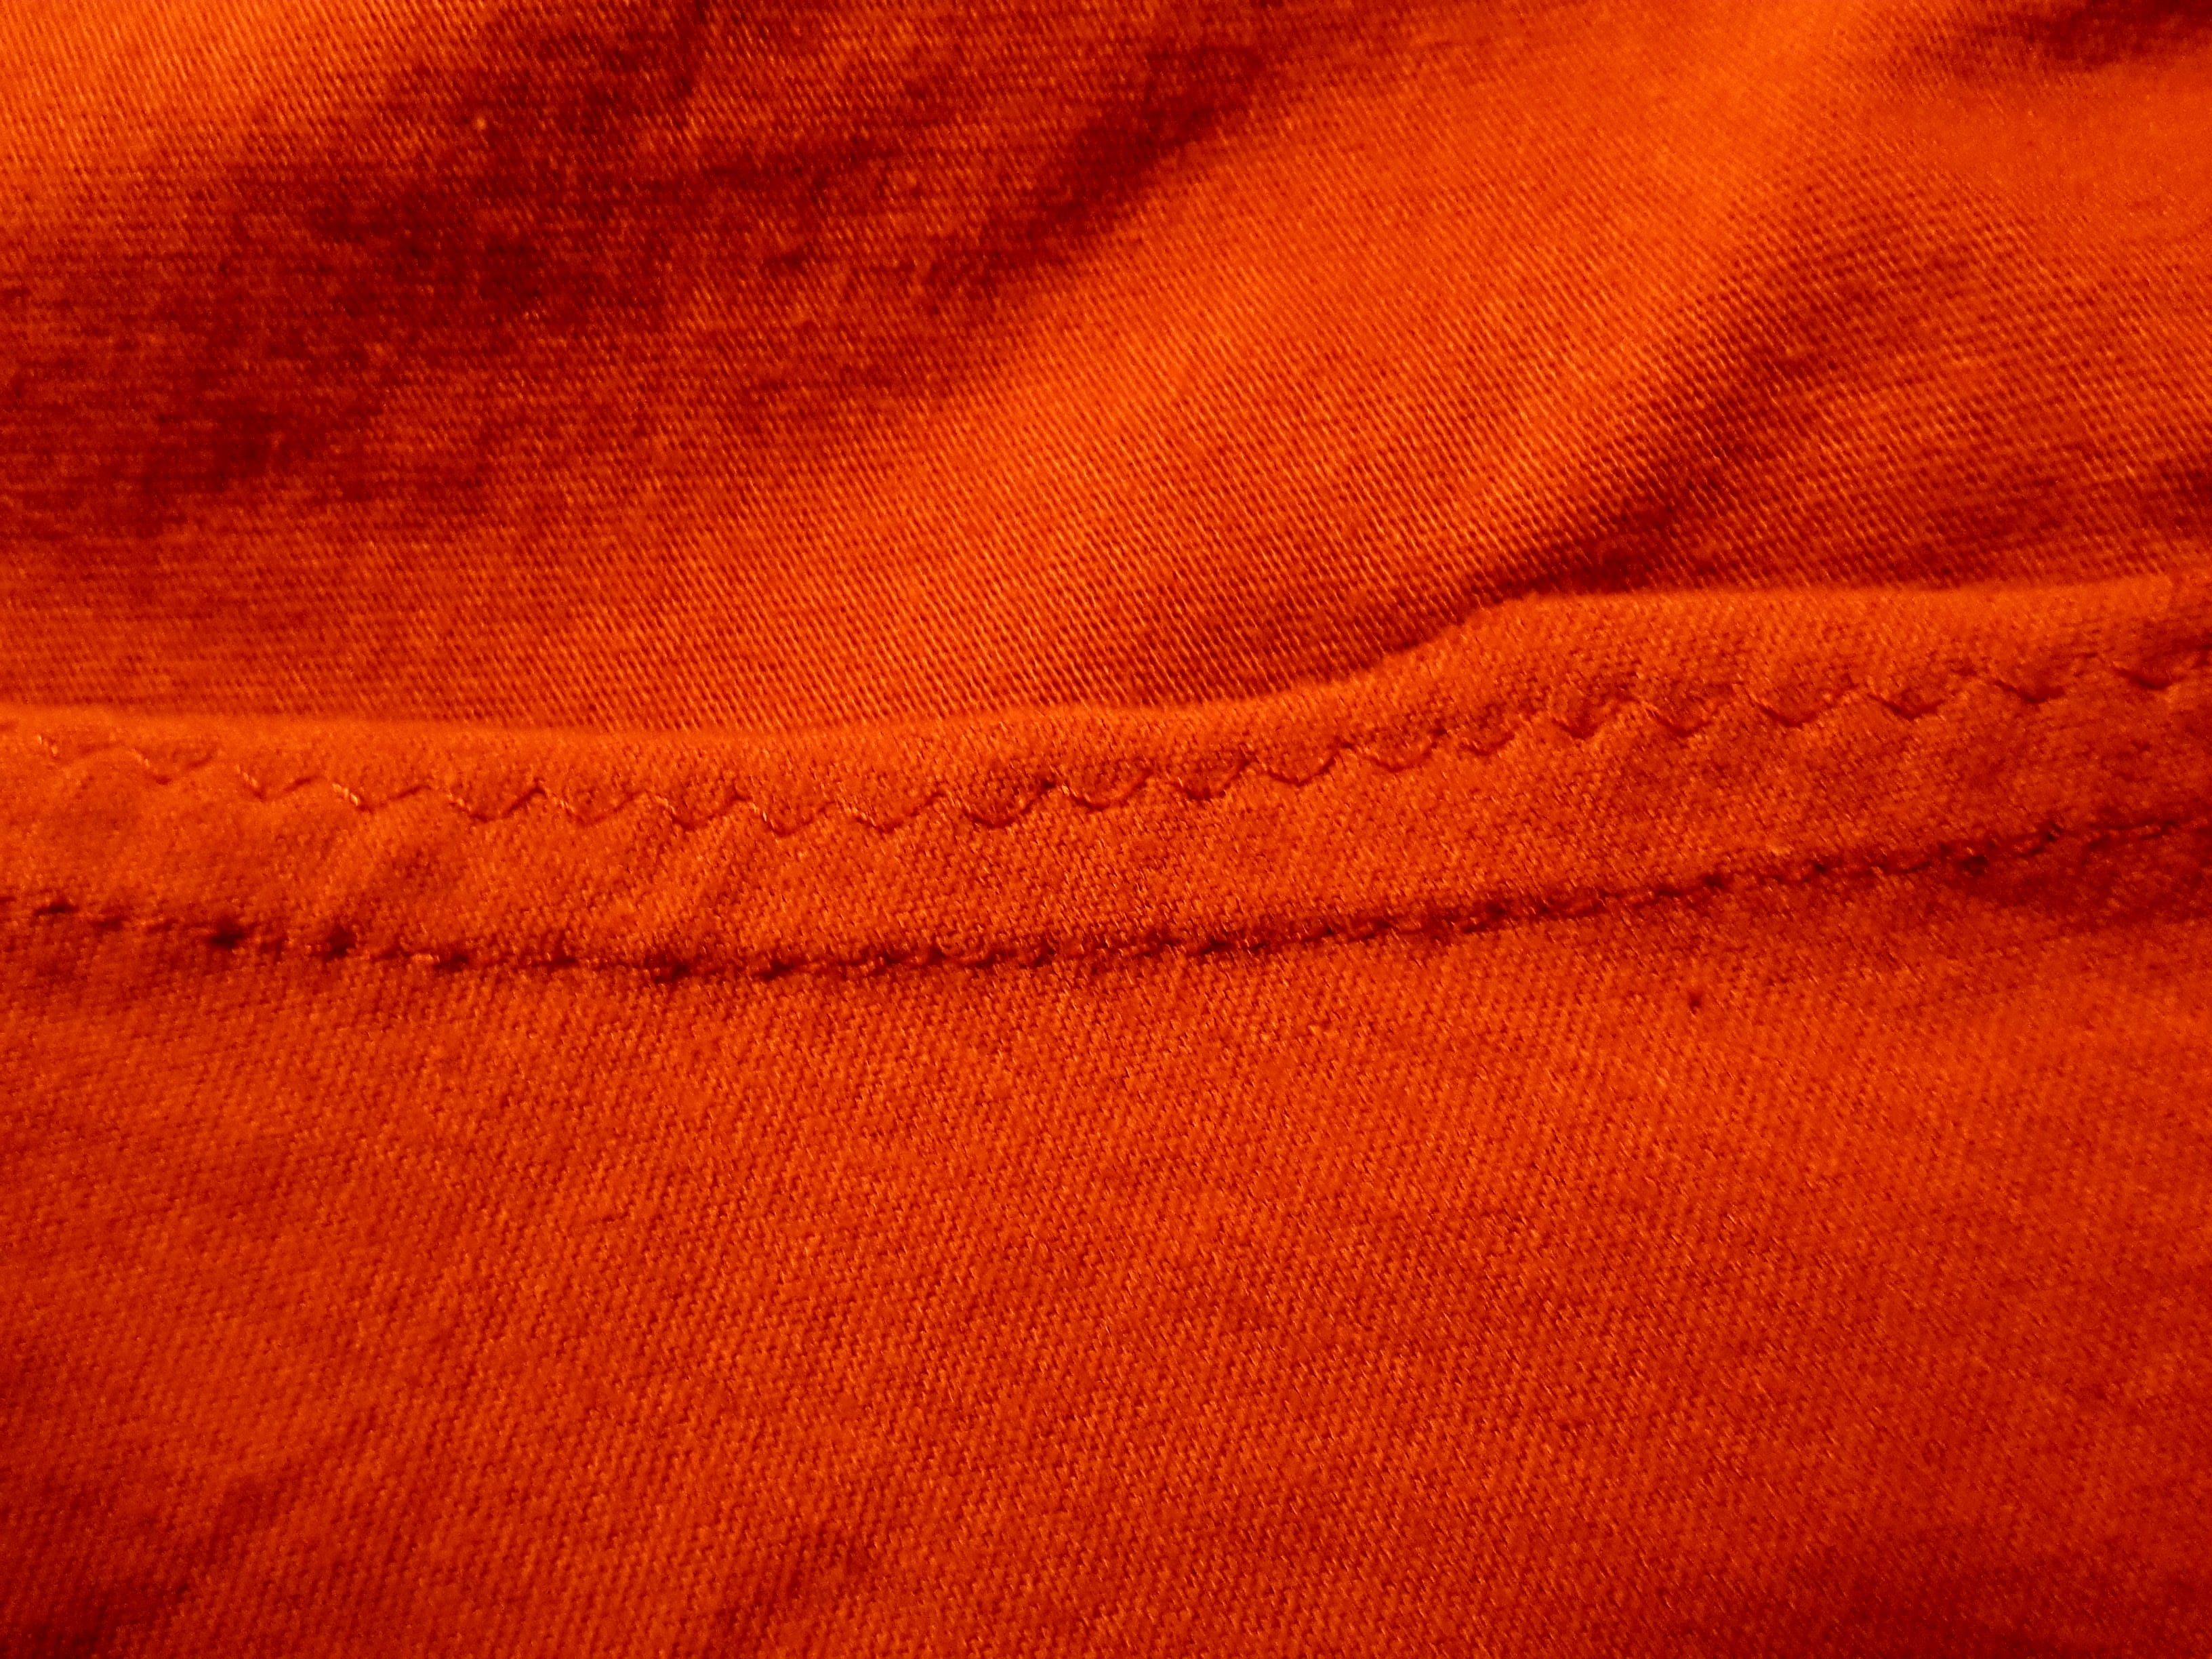
Hong Kong Finish: A Hong Kong finish is a method of enclosing a raw edge with fabric. It is typically used on woven fabrics. It creates a beautiful finish for finer garments and is often found in fine tailoring and couture. I am especially fond of it as a waistband or facing finish on dress pants. It is also lovely on the hems, seams and facings of unlined jackets.
Cut 1 3/4” wide bias strips to create a 1/2” wide Hong Kong finish. That is a good width to begin with, working toward 1/4” wide over time as your skills improve. Light weight lining fabric or cotton batiste are great choices for the bias strips.
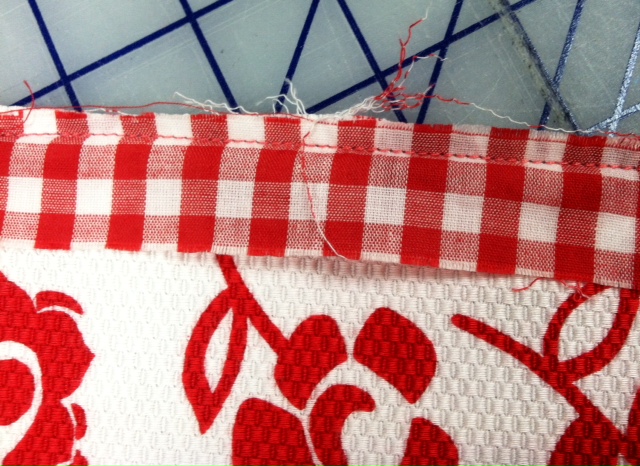
Stitch the fabric strip to the edge you are finishing, right sides together. Press the bias strip up and then around the raw edge of the seam or hem.
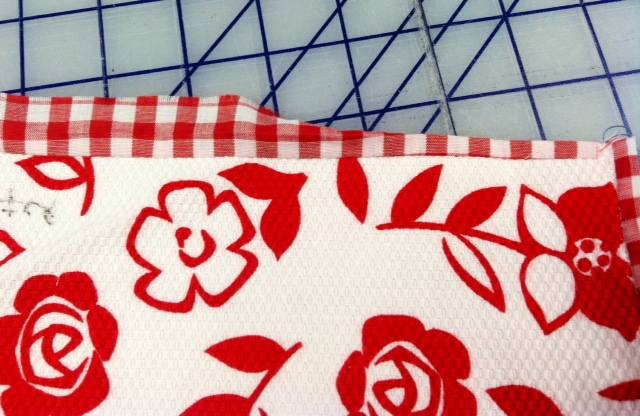
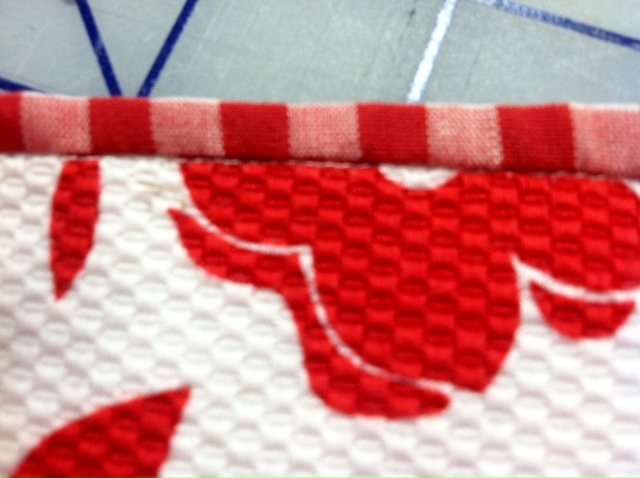
Stitch in the ditch to secure the binding in place. Then continue with construction.
In most cases, you need to clean finish seams during construction, before they are crossed by another seam. Don’t wait until the entire garment is assembled before finishing your seams.
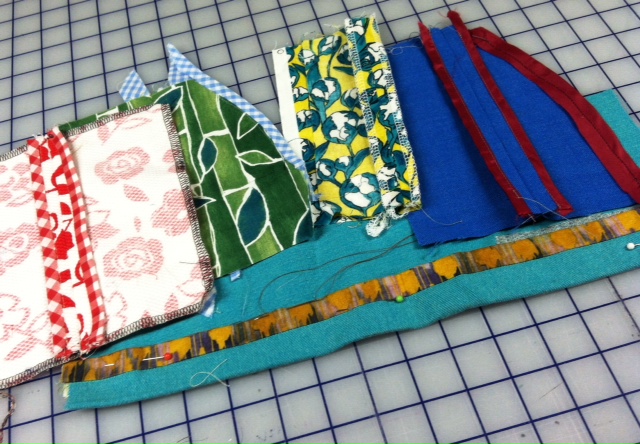
Make Samples: like those in this post
Use your fabric scraps to test the seam finishes on your fabric. If these finishes are new to you, make some samples to practice all the techniques. Improving your mastery of these basic skills will make all your sewing more satisfying.
Additional Resources at your Fingertips
For your easy review, find the step-by-step directions for these finishes on the Helpful Hints page on our website. You can also watch this video overview of seam finishes and check out the Threads video I made about Hong Kong finishes in unlined jackets.
Since this post was first published, we have added a section in Helpful Hints titled Glossary of Common Sewing Terms. Between our Glossary and easily searchable blog archive, you can get many of your sewing questions answered online by the Fit for Art Team, with years of experience that you know you can trust.
Are there other terms we use that are new to you? Don’t be shy, let us know and we will explain it in a future Sew! Let’s Get Dressed blog post.



I know this is an old pos5, but I just wanted to let you know that I appreciate every single one of your posts, whenever they appear. You guys know what you’re talking about!! Thank you. God bless!
Thank you! Happy to be of help.