
When we were writing V Neckline Variations for the Carpe Diem Dress & Tunic, we consistently wrote about using a facing to finish all the outer edges. This makes for a beautiful and well supported dress or tunic. When the heat of Summer rolls around though, it is nice to have a lighter finish. Finishing the edges of a top or dress with binding permits a single layer of fabric to suffice. So, we added a sidebar explaining how to enhance a Crossover V Yoke with bias binding around the edges.
As we worked through our samples to create and test the technique, we realized that the order of construction has to be rearranged. Please take the time to read through the entire sidebar (pp.12-13 of V Neckline instructions) before beginning your project. Here is Rae to show you how to execute this technique step-by-step.
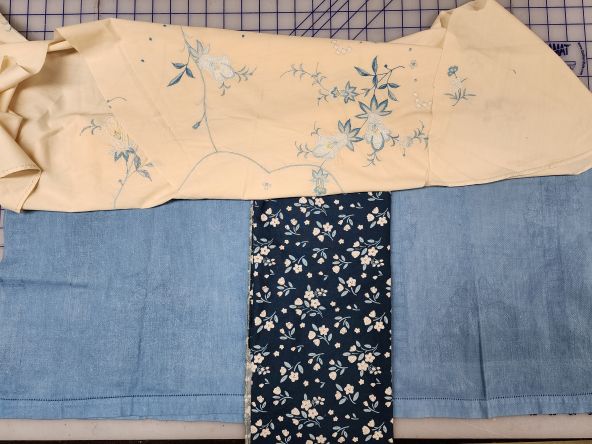
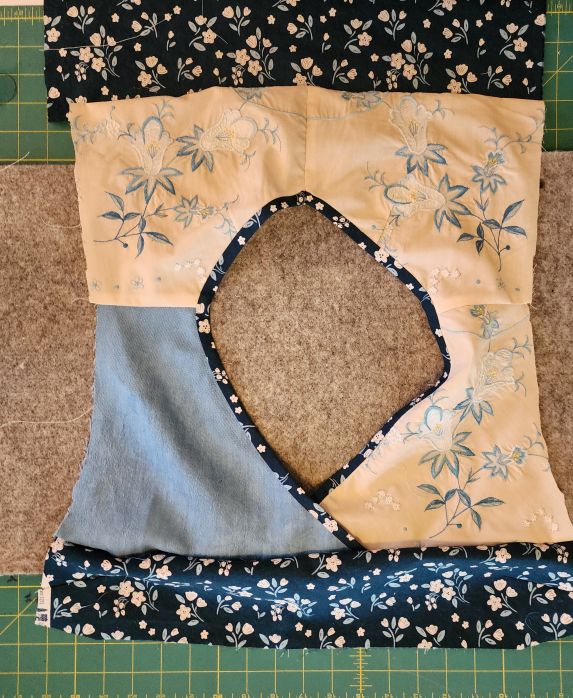
The fabrics for Rae’s top included:
- a circular tablecloth with embroidered flowers and vines,
- a set of tea towels with an interesting hemstitch which had been dyed pastel blue in France, and
- a quilting cotton purchased at Springwater Designs which tied everything together and became the bias bindings.
This was a little memory project for me as the table cloth was precious to my mother-in-law and the tea towels were in my mother’s voluminous stash of her favorite family treasures. This top is just pretty and cool in summer and I love it!
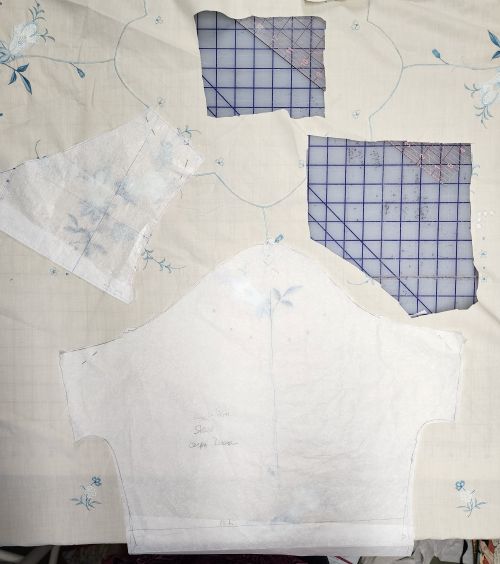
Prepare the Crossover V Yoke Patterns
Cut out or trace off the patterns included in the digital V Neckline Variation Pattern for the crossover V front and back V yoke in your size. Compare them to your personalized Carpe Diem pattern and make any necessary changes; to be specific, this should include shoulder or armhole adjustments and neckline nuances as discussed in the sidebar on page 6. Follow the directions in V Neckline Variations (p.5) to adjust the lower portion of the front and back Carpe Diem pattern so it fits together with the yoke. (For this sample, Rae made a stylistic choice to add a piece of the quilting cotton between the yokes and lower front and back, effectively extending the yoke to the middle horizontal balance line.)
Get Started
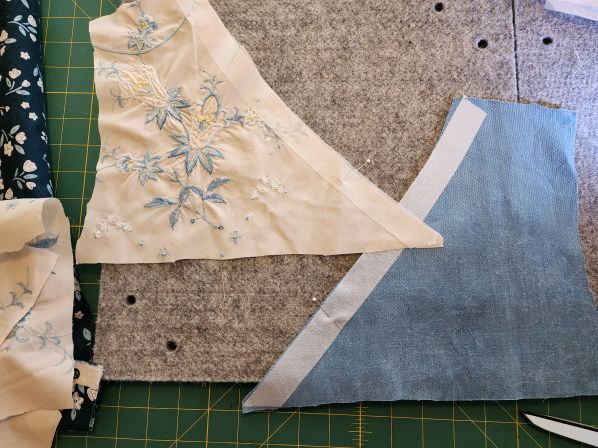
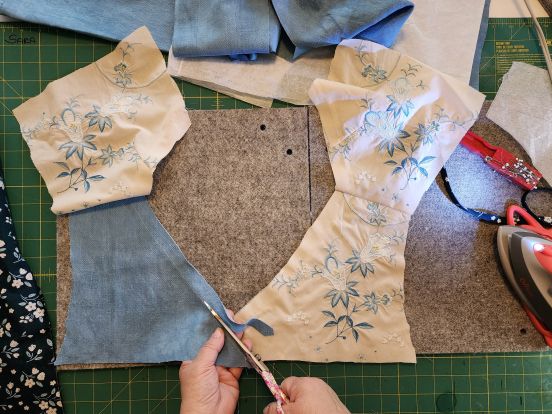
Cut out two front and back yokes in the desired fabrics; the embroidered pieces for this sample were fussy-cut to feature designs on the tablecloth.
Cut a one inch strip of fusible light weight interfacing to support each V neck. Fuse the interfacing to the wrong side of the fabric along the V neckline. Staystitch each piece along the ⅝” seamline.
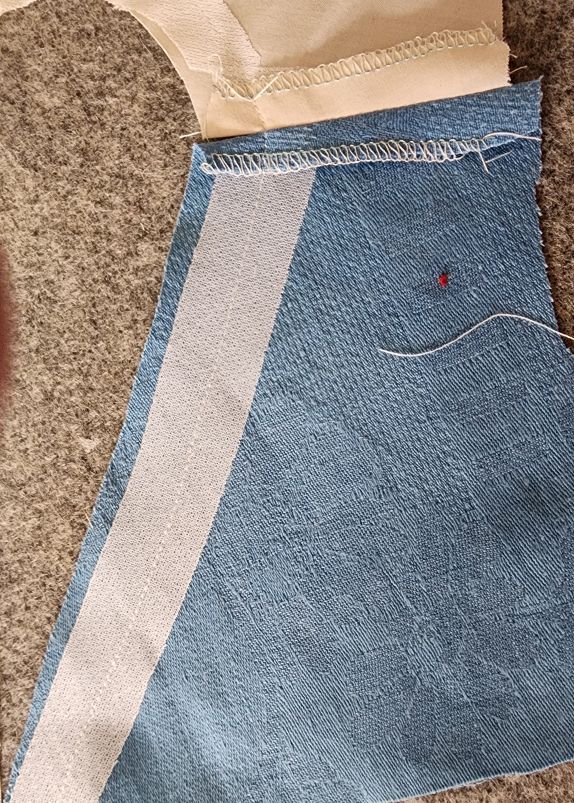
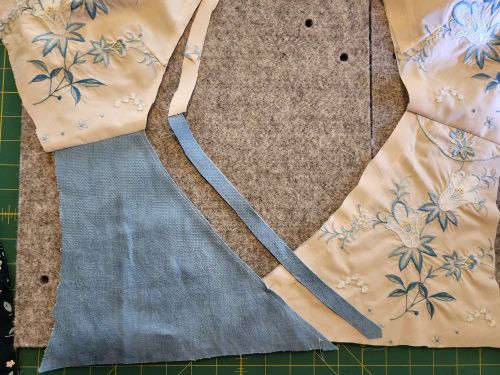
Next, sew each front and back shoulder seam together and press the seam allowances open. The binding will be added to each section before continuing construction, but first the seam allowance must be trimmed away for the neckline to fit correctly. Trim away the fabric along the neckline just shy of the staystitching, taking care not to cut through the staystitching.
Create and Apply Binding
Measure how much ½” double fold binding you’ll need to cut and press. Cut 2″ wide strips of the chosen fabric on the bias.
Press in the double fold by first pressing the strips in half and then pressing each side into the center fold. Read our post on double fold binding for a closer look.
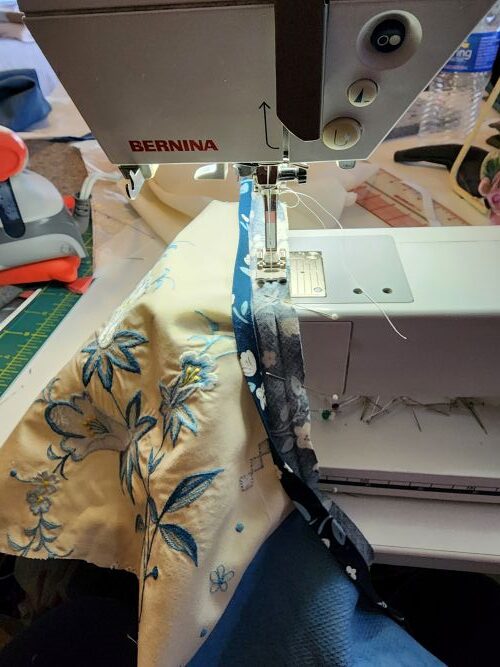
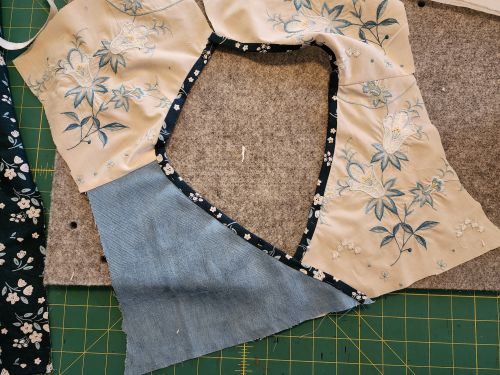
Open out one folded side and pin the binding to the yoke pieces, right sides together. Gently stretch binding in the curve of the neckline at the shoulder. Stitch along the foldline to attach the binding.

Gently press the binding up and around the yoke’s neckline. Pin and then handstitch the second side in place.
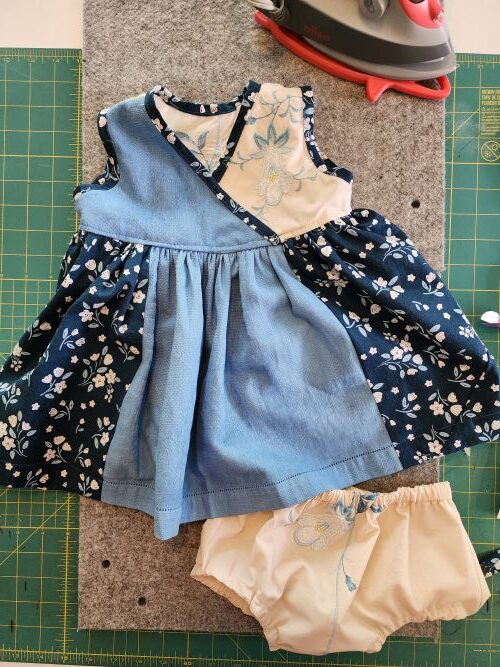
Alternate application: If you prefer to sew the binding so the second side is topstitched instead of handstitched in place, make these changes. Pin the binding to the wrong side of each yoke. Stitch in place and press the binding up and around to the yoke’s right side. Press, pin and then carefully machine stitch just inside the fold for a neat machine finish. This is the method I used for the baby dress I made with similar details since I knew it would need to be washed often.
Continue to Construct the Carpe Diem
Once the yokes are bound, cross the front pieces as directed and stitch the yoke to the lower front piece to secure the overlap. For the back, stitch up the center back seam and then attach the yoke to the lower back piece that has been cut on the fold. Complete construction by adding the sides and sleeve pieces. The hems on this top feature the decorative hem stitch from the tea towels.
Try it yourself!
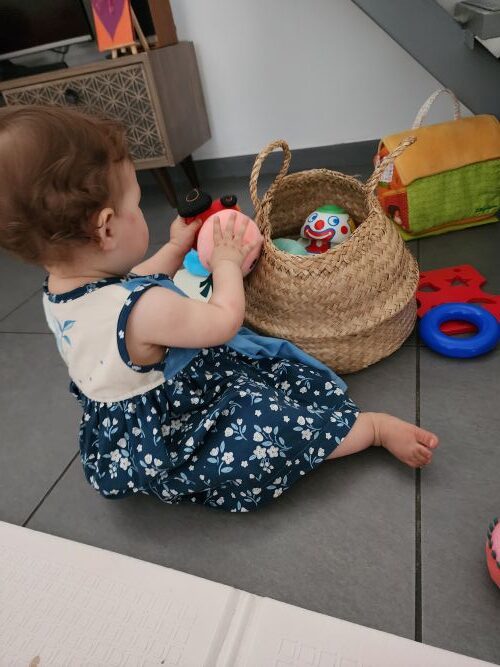
Fortunately, there was enough fabric left to make a baby dress for my granddaughter. Don’t you love it? Get a closer look at the front and back of the finished top in our photo gallery, Honoring our Moms.
In the coming weeks we will be sharing some additional V Neckline Carpe Diem techniques for sleeveless tops and dresses. Look for a sleeveless top finished with a facing and a sleeveless style finished with bias bound armholes in addition to the bias bound neckline. It is a great time for Carpe Diems with Crossover V yokes with Bias Bound Edges. Give it a try!


