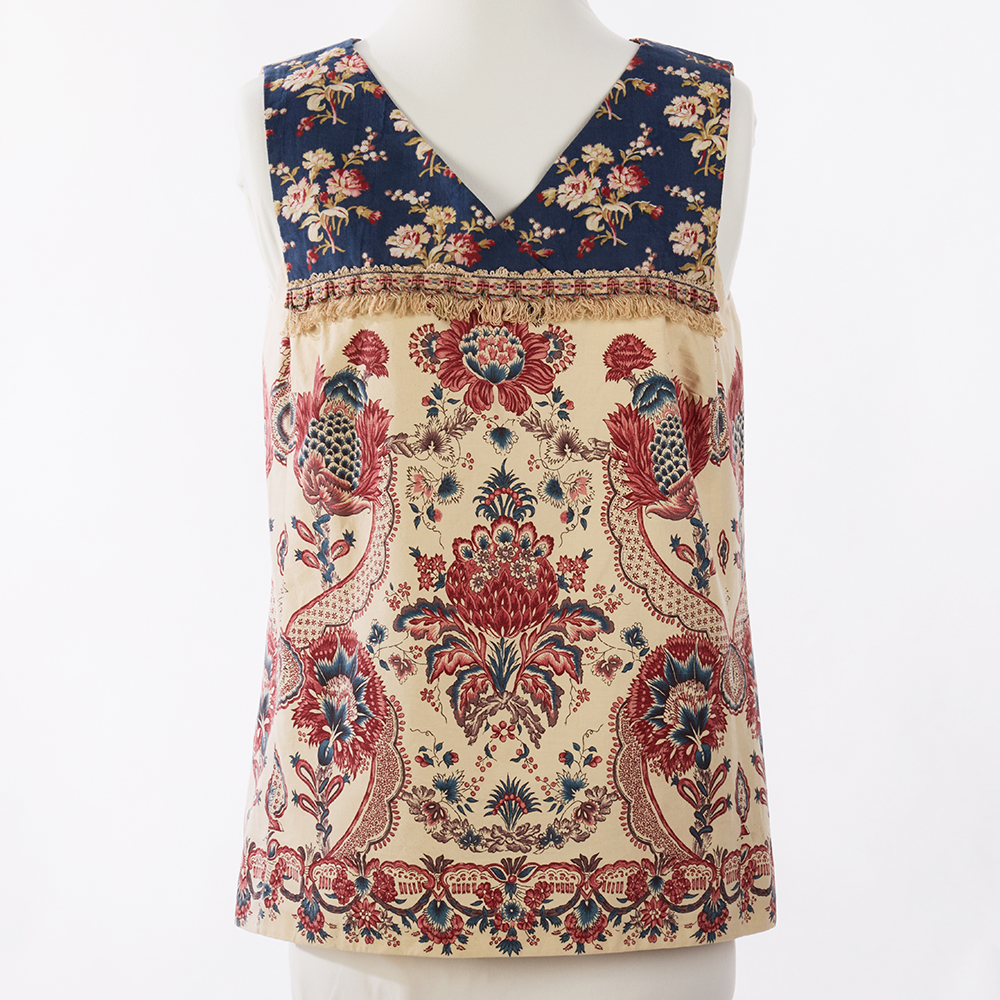
This week we examine how to line a Crossover V Yoke Carpe Diem from V Neckline Variations for the Carpe Diem Dress & Tunic. Last week Rae jumped ahead to introduce an alternate technique included in the V Neckline instruction book – finishing the crossover front and back yoke with a bias binding – because it is especially appealing for warm weather garments. The lined yoke can be used with tops and dresses that have sleeves (Views 1 and 3) or are sleeveless (View 2). There is one difference in the construction for sleeveless, so we’ll review both styles in this blot post.
Get Ready to Sew
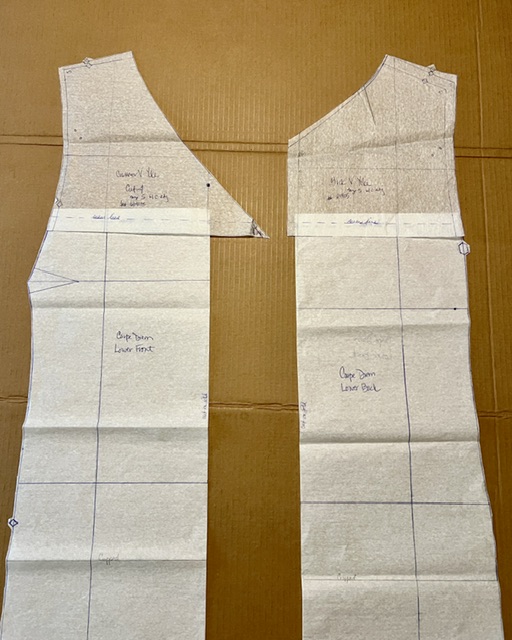
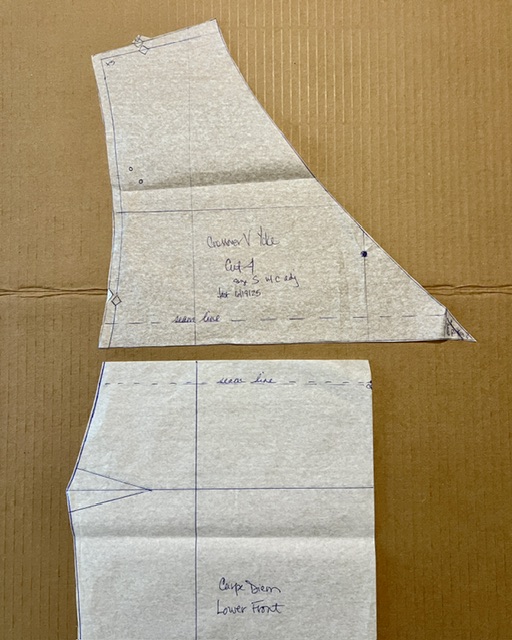
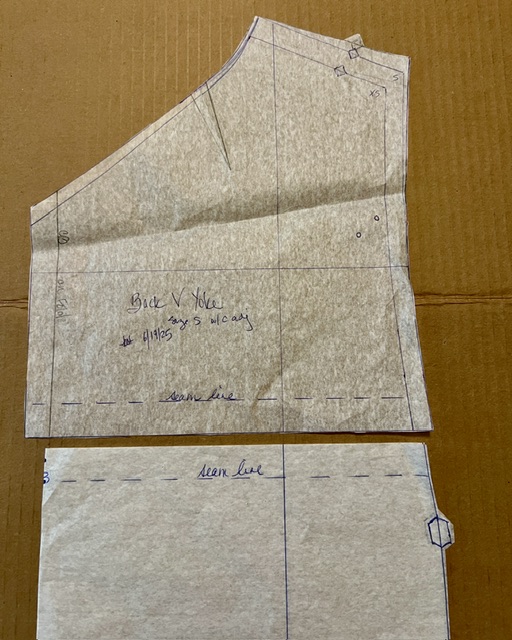
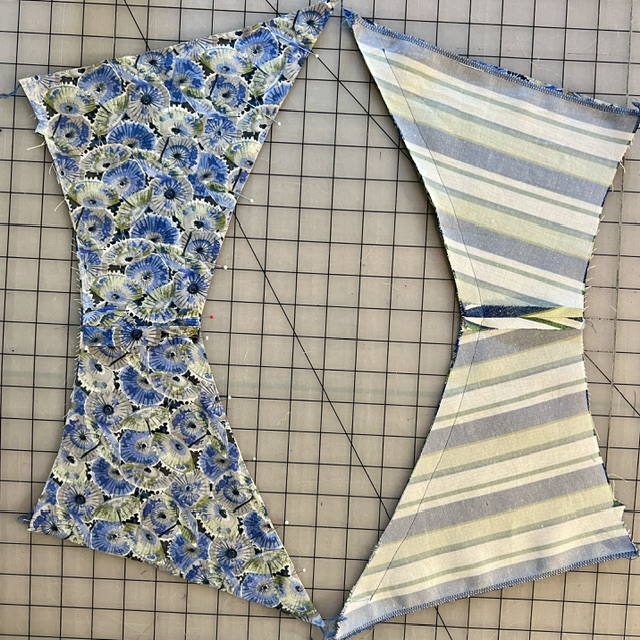
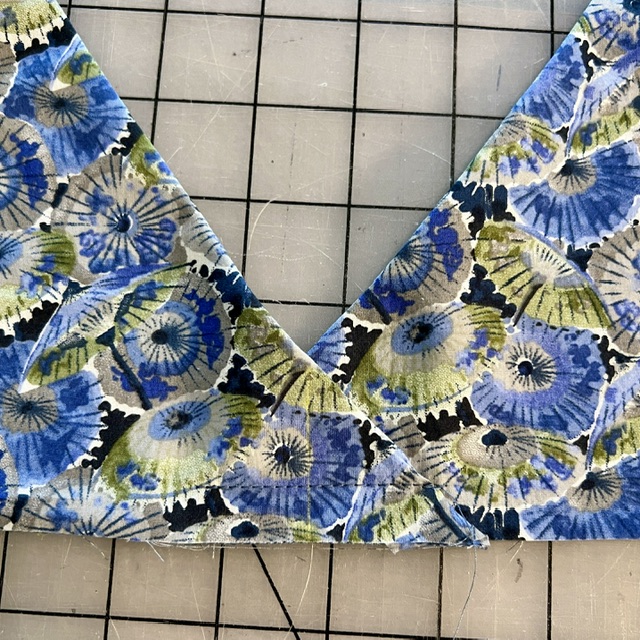
Follow the directions in V Neckline instructions to prepare the Crossover V Yoke Front and Back V Yoke patterns and to create a pattern for the Lower Front and Lower Back(s). Here is Carrie’s pattern work for the Crossover V Yoke Carpe Diem.
Use your new patterns to cut two Crossover Front V Yokes and two Back V Yokes out of both fashion fabric and lining fabric. Apply fusible interfacing to the neckline edge of the the four yoke lining pieces as illustrated in Rae’s post from last week, Crossover V Yoke with Bias Bound Edges. If you think that the fashion fabric requires support too, do the same with the four fashion yoke pieces. Then staystitch all 8 yoke pieces as directed in Step 1 of V Neckline instructions. Remember to sew in the back neckline darts if you have made a rounded back adjustment to your pattern.
Also cut out a single Lower Front on the fold and either two Lower Backs for a Carpe Diem with a back opening for a keyhole or zipper closure, or a single Lower Back cut on the fold (in which case remember to fold away the center back seam allowances before cutting). Remember to sew the darts into the Lower Front.
For ease in fitting and finishing, we recommend that you clean finish the lower edge of each V Yoke Front and Back, in both fashion fabric and lining, and the upper edge of each Lower Front and Lower Back before beginning construction.
Construct Yokes
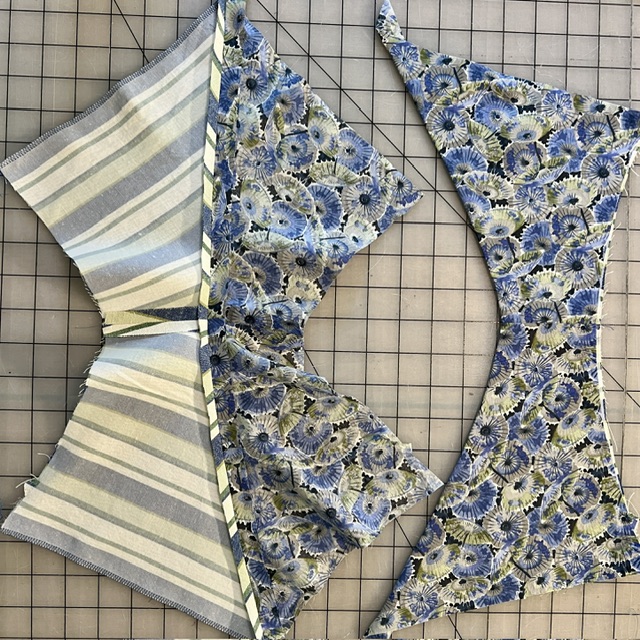
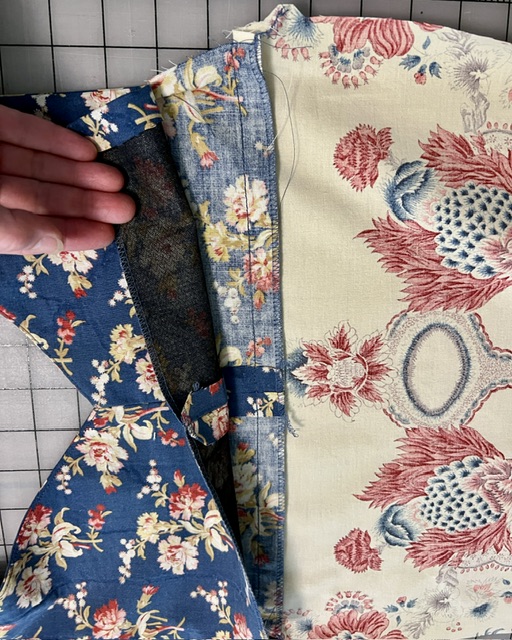
Whether sleeveless or with sleeves, follow Steps 5 and 6 in V Neckline instructions to simultaneously create a right and a left Front/Back yoke unit.
For a sleeveless Carpe Diem, proceed to Step 7, stitching the fashion fabric and lining together along the armscye. Important Tip: leave at least 2” unstitched at both the beginning and end of this seam! You’ll need this opening later to finish the lining after inserting the sleeve/side unit. Turn each unit right side out and press securely.
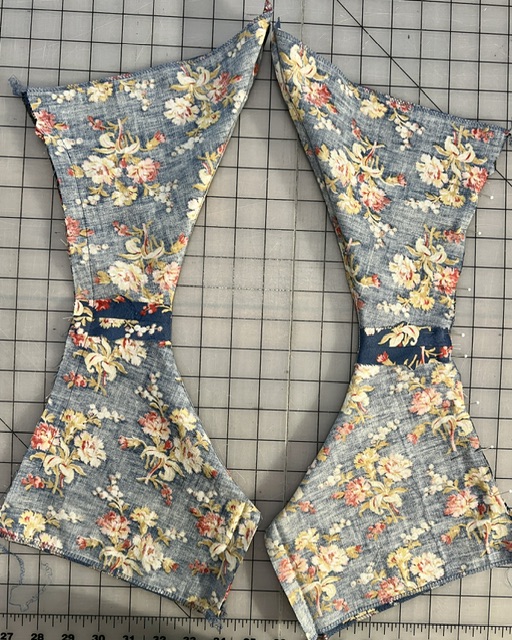
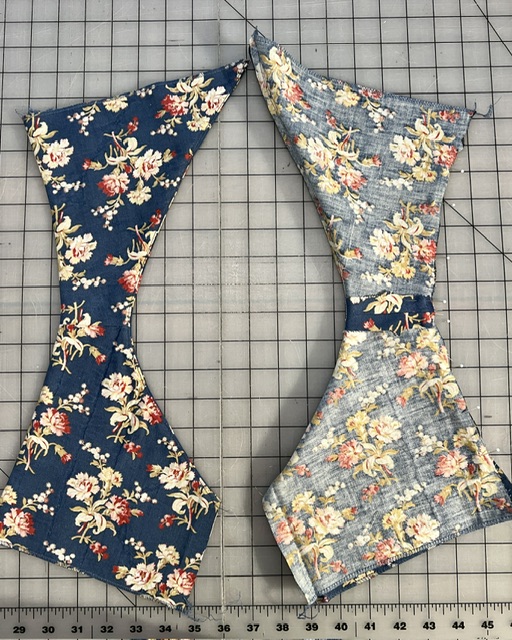
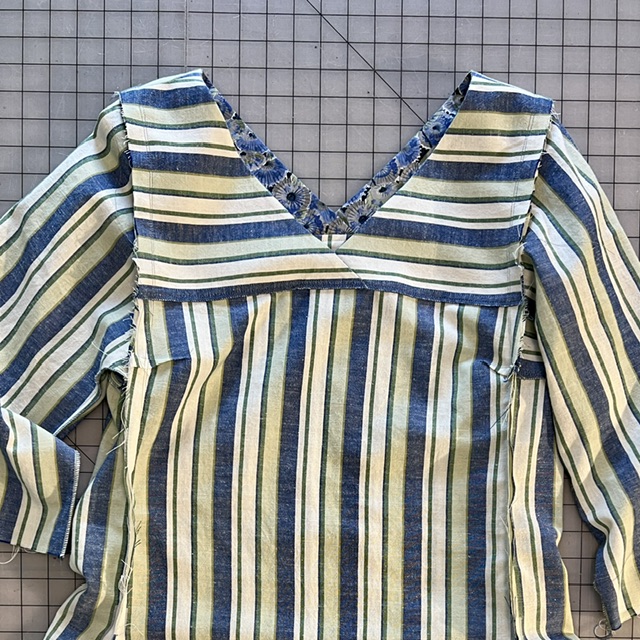
For all views, follow the instruction in Step 8 to cross the right front over the left front at the dot indicated on the pattern. Pin and then baste the crossed sections together.

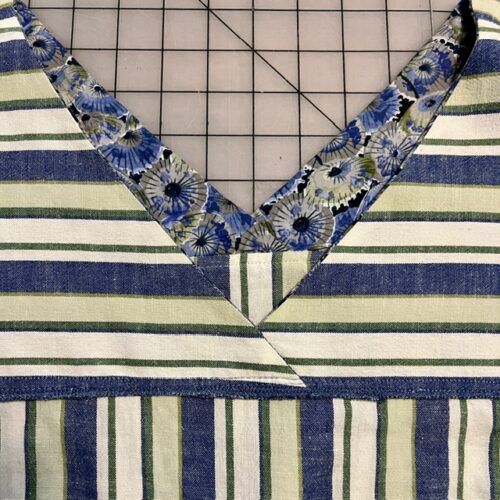
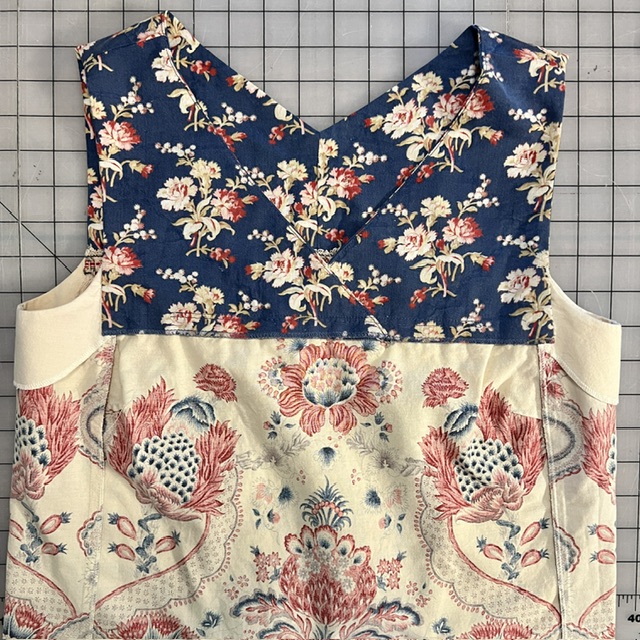
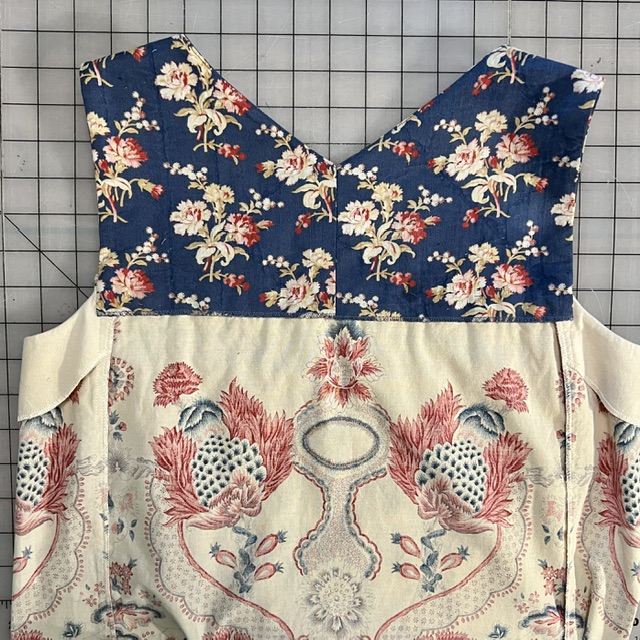
Writer’s note. You may have noticed that the back yoke in this top has a crossover V like the front yoke. This was Carrie’s first sample when developing the Crossover V Yoke variation. It turned out to be too loose when wearing (just kept falling off her shoulders). While this top was saved by adding lingerie strap holders, this learning led us to redesign the back yoke with a higher, less open V. The technique for constructing the two front/back yoke units is the same, though.
Attach Yokes to Lower Front and Back
For a Carpe Diem with sleeves, both the fashion fabric yoke and yoke lining can be stitched to the Lower Front and Lower Back(s). Press the seam allowances down toward the lower pieces. If you’d prefer to cover the yoke seam with the lining, leave the lining free as directed for a sleeveless Crossover V Carpe Diem when attaching the Lower Front and Back to the yoke.
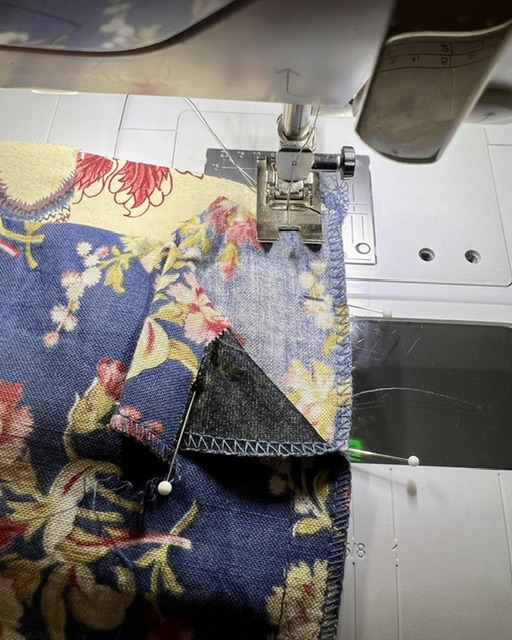
For a sleeveless Carpe Diem, take care not to catch the last 2” of the lining at either end of the seam when pinning and then stitching the Lower Front and Back of the fashion fabric to the Crossover V Yoke, right sides together. We recommend that you clip the lining about 2” from each outer edge and fold the corner out of the way when sewing the yoke to lower front or back, as illustrated in Step 8.
Whether with sleeves or without, note that the order of construction for attaching the Lower Back differs slightly for a Carpe Diem with a back opening (zipper or keyhole) and one without an opening, as illustrated in Step 9 of V Neckline instructions. With an opening, attach only the fashion fabric side of two Back Yokes to two Lower Backs, then finish the entire center back seam in one pass from hem through yoke and yoke lining. With no opening, sew the back yokes and linings together along the center back seam before attaching the yoke to the single Lower Back.
Finish Assembly for Carpe Diem with Sleeves
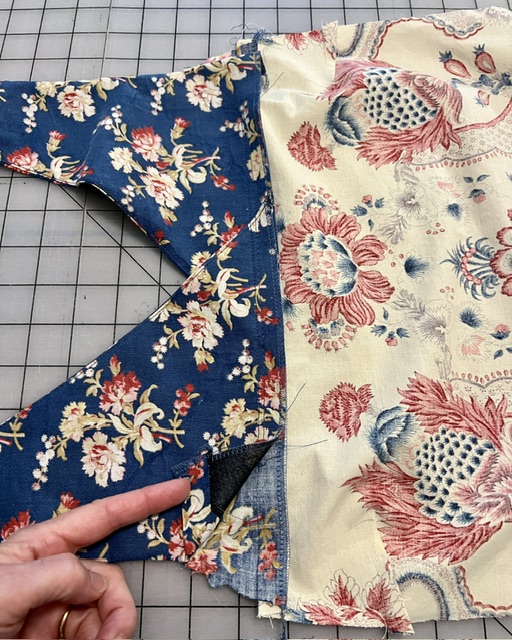
When inserting the sleeve/side unit into the lined front and back, the simplest method is to capture both the fashion fabric and lining layers of the yoke into the side seam. Clean finish all three seam allowances together as desired.
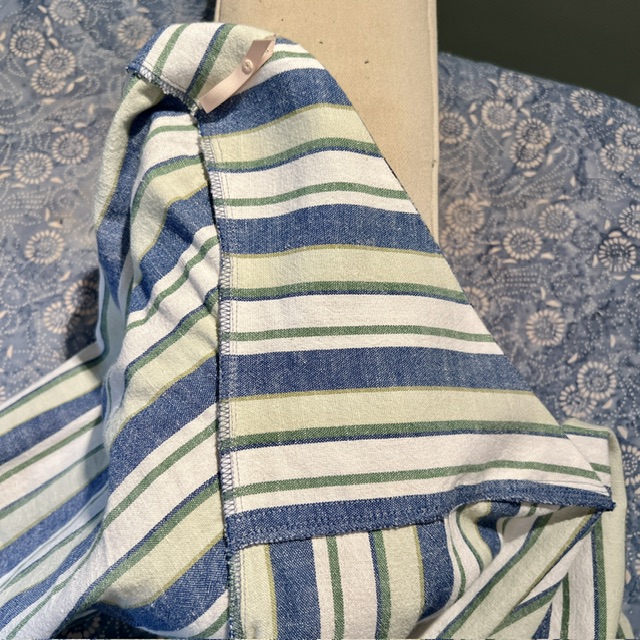
If you’ve opted to keep the yoke lining free, as described in Step 10 of the V Neckline instructions for views 1 and 3, continue to keep the yoke lining free while stitching the sleeve/side unit into the fashion fabric front and back. Finally, clean finish the raw edge of the yoke lining along the armscye and stitch it to the side seam, like a basic Carpe Diem facing.
See this finished top, Twirling Parasols, in the photo gallery, along with a very similar top Rae stitched up in linen, Garden Picnic Crossover V Yoke.
Finish Assembly for a Sleeveless Carpe Diem
Follow Step 10 of the V Neckline instructions for view 2 when inserting the sleeveless side into the assembled front/back unit. Be sure to finish the sleeveless side with its facing in the armscye before this step! Stitch only the fashion fabric portion of the yoke to the side panel. After ensuring the fit is satisfactory, tuck the tips of the side panels between the yoke fashion fabric and lining and pin closed. Hand stitch the lining over the armscye at all four corners.
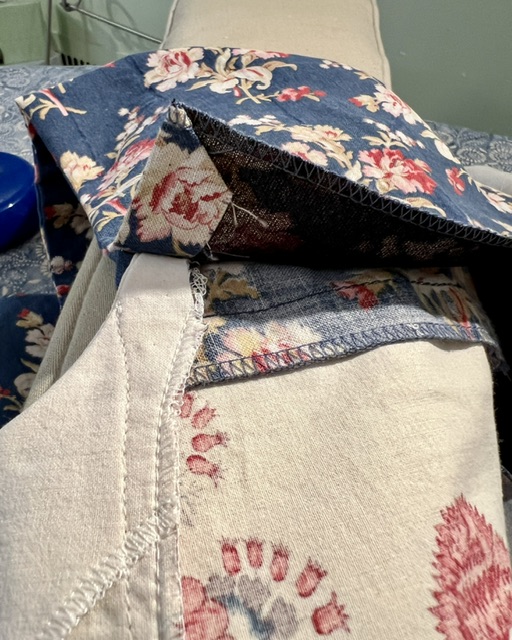
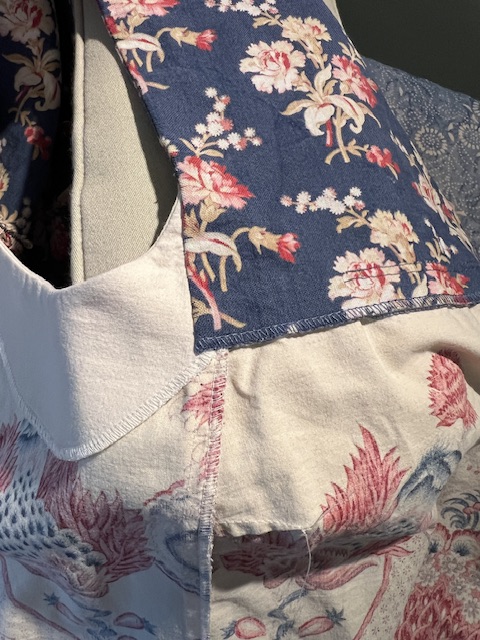
Carrie handstitched vintage trim over the yoke seam after all the sewing was completed. See the finished top, Vintage Crossover V Top, in the photo gallery.
With sleeves or without, if the lower edge of the lining has not been completely stitched down to the yoke seam, take a few minutes to hand stitch the lining closed. This will keep all your seam allowances securely covered and tidy!
We hope you are having as much fun with V Necklines as we are! Now you have the illustrated steps to line a Crossover V Yoke or to bind the edges, with sleeves or without, so get stitching! We would love to see photos of your Carpe Diem makes, so please post with hashtags #carpediemdresstunic and #vnecklinevariations.


