Wearing comfortable pants with elastic waist styling continues to be a pandemic trend. We could even speculate that it will continue to dominate pants fashion once the world reopens, and why not?

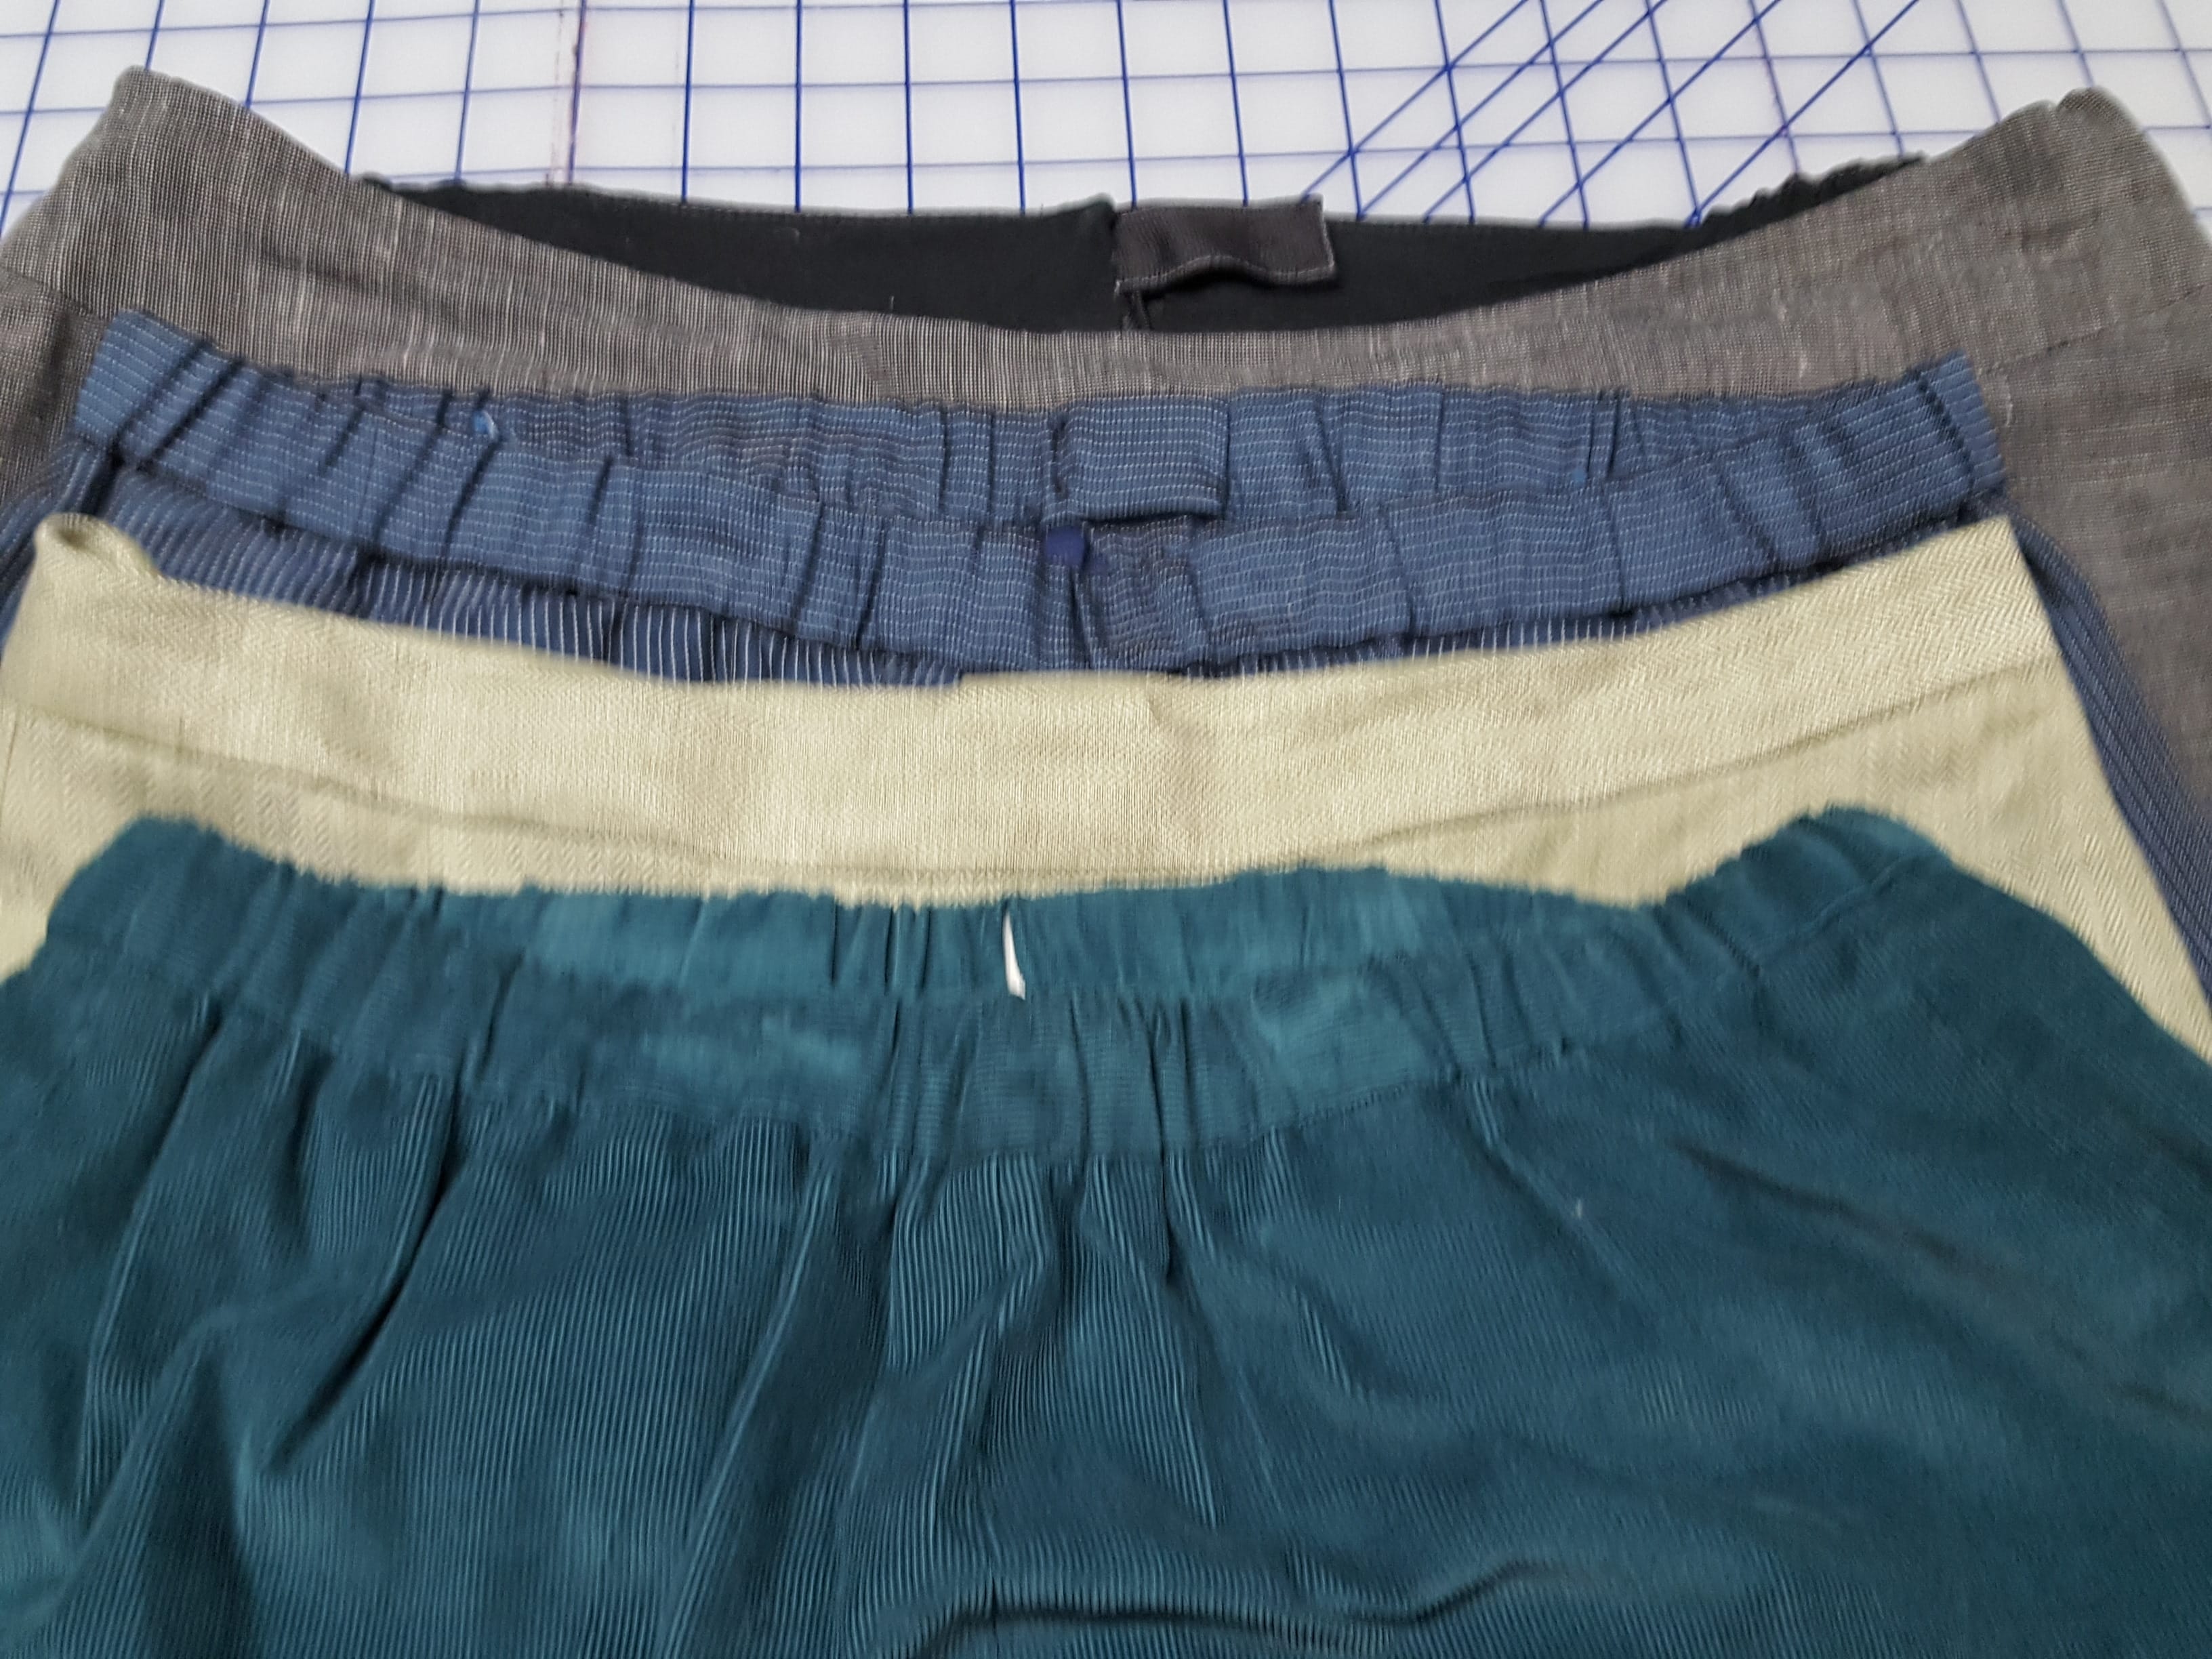
Let’s take a look at elastic waist lines and their nuances in a few beloved pairs of Eureka! Pants that Fit. Join me on Wednesday, March 24 for the OSQE hosted class Openings and Closings for Garment Sewing, to look at an even wider variety of pants openings and closings.
This conversation was prompted by a student, we will call her La, who has taken advantage of virtual coaching to improve the fit of her stretchy elastic waist Eureka Pants. Like me, La has a pants waistline that dips down in the front to a naturally comfortable spot, then eases up toward the natural waistline in the center back. Many women need this shaping so the pants waistline will stay in place. If they evened out the pant waistline, the front would constantly shift downward creating a bubble of fabric in the front crotch.

La was struggling to imagine how a straight waistband could be attached to her dramatically dippy waistline. My flip reply was, with a 5/8” seam allowance and elastic to shape the waist to the body. But seriously, follow these guidelines for shaping your elastic waistband to fit the shape of your waistline.
In elastic waist pants, there are no darts or zippers, just a waistband, the same length as the pant waistline plus a seam allowance for a center back seamline. If you use the waistband template and directions on the last two pages of the Eureka! Pants instruction book, you will have a 1” wide casing, perfect for inserting a 1” wide elastic. The directions walk you through the steps of pressing the waistband in half, stitching it into a circle while leaving an opening for the elastic to be fed into the casing, attaching the waistband to the top of the constructed pants, then folding and stitching the waistband into a casing. If the waistband is cut along the selvage, this casing edge does not even have to be clean finished. Keep an eye on our Facebook and Instagram this week for more photos of this process.
This method works, even when you have included one of our pockets that extend into the waistline: the slash pocket in the Trouser Details, the fingertip pocket in the Glamour Details, or the curved pocket in the Sporty Details.
Because the waistband is a given width, change its placement on the body by adjusting the top edge of the pant waistline up or down, as needed. Sometimes, just a little tweak in the location where the waistband meets the pants will produce a much more comfortable fit. These are the things you learn when you are wearing the pants.
You can also change the width of the elastic by adjusting the width of the waistband. The basic waistband is cut 3¼” wide to accomodate 1″ wide elastic. When you change the width of the elastic, change the width of the wasitband by 2 times the difference in elastic size. For a narrower elastic waist, simply reduce the waistband width; e.g. for ¾ wide elastic, reduce the waistband by ½” (2 x ¼” narrower). For a wider elastic, simply increase the band width; e.g for 2″ wide elastic, add 2″ (2 x 1″ wider) to the width of the waistband.
Another option is a contoured waistband with elastic, which eliminates some of the extra ruching at the top of a wide elastic waistband. Read the post Ponte Pants with a Zipper Pocket to see how these pants are constructed using the Glamour Details pattern.

If you prefer a pant fit with darts and a zipper, but want some extra elasticized ease, try inserting elastic as the waistband stiffener described in our post Waist Finishes for Pants.

Or for pants finished with a faced waist, read the posts Back to Pant Basics, and Inserting Elastic into Faced Waist Pants.

As you perfect your elastic waist pants, assess how they fit into your wardrobe. Because I am pretty soft around my waistline, I always insert elastic into my waistbands so they stay comfortably anchored. Even my back zip, darted pants feel comfortable all day.

Tell us about your favorite Eureka! Pants that Fit or a favorite elastic waist treatment you would like to incorporate into your EPTF pattern. Join me tomorrow in my OSQE class, Openings and Closings, to look closely at how we get in and out of our clothing comfortably.
Stay well and Sew Happy! RAE


Great information, Rae! Thank you so much – and it’s very timely as I’m diving into Eureka PtF in the upcoming week 😉
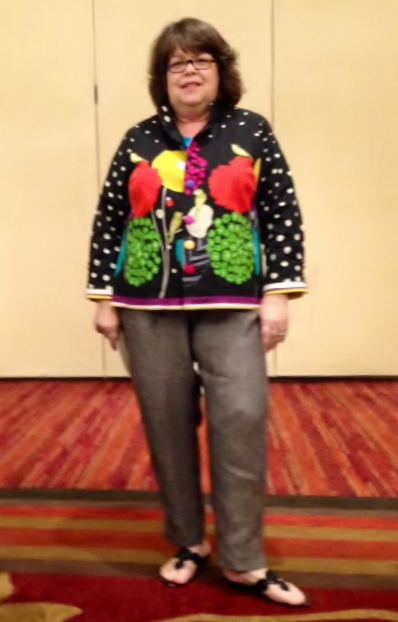
The secret you need to share, though… how did those linen pants stay so wrinkle-free in St. Louis?? Lining? Standing all day? ;-( Or…?
Well Joyce, I do not know how they stayed so crisp, if my memory serves me well, I had pressed them to wear the outfit in the fashion show! After years of wear, they now look very relaxed. Good luck with your pants. RAE