We know there are new Eureka! Pants stitchers in the Fit for Art universe. Some had sizings in our fitting booth at the Cincinnati or Fredericksburg Expo, some attended our summer retreat or the Creative Clothing Club Pants Workshop in August. Once the fitting adjustments and pattern work are done, it is time to decide about your waist finish.
The Eureka! Pants process allows you to place your waistline where you like it. Choose a natural waist, a high hip location, even a hip hugger (remember them?) or anywhere in between.
After you locate the preferred waist and adjust your pattern using the directions on page 11 of the instruction booklet, flip to page 14 and read about waist finishes. You will find directions for creating the pattern pieces for a smooth facing finish or a classic waistband finish. But how do you choose?
Here is a quick list of the features of each waist finish. Think about how you want your pants to sit on your body as you read about each finish.
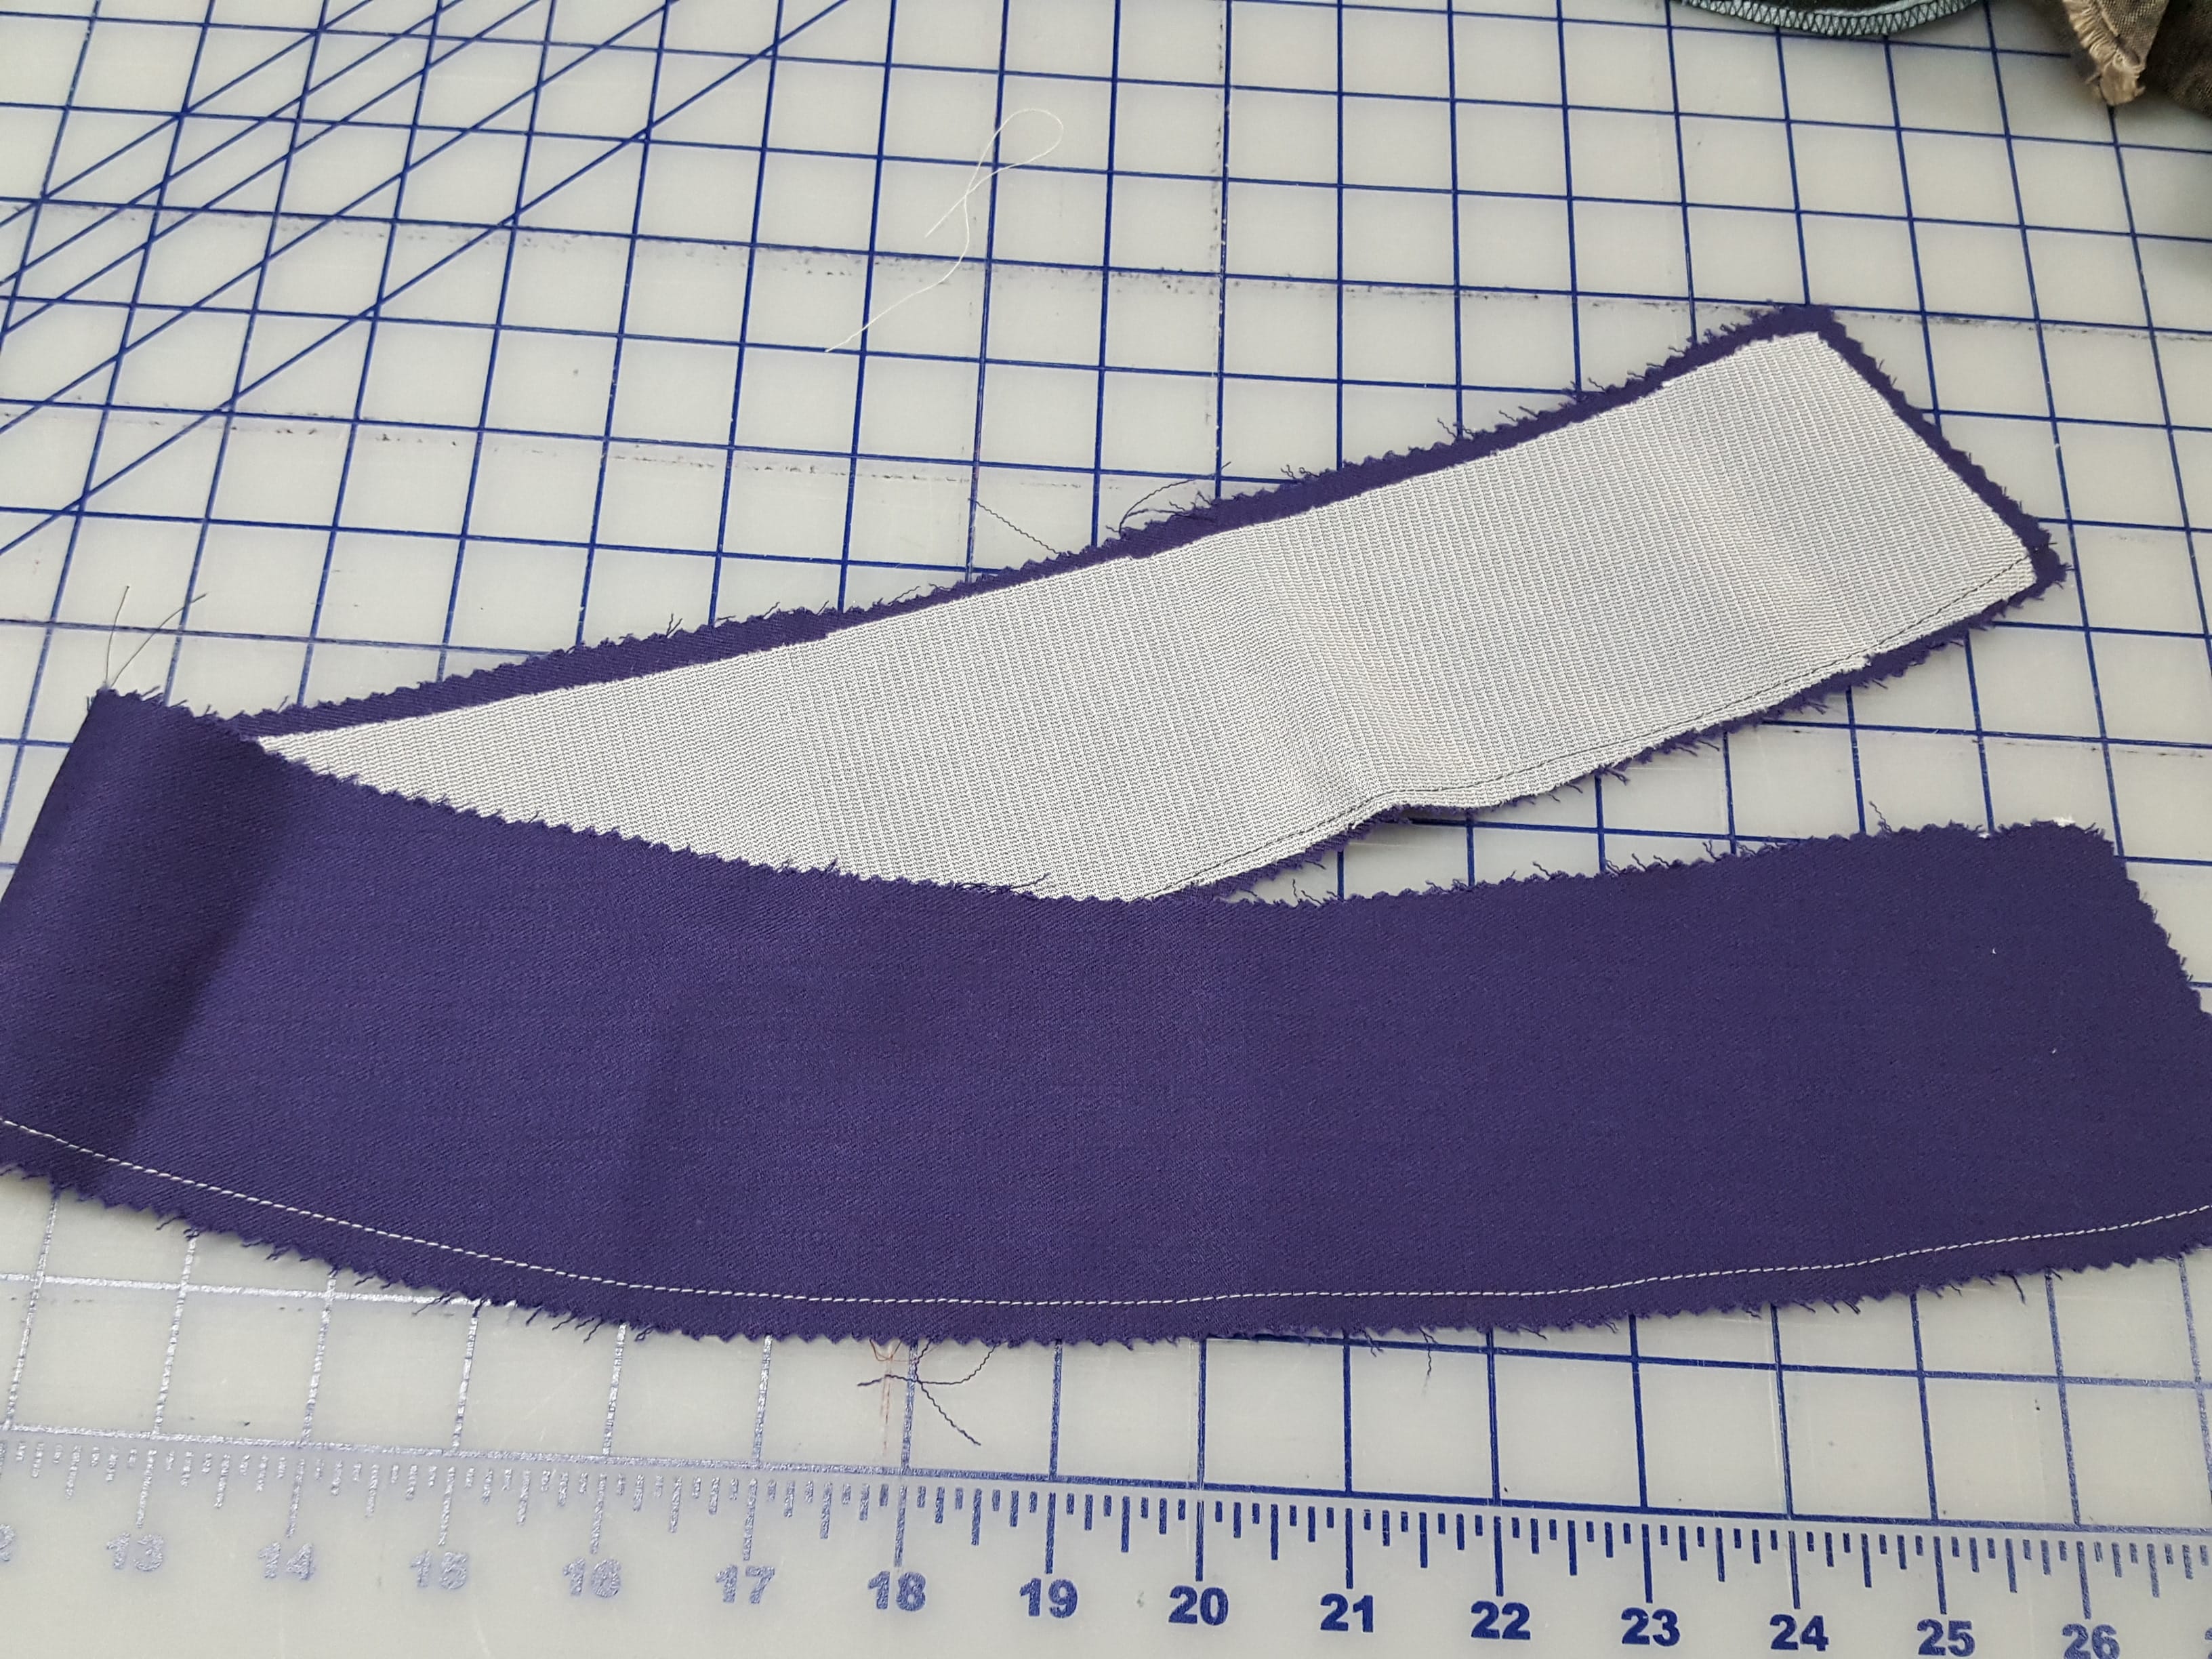
A Faced Waist
This finish gives you a smooth, clean finish at the top of your pants along the waist seam line.
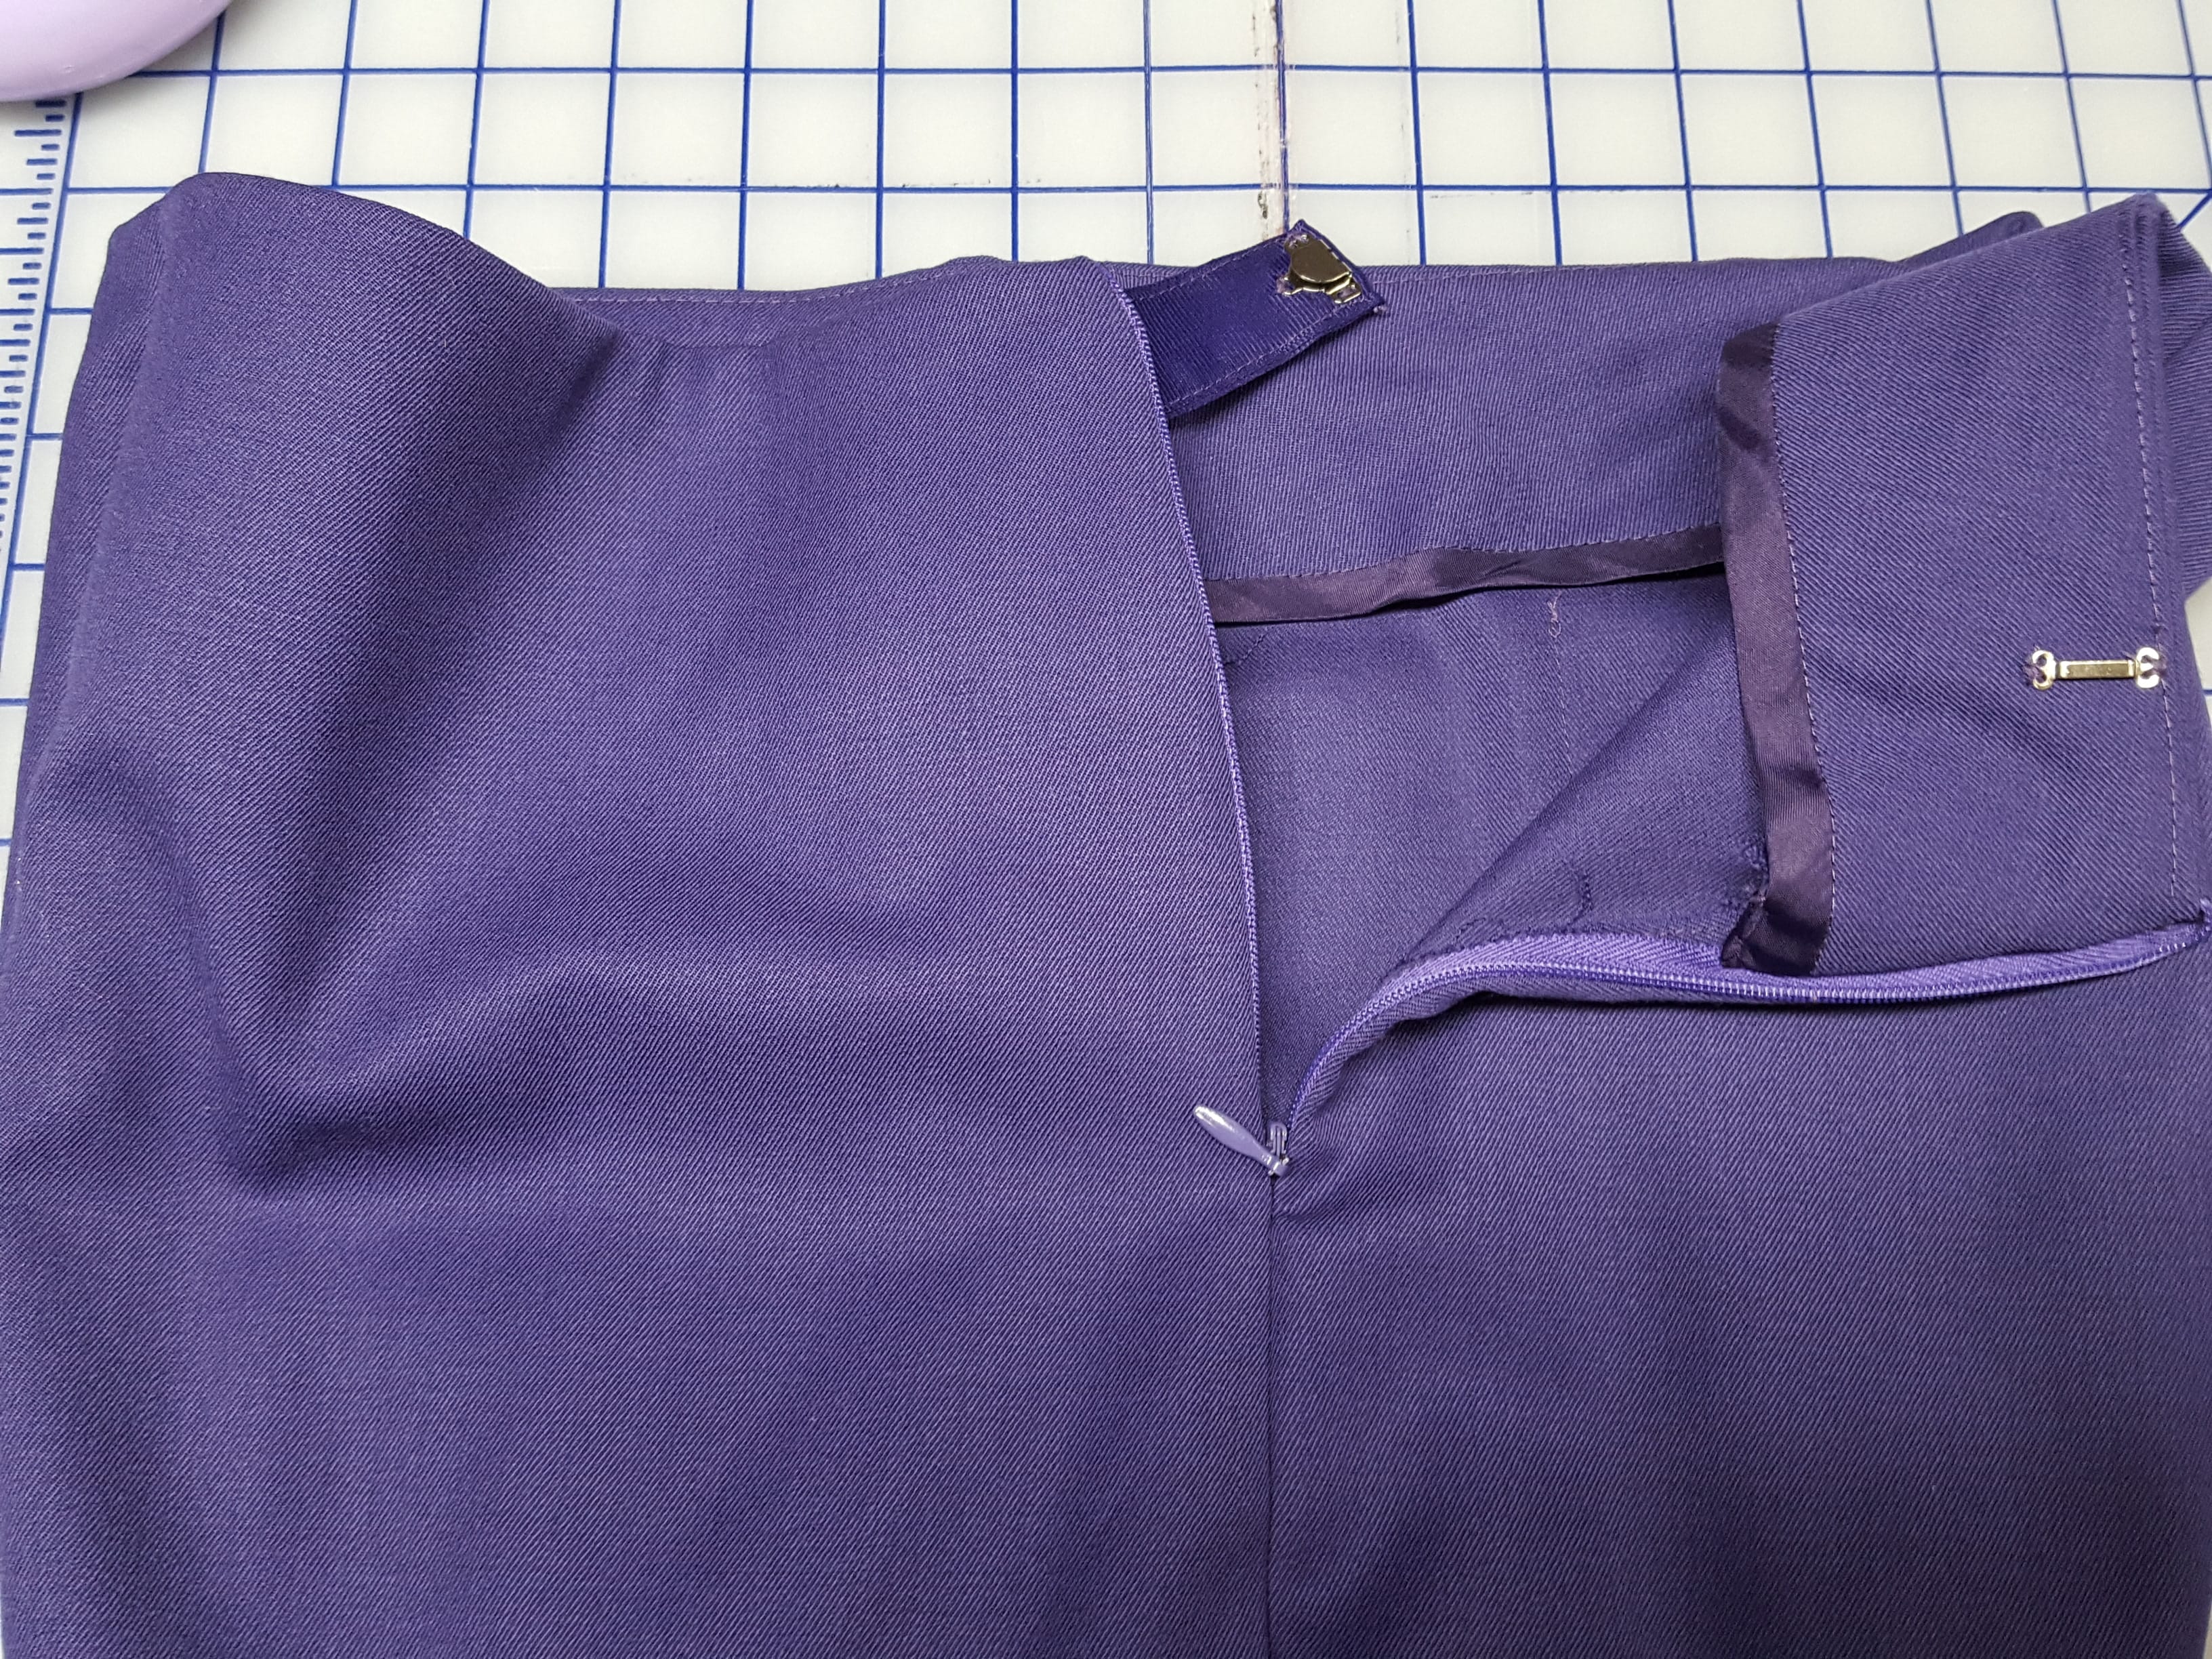
- Use the templates and directions to create the front and back facings.
- An invisible zipper in the back or side works best with this finish.
- Fit the top of your pants tightly to accommodate a faced waist.
- Tighten the waist with some elastic if you need to for a secure fit.
- Use a none-stretch interfacing to support each facing piece. Stabilize the top of the pant by taping the waist for additional support.
- Add a tab at the top of your zipper opening for easier dressing.

- If the waist of your finished pants is too low, add to the top of the waistline on your pattern. If it is too high, lower the waistline on your pattern. Reshape the facings to match the new cutting lines.
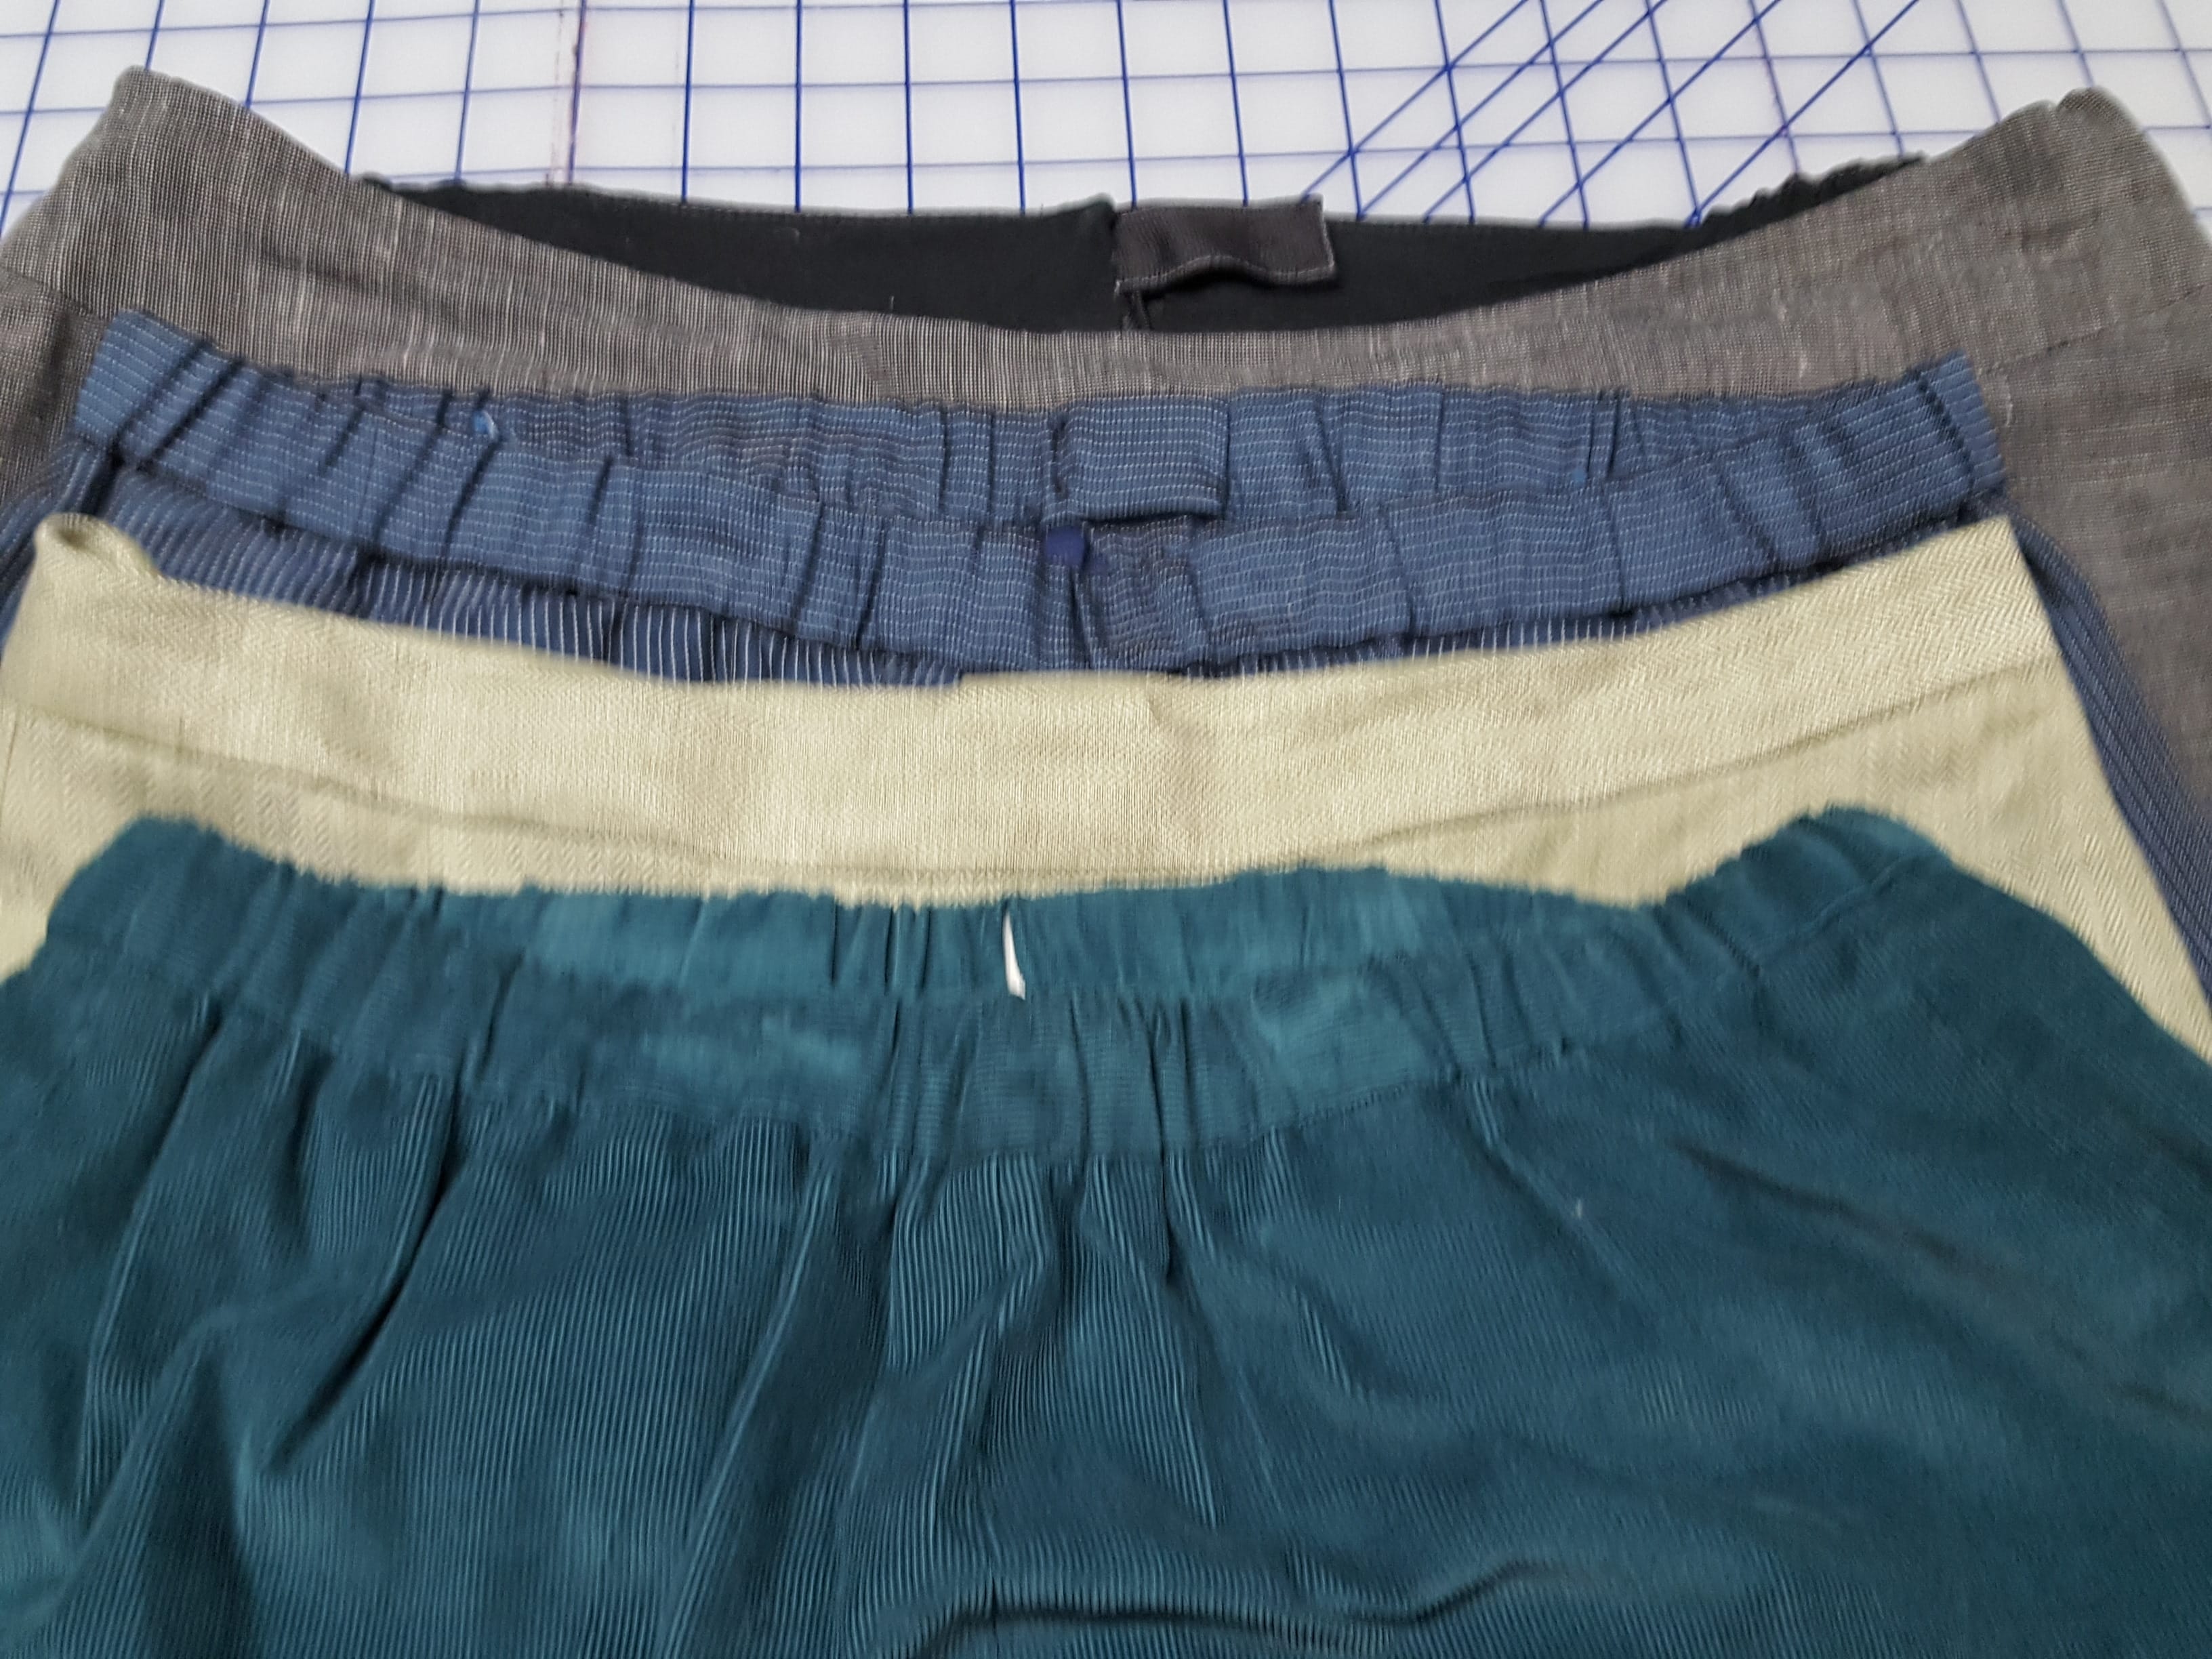
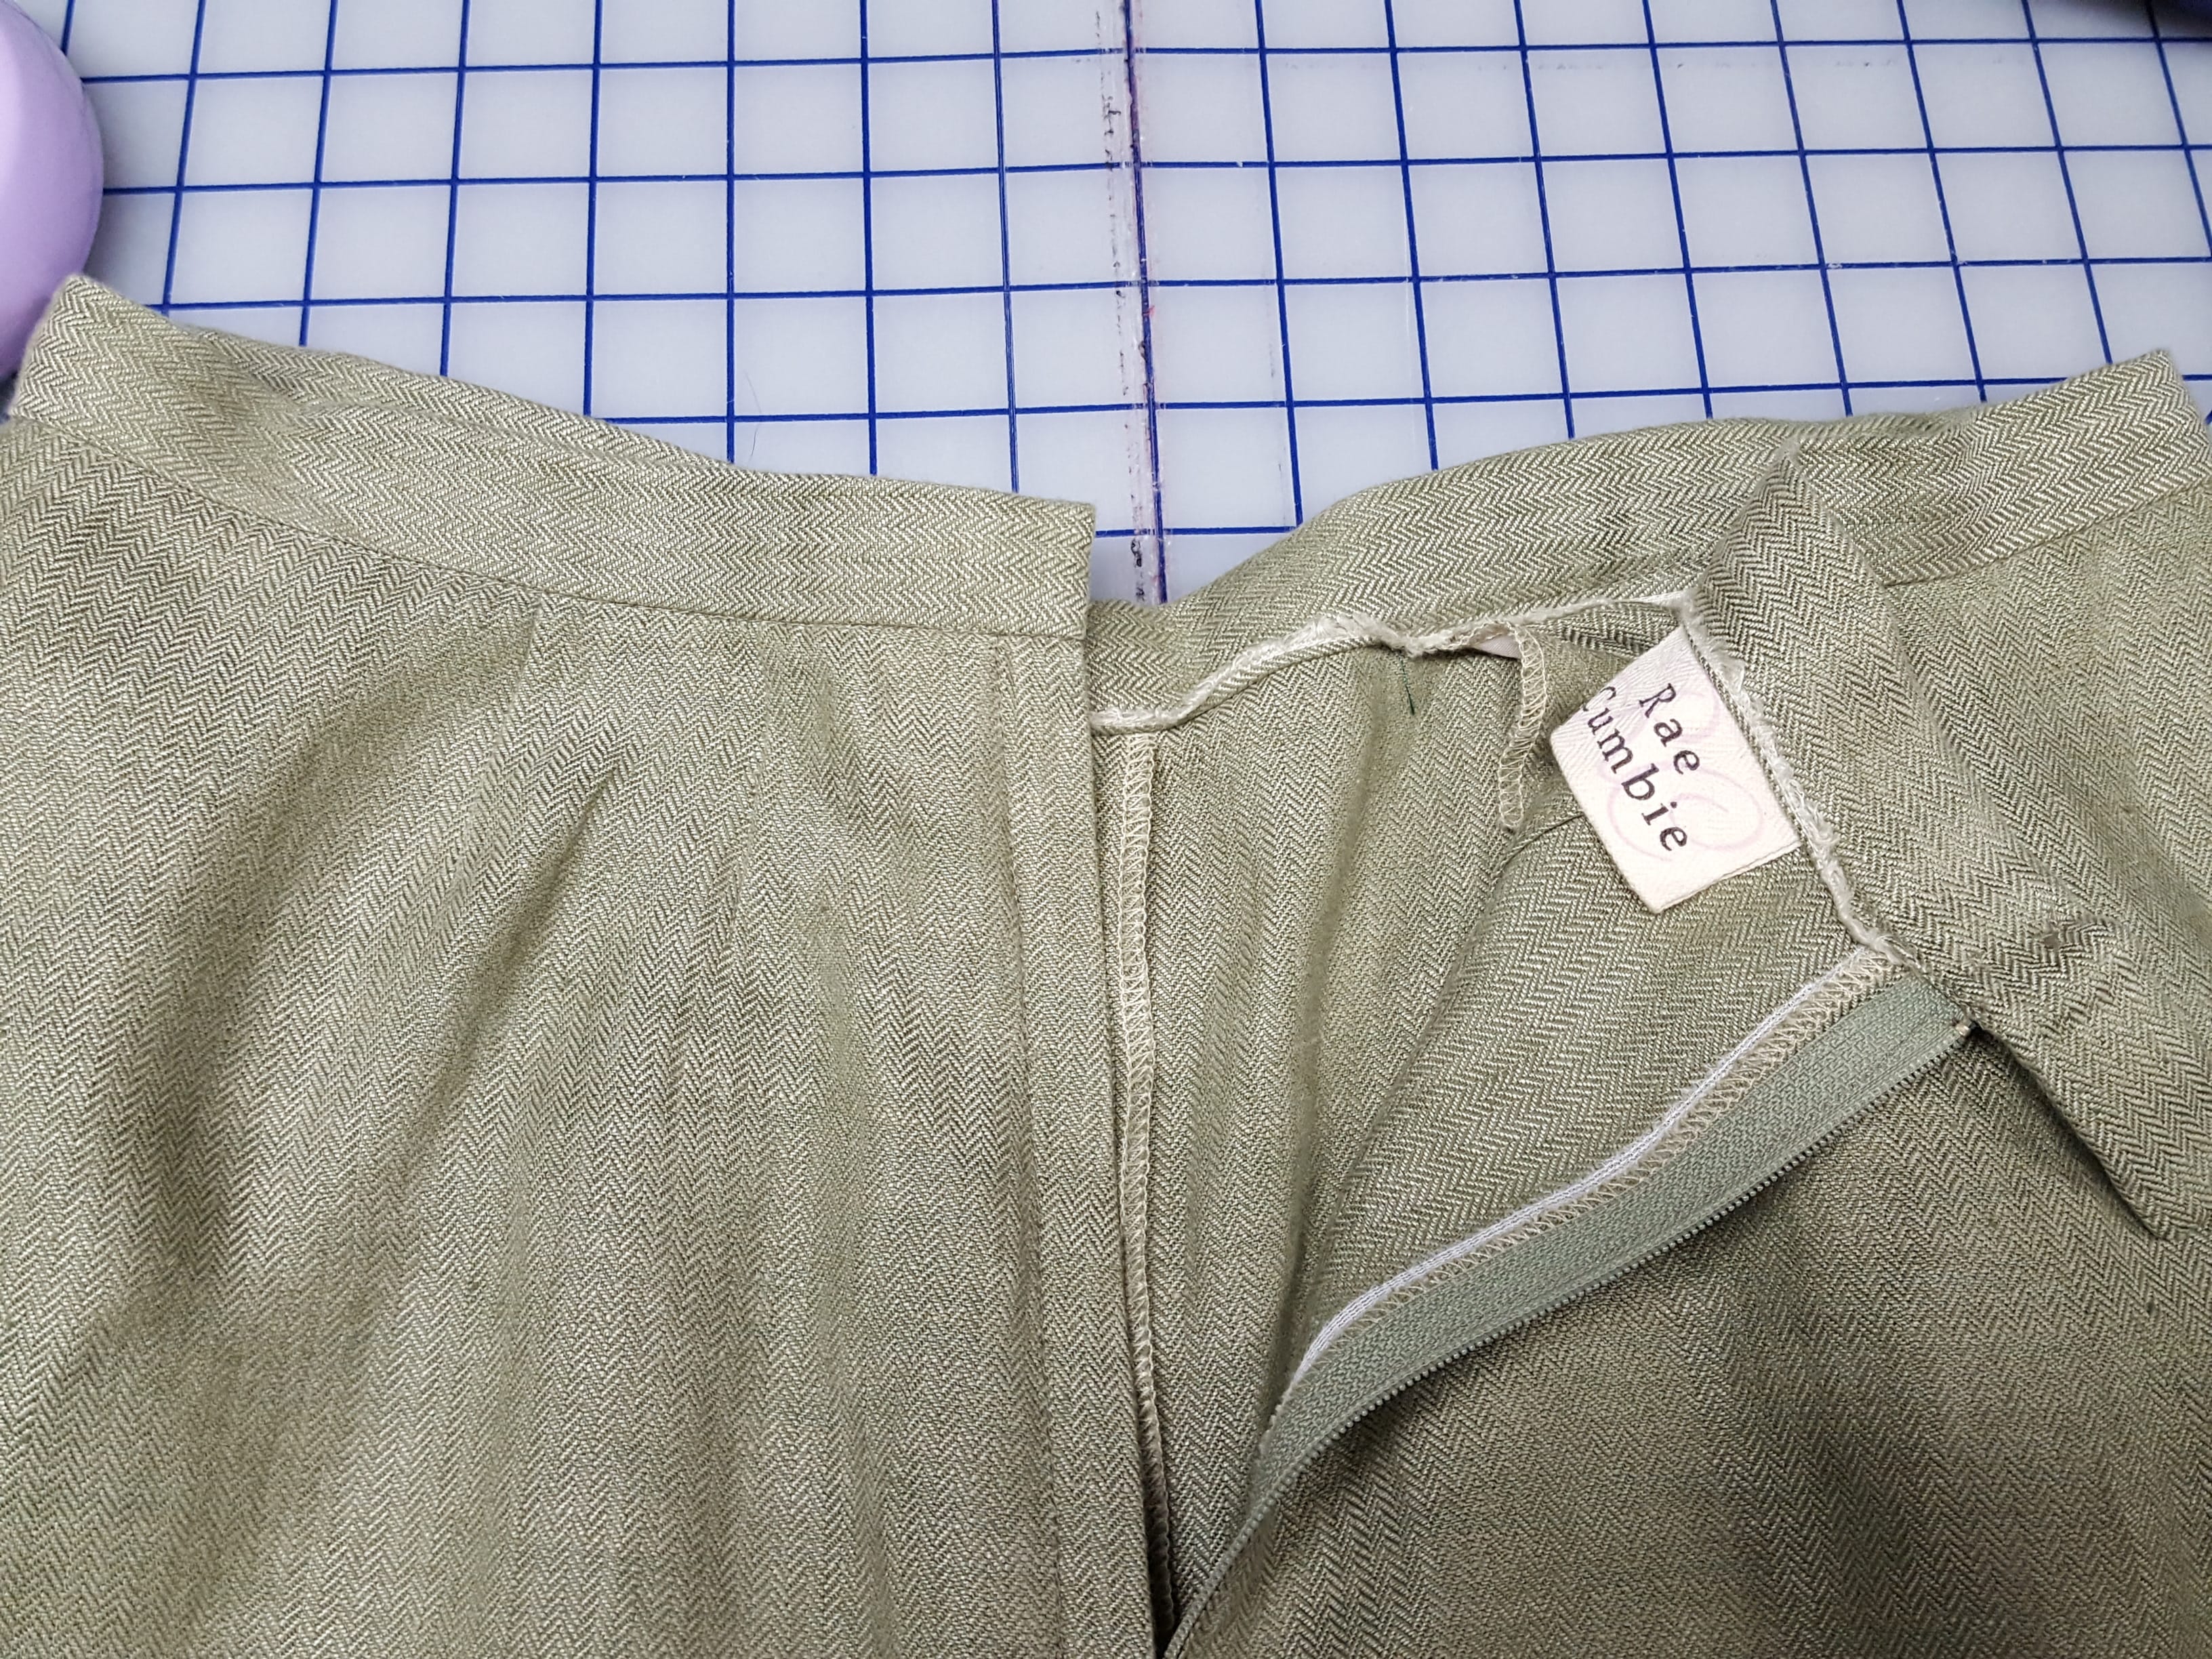
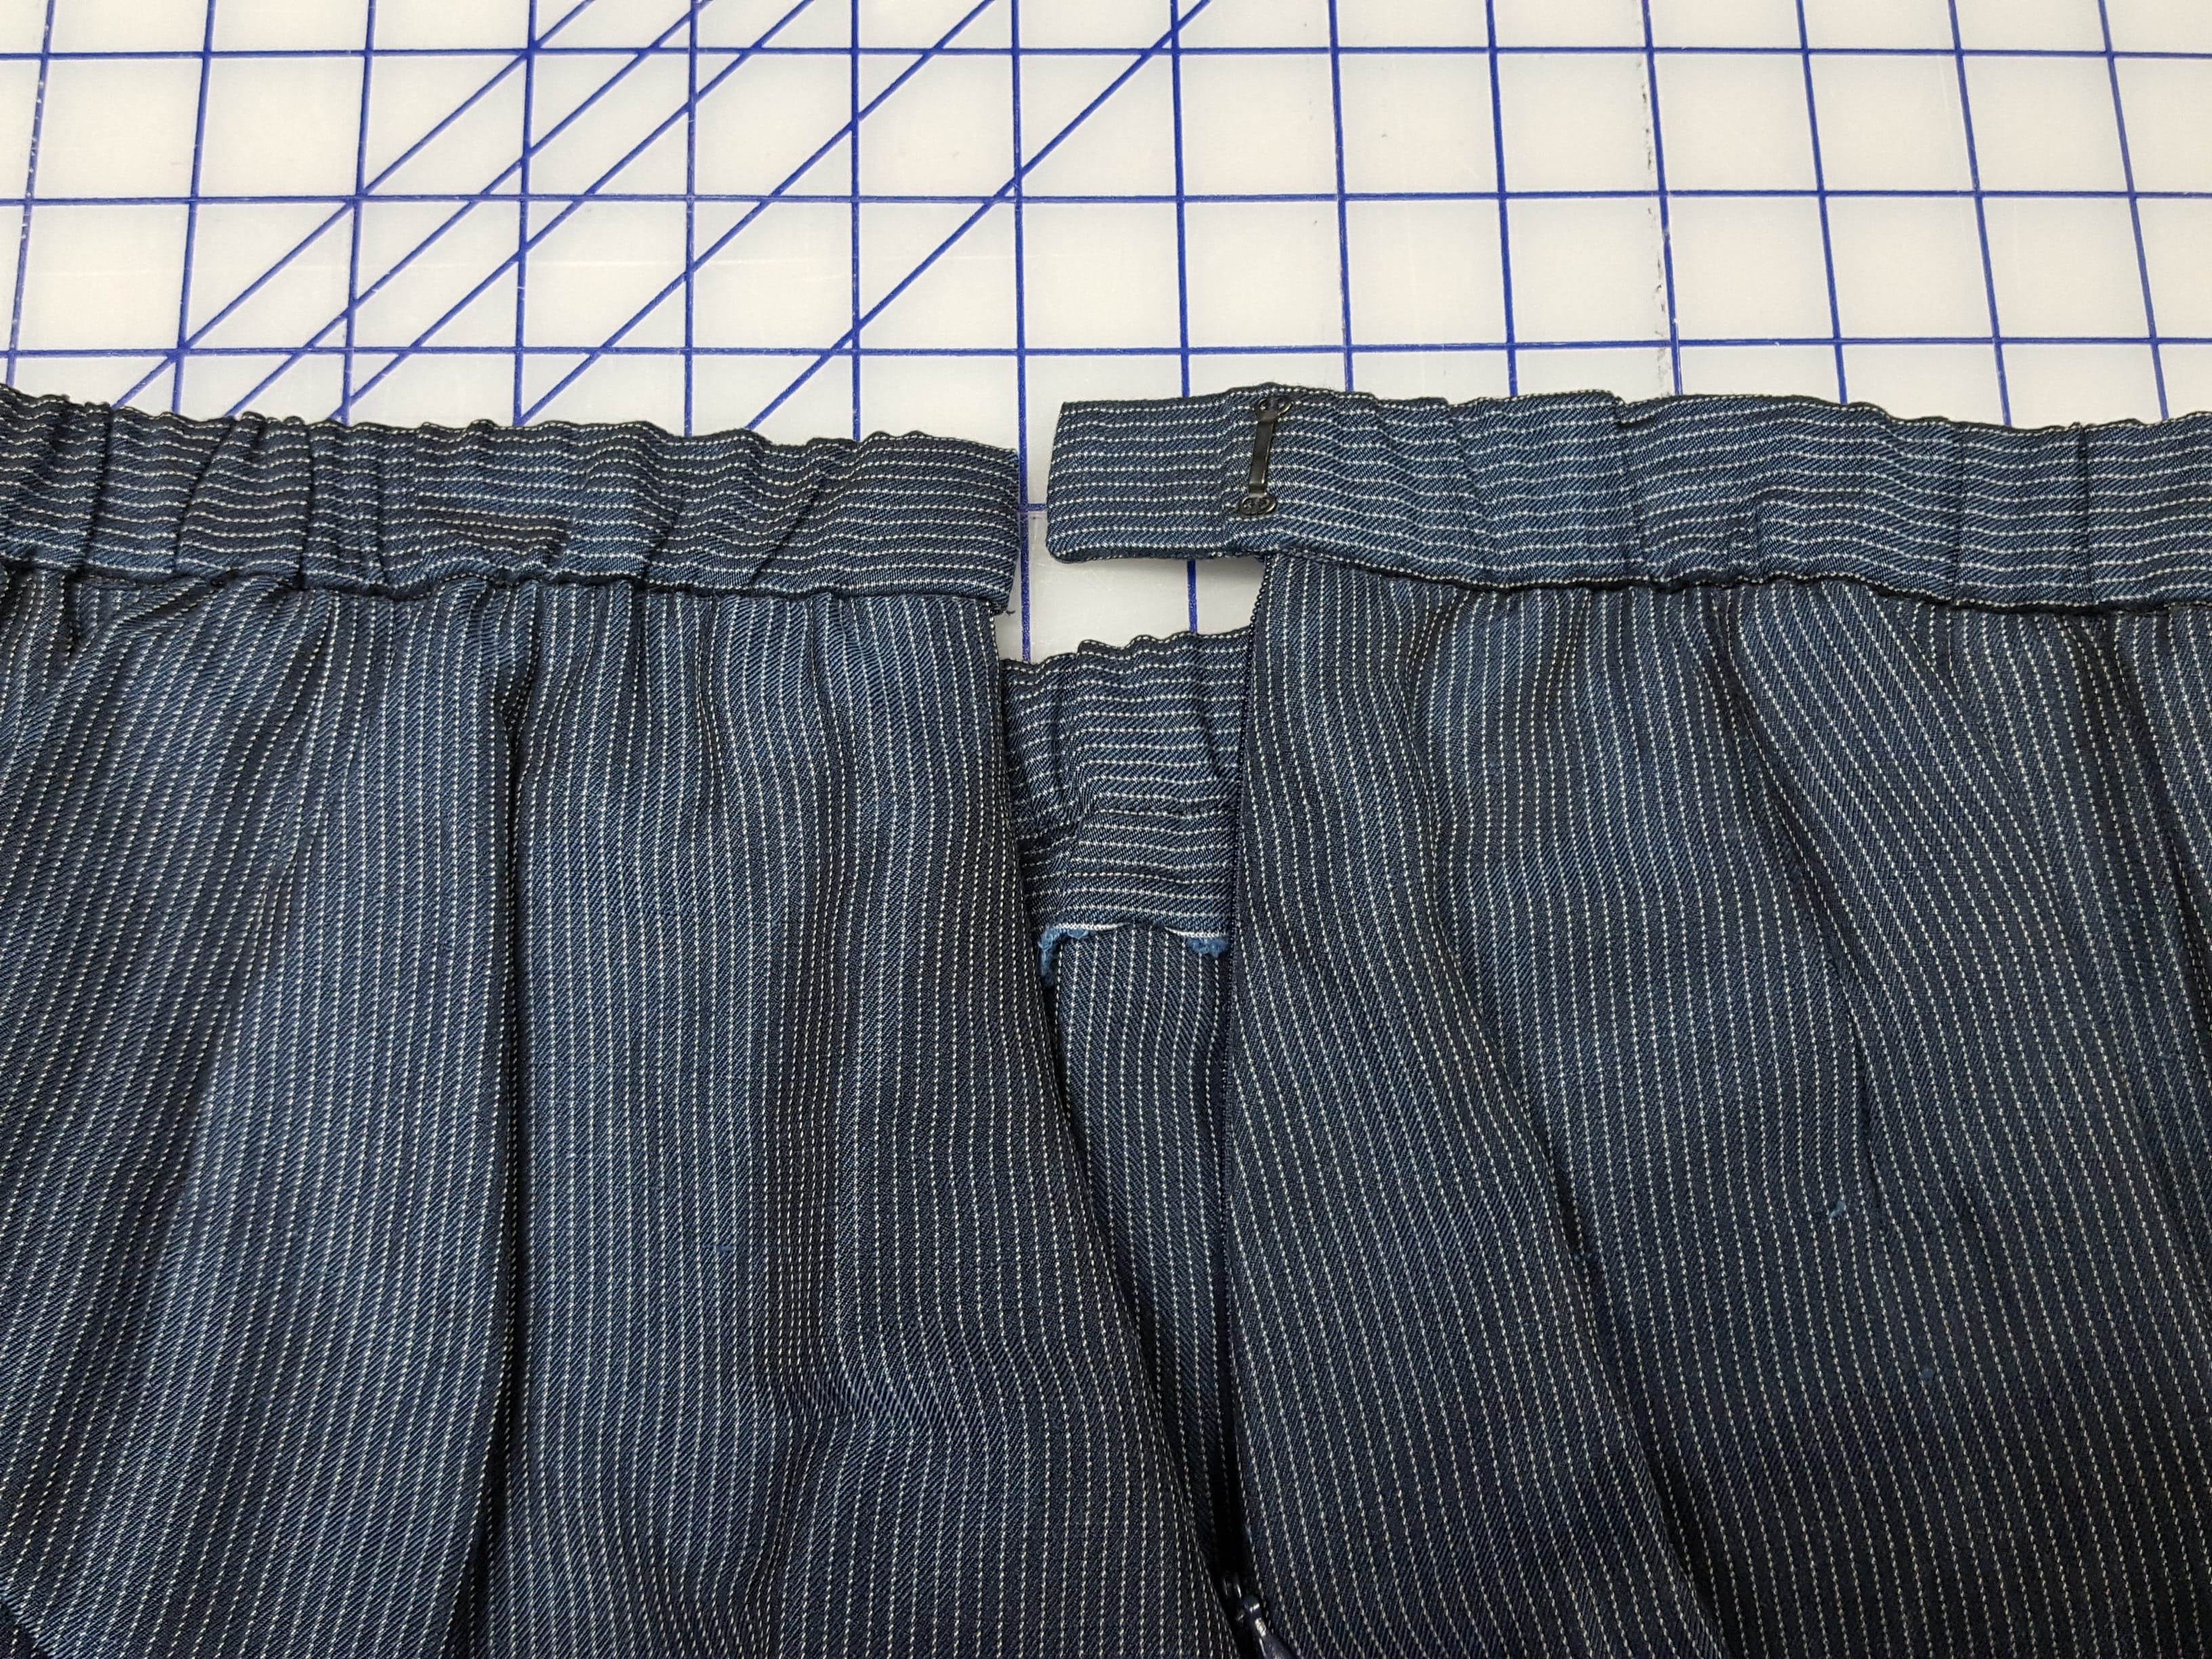
A Waistband
This finish extends above the waist seam line.
- Use the template and directions to create the waistband pattern.
- The included template makes a 1” wide waistband. Narrow it to ¾” by reducing your waistband width by ½”.
- Either an invisible zipper or a lap zipper can be used in basic pants finished with a waistband.
- After attaching the waistband, stitch support into the seam allowance with a zig-zag stitch. For a neat rigid band, use a waistband stiffener cut to the length and width of the waistband.

- Non-roll elastic also works quite well and offers some flexibility.

- Cut the elastic shorter than the waistband and stretch it as you stitch it into the seam allowance.
- Finish the waistband as directed so the right side extends past the zipper to become a tab. It will slide under the left side to hold the large hook and eye in place.
- If the pants waistband drops down continuously, adjust the pattern to drop the waist, lowering the top of the pant where the problem occurs. If the pants feel like they need to sit higher on your body, add to the top of the pattern to extend the waist.
Elastic Waist Pants
Elastic waist Eureka! Pants are constructed with no darts. Follow the directions on page 22
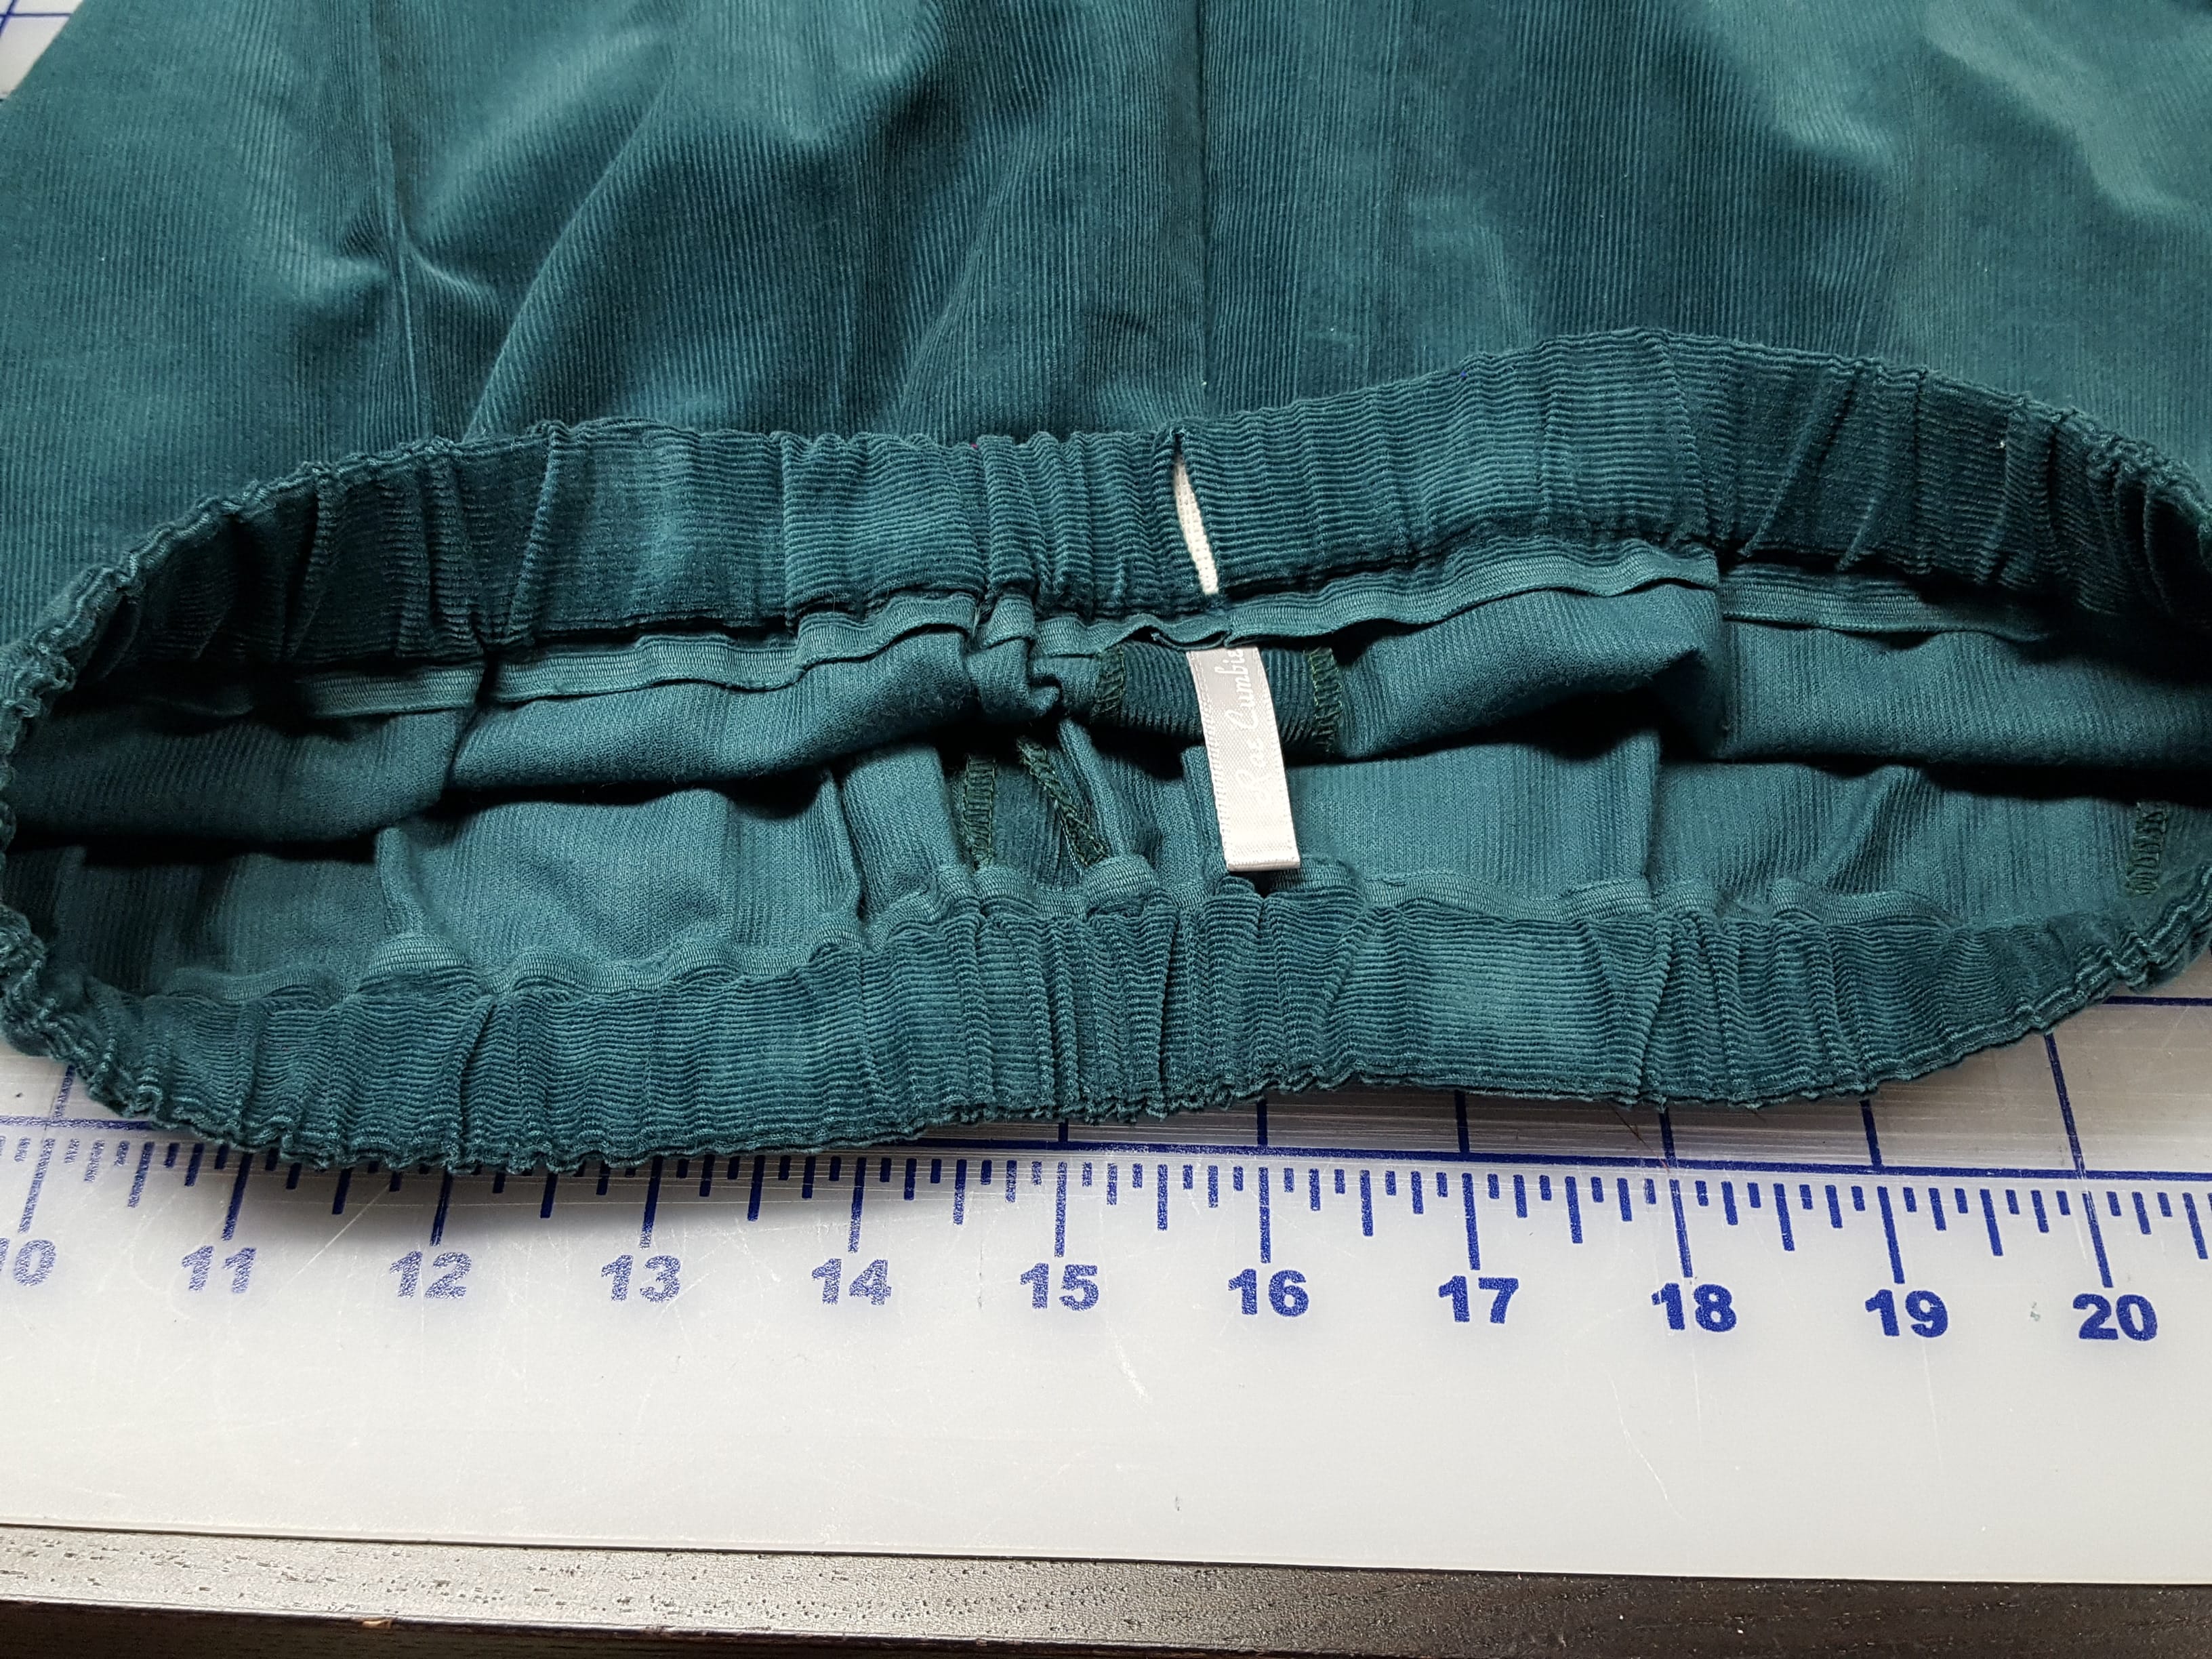
- Create a waistband pattern for the elastic finish Eureka’s using the template.
- Follow directions to construct the waistband with an inseam opening to accommodate the elastic insertion.
- No zipper is necessary for an elastic waist pant, they are pulled on.
- Lower or raise the waist cutting line and seam line on the pants pattern if needed to finesse the location where the pants sit on the body.
Want a front fly zipper opening? Adapt your well-fitting Eureka’s with our Trouser Details or Sporty Details. It is wise to make basic pants with either of the three basic finishes to test the fit and assess the comfort level before adding new design details. If you find one waist finish uncomfortable, try a different finish on your next pair of pants or re-position the waist finish for added comfort. Once you are satisfied with the fit of the basic pants, then play with all the styling variations in the Details Patterns and other Sew! Let’s Get Dressed posts.
Do you sew your own Eureka! Pants? What is your favorite waist finish? I usually use a lapped zipper with a waistband supported with 1” elastic.
Happy Sewing, RAE


