Welcome to Sew! Let’s Get Dressed, a weekly blog that encourages you to sew successfully.
I am excited to say that we have a bunch of new Eureka! Pants that Fit sewers this year, so we extend a warm welcome to you with this review of basic pants construction the Eureka! Pants way! Once you’ve got your pants pattern refined to fit you, you can whip up a pair of basic pants PDQ; details and embellishments will of course take a little longer.
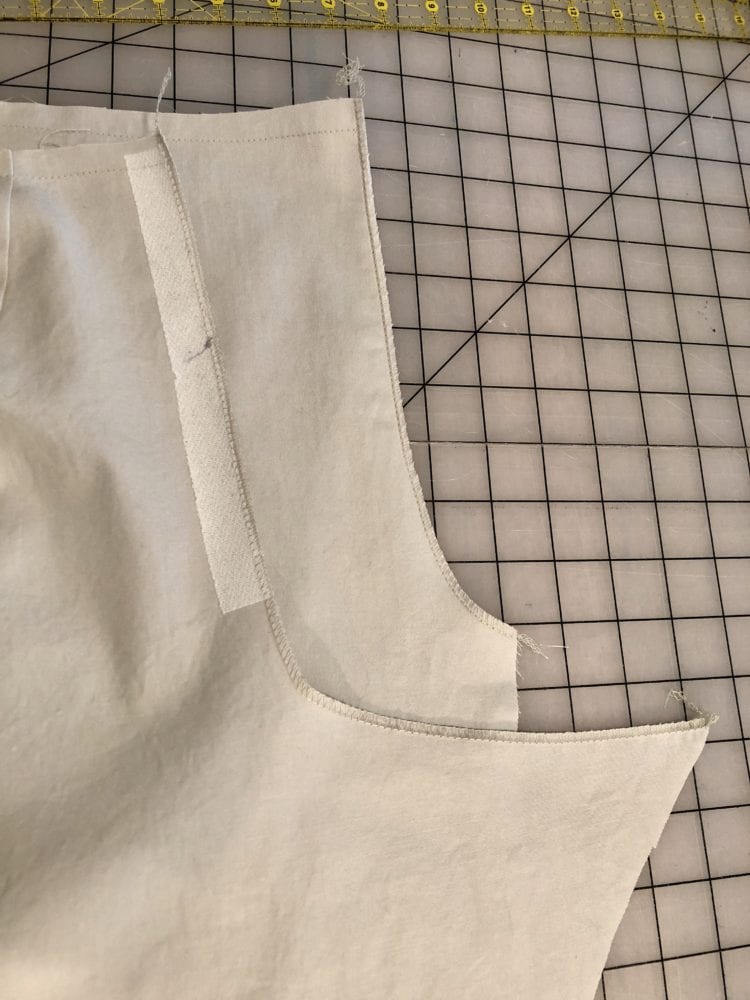
Today I’m going to illustrate the construction process with a pair of light grey cotton twills I am making to go with a couple of my newer Tabula Rasa tops. I’m going to use my go-to pattern for non-stretch fabric with a faced waist finish. I’ve got all four legs cut out and ready to construct after sewing darts, stay stitching at the waist, clean finishing the crotch curves with my serger, and applying a strip of fusible interfacing along the center back for zipper insertion.
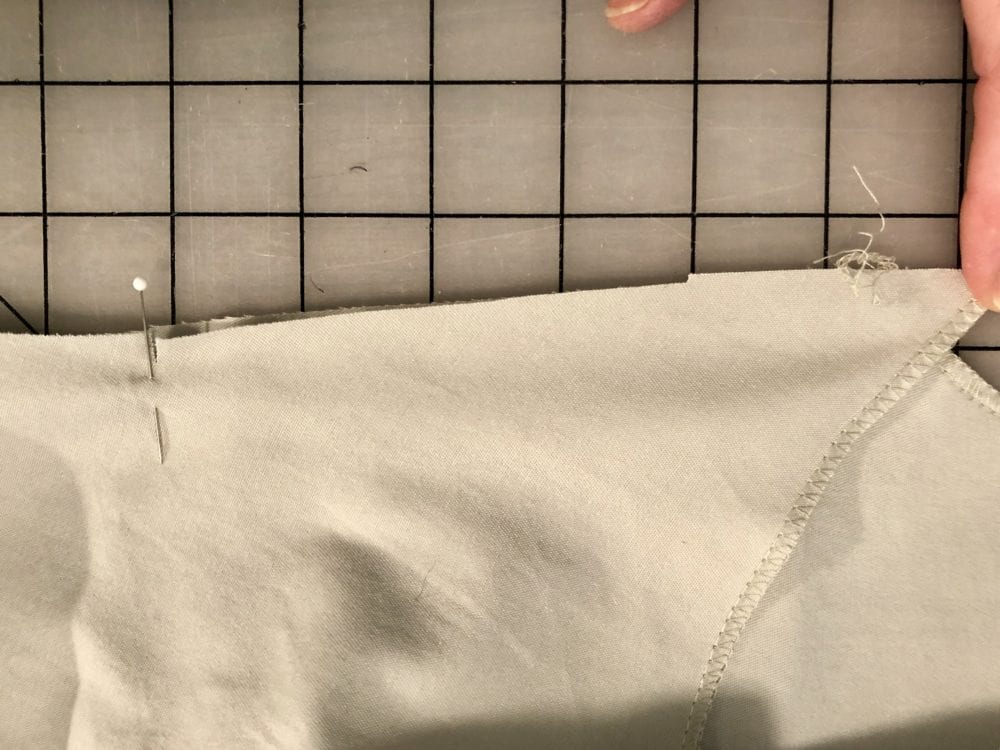
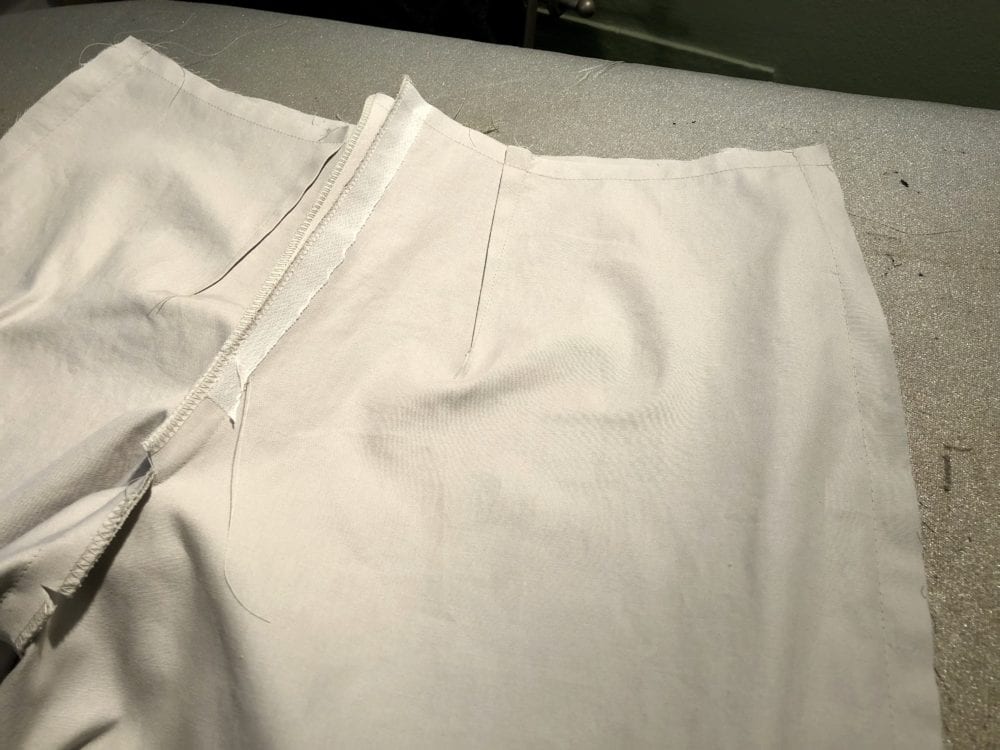
The first construction step is to sew the inseams. Here you can see how I stretch the back slightly to fit the front above the notch; the back and front extensions should cross at the 5/8” seam line.
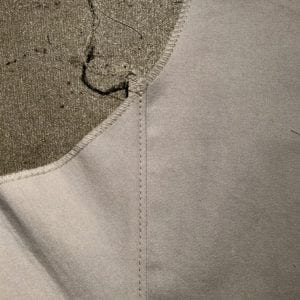
One of the advantages of using a tried and true pattern is that I know I can go ahead and do all my finishing work on the inseams now. My preferred finishing method is to clean finish the inseams with my serger, press the seam allowances to the back, and then topstitch over the seam allowances 1/8” from the seam line. If you aren’t sure about your fit yet, you should probably press the seam open and finish the seam allowances separately in case you want to make adjustments later. (If you’ve done all 3 steps I illustrate here, there are a lot of stitches to take out to make a fit adjustment!)
Now we are ready to sew the crotch seam from center front to the bottom of the back zipper opening. Next, flip the legs to form tubes and baste in the side seams. Now it’s time for the first try on, but first clip about 3/8” into the seam allowances where the crotch curves in front and back.
Put the pants on and hold the back closed at your best guess of the zipper seam, look in a mirror and assess whether there are any obvious changes that need to be made to take in or let out the inseam, crotch or side seams. Baste those changes in and try the pants on again. When you are satisfied, secure the changes with standard stitches EXCEPT to the side seam.
This is where I depart slightly from the steps as written in our Eureka! Pants instruction book. I do not finish the side seams until after I’ve installed the zipper because I find that 1.) I can’t really be sure about the fit through waist and hips until I get the zipper in and 2.) the side seam is where I most likely will make adjustments if more are needed. So now it is time to insert your zipper and try the pants on again.
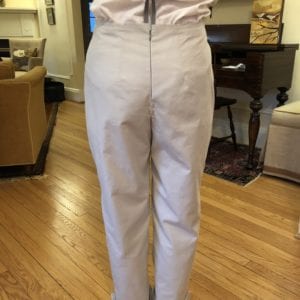
These still feel a bit loose to me, so I’m going to take a little more out of the side seams and center front seam. (This is the stage in the process when I tire of putting the pants I was wearing on and off, so you’ll often find me sewing in my undies while I test fit a few more times. No photos permitted!)
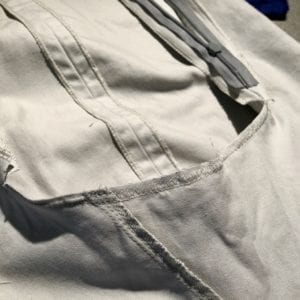
When I am finally satisfied with the fit, I secure the side seams with a standard stitch, press them open, and clean finish the seam allowances separately on my serger. I almost always finish the side seams this way in case I ever need to make minor adjustments down the road for a little weight gain or loss. Now it’s also time to finish the crotch seam as we recommend. Secure the seam with a second line of stitching, trim seam allowances to ¼ or 3/8” between the curves, and zigzag the trimmed seam allowances together for strength.
Finally, time to put the waist treatment on. If you have chosen a faced waist as I have, it’s a good idea to wait until this point to cut out your facings and interfacings because you will need to adjust the facing to match changes at the waist. Fuse the interfacing to the facing, baste the front and back facings together at the side seams and pin the facing to your finished pants waist at the side seams and center. If they match perfectly, go ahead and secure those seam with a standard stitch. If the facing is too long or too short from side to side, baste side seams again until the facing fits perfectly, then secure. At this point I like to press the facing’s seam allowances open and clean finish the longer edge of the facing before attaching it to the pants waist. For a faced waist, don’t forget to add the tab to the center back before you turn the facing to this inside – it makes it so much easier to zip your pants!
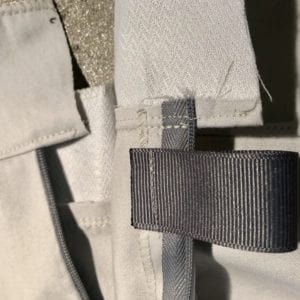
As I was constructing these pants, I decided to try a technique introduced to us by Monica, one of our Licensed Eureka! Pants Professionals. You can give a little extra security in the fit of a faced waist by adding elastic in the back. You can find the step-by-step directions for creating a casing with the facing and inserting the elastic in this blog post Inserting Elastic into Faced Waist Pants. Here is how my faced waist looks finished with elastic, back and front. Can’t wait to see how they feel when wearing.
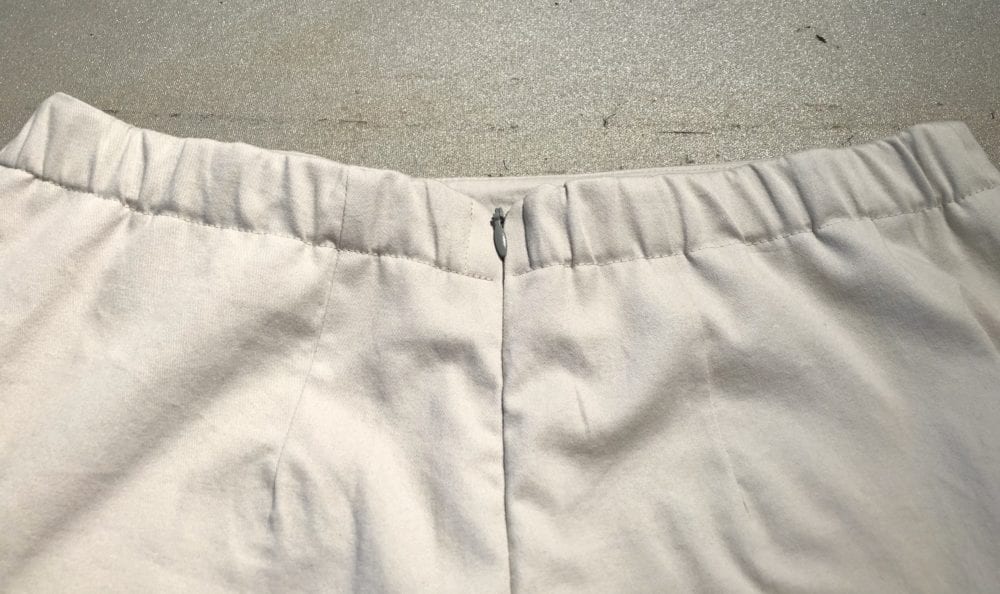
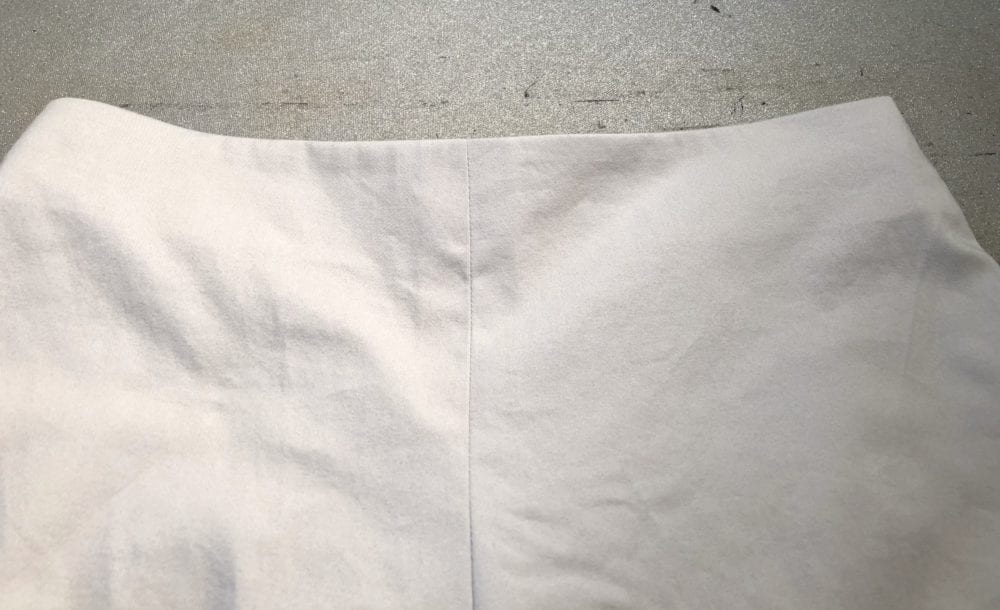
Happy Spring Sewing, Carrie
It is almost May and that means it is time for Me Made May! Rae and I have participated in this challenge for the past few years and invite you to join us in 2018. It is a fun and thoughtful way for sewists to develop a better relationship with their handmade wardrobe. You define your own challenge as appropriate for your personal goals. Read more about it, get inspired, and join the challenge here. Look for our Me Made May posts during May on Instagram @fitforartpatterns and on Facebook. Use #memademay18 to participate on social media. We look forward to hearing from (and seeing) all our friends who take the MMM challenge during May!


