As part of Fit for Art’s 15th anniversary celebration, we are revisiting timeless and popular blog posts. Every time we teach a class with Fit for Art’s patterns, we are reminded of the importance of understanding and correctly using pattern notations, especially dots and notches.
Flat sewing pattern notations are a specialized language. If you have sewn for a long time using commercial American flat patterns, you probably speak the language fluently. If you are new to sewing, it might seem like a foreign language. Both dots and notches are symbols designed to make garment construction easier, but sometimes they cause confusion. We hope this post will provide some clarification.
Notches
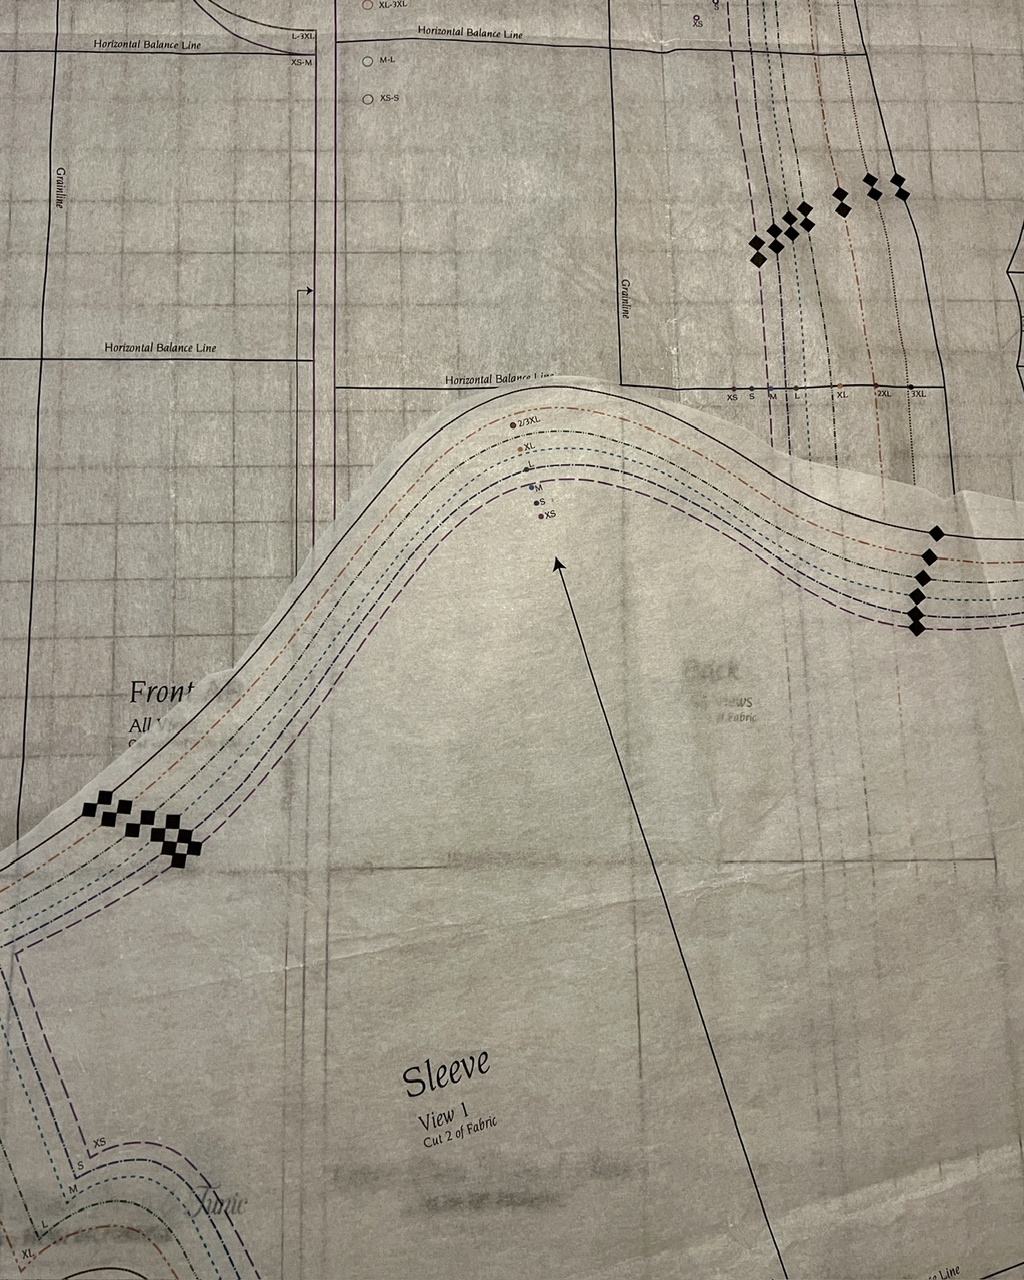
Let’s look at notches first. They are triangular or diamond-shaped symbols that appear along the cutting lines of patterns. A carefully clipped notch on one piece of the pattern will match to a corresponding carefully clipped notch on another piece to ensure you are pinning and sewing your seams accurately.
Notches can be single, double or triple configurations depending on how many notched seams are on your garment pattern. They often appear in an area where there are concave and convex curves coming together to shape a seam. When there are a number of notched seams, the notches are placed in different places on the pairs of pieces being formed into seams to help you avoid matching seams incorrectly.
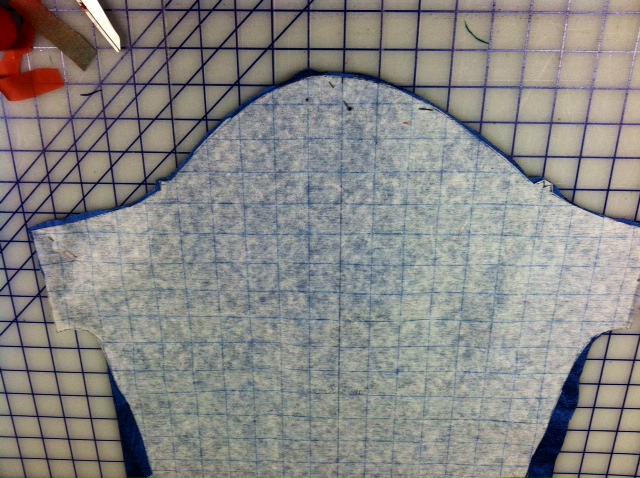
On Fit for Art’s patterns, we usually use single notches for seams that fall on the front of the body and double notches for seams that are on the back.
For experienced sewists, your method for cutting notches can probably be traced back to your most influential sewing teachers. My mom was my first sewing teacher and she always cut her notches out, away from the seam allowance. She wanted to make sure there was a full 5/8″ seam to release if the garment got to small.
If you like to cut speedily or with a rotary cutter, cutting notches outside the cutting line will slow you down. It is quicker to cut out each pattern piece and then transfer the notch locations. Some sewers snip small straight clips into the seam allowance to mark the notches; just keep your snips to no more than 1/4″ or 3/8″ to preserve the seam allowance for future adjustments.
Whatever method you use for marking your notches, be consistent and choose a system that allows you to distinguish between the marked notches and the marked dots.
Dots
What is the difference between notches and dots? Dots are also construction notations, but they are usually placed on the pattern along the seam line where a seamed section joins an unseamed section. In other words, a dot (or sometimes a star or square) indicates where a piece will connect to a seam.
For instance, the directions might say, “Pin on the collar, matching the dots to the shoulder seams.” On multi-sized patterns, where cutting lines are the only lines drawn on the pattern, these dots can be confusing, especially if the dots are also labelled by size. A dot should fall 5/8” inside the cutting line of the same size (assuming a 5/8″ seam allowance).
Understanding how the dots work will help you know how to mark them. Make sure you choose the dot that corresponds to your size. They can be marked with a chalk dot, tailor tack or other marking tool. Alternatively mark a dot with notches or small straight clips into the seam allowance, but be wary of mixing the dot markings up with your notch markings.
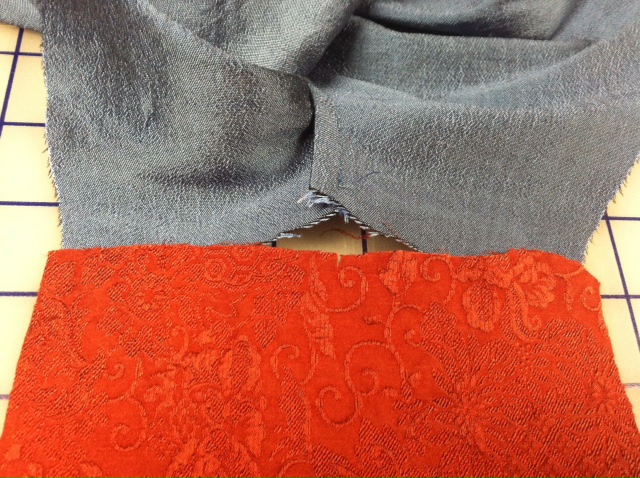
The system I use is as comfortable as an old shoe. It might appear inconsistent with what I have suggested earlier, but I understand it so construction of my Tabula Rasa Jackets, Tabula Rasa Knits, Carpe Diem Dresses, and Eureka! Pants proceeds smoothly every time. First, I slow down and then:
- I carefully cut my notches outside the seam allowance and make sure the singles have a little point and the doubles are wider with a flat top!
- I cut a single notch extending outward for the dot at the top of the sleeve that connects to the shoulder.
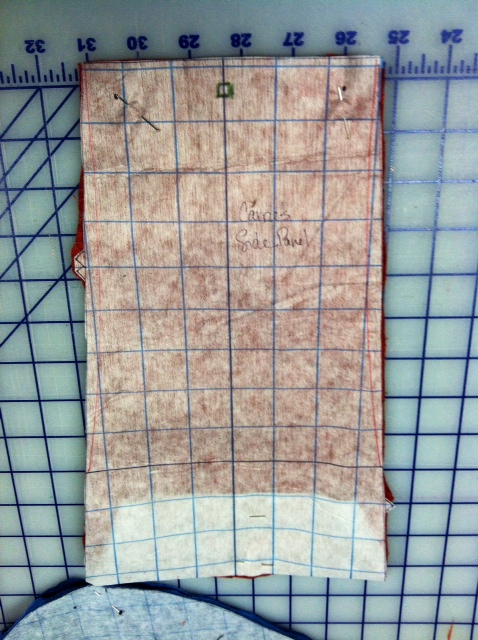
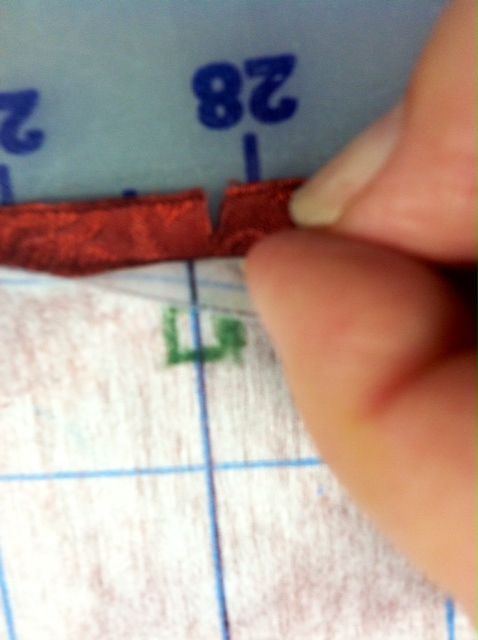
- I put a small snip in the seam allowance of the side panels, in the TRJ or knits pattern, to mark the square at the underarm. Because I use the straight side, it helps me remember which side connects to the sleeve and which side is the hemline. I also use a small snip to mark the dot on the back pattern where the side/sleeve seam connects to the body.
- I use a disappearing marker or water soluble dressmaking pencil to mark the darts and other notations.
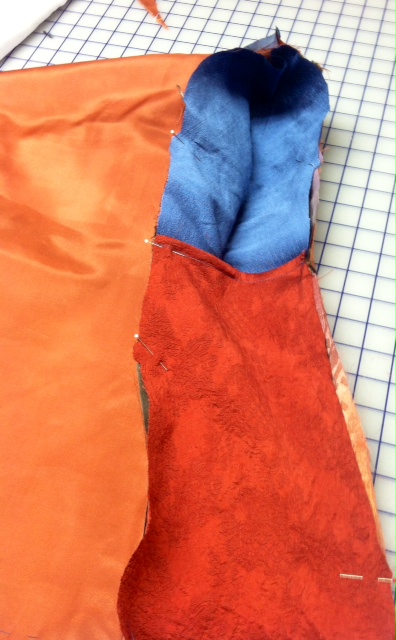
So, for example, when putting the sleeve/side section into any Fit for Art jacket, top or dress, the notches are invaluable to ensure that the sleeve fits in properly and the dots guide you to align the sleeve into the shoulder. The dots along the back and front side seams ensure that the HBLs travel around the body at the same level as intended.
One more word of caution — if you have altered your pattern, make sure to move the dots and notches to your adjusted cutting line so you will have notations that fit as well as your garments.
How do you mark your dots and notches? Finding a comfortable rhythm as you cut and mark your garments will make your entire sewing process feel more comfortable. I often joke that we call it sewing but as much of our time is spent cutting, marking, fusing and ironing as sewing, if not more! If you have not visited our Instagram page lately, check out all the fun garments we are wearing. You see, we don’t let cutting and marking slow us down!
Happy Sewing, RAE
If you are new to sewing, or just want a refresher, visit our Glossary of Sewing Terms and follow the links below to additional blog posts about some sewing basics.