With the launch of our Tabby Jacket, we assembled a glossary of sewing terms that will assist any level of sewist when stitching up garments. I wrote each entry and connected the links to our blog posts and videos that illuminate the terms. Surprisingly, there were no blog posts about cutting lines, stitching lines and seam allowances. Now there are! Seams are sew important. Follow along to assure your seams are perfect.
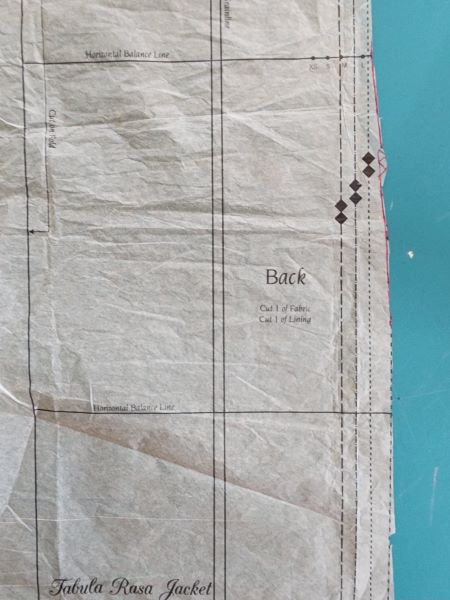
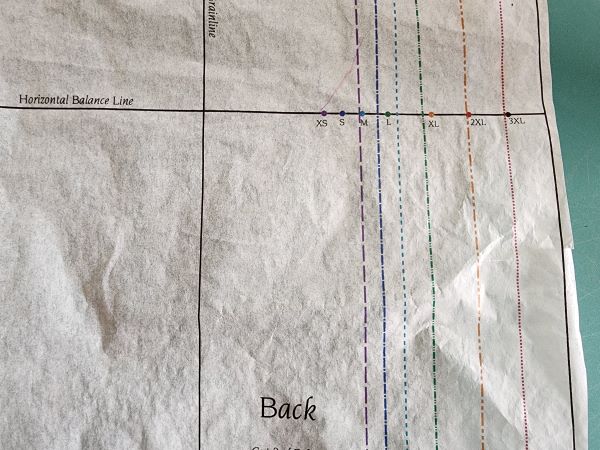
Let’s begin by thinking about patterns. Contemporary multi-size patterns have cutting lines for each size. You can identify a size, which is marked with individual annotations or with letter or number markings in the corners. If you need to move between sizes, the cutting lines can be merged by blending lines. Be sure to make these line connections easily visible in order to cut out or trace off the pattern cutting lines accurately. Fit for Art suggests that the pattern be trimmed along the actual cutting line before taking the pattern to the fabric.
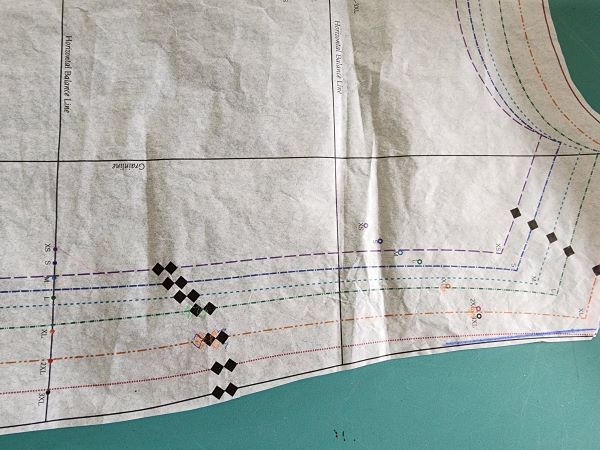
A cautionary note: Many patterns have dots that are also labeled by size but annotate where a seam line, which is not shown on the pattern, will connect to another pattern piece or seam. Sometimes on a multi-size pattern, this can create confusion. Don’t assume that these dots fall on the pattern lines needed for the chosen size. Creating the best pattern requires a good bit of attention and precision. Become more familiar with dots and notches in this blog post.
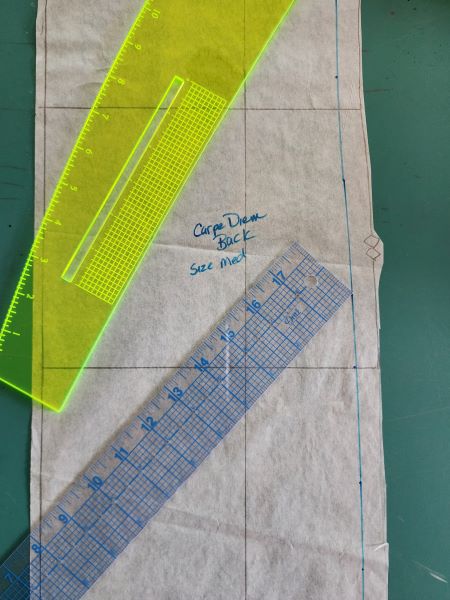
The seam lines are generally invisible on modern patterns and different patterns are drafted using different seam allowances. Fit for Art’s patterns consistently use a 5/8” seam allowance, which means the seam line is 5/8” inside the cutting line. This is the classic seam depth on home sewing patterns. For those desiring to mark the seam lines on their fabric pieces, as is done in Couture sewing, add the lines to the pattern first. There are nice rulers available that are 5/8” wide and will help mark these lines accurately.
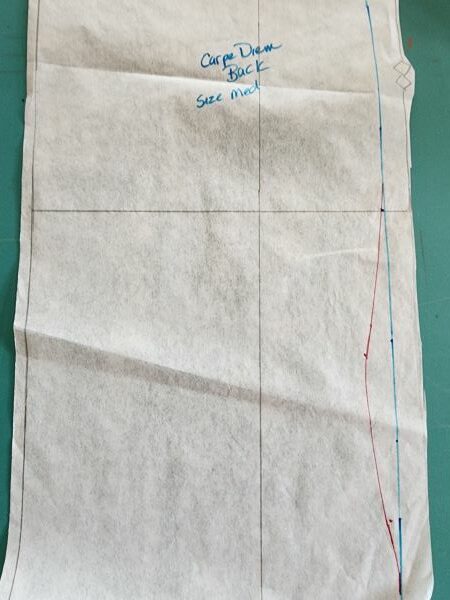

Seam lines can also be useful on a pattern if a mock-up has been made and fitting adjustments are required. The adjusted seam allowance can be marked on the paper pattern but must be blended back into the seam line, not the cutting line. Then the cutting line is adjusted.
Now a note about seam allowances: Why is a 5/8” seam used in garment sewing? I have read a good bit about the history of patterns but not found an official reason. That said, 5/8” is enough of a seam allowance to create a strong and lasting garment seam. It is wide enough to be released if there is weight gain or if fitting adjustments are required due to the nature of the fabric or desired drape.
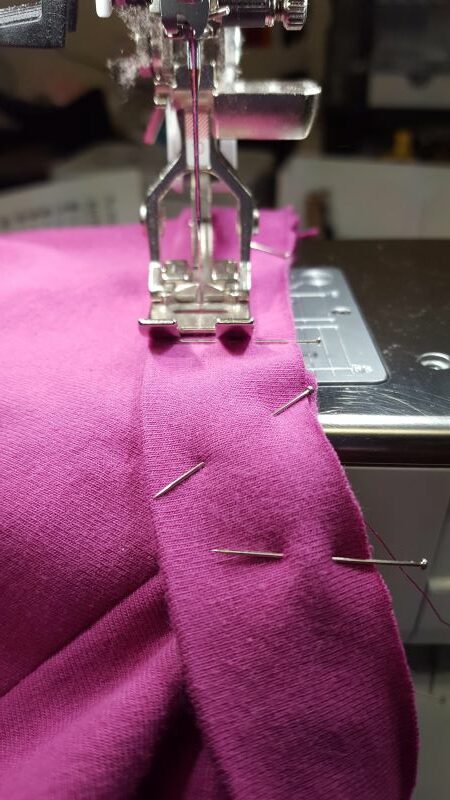
If one finds sewing a 5/8” seam allowance difficult, lay a strip of painters tape on the throat plate of the sewing machine to make it obvious where the fabric edge must lie to achieve an accurate seam with the appropriate seam allowance. If you are sewing a Tabby Jacket with a young friend, this is a must. With the wide variety of sewing machines available, make some test samples, measure the seam and place the tape accordingly. I sew on Bernina machines and the 5/8” line has to be covered in order for me to get a great seam. Therefore, my tape is about 1/16” away from the 5/8” line.
One more thought: Choosing and using a consistent seam allowance while sewing garments will make your stitch-to-fit process reliable and predictable. When developing a core wardrobe of patterns, having one consistent seam allowance will yield accurate and balanced garments.
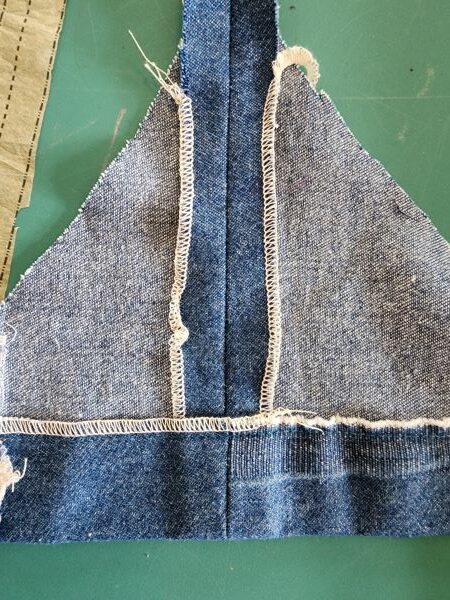

Knit patterns are particularly complicated with regards to seam allowances. I will argue that having 5/8” as a seam allowance makes it easier to construct reliable creations. There are only a few places during construction where the extra seam allowances will need to be reduced for a successful finish. The additional seam allowance stitched with a simple seam allows for fitting adjustments. Once the fit is assured, the seam can be finished with a serger or zig zag.
Read about seam finishes and how to press seams open or to the sides in the blog post, What Is a Clean Finish?
Happy Sewing, Rae


