Some fabric can be a challenge to envision as a garment and the knit featured here was one of those for Rae. When she ordered it from our supplier years ago thinking it would be great in the knit bundles we occasionally put together, she only saw the light blue/grey, ivory and black sections. When it arrived she found the bright floral sections as well and was completely stuck. Not that she did not love it, she just could not figure out how to tame it.
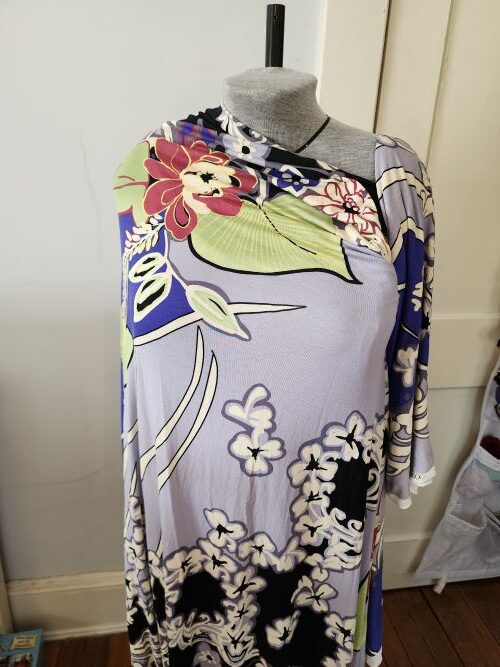
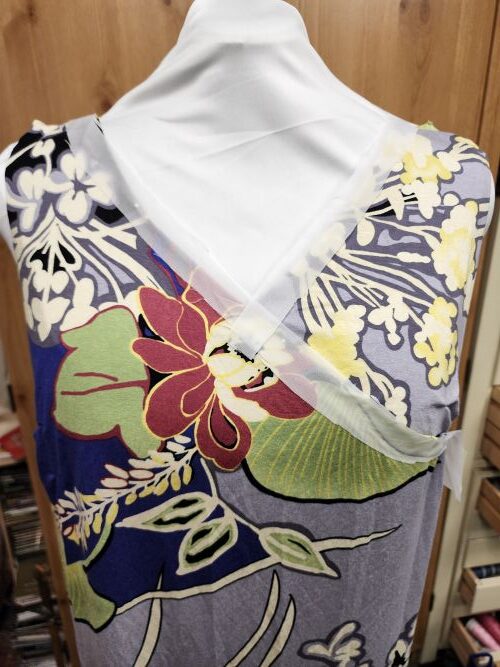
This spring, with little knit fabric in the stash, it came out of the bin and was draped over the new ditto form. She was looking for inspiration on how to use it successfully for a Tabula Rasa Knit top on her curvy body. Here is Rae to tell you about this design and how this bold print loves simple knit finishes.
Take time to consider the fabric closely
As I began moving this stretchy jersey print around on my ditto form, the large bold floral design really wanted to be around the neckline, leaving the more mellow print moving down the body. The repeat was quite long, so a tunic length was in order. At dress length the bold colors would re-emerge and that was not appealing to me.
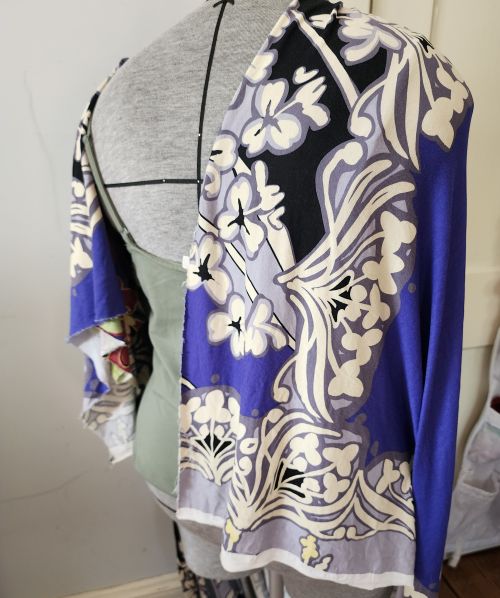
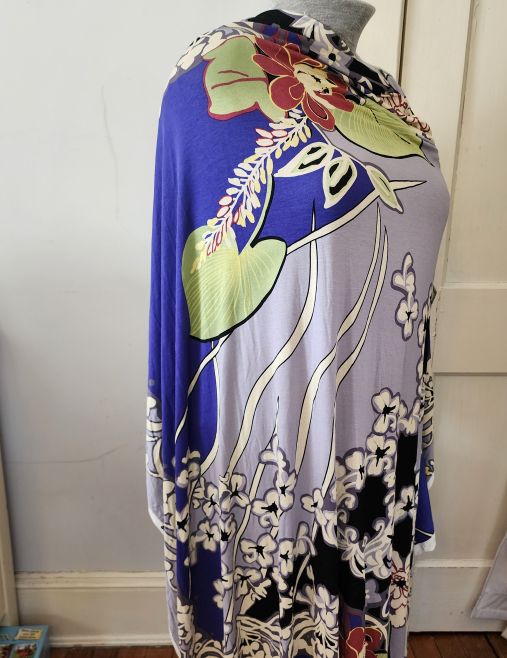
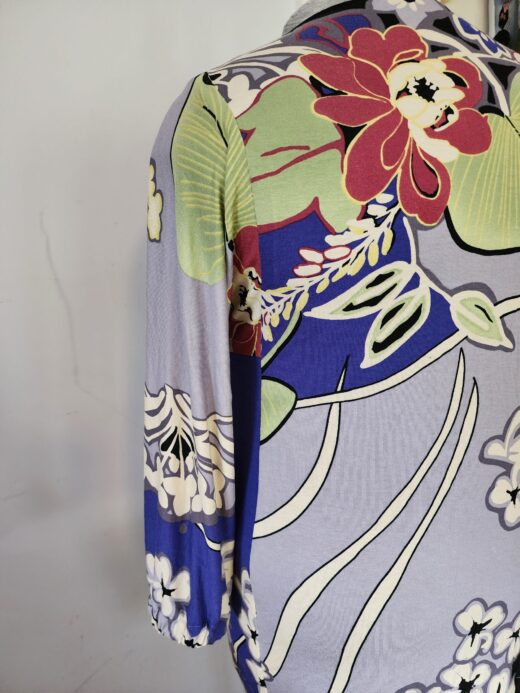
As you can see from the photos, the bold floral was just the right size to fill the upper back and the upper front, but it was ideal when the front was broken up with a softer part of the print on one shoulder. I found the solid bright blue, usually a favorite of mine, to be too dominant and loved the side borders which seemed perfect for the sleeves.
Choose a tested pattern
From our pantheon of knit patterns, the Full Front Crossover Yoke design from the Clever Crossing Variations seemed like a winner. It is a design I have used often, so the pattern pieces were already developed for a nightgown with plenty of length added. Two sleeves and two side panel pattern pieces were also available, so layout was not too difficult.
Take time placing the pattern
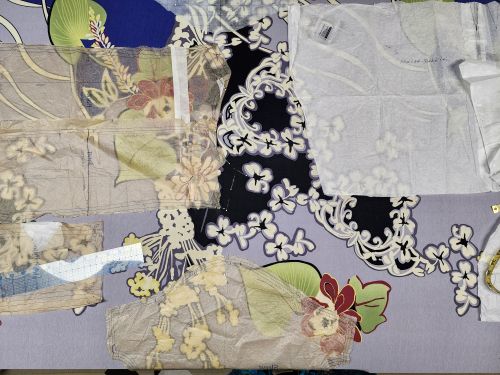
The fabric was laid out on my large cutting table in a single layer, with the extra folded back onto the table. First, the full front and full back were placed to feature the bold floral design. The back was easy to place, but the front crossover pattern was cutting deeply into the bold floral. After some thought and a decision to place a light yellow floral section in the separate yoke piece, the patterns were adjusted, raising up the yoke and cross over front to allow the floral to sing.
The other pieces fell into place, making an effort to place the sides in harmony with the front and back it would connect to, as well as at the cap of each sleeve. Look closely at the finished top and see the bright blue extending from the shoulder area into the attached sleeve; on the alternate sleeve, the yellow flowers extend from the yoke down the sleeve. It was impossible to match these elements, but by combining them in the same area, it looks balanced.
Plan the successful finishes
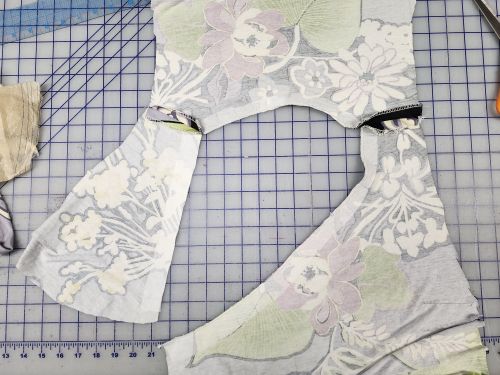
Once the pieces were all cut out, it was time to decide how to finish the neckline. Normally, this style surplice would be edged with a ⅜” neckband. None of the fabric scraps or solids available were quite right and it seemed any one chosen would distract as it moved around the variety of colors in the crossover neckline. A facing would work too, but would be too bulky. As I continued to examine the shape that needed finishing, it became apparent that there were not any curvy areas that would require stretchy finishes. The folded under finish discussed in Wide Neckline Variations and used for Boat and Ballet necklines might work. After testing that idea with my fingers and on a sample, this simplified finish felt just right. It might not be perfect if this was a top I would be wearing often and throwing in the wash weekly, but for this unique top, it felt just right.
The interfacing strips were cut to size, 1” wide by the necessary length using the least stretchy direction of Envy Silk. They were fused into place with attention to keeping the knit stable. Then the raw edge was serge-finished with a 3 thread overlock, again paying attention to prevent the knit from stretching out of shape.
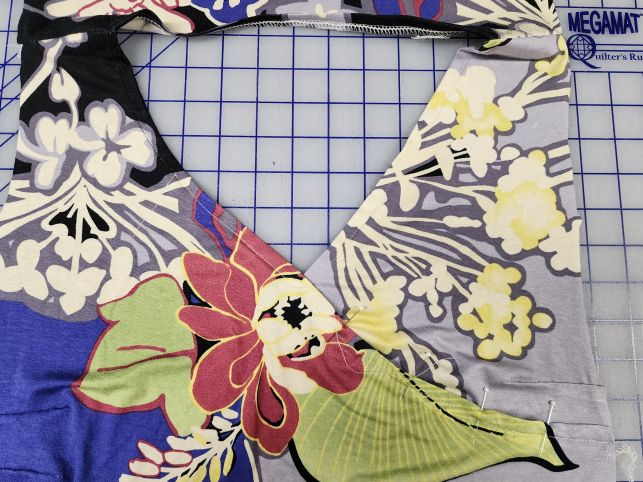
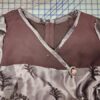
Finally the neckline was gently pressed under ⅜” all around, pinned into place and top stitched from the front. Because of the nature of the print, I stitched the light areas of fabric with ivory and the darker areas with black. The stitching was stopped just past the center front on the crossing side so the yoke could be pinned into place for the final topstitch.
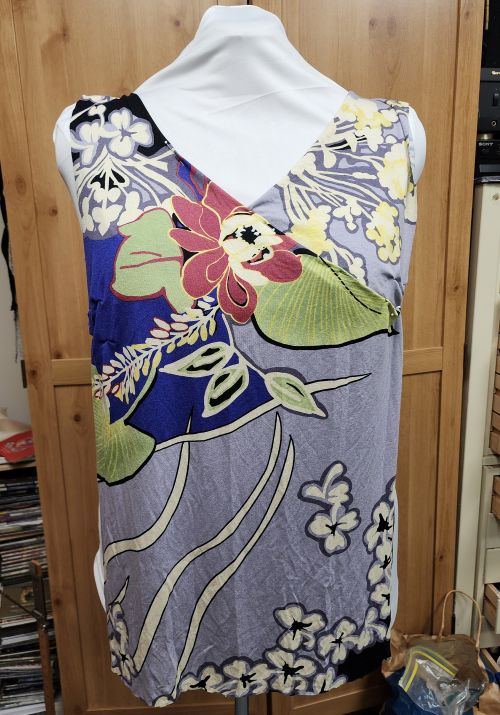
Check the Fit
After draping the pinned neckline on my body to check the shape, the final construction was completed. In keeping with minimalist finishes, the hem was stitched with a simple turned up edge. I had left the sleeves loose when cutting them out and the final decision was to use the solid white border as a turned up casing with some wide elastic inserted for a graceful but controlled finish.
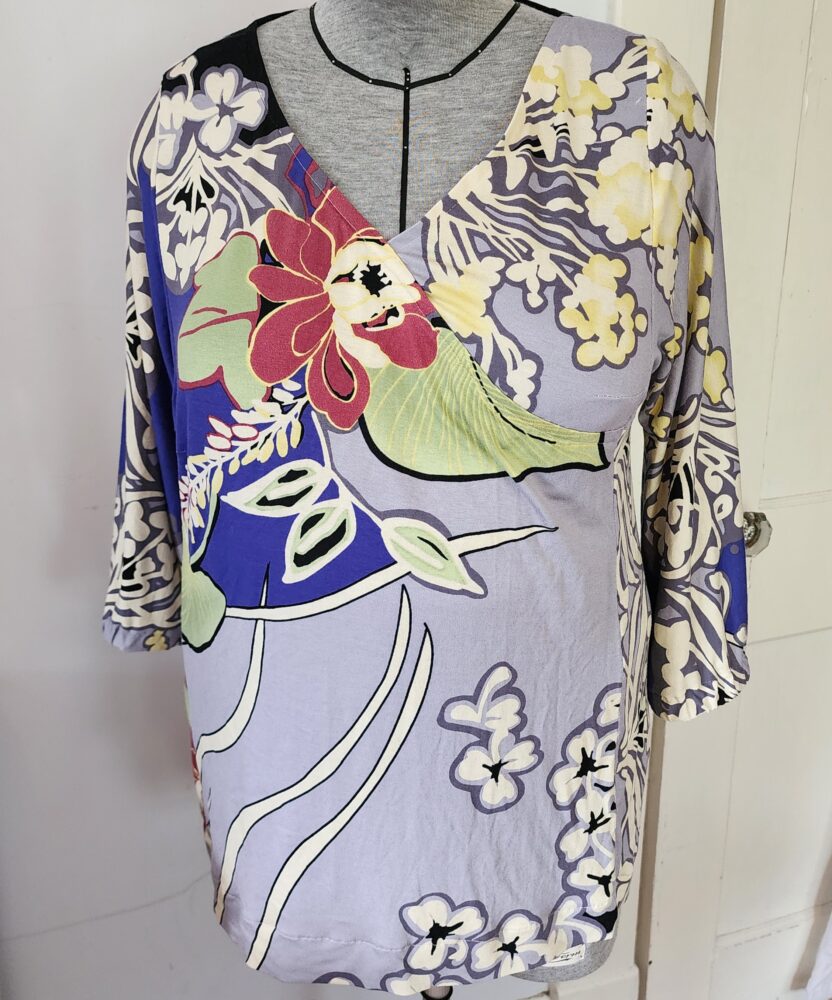
When the right moment comes along to premier this terrific spring/summer tunic, a few photos will be snapped and you can see how fun it looks when I am wearing it. It turned out that this very bold print loves simple knit finishes.
Try it yourself
Time for you to get out that fabric you have been struggling to use and consider the options. Use a dress form if you have one, just to see what each possibility looks like on a body. I am loving my Ditto Form and highly recommend it if you are looking to invest in this method of design experimentation. Contact Carol for more information and tell her Rae sent you!