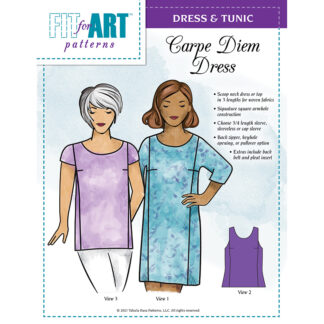
Regular readers to this blog have seen several summery Crossover V Neckline variations for the Carpe Diem Dress & Tunic made with cotton, which is such a great starter fabric for a new design as it is easy to control. Last fall Rae decided to make things a little harder for herself and create a Fall/Winter version of a crossover Carpe Diem V Neckline using some scraps of more difficult fabrics. Enter the purply/grey remains of a group of bridesmaid’s dresses created over 20 years ago, a coordinating scrap of kimono silk and 3 buttons. Here is Rae to tell you about this Crossover V Binding Tunic for Fall.
I was searching for some scrap fabric to create a wintery version of the Crossover V Tunic this time last year when I found a bag with several pieces of interesting fabric that had potential. There was an ill-fitting tunic in a rayon print, a large piece of burnout rayon border fabric and a scrap of Kimono silk. The rayon tunic was easily rejected as it was too yellow and brown, but its terrific buttons were removed and the off center pleated front inspired an idea for using the buttons with the border print and plum kimono silk.
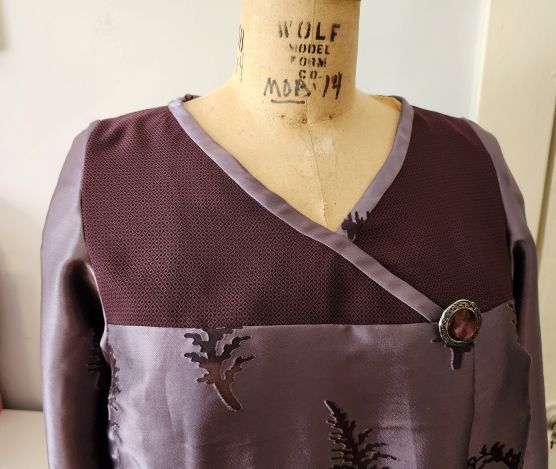
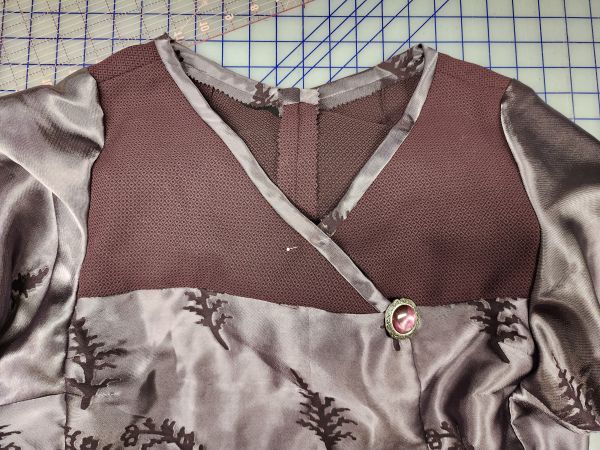
While the plum silk was probably the best choice for the bias binding on the Crossover V, there was not much of it and it was in odd shapes. However those shapes lined up well with the Crossover V yoke front and V yoke back pattern pieces. That left a question, solved with a bit of sample making, was the burnout satin too thick and buoyant to use for a binding? I cut out the fronts and back yoke in the kimono print and then made a sample using a scrap and a bias strip cut from the rayon. I interfaced the raw edge of the sample as I would the neckline for an accurate assessment, then applied the binding. As long as the bias strip was left unfolded on the underside and stitched in the ditch on the machine, it worked and offered a rich edge around the neckline.
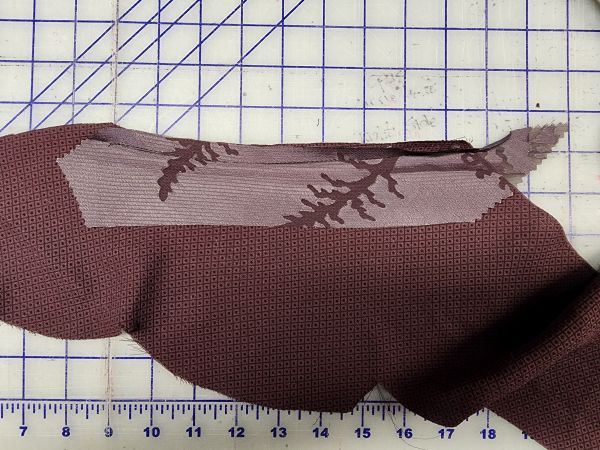
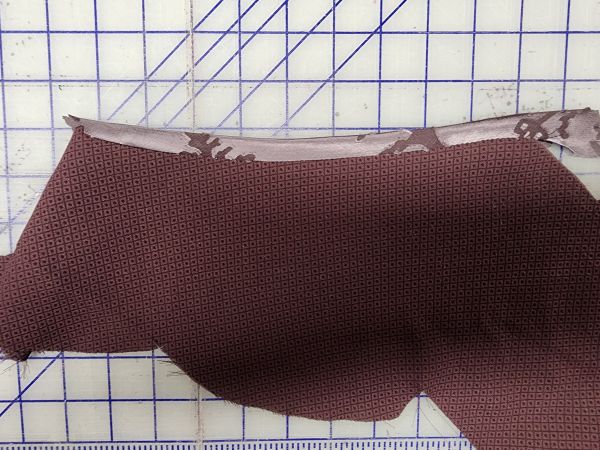
The border print was used to cut the sleeves, the bias edges and the lower pieces of the tunic. I added an extra 4” to the width of the front section, cut on the fold, thinking a little pleat where the crossover V intersected the front skirt would give it a bit of interest and a natural place to put the large button.
When you are working with slippery fabrics, be sure to have plenty of time for each step of the construction process! For this top, the first steps are to interface the front and back yokes with a 1” strip of fusible interfacing along the neckline. Second, sew the shoulder seams backstitching ½” away from the neck edge of each seam. Finally, sew staystitching along the neckline just shy of the ⅝” seamline. This makes it easy to cut away the seam allowance with a smooth edge that will be wrapped with the bias binding.
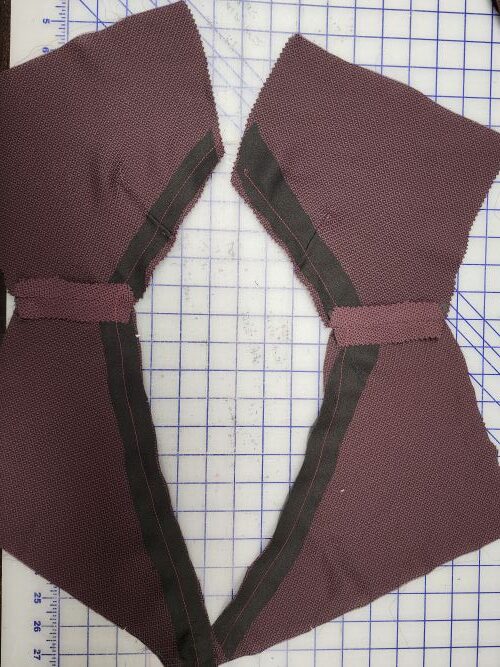
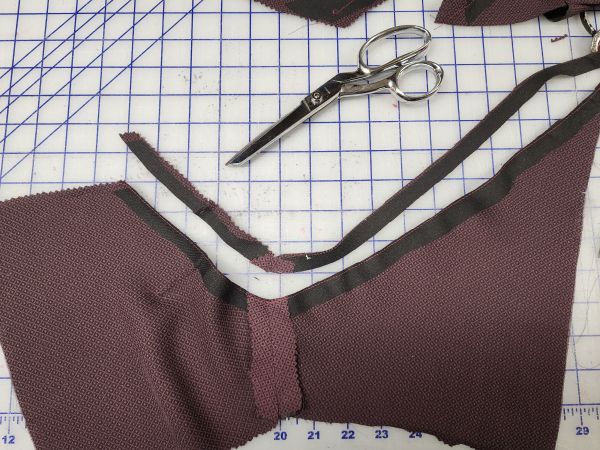
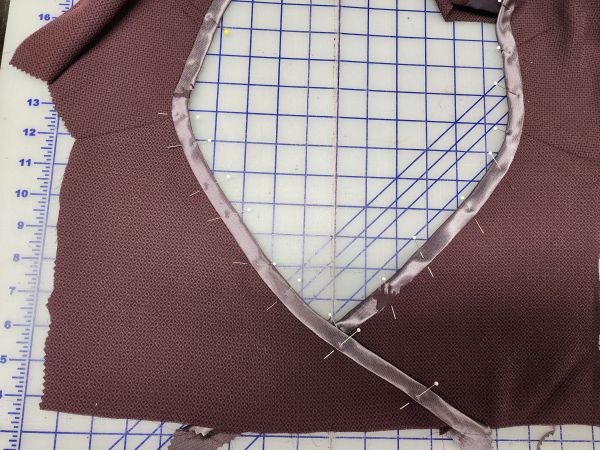
The right yoke and left yoke are bound separately which also makes this a bit easier. Cut 2” wide binding strips the measured length of each neckline. Apply the binding strips to the right side of the neckline, pinning regularly to keep the fabrics from slipping around. Stitch the binding in place with a ½” seam allowance.
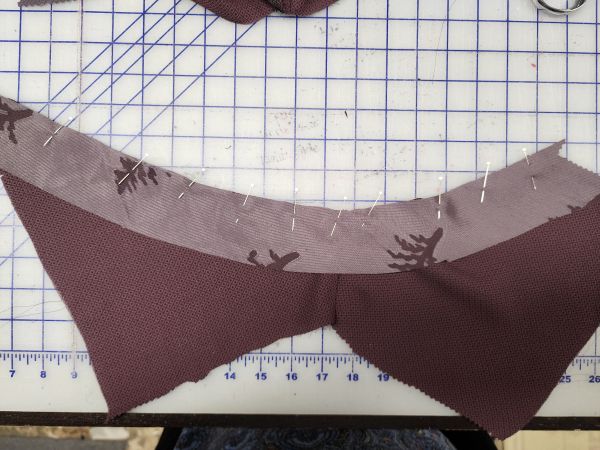
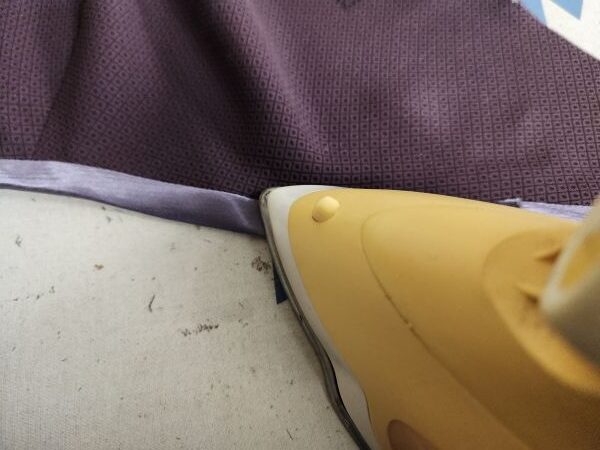
Check to see that the application is smooth, then press the binding away from the neckline, pressing the fold at the neck edge carefully. Wrap the remaining binding to the back, pressing well and pinning regularly; stitch the wrapped edge of binding to the yoke pieces. For this tunic I stitched in the ditch.
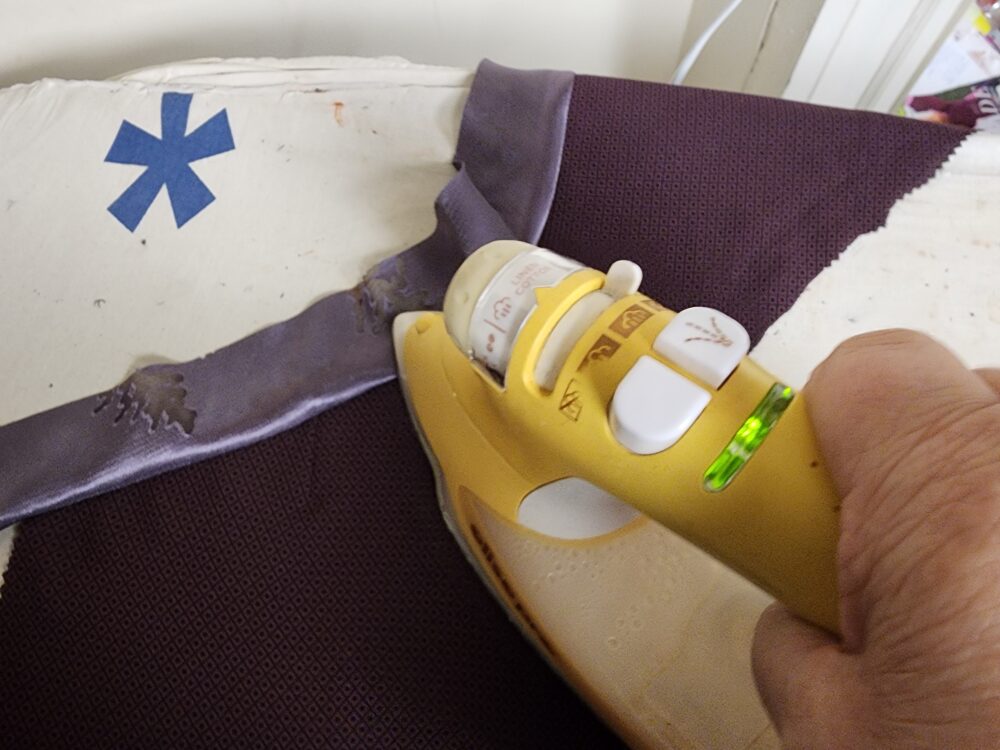
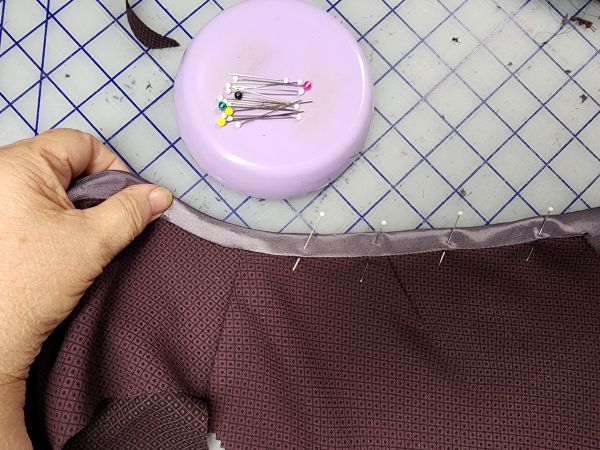
Finally, cross the front yoke pieces, joining them at the center front marking and baste in place.
The back pieces are seamed together as well and the center back V seam allowances will gracefully fold down to hide the raw edges. For this top the finishes are pinked as the fabric is sheer in some places and additional thread was not desired.
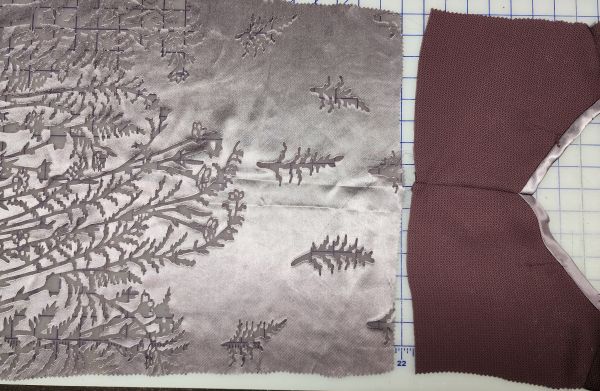
The front and back skirts are attached to the yoke pieces next. For the front pleat detail, I measured the lower edge of the crossover V and calculated where that would intersect with the front skirt. Then I pleated out the extra 4″ added to the width of the Lower Front at that spot. Because of the nature of the fabric, I stitched the pleat down on the inside, leaving about 10” unstitched above the hem for the extra fabric to become a kick pleat. Once the pleat was created, the lower front was stitched to the front yoke.
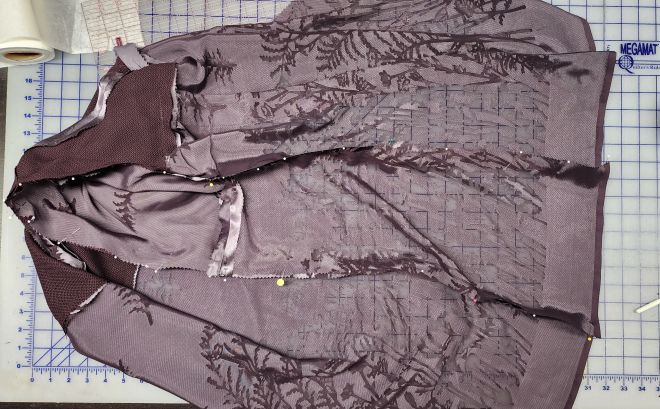
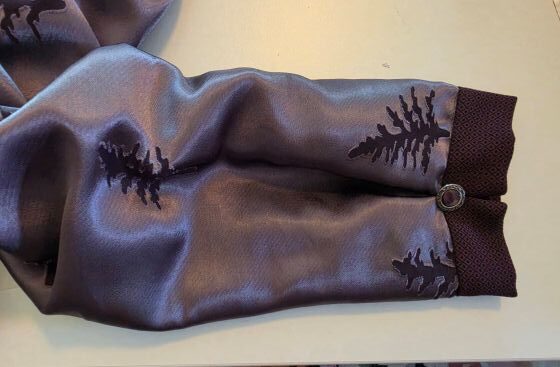
After the sleeve side sections were assembled and stitched into the tunic, I decided how to finish the hems of the sleeves and the tunic. Fortunately, there were some long narrow strips of the kimono fabric which I folded in half and added along the turned up hems. It carries the second fabric through to complete the garment in a balanced way and added some extra drape to the lower edges.
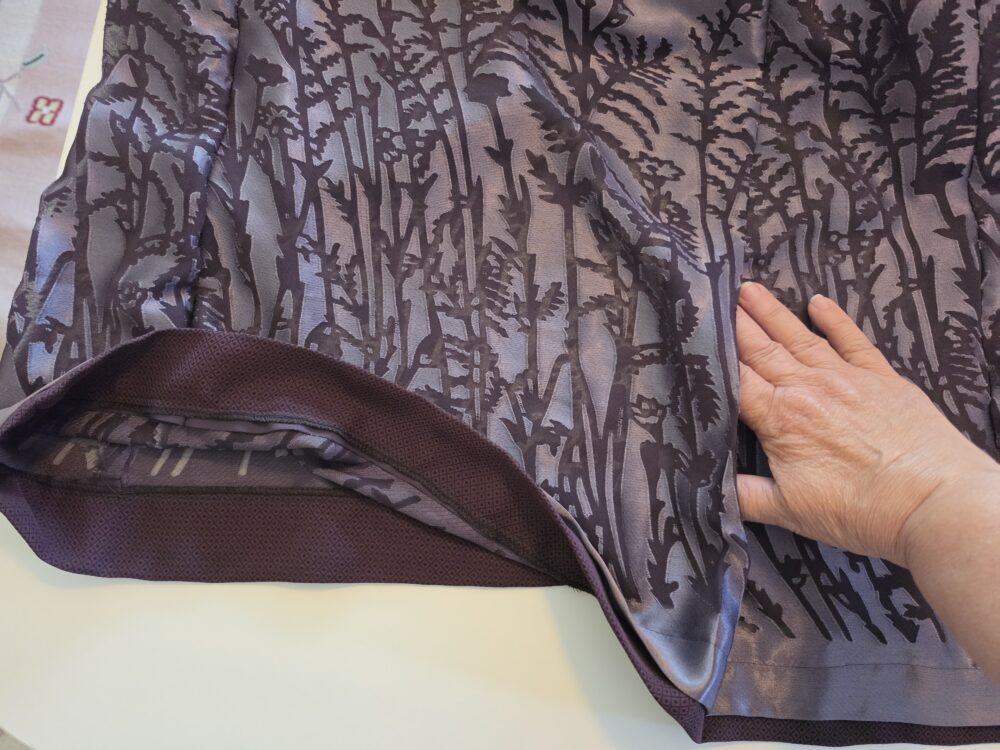
On the sleeves, I added a small pleat at the wrist to feature the two smaller buttons!
I have already enjoyed wearing this little party top with a black tank top and black leggings. It is a very comfortable and fun ensemble!

If you have tried some of these crossover V’s for summer, consider fun ways to use them in your fall and winter wardrobe as well. Perhaps there is some fabric in your stash that would be perfect for making a Crossover V Binding Tunic for Fall. We have several Pinterest pages to inspire your fall sewing; be sure to check them out.