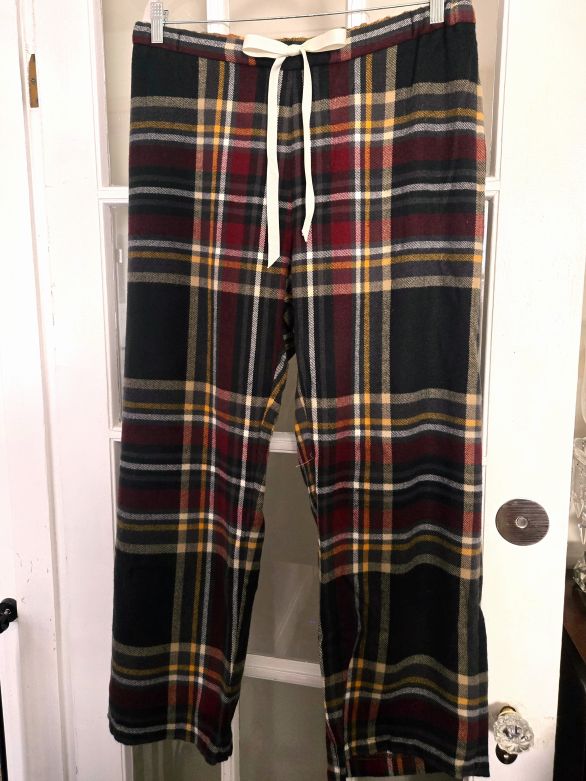
If you are considering making some holiday gifts, PJ pants are often a great choice. Here are some tips for luxury PJ pants Rae tested out last year after she had constructed her first set of family PJ pants several years ago. Here she is to tell you all about it.
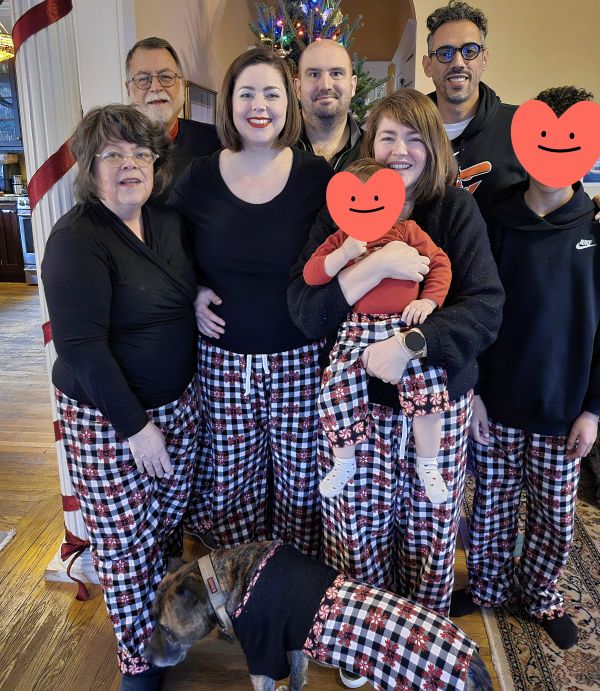
In 2024 I stitched up a set of PJ pants for my family’s gathering for Christmas. The fabric was very holiday centric and came from JoAnne’s, so it was not very plush and a bit off print. This made the uneven plaid pretty hard to manage, but everyone sure enjoyed their new PJ pants for the holidays paired with their own black tops.
Choose Quality Material
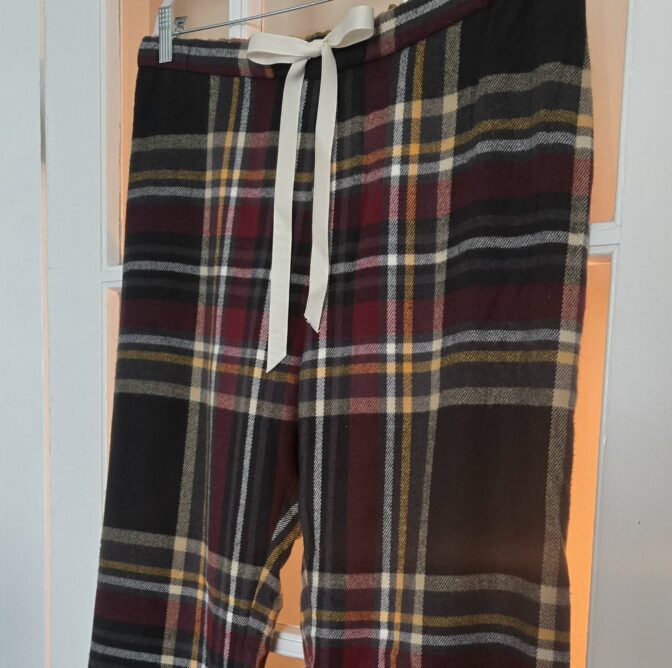
Shortly thereafter, that same store went out of business and on one of the last days of the close out, I found some very plush cotton Flannel labeled Eddie Bauer. It was marked down dramatically and so enough of it for 2 adult pairs came home with me for Sarah and her husband’s birthday gifts.
Adjust the Pattern for Improved Techniques
Post Holiday I stitched them up for their January Birthdays, adjusting the patterns I had used previously with a couple of upgrades to the Peek a Boo Patterns PJ pants pattern previously used for our family Christmas pants. ( Sarah’s pants pattern had been adjusted for her first pair with her Eureka Pants crotch curve and waist shaping.)
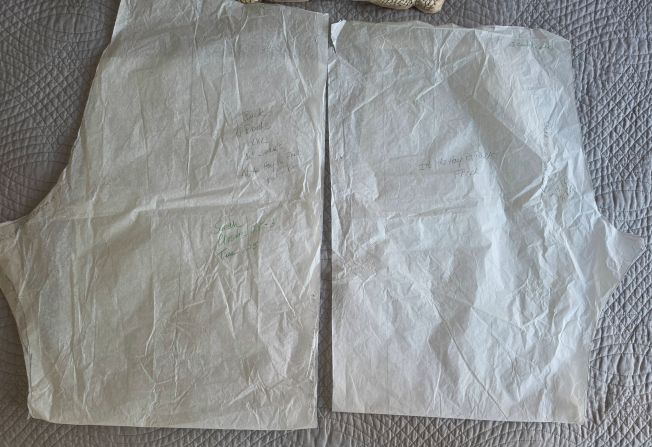
Originally I had combined the front and back patterns into a single piece for each leg. This had saved time, but the hang of the pants never seemed just right, so 2 backs and 2 fronts were cut separately. It meant I could put in inseam pockets, but chose not too. Instead I upgraded the large, phone sized, patch pocket with a lining for a clean finish. The final change was to plan for inseam button hole section in the front of the waistband to manage the drawstring with care.
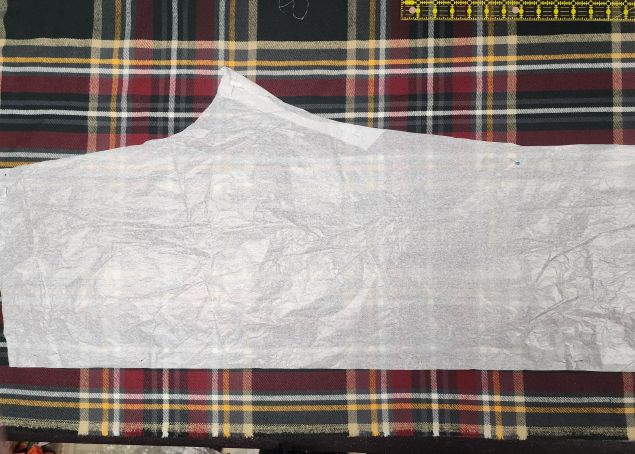
Here are a few photos of each change in action. Be sure to buy high-quality flannel and prewash it (cold water wash, medium setting on the dryer). A quick survey of online resources showed that trusted vendors Stone Mountain and Daughter, Emma One Sock and Style Maker have a nice selection and will send swatches so you can feel the weight and plush!
Match Plaid Carefully
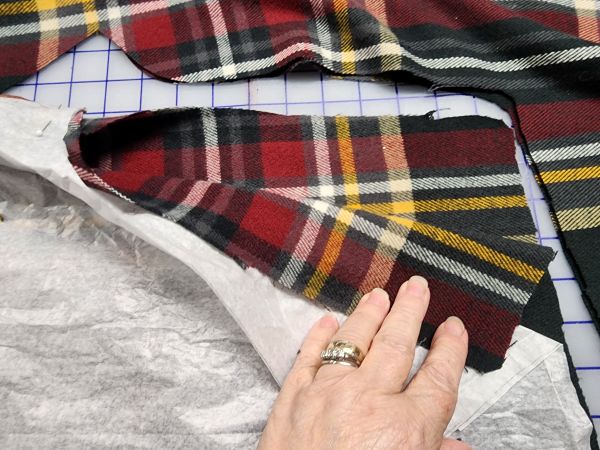
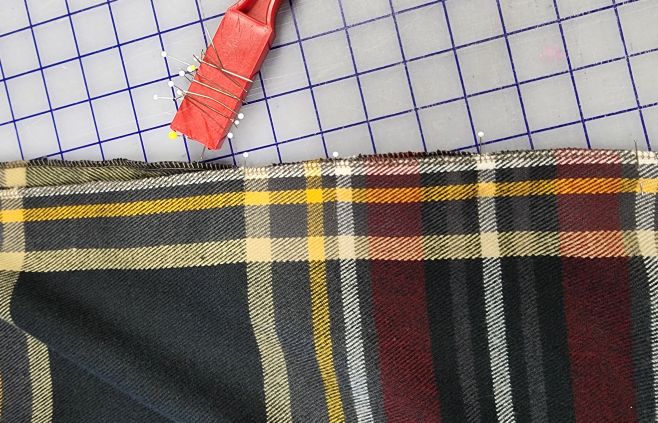
Press the prewashed fabric and check how the pattern matches if you are using a classic plaid. If the plaid is off a bit, cut each side separately, checking that the plaid will match. For this particular uneven plaid, I made horizontal matches a priority and vertical matches a priority in the center front and back. Pin the plaid together if you need to help to keep it from shifting. Roll back the layers to make sure they are aligned before actually cutting.
Line the Pockets
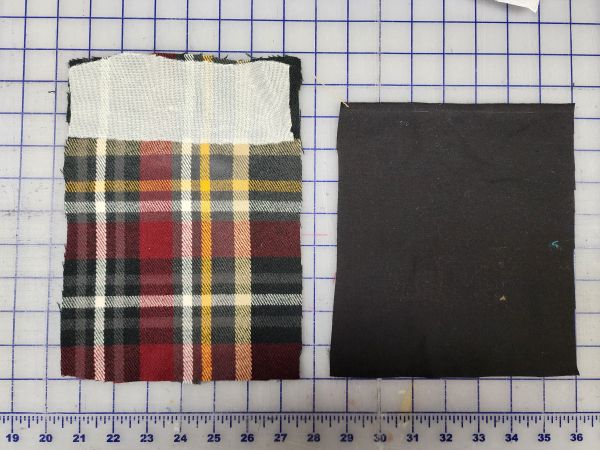
Cut the pockets to match the plaid vertically and horizontally. The pocket pattern had been enlarged and a fold line with a 1 ½” fold line drawn on. To cut the lining, from poly/cotton broadcloth, fold down 1” from the top of the pocket pattern to cut the lining. Interface the top edge of the pocket with soft stretch or envy silk, crossing the fold. This keeps the pocket stable over the years as hands move in and out of the pocket. To cut the lining, from poly/cotton broadcloth, fold down 1” from the top of the pocket pattern to cut the lining.
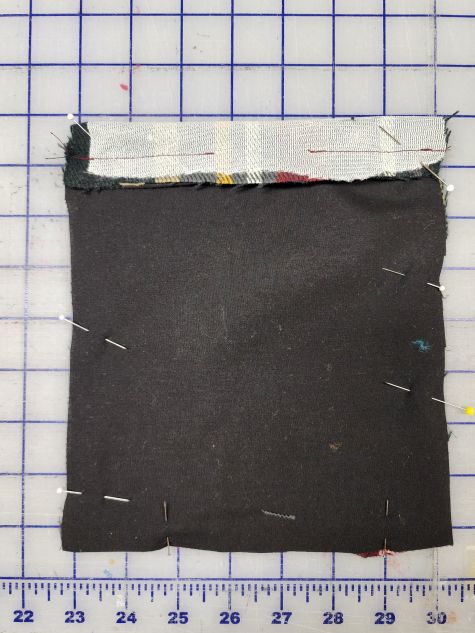
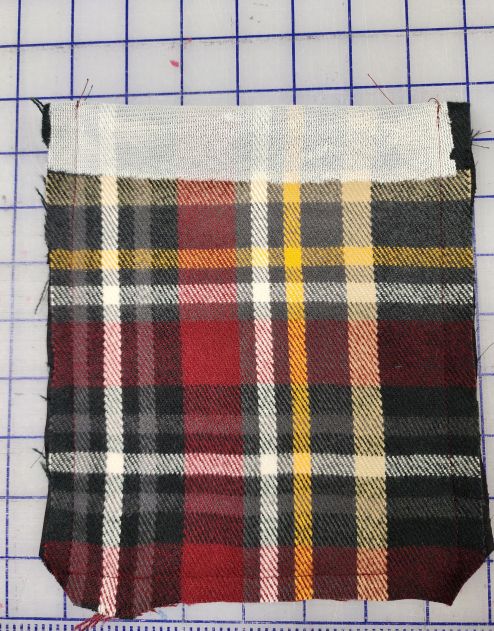
Construct the pocket by sewing the lining right sides together to the top of the pocket with a ½” seam. Leave an opening at least 1 1/2” in the center to allow for easily turning the pocket right side out. Press the seam open. Line up the lining and pocket on the three raw edge sides. This requires the pocket to fold back along the foldline. Stitch all around the pocket and trim away the extra at the corners.
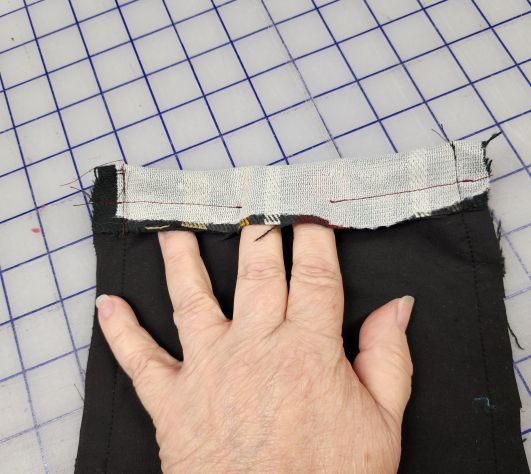
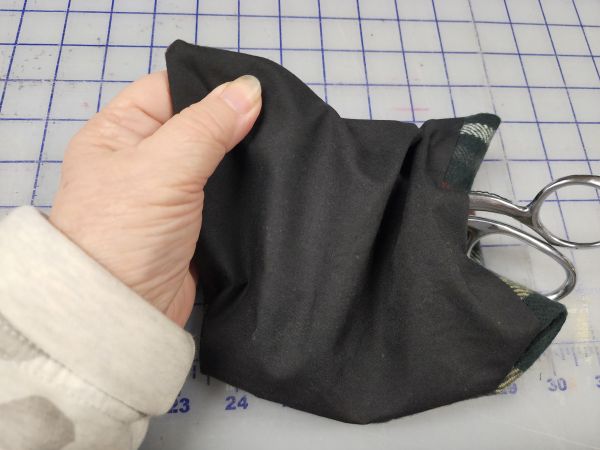
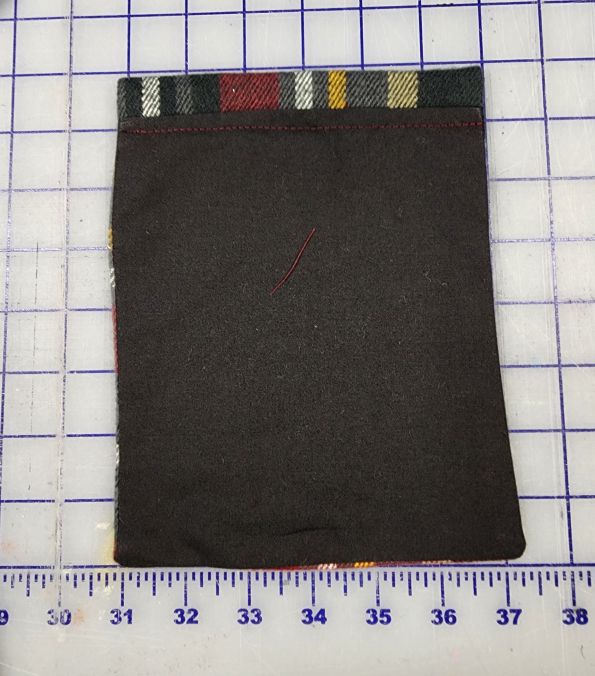
After a good pressing, lay the pocket in place on the back pants as planned and pin generously so the plaid lines up everywhere. Top stitch around the 3 sides. I did this at ¼”. It is easier to do this before constructing the pants while they are still flat.
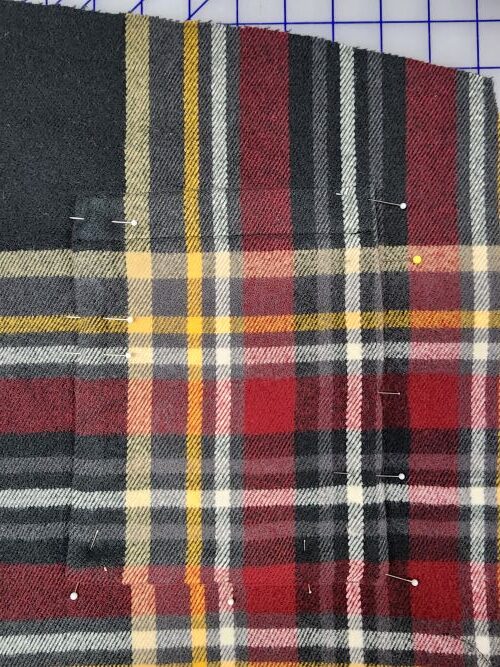
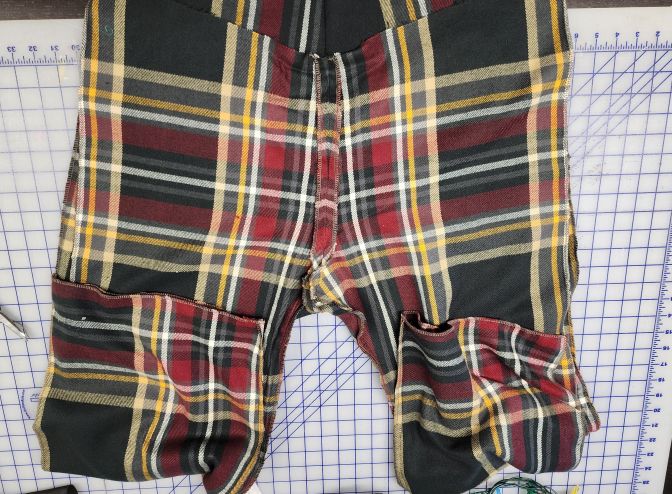
Follow the construction method you use to put together pants. For me, that is sew the inseam, matching the plaid carefully all the way down the leg.
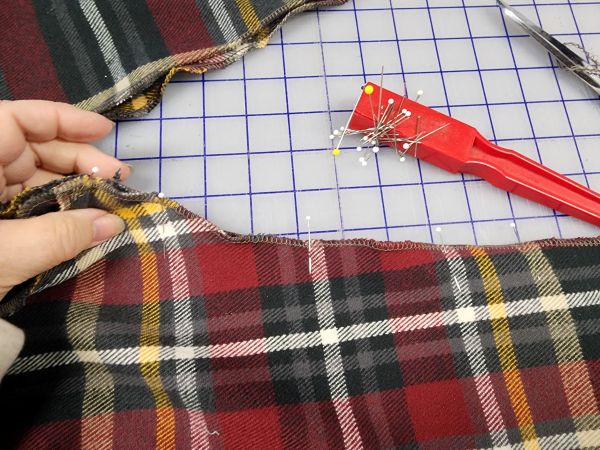
Then sewing the crotch seam, again matching the plaid above the curve in front and back carefully and finally the side seams with very careful attention to matching the plaid. Clean finish each seam as it is finished and after it is checked to confirm the plaid indeed matches.
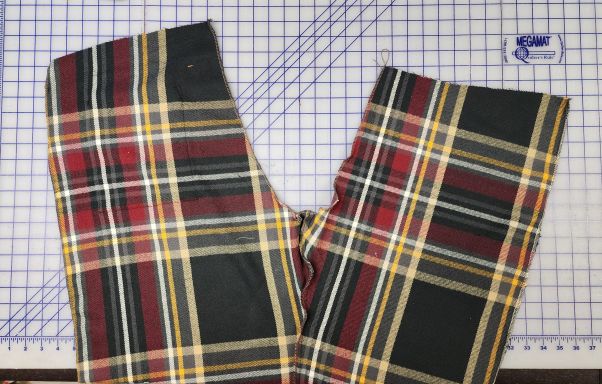
Add a Beautiful Waistband
To make the waistband, first measure the finished edge of the top of the pants. Cut two pieces 3 1/4″ wide, one to wrap around the waist and one small piece to insert into the waistband to make the inseam buttonholes. It is easier to see this method in the blog post Drawstring Pants and Memories.
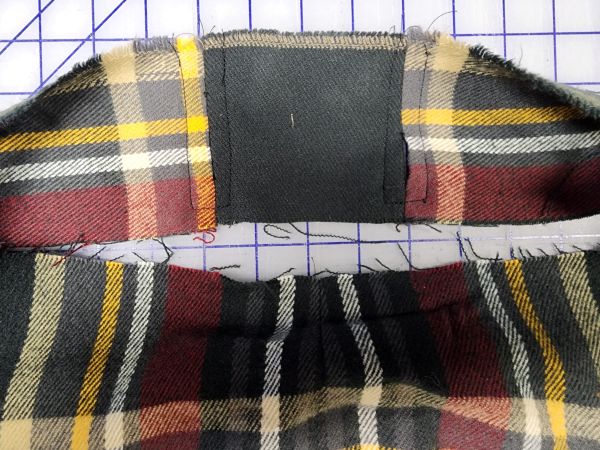
Stitch the waistband together as shown leaving an opening, well backstitched at each opening, on each end of the insert large enough to feed the drawstring through. Remeasure to make sure you have the right size, then topstitch all around each inseam buttonhole.
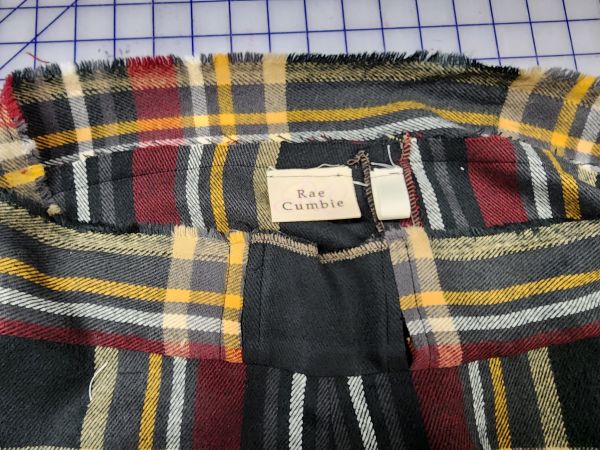
Attach the waistband right sides together with the pants positioning the inseam buttonholes in the center front. Stitch all around and add a tab if desired to indicate the back of the pants.
Fold the waistband over toward the back, clean finish the edge if it has not been cut on the selvage, pin it in place to cover the seam and extend at least ⅜”. Topstitch in the ditch of the waistband seam to anchor. Begin and end at the inseam buttonholes so there is an easy way to feed the elastic, with a 12” drawstring attached to each end, into the pants.
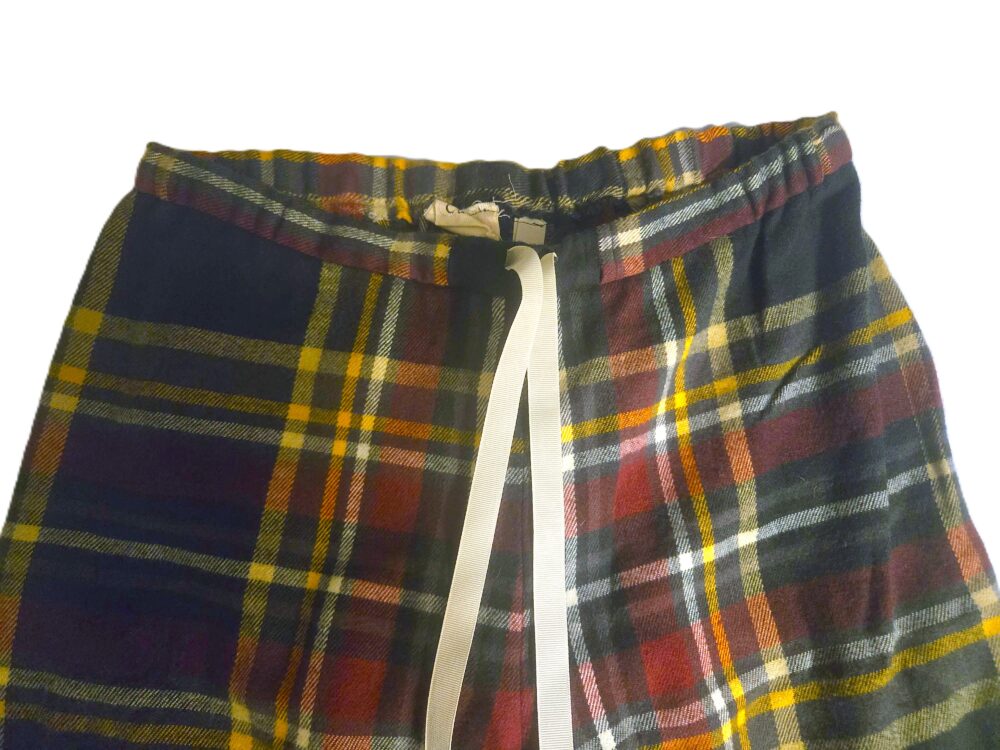
Cut a piece of non-roll 1″ wide elastic to fit tightly around the wearer, or about 3/4 the length of the waistband. Cut 2 drawstrings 12″ long at least. Attach a drawstring to each end of the elastic then feed the band into the waistband. Once the Elastic has been inserted and the drawstrings extended through the inseam buttonholes, sew the waistband closed. If you like, add a small triangle or square of fabric to the end of the drawstring to keep it from sliding back into the casing.
Present the Gift Proudly
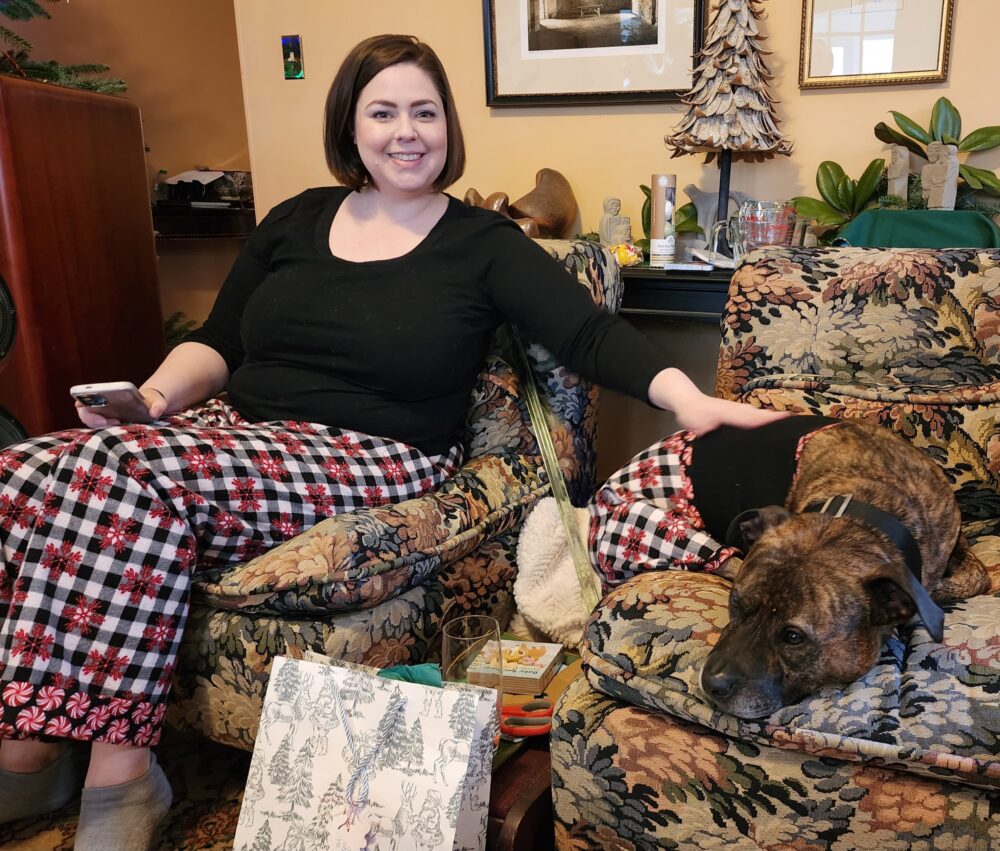
Take pride in the finished product. It will be a big improvement from most of the PJ pants on the market. Luxury PJ pants are the perfect gift. And if you choose a fabric other than a plaid they are much quicker to make! Be xure to put your own PJ stories in the comments.
Happy Holiday Sewing, Rae