Like so many women at our stage in life, our bodies are changing. For many months now, I (Carrie) have been complaining to Rae that I am no longer comfortable in most of my Eureka Pants. My discomfort, especially in closely fitted pants, is undeniably a consequence of the disappearing waistline, rounding belly and south heading bum. But I also like to blame the pandemic! My preference for how pants fit and feel has been forever affected by a few years of wearing soft knit pants while spending more time at home.
Over the past few years I had already revised my Tabula Rasa Jacket and Knit top patterns to accommodate changes to my upper body – a rounded upper back and increased bust. Naturally Rae challenged me to stop whining and take action to make pants that fit my evolving body and comfort preferences.
Making a Plan
With our much anticipated France retreat coming this summer, I decided to focus my project on creating an appropriate wardrobe for the trip. My goal – a wardrobe of pants and tops that will be both comfortable and attractive for a day of touring or a day in the studio while keeping me as cool as possible in the August heat of Southern France (often without AC).
I started with several planning steps:
- Reviewing and adding to our Pinterest board for “Wide Leg Pants” to think about pant silhouettes that will fit the bill.
- Sketching possible silhouettes on My Body Model figures.
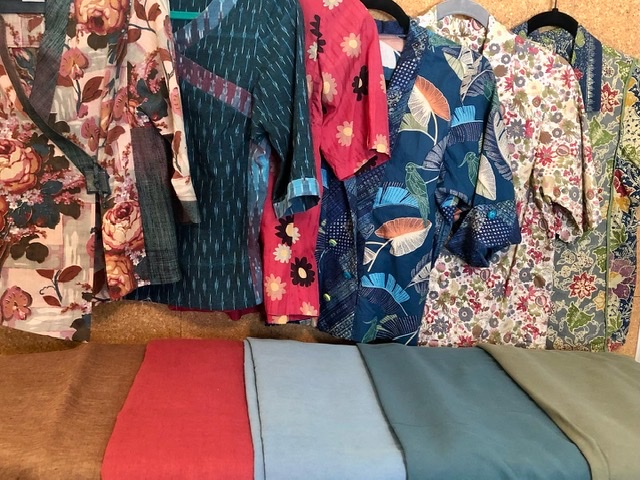
- Searching my closets for existing Fit for Art summer tops.
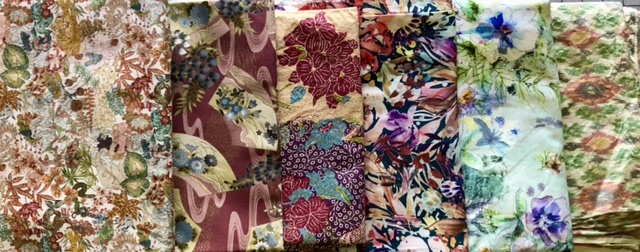
- Ordering a few summer weight fabrics for pants that would complement those tops.
- Searching my stash for any other fabrics that would work, top or bottom, with the items I was collecting.
Meanwhile, I got to work on updating my Eureka Pants pattern. We started from scratch with Rae doing a new fitting in the Eureka! Pants fitting shells. We found I was still in the same size and back, but the adjustments she pinned at the side seam through hip and leg, crotch, dart placement and out-take were all changed. Because I had, by then, decided to start with loose fitting, elastic waist pants for summer, I drafted a pattern with plenty of ease and a wider leg silhouette. We also jotted down some notes about what I might want to do differently when I am ready to move toward more tailored pants.
Pant # 1
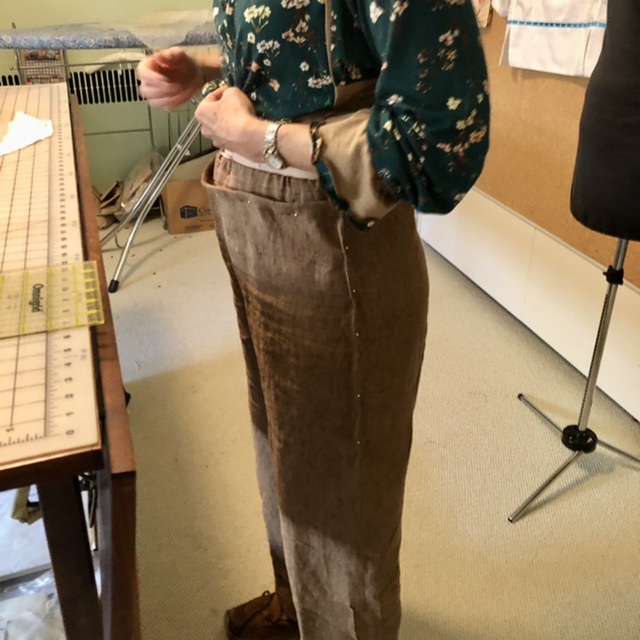
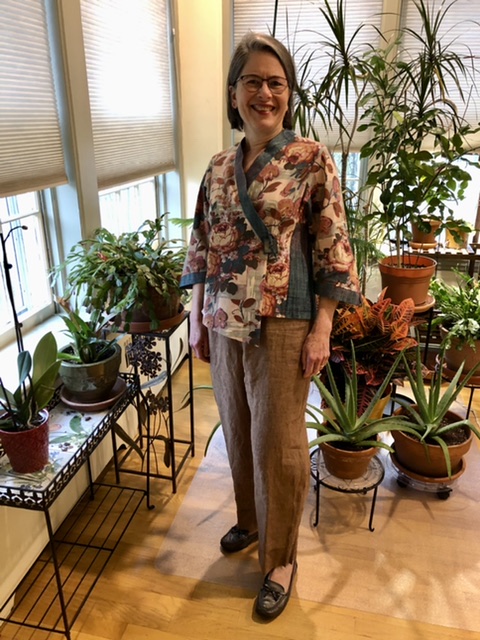
The first pair of pants were made with brown medium weight linen in my stash, purchased a few years earlier to go with an experimental Tabula Rasa Jacket in a vintage linen print. I tried them on after basting the waistband into place and inserting the 1¼” wide elastic and felt that the waistband sat too high and the hip area was overly voluminous, at least in this fabric. Rae pinned in changes to the rise, front and back, and side seams to address these issues.
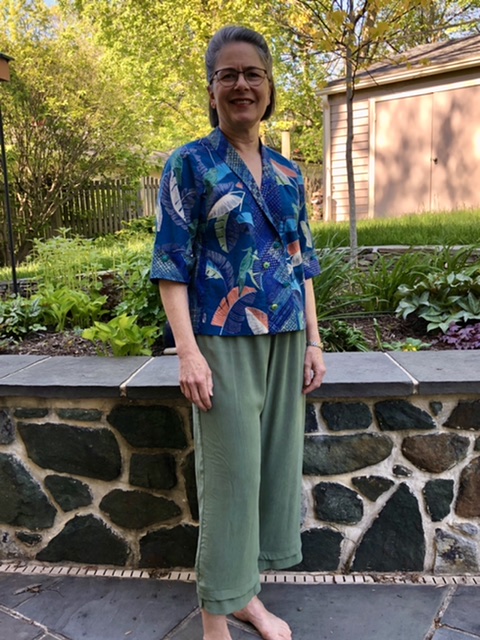
I made the changes to the brown linen pants, lowering the waistband and taking in the side seams in the hip. The result is much more satisfactory! So I drew the changes and made notes on my pattern and Fitting Prescription to help remember what I’d done. These linen pants will be a great staple as they look great with several of the Tabula Rasa tops already in my wardrobe!


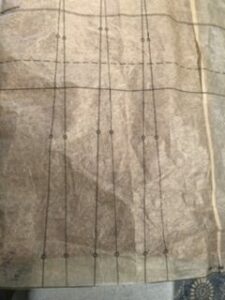
The pants received a fun finishing detail on the lower leg which partially reduced the fullness. Rae showed me a pair of pants she had made long ago (before Fit for Art existed!) with a Marci Tilton pattern, Vogue 8397, that featured an extra fold and 3 darts in the lower leg. I was able to use the Marci Tilton tissue pattern as a guide to place the fold and darts on my Eureka Pants with good results. The only issue was working around the side seam in my Eureka pants, as the Vogue pattern was constructed without a side seam.


If you have a favorite detail you love from another pants pattern or ready-to-wear, make a mash-up by incorporating it into a pair of Eureka! Pants that Fit. Inspire our community, too, by posting photos of your creations with our hashtags #eurekapantsthatfit and #fitforartpatterns.
Pants #2
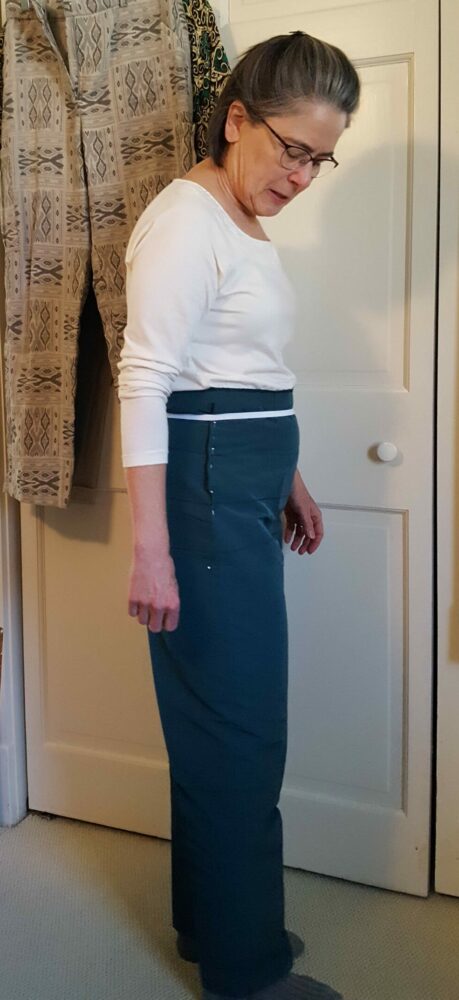
The second pair of pants were made with sustainable, sandwashed textured Tencel purchased from Core Fabrics. Because the fabric is so soft and drapey, I retained the original fullness through the hips. I did, however, use the newly lowered waistband location, even lowering the center front an additional ½ inch, and inserted 1” wide elastic. With the fit test, I found that the waistband was comfortable and the fabric hung nicely around my body, but they felt super light.
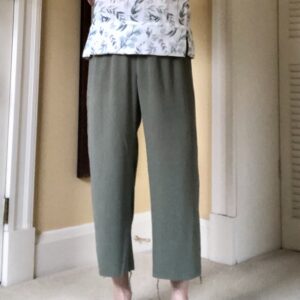


I decided to try anchoring the legs with some extra weight by adding a cuff detail from Glamour Details for Eureka Pants; see the difference in the middle photo. I finished the hem with a 1” deep tuck over the cuff to shorten the length. I must confess that I am loving how speedily elastic waist pants come together!
Fit and Adjust as you Construct
It’s been our experience, both personally and with customers, that finding and establishing the location of an individual’s preferred waist finish requires a good deal of trial and error. So if you have had to fiddle with the location of the waist seam on your Eureka! Pants pattern, know that you are with the majority of sewists on this journey! That perfect spot is also likely to vary with the style of waist finish and nature of the fabric. For example, a faced waist, 1” waistband, and contoured waistband may well want to sit differently on your body to be their most comfortable. Likewise, whether the fabric is soft and drapey or very stable or has a wee bit of spandex will influence how that waist finish style feels and hangs on your body. We cannot stress enough the importance of trying on each pair of pants at several points during construction and then making the minor adjustments needed before completing the finishing details!
Developing a pants pattern is a journey that requires patience. At this stage I need to wear both pairs of pants several times before I move on to sewing the next so I can incorporate any desired adjustments. Keep an eye on our Instagram and Facebook posts for the next steps in Carrie’s summer pants journey. You may also see Carrie slipping in a few coordinating summer top projects to keep the journey more interesting! Pants are necessary and useful but not, in my humble opinion, as fun to create.
What have you found to be the most challenging aspect of fitting pants on your personal journey? We’d love to hear from you so we can direct some future blog posts to the topics you most need!
Happy Sewing, Carrie


Wow, I love the brown linen pants, they look so perfect with your tops!
Thank you for sharing your journey. I’ve had many, though not as successful as yours. I gain so much from hearing what you’re doing and thinking
I am embarking on the very same journey this month! I don’t know why it took me so long to realize that the shifts in my body are natural and permanent. I stay fit, but my old belts just don’t fit anymore! It’s time to draft a pants pattern for the new normal and enjoy having comfy pants. And it will be nice to add fun features, such as the hems you show. I am curious about pockets. Do your new pants have pockets?
Thanks everyone! Nancy, that is such a great question about pockets. I am eager to add pockets, but I also know that it is smart to wait until you are sure you have the waist and side seams right. If you put pockets in and end up wanting to move the waist or take in the sides, the pocket can be compromised and make the whole adjustment more complicated. So, hoping I’ll be ready to add pockets soon, but I need to test these pairs a bit more. For now, it would be safe to put patch pockets on the back!