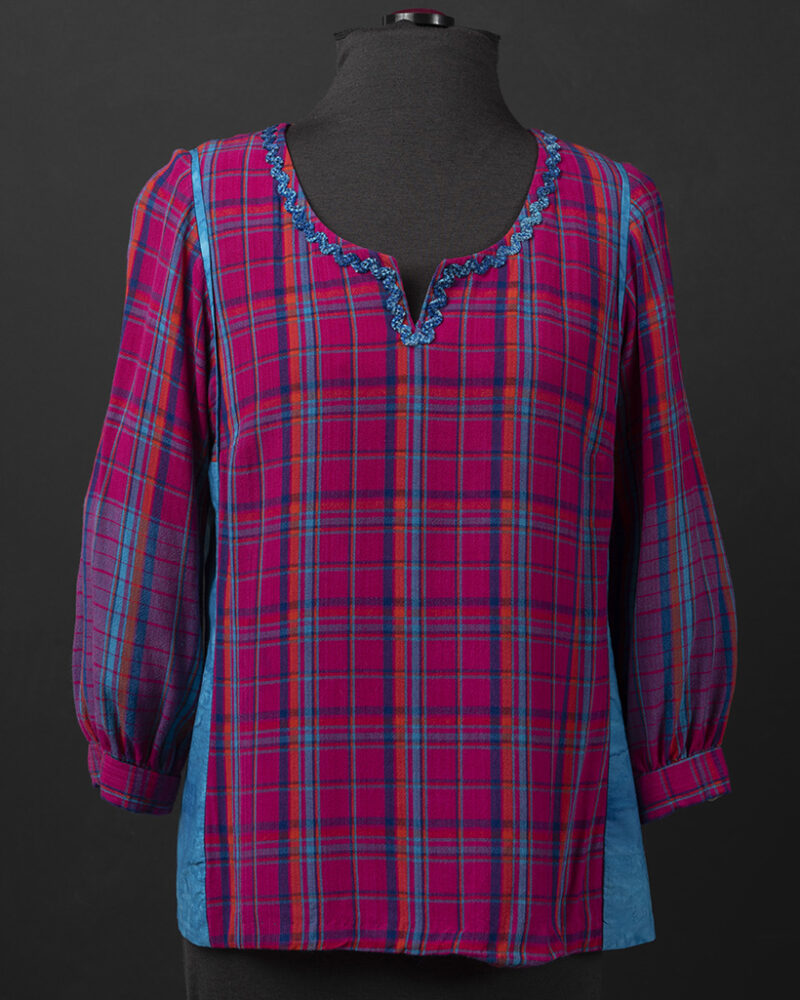
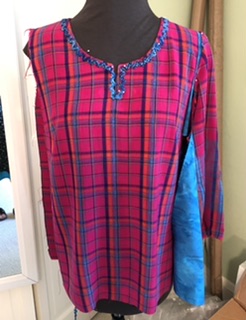
Carrie made this notched scoop neck top very early in the development of the Carpe Diem Dress & Tunic pattern. The notch opens the neckline up a bit, making it easier to pull a top or dress on over your head without a back closure. While the notch design didn’t make it into the final Carpe Diem pattern, it is a very easy adaptation to do yourself following these directions.
Pattern Work for Front and Back Facings
Because this garment was an early experiment, the sewn facings you will see in these photos are not the same shape as the facings included in the Carpe Diem pattern. I am going to illustrate the pattern work required to add the notch with the actual Front and Back Facings for View 1 Carpe Diems. This change could also be made to the Facings for Views 2 and 3 if sewing a sleeveless or cap sleeve Carpe Diem. I strongly recommend using a colored pencil or pen to indicate the pattern changes.
In my top, the finished notch opening is 2” deep, so these directions are calculated for a 2” deep notch opening. The depth of the notch can be changed, just be careful not to make it too loose!
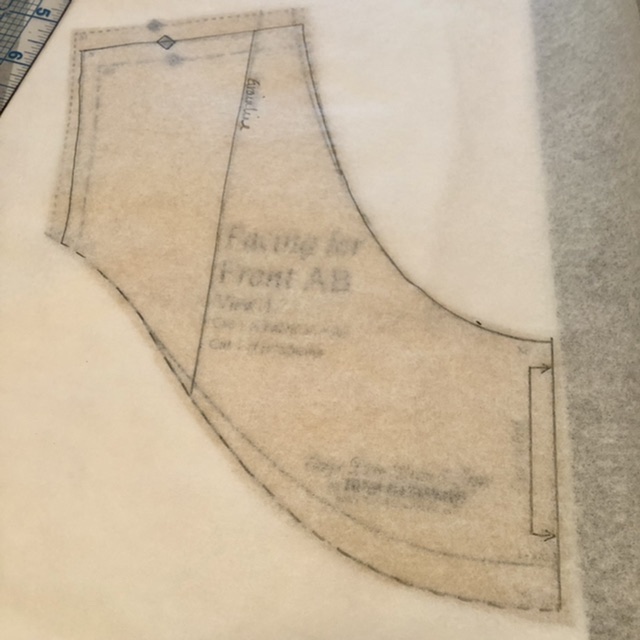


Trace a copy of your basic Carpe Diem front facing, that is the Facing for AB or CD Front in your size and with your adjustments, onto a piece of tissue or other pattern paper. Use a dashed or dotted line to trace the lower cutting line and leave some blank paper below that line. Along the center front “cut on fold” line, place a dot 2 5/8” below the top corner. To give the facing sufficient depth below the notch opening, extend the center front fold line to 2” or 2.5” below the dot. Use a curved ruler, like our Sew Successfully Ruler, to redraw the lower cutting line of the facing; start from the new end point of the center front fold line and merge into the existing lower cutting line. Try to allow the curve to flatten out about a half inch from the center front line.

Carrie did not use a center back seam for her notched front top, but the Carpe Diem pattern is now drafted with a center back seam to allow for a back closure or shaping in the back seam. To eliminate the center back seam, simply cut your Back and Back Facing out on the fold. Prepare the Back and Back Facing patterns for this by drawing a line parallel to and 5/8” inside the current center back cutting line. Write “Cut on Fold” along the new line. In the absence of a center back seam, you may also opt to eliminate the lower curve of the Back Facing by cutting straight across, as drawn in red.
If you are new to doing your own pattern work, stock up on the essential supplies, including transparent paper and curved ruler, with our Pattern Drafting Kit.
Sewing the Notched Front
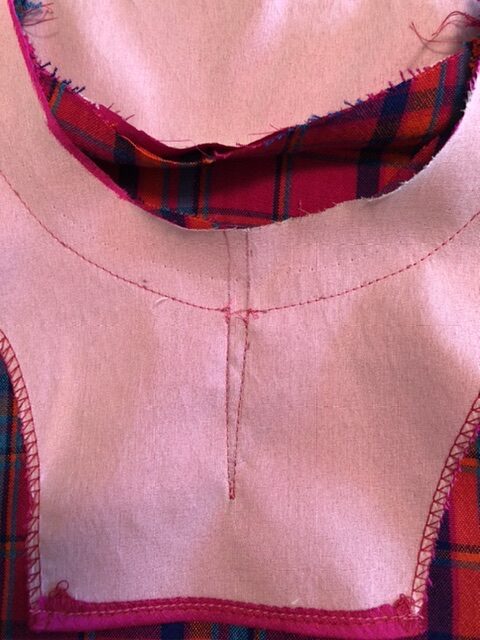
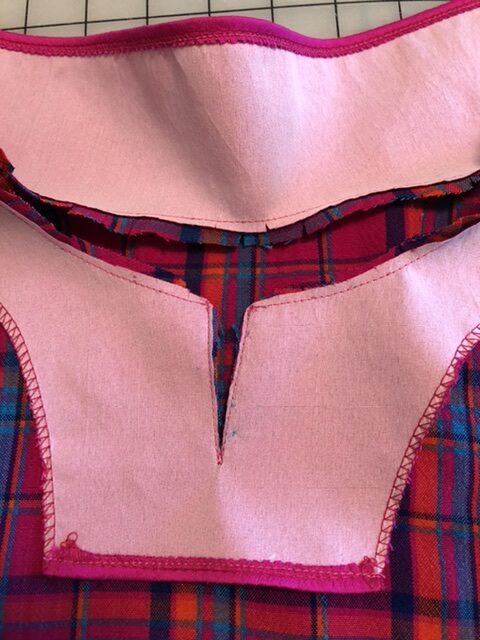
Follow the Carpe Diem instructions to prepare and insert the front and back facings. After applying the fusible interfacing to the Front facing, mark the dot indicating the bottom of the notch opening and draw a narrow V starting from the dot and extending up to the neckline. While stitching the Front Facing to the Front around the neckline, pivot at the corners and dot to sew along both legs of the V. Grade and clip the neckline seam allowances as directed in the Carpe Diem instruction book. Also trim the fabric between the legs of the V and very carefully clip close to the dot or point of the V. Turn and press the facing to the inside of the top and continue as directed in the instruction book.

The Fabric and Trim
Wearing this top reminds me of fun times because the bright pink plaid fabric was purchased on a diving trip to Indonesia. It was handwoven on a backstrap loom by one of the women we met in a tiny rustic village on a small island! The pink silk and Envy Silk fusible interfacing for the facings was in my stash, as was the blue cotton used for piping and side panels. After completing the neckline, I considered finishing the notch opening with a perfect little starfish button and loop, as we do with the Carpe Diem back keyhole opening. Because I hadn’t sewn a loop into the seam, I ended up discarding that idea. (More advance planning would be required!) Even better, I found the perfect blue trim in my stash which I topstitched around the neck and notch with a zig zag stitch. The nubbly textured trim is a nice contrast with the very smooth handwoven.

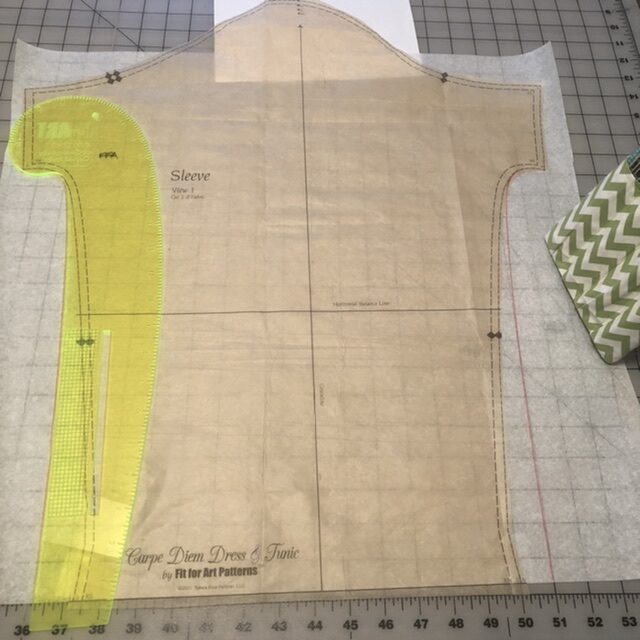
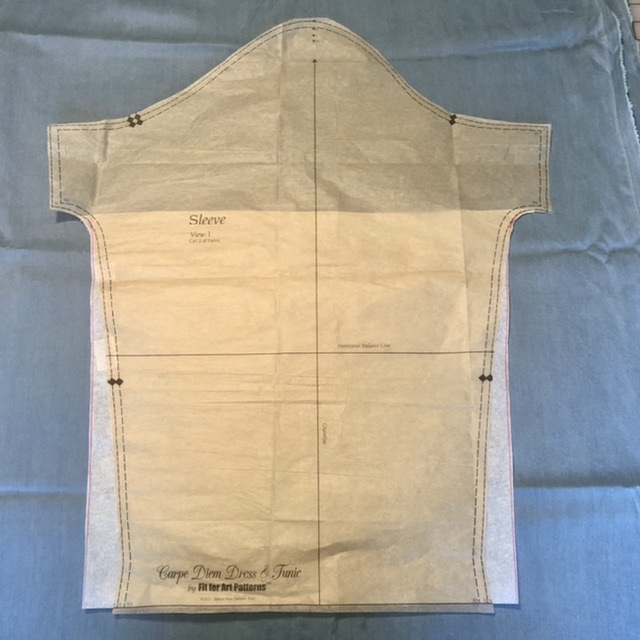
Gathered Sleeve
You may have also noticed that the sleeves on this top are not exactly the same as in the core Carpe Diem pattern. I took advantage of the fabric’s very nice weight and drape to create a fuller sleeve and gather it into a cuff below the elbow. While similar to the Full Sleeve variation in Sleeve & Cuff Variations for the TRJ, for this top I increased the width of the sleeve only along the underarm seams, but not in the sleeve head. The adjusted pattern would look like this. See a close-up of the finished sleeve in the Photo Gallery.
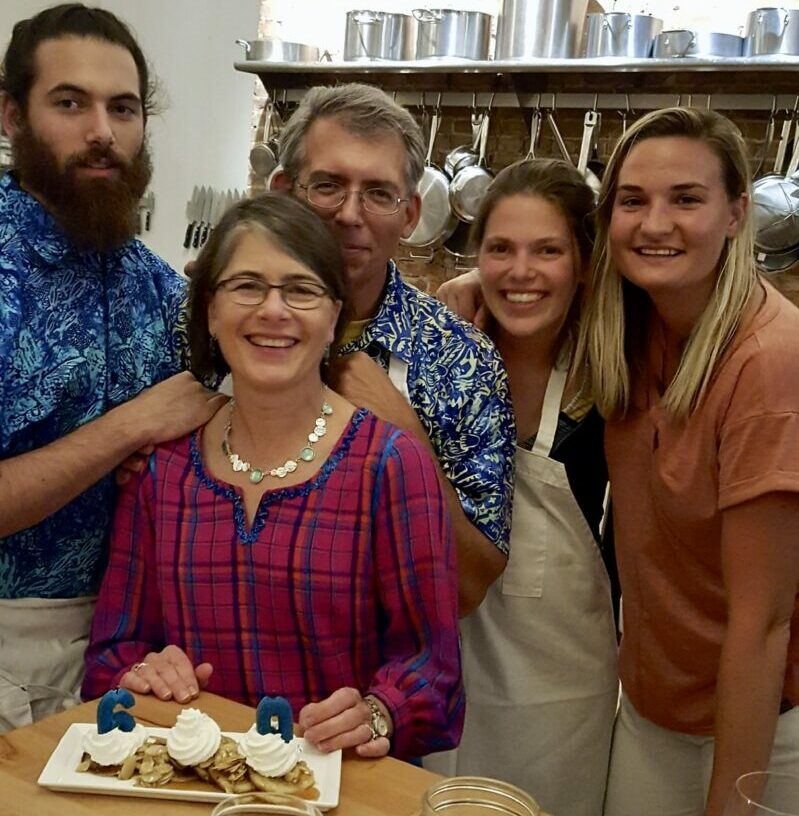
My notched top was finished just in time to wear to the very festive celebration of my (pre-pandemic) 60th birthday!
If you give this technique a try, we would love to see photos of your Carpe Diems with a notch. For that matter, we are eager to see photos of any Carpe Diem dresses or tunics you have created! Please post them on Instagram or Facebook with #carpediemdress or #carpediemtunic, or send them to us at info@fitforartpatterns.com
Happy Sewing, Carrie


Love this adaptation! It looks doable, too.