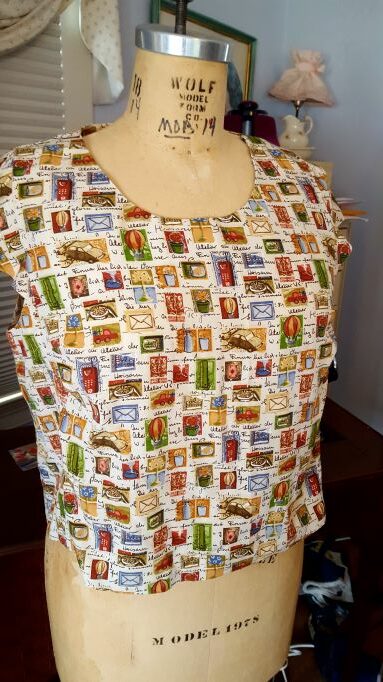
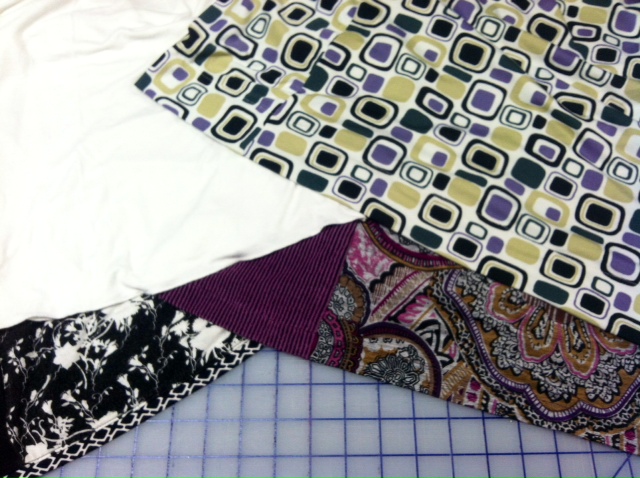
There are so many options for finishing a garment’s hemline. While building the Creative Hemlines class for our spring Expo season, I realized that a solid knowledge of hem finish options is essential before launching into more creative hemlines. So, here is a rundown of hem finishes that can be used on garments made with any of our Four Core patterns, but most especially when working with woven fabrics. As you read through the list, think about garments you want to sew and what hems would be the best finishing choice! The samples in this post are made with a polyester blouse fabric and contrasting thread so you can see the stitches. The original garment in this fabric is above, a Carpe Diem cap sleeve top that fits perfectly into my core wardrobe.
Straight Hemlines
The questions that accompany straight hems, i.e. parallel to the floor, are:
- How deep will you make them?
- What clean finish will you use to prepare the hem?
- What stitch will be used to anchor the hem?
Overlock Finish and Machine hem:
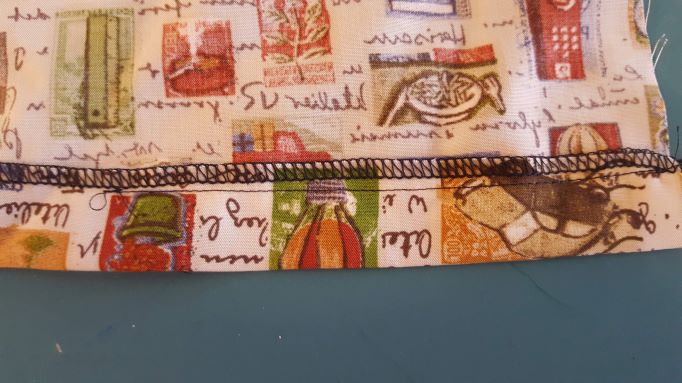
A serger set to the 3 thread overlock finish is a wonderful tool for clean finishing the hemline whether you have a narrow hem, a classic 1½” hem or a deep hem. We will not address what depth of hem is best, just look at the finishes. Here you see a basic turned-up hem that has been anchored with a straight line of topstitching.
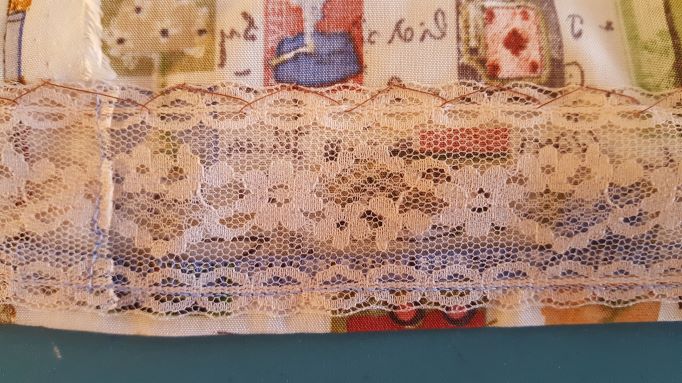
Hem Lace or Seam Binding with a Hand Stitched Hem:
First, see the top’s original hem which uses a 2” wide hem tape, chosen because I did not have enough length to fold up a hem generously. Other options are to pink the edges and add a row of staystitching or zigzag stitching underneath.
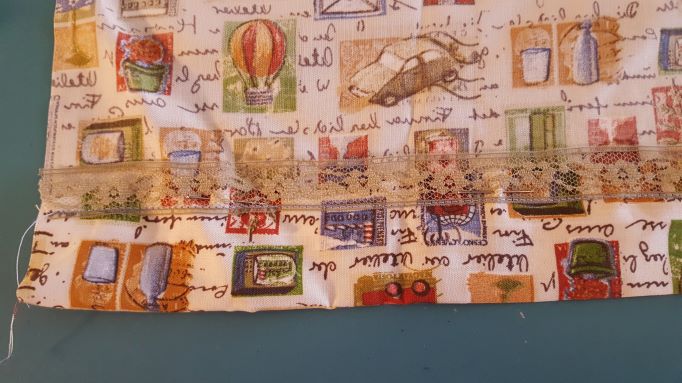
Second, a narrow hem lace pinned and ready for hand or machine stitching in place.
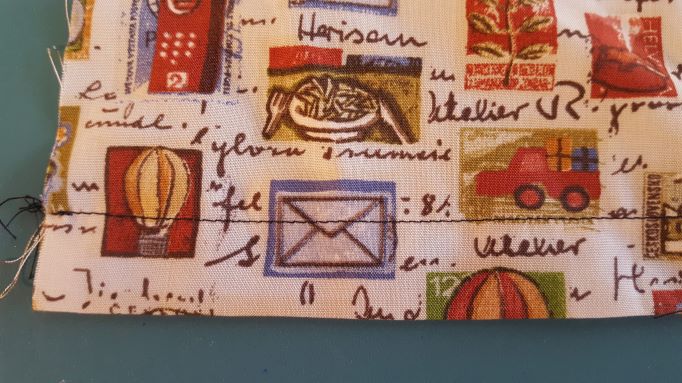
Double Turned Shirt Tail Hem:
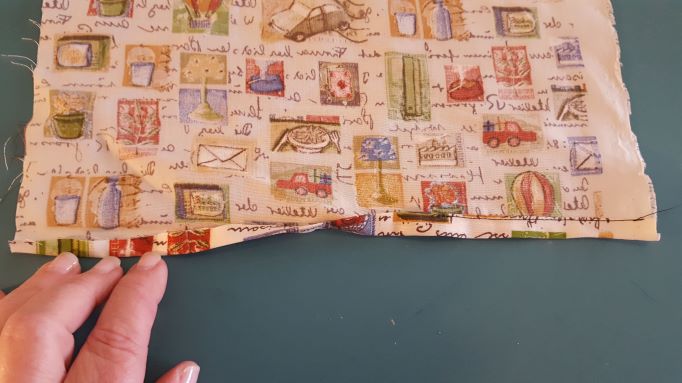
This classic hemline is used on tops that do not need extra weight to hang properly. Turn and press the hem up once at ¼” and then a second time at 3/8”. Topstitch this hem in place.
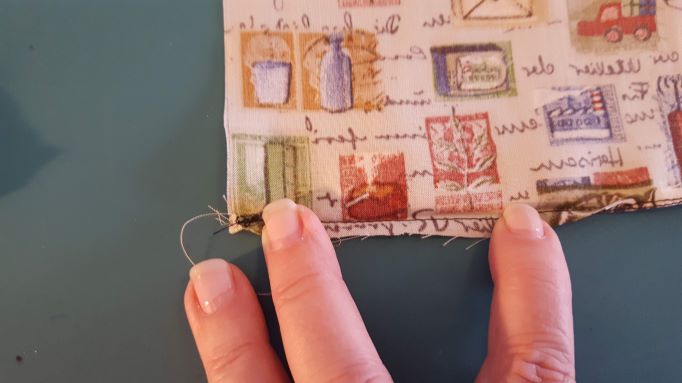
Baby Hem:
This multi- step hem works great on hems with a voluminous circumference. Identify the hemline then stay stitch ¼” below the hemline to set the hem in motion. Turn up and press the hem along the stay stitching line and topstitch in place 1/16” away from the fold. Trim away the extra fabric above the topstitch line. Press this section up one more time and stitch along the original fold line to anchor the hem in place.


Curved Hemlines
For Curved Hems, the choices are not as many. The baby hem will work on a shaped or curved hem but sew a sample first to make sure the fabric will cooperate. The shirt-tail hem will also work occasionally on a shaped hem. Additional options are a rolled edge on the serger or a shaped facing that matches the shape of the hemline.
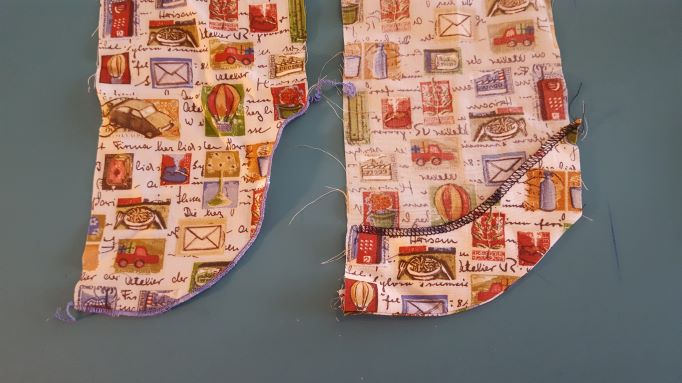
Serger rolled edge hem:
Mark the hemline and staystitch 1/16” below the hemline if desired. Set the serger to the rolled edge finish. Make plenty of samples to make sure the tension and spacing are satisfactory. It is also smart to test your ability to roll the edges around the curves in the hemline before working on the garment.
Facings:
Classic facings can be created to match the hemline curves and should include a seam allowance. After stitching the facing to the hem, the seam allowances are trimmed and the facings are turned, pressed in place and hemmed by hand or machine to anchor the facing to the garment.
Additional resources!
Check out the post, Hems for Unlined Tabula Rasa Jackets for a more in-depth look at some of these hems and a few more woven options. Check out Knit Tee Hems for special knit hem info. Read What is a Clean Finish and Hand or Machine Finishes, also. Find our favorite hand hemming stitch diagrammed in Helpful Hints.
If you are in the Atlanta area, join me on Friday afternoon at OSQE, after our Runway Fashion Show, to see some more complex and interesting hems in the Creative Hemlines Class. Whether you want a very basic hem or a complicated hem, be sure to give the hemline as much attention as you have given to other aspects of your garment’s construction and press it well for a professional look.
Happy sewing, RAE


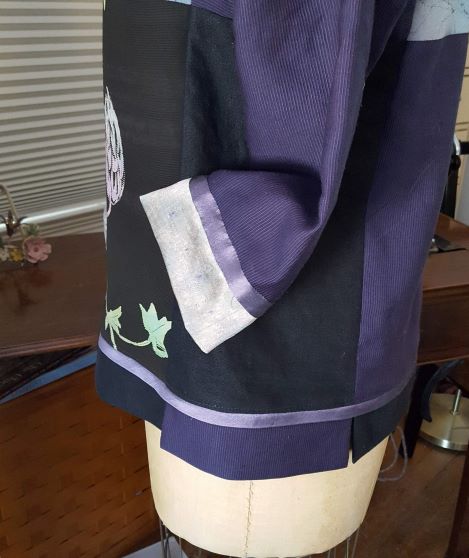
Very helpful post. Do you have more detail on how you finished the purple jacket – the last image in this post? I would love to see how that was completed.
Thanks! Please take a look at Rae’s blog/facebook post about this Carpe Diem top from January 15, or thereabouts.
Thank you so much for this post! It’s really nice to have so many hemming options in one post and with great pictures too! And with links to even more options? I feel so lucky!!