While traveling in India a couple years ago, I picked up several pieces of fabric including linen printed with a faux ikat style design. I had envisioned linen pants for summer, so I pulled the fabric out a few weeks ago to make pants for me and my daughter. Soon after I started laying out the patterns, I found myself wondering what on earth I’d been thinking – this was going to be quite a challenge to match at the seams! So naturally I ratcheted the project up a notch by adding lots of pockets, which I was determined to blend in as they would have been quite an eyesore otherwise.

For my daughter, I made her favorite style, wide-leg Glamour Details for Eureka! Pants with a 2” deep contour waistband. As you can see here, I did a decent job of matching the center back seam but was less successful with the center front seam. I resigned myself to accepting that the side seams and waistband couldn’t be matched.


I bet you really have to look for those back patch pockets though! This is how I ensured the ikat print would match. First, I cut the patch pocket pattern out of transparent tissue paper. After pinning the pocket tissue onto the back pant leg where I wanted the pockets to sit, I traced several distinctive lines from the printed ikat onto the tissue. Then I pinned the marked tissue onto the fabric, lining it up with the traced designs to cut out the pocket. Of course, I had to do this separately for the right and left back pockets.


The patch pockets were then prepared and topstitched onto the pant legs, after sewing in the back darts in but before pant assembly. You can find patterns and directions for a variety of patch pockets in Glamour Details and Sporty Details for Eureka! Pants and in our downloadable pattern Pocket Variations for the Tabula Rasa Jacket. Follow Fit for Art on our social media this week to see step-by-step pocket preparation details, or take a look at Rae’s Glamour Patch Pockets blog post.

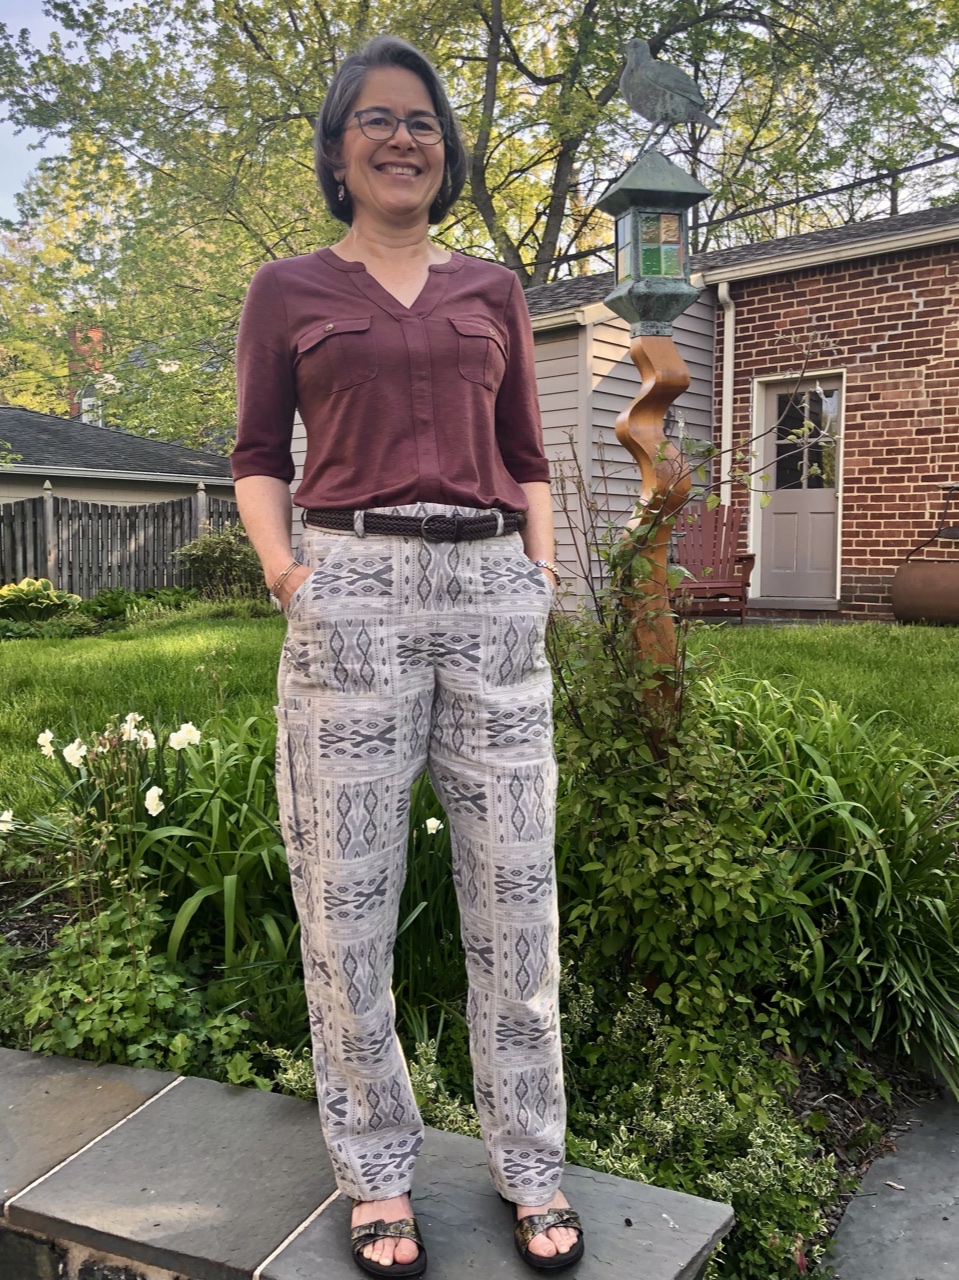
For myself, I decided to make cargo-style pants, which are all about the pockets. I started playing with cargo pants last year with a pair of green microfiber pants to match my asymmetrical top. The cargo-style pattern is based on my Trouser Details pattern. After tracing off the Trouser front and back, I took a bit of fullness out of the legs and lowered the waist ½” to accommodate a slightly wider waistband.
Instead of setting in slash pockets, I placed a patch pocket on the front of the pants with a similar diagonal opening. I created a pattern for the front patch pocket by drawing its location on the pants front and then tracing the lines onto a separate tissue pattern. I planned in an extra ½” on the sides to turn under to finish the pocket and created a self-finish for the pocket opening by double folding the paper along the diagonal line and trimming off the excess. (This is the same style pocket we use for the sweatshirt pocket in Rain or Shine Variations for the TRJ.)


Finally, the same tracing technique described for the back patch pockets was used to match the fabric on the front pockets. The front pockets were prepared and topstitched into place before constructing the fly front. Rae describes making similar pockets in Pants with Summer Pockets, but she faced the pocket openings.
Last but not least, I added cargo pockets straddling the side seams. After mocking up a couple of possibilities, I designed the side pockets with a center pleat, but said no to a pocket flap. (Enough already!) I must confess that I didn’t even attempt to match the ikat print for the side pockets since the print didn’t match up at the side seams.


In order to stitch the side pockets onto the pants while the legs were still flat, the order of construction had to be changed from the Trouser Details instructions as written. Here is a nutshell order of construction for these pants with side cargo pockets:
- Front and Back pockets topstitched onto front and back legs.
- Front fly and zipper constructed.
- Backs were sewn to Fronts at the side seams.
- Pleated cargo pockets were topstitched into place straddling the side seams.
- Inseams were sewn.
- The crotch curve was sewn closed and finished. (This is easier if you slip one pant leg inside the other, right sides together.)

To finish this extravaganza, I added belt loops and a 1½” deep waistband following the directions in Trouser Details for Eureka! Pants. Keep an eye on our Instagram or Facebook posts this week to see more pocket construction and other details! I know I’m going to enjoy this pair, but next time I make cargo pants, I think I’ll go with a solid fabric!
Have you done any crazy sewing projects like this one? Perhaps a “fun” sewing challenge that left you doubting your sanity (or at least your good judgment)? We’d love to hear about it!
Happy Sewing, Carrie


beautiful pattern matching–such a pleasure for the eye!!!
Thanks Daphne!
The pants look nice, good fit.
Ruth