Getting a best fit for your body that honors your personal fit preferences is an incremental task. The observations that lead to an improved fit also leads to a more sophisticated appreciation for fitting preferences. But it takes time to sew, wear, observe and improve your patterns over time.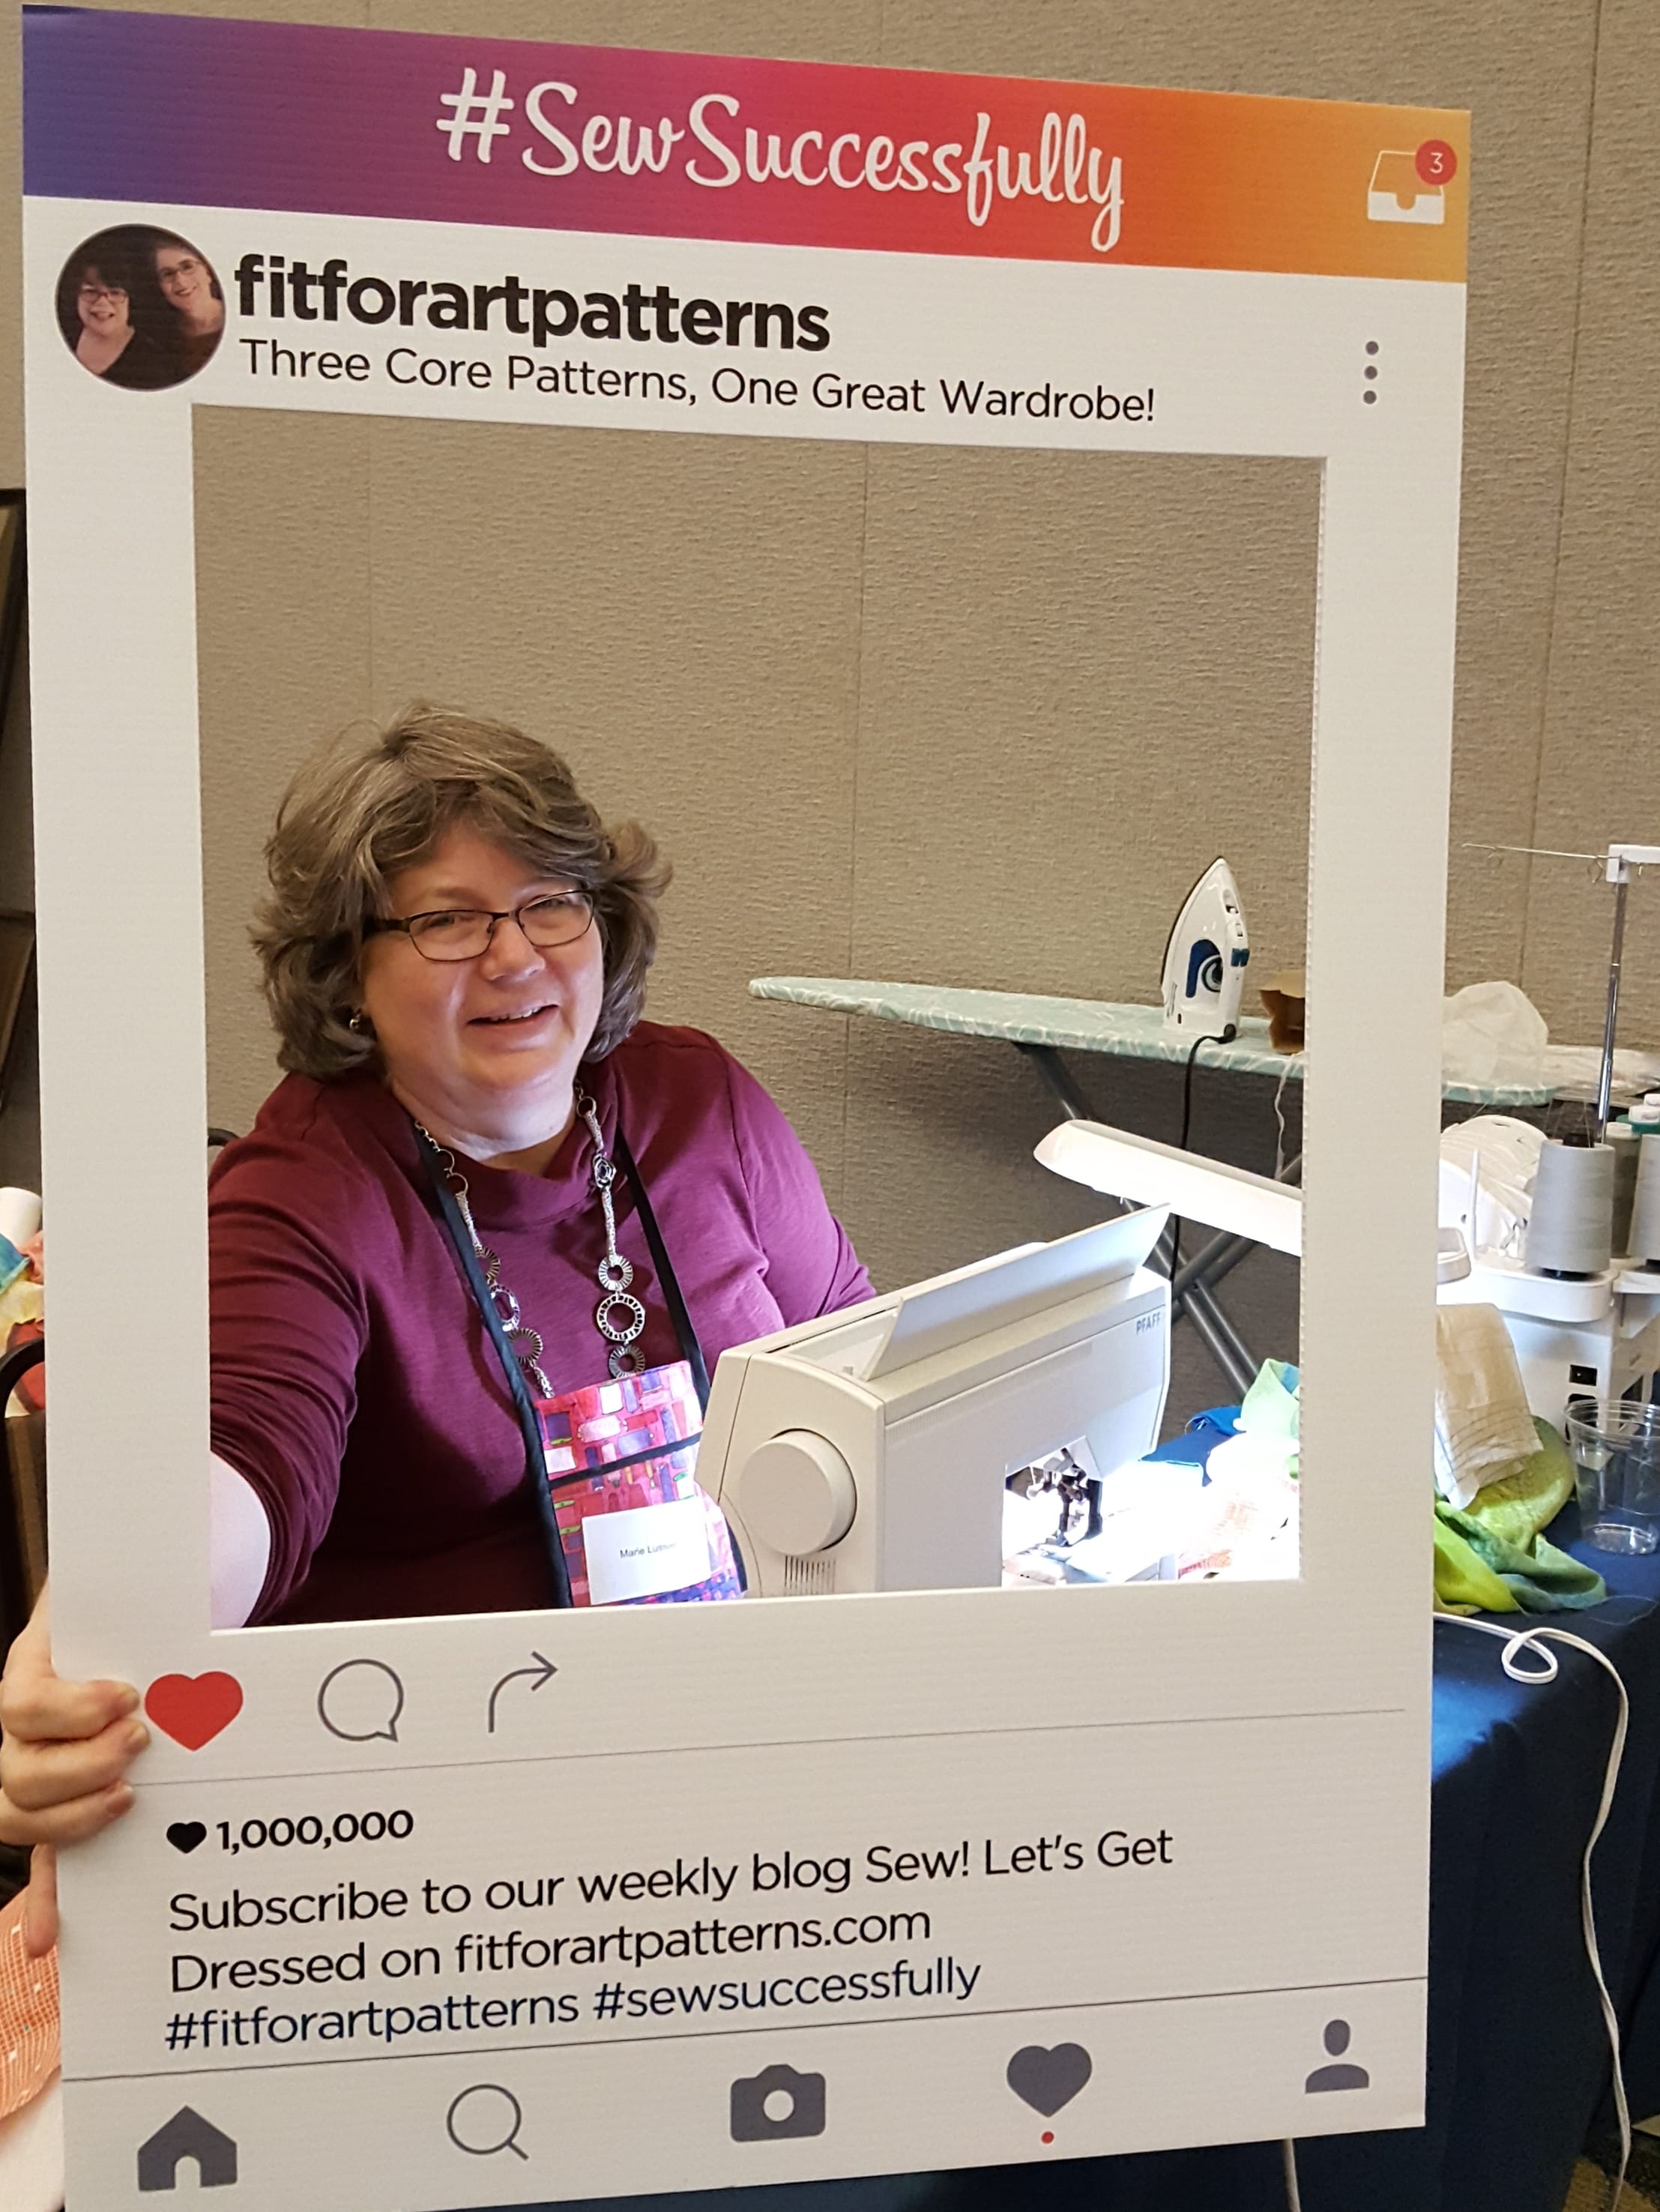
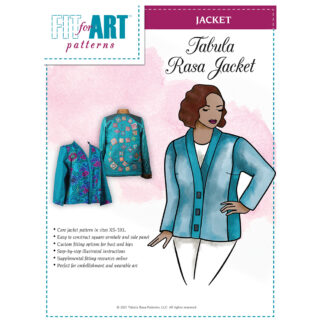
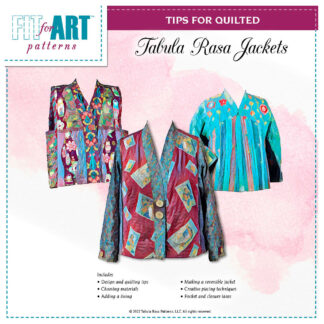
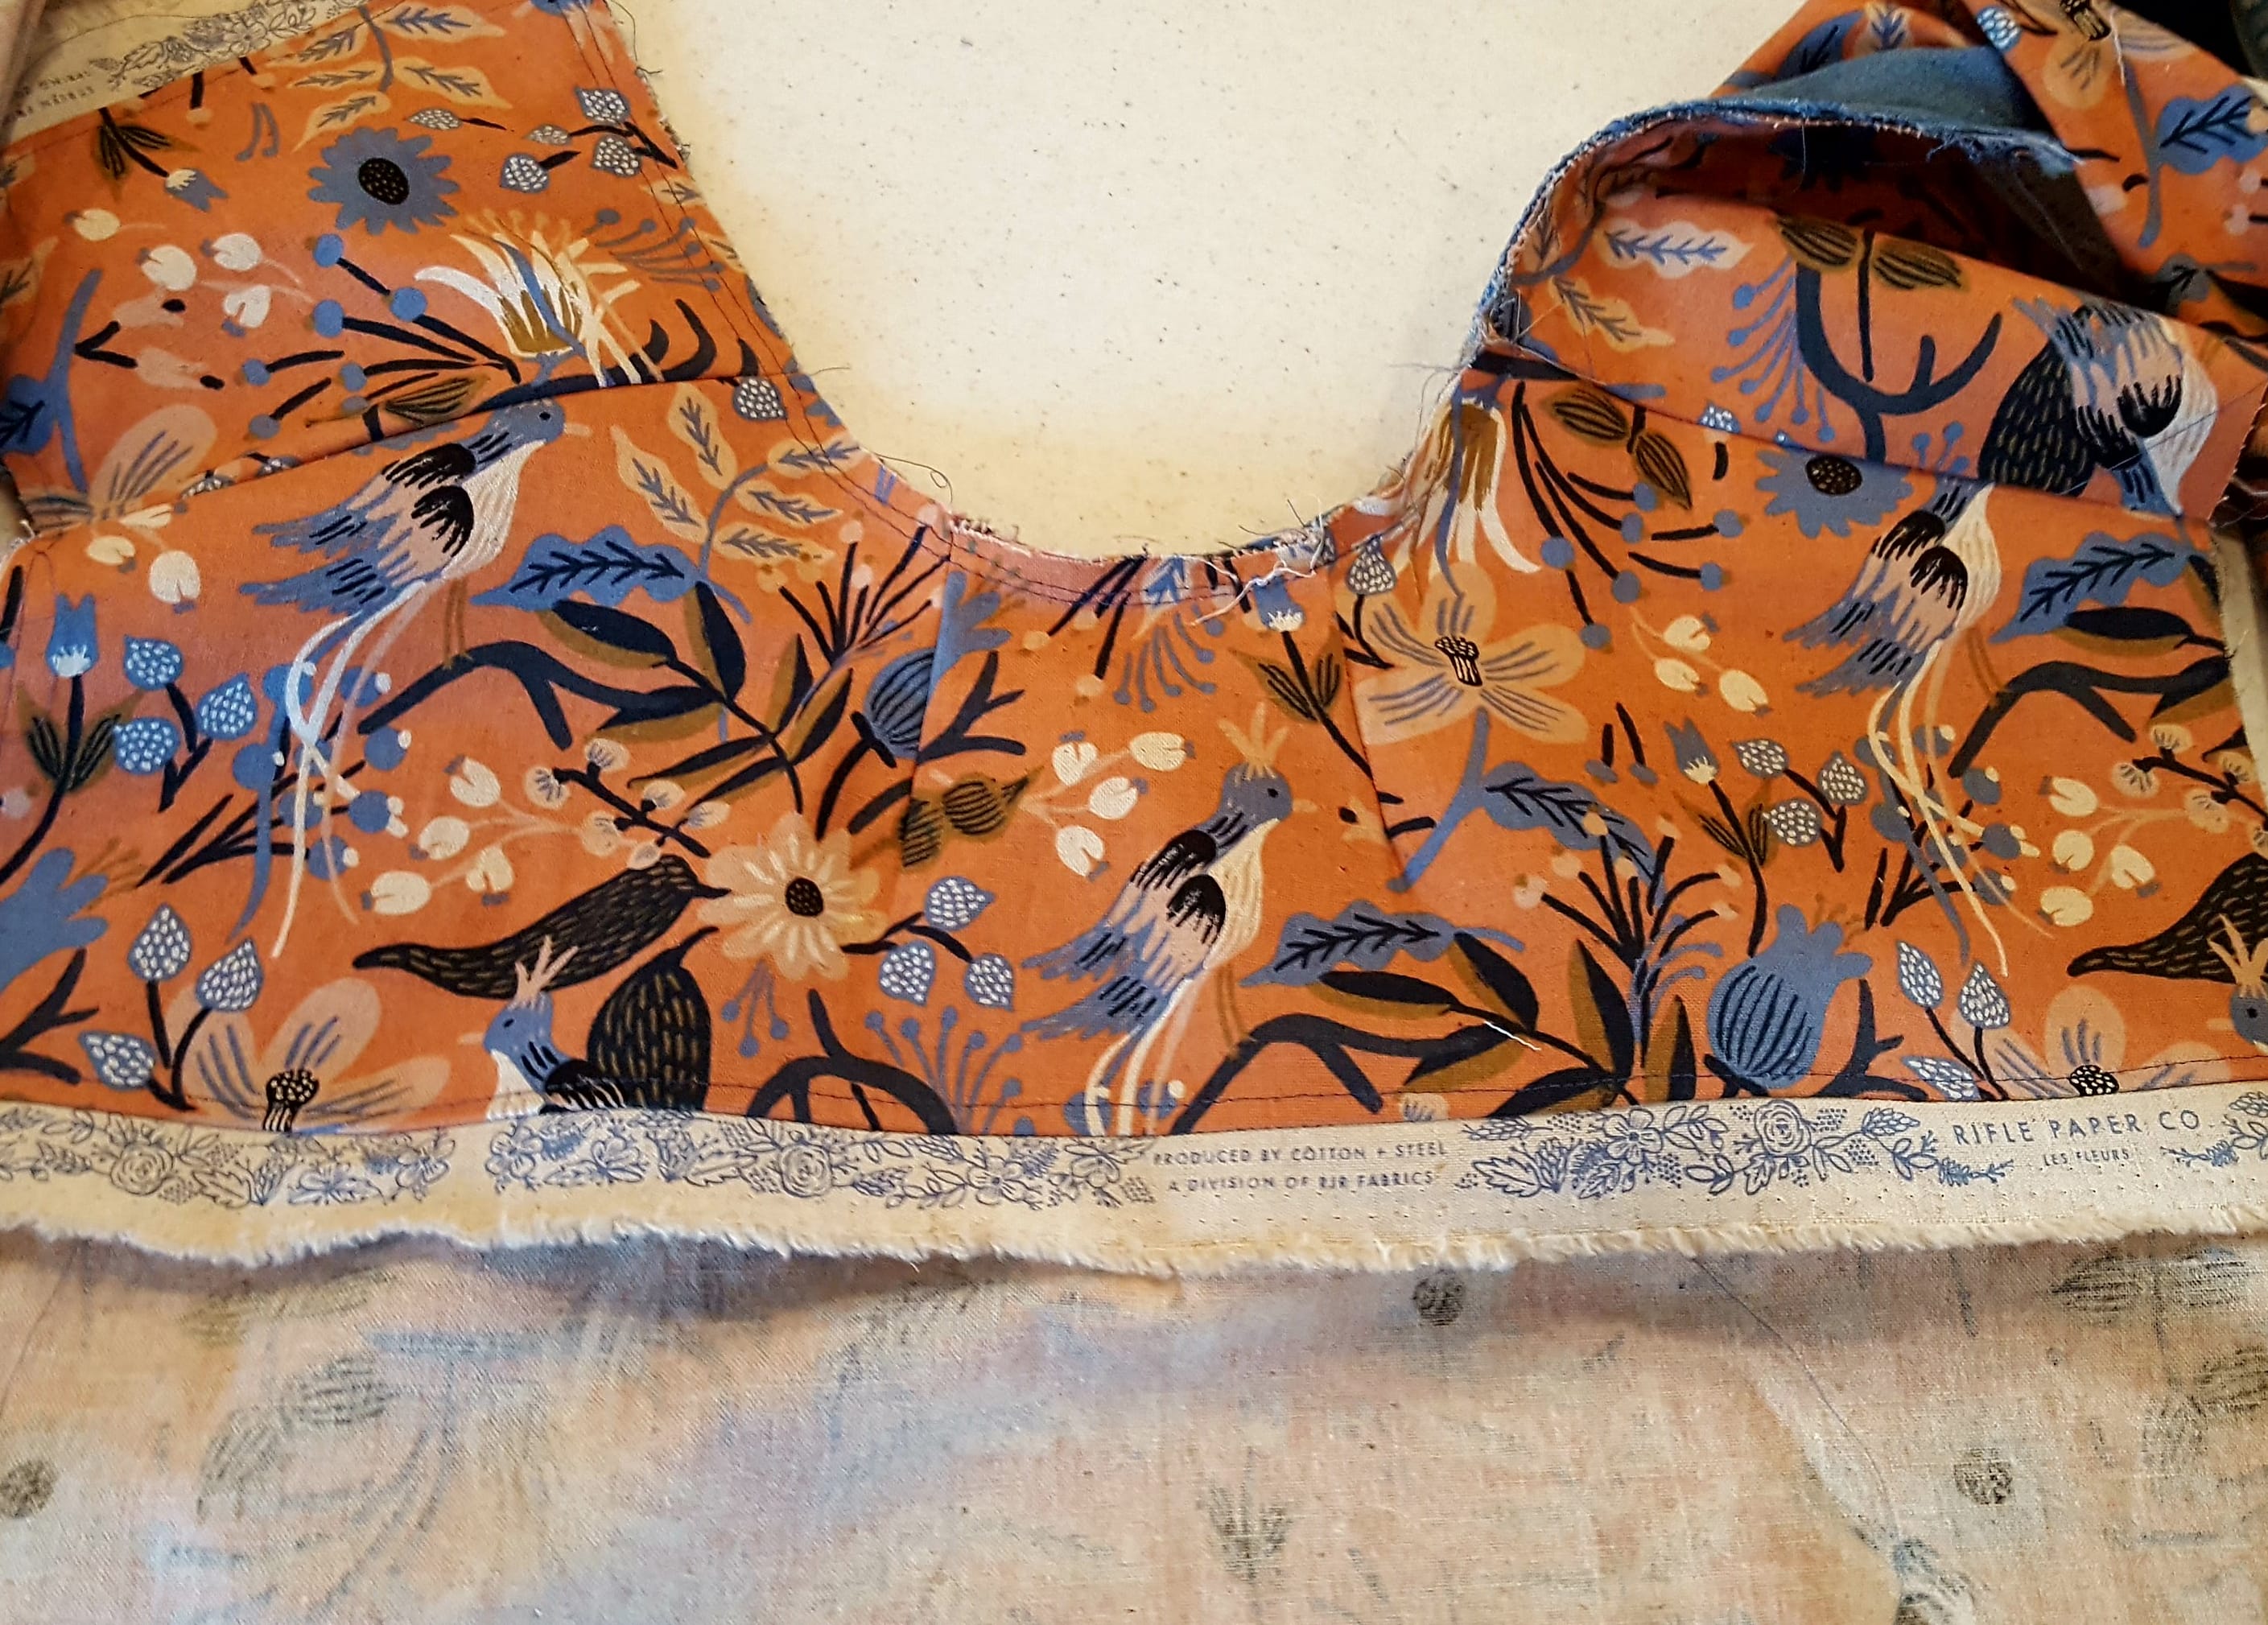
Meet our friend Marie. We first sewed with her last spring at a Tabula Rasa Jacket (TRJ) class for members of the South Carolina American Sewing Guild. Her enthusiasm was infectious and she made a very fun unlined TRJ featuring great Rifle Paper Co. fabric.
We were delighted to learn that she had already made some Tabula Rasa Knit (TRK) tunics, a great design for her shape.
Later in the spring, she tackled Eureka! Pants that Fit at our snowy 2018 Retreat and continues to love the results. Retreats are a great place to work on a personalized pants pattern and more.
Last week, Marie came to sew for 6 days at Stitchin’ at the Beach in Myrtle Beach. Two of the days she spent with me in the Tabula Rasa Knit Tee & Tunic class. Her goal was to fine tune the fit of her TRK tunic pattern, practice some new techniques and make a couple knit tops.
Her most pressing goal was to achieve a more comfortable upper arm. Knits are tricky: since they stretch, we think the fit is great, even when some adjustments would make the top fit better. After sewing and wearing a few tops, Marie had decided she needed to enlarge the upper arm of the sleeve, but was stumped as to how.
We visited Common Fitting Adjustments for the TRJ which has two choices for enlarging the upper arm of a Tabula Rasa pattern. It works for knit as well as woven fabrics. Marie had already tried the first option, releasing the underarm, so we moved on to the second choice which can add a good bit more ease.

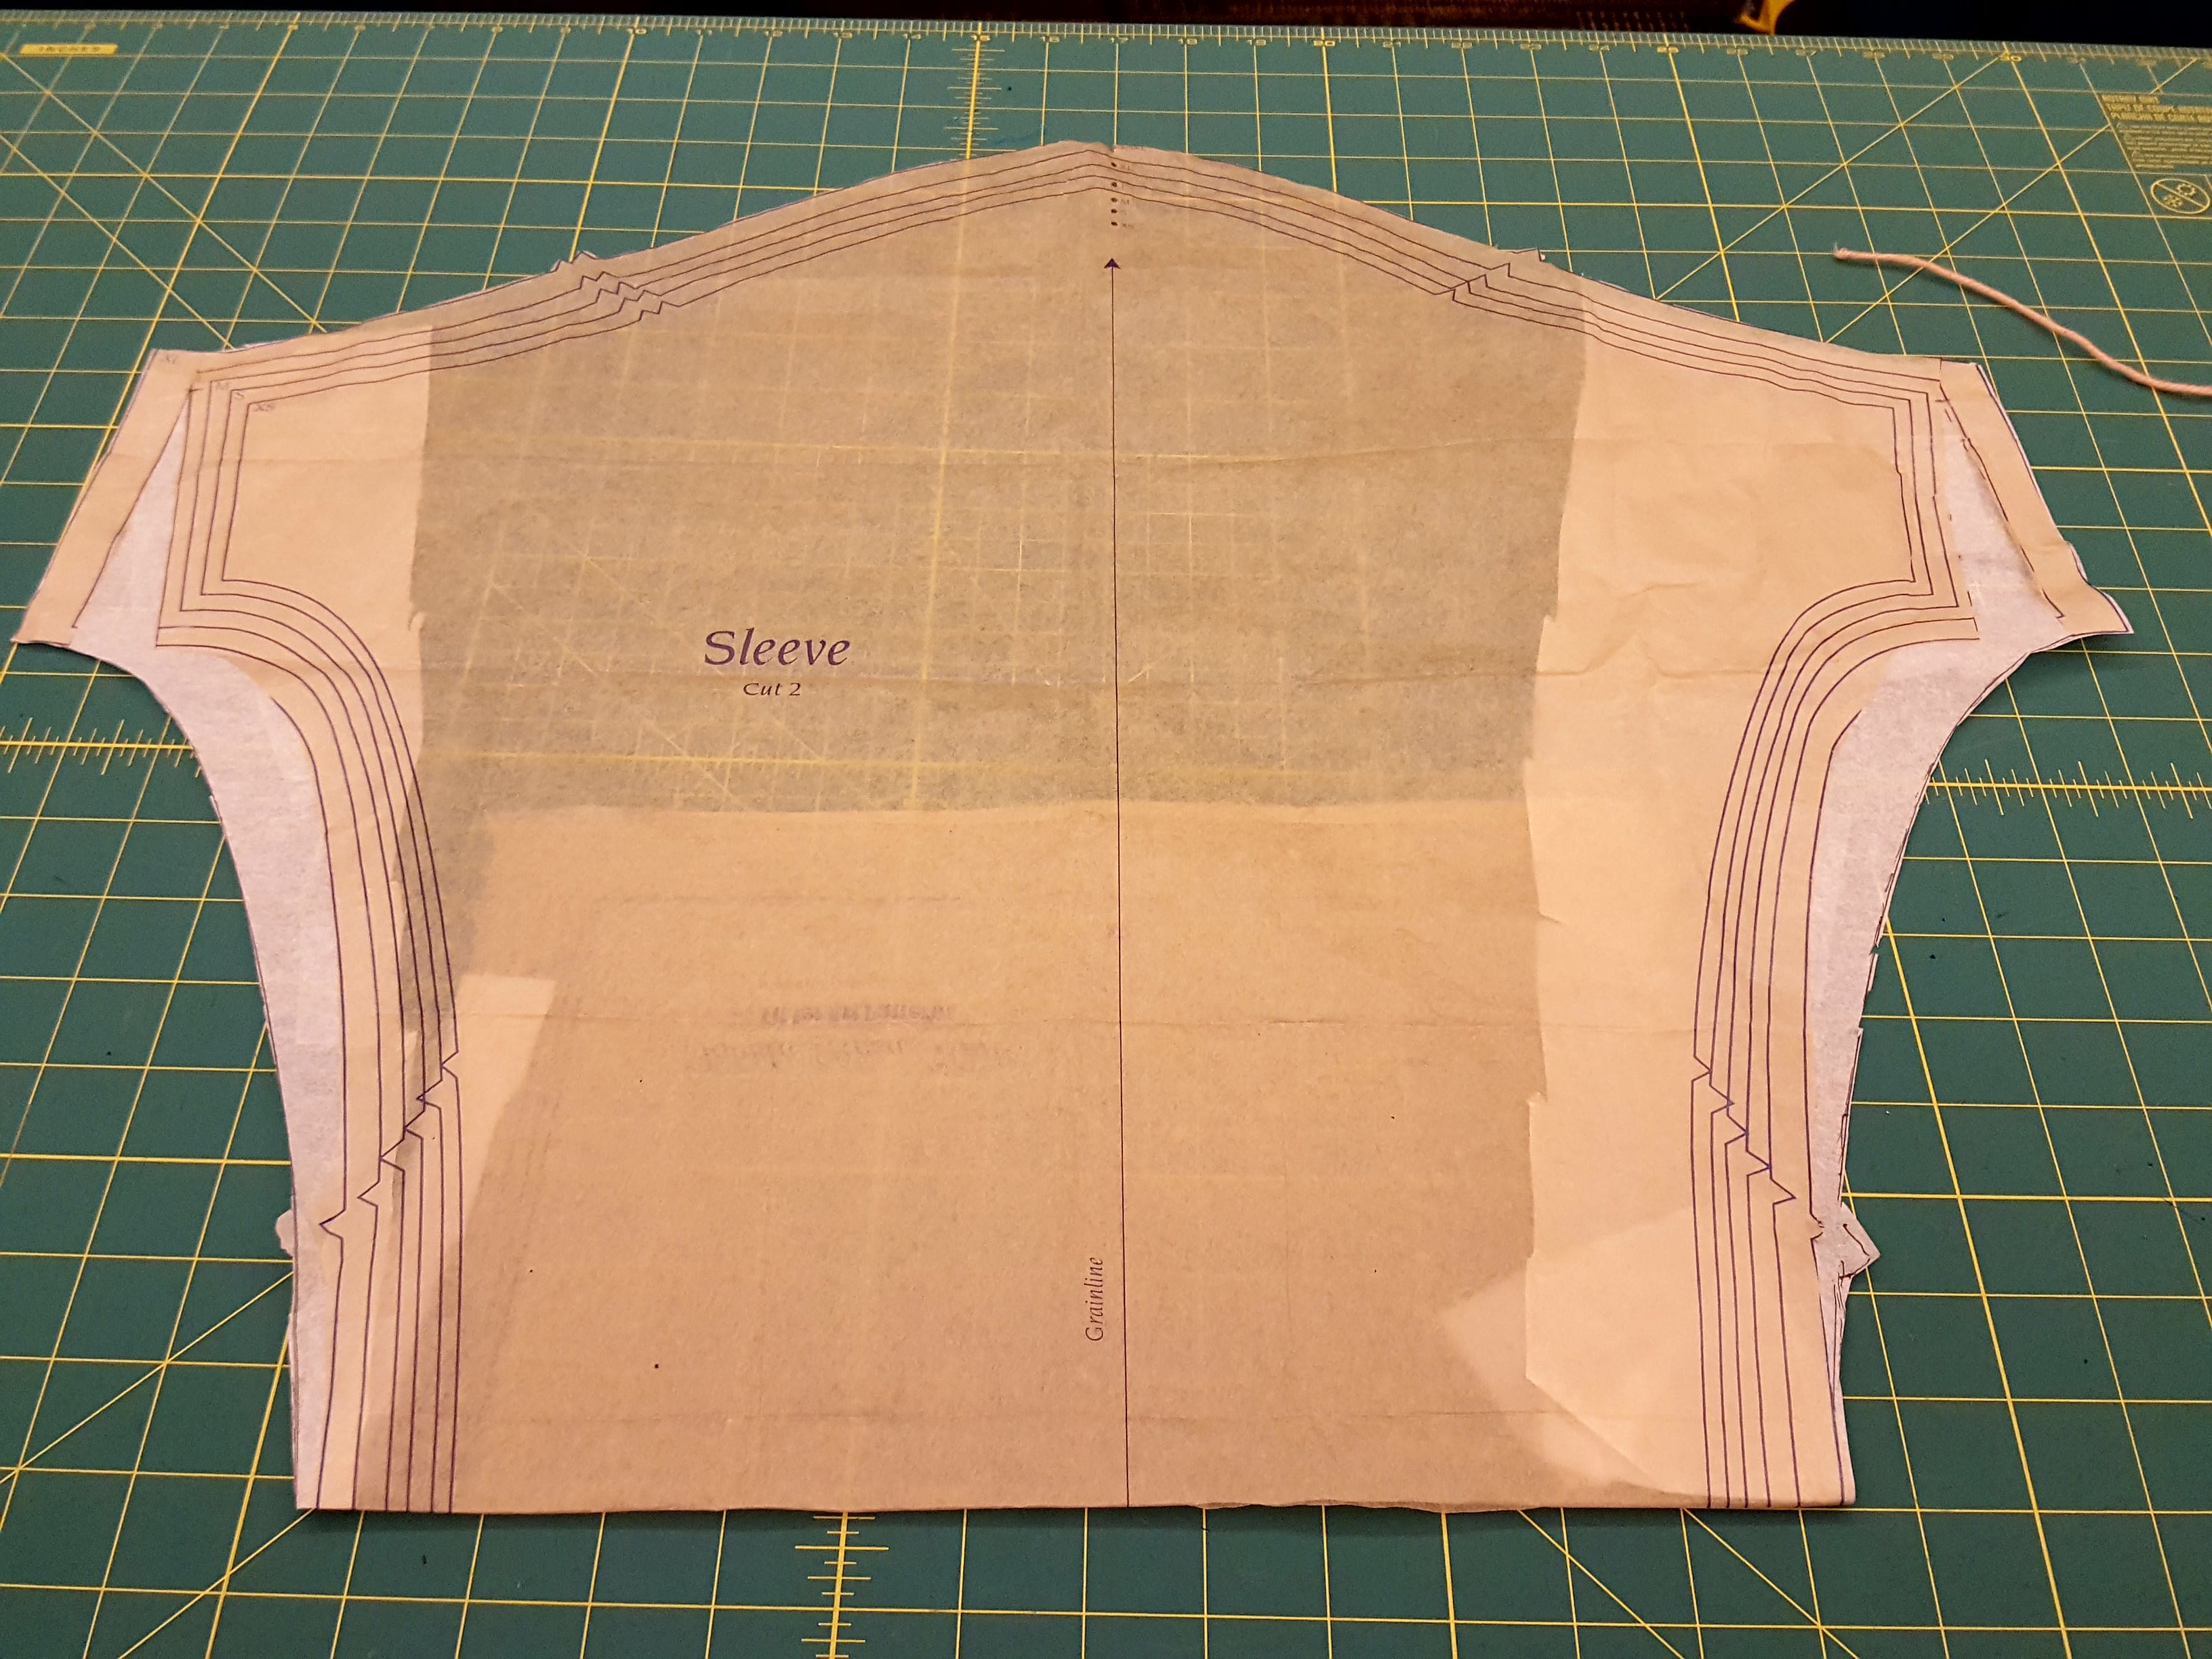
- Draw in a 5/8” seam allowance on the seams that join the sleeve to the side panel. Also, draw in the 5/8” seam allowance at the sleeve where it crosses the first seam allowance.
- Slash the seam allowance from the underarm curve to the crossing seam allowance at the sleeve cap.
- Spread the seam allowance away from the sleeve. We shifted Marie’s seam allowance about an inch.
- Tape in paper to fill in the pattern addition and extending to sleeve hem..
- Using a curved design ruler, create a new cutting line adding as much as you need under the arm and down into the sleeve. Marie added a little more than an inch to each side of the sleeve in the upper arm and continued the adjustment down the sleeve, easing the new cutting line into the original cutting line below the elbow.
At this point, Marie used this new pattern piece to cut out and stitch together a TRK tunic. When the tunic was constructed, she tried it on to check the fit. In fact, she wore it around as we talked and worked all afternoon. The new and improved tunic sleeve was better, but still pulled as she moved her arms over her head. As I watched her move, it seemed that the new problem was no longer the underarm but in the sleeve cap. We decided to add height to the sleeve cap to improve her range of motion and allow the sleeve to drape better on her body.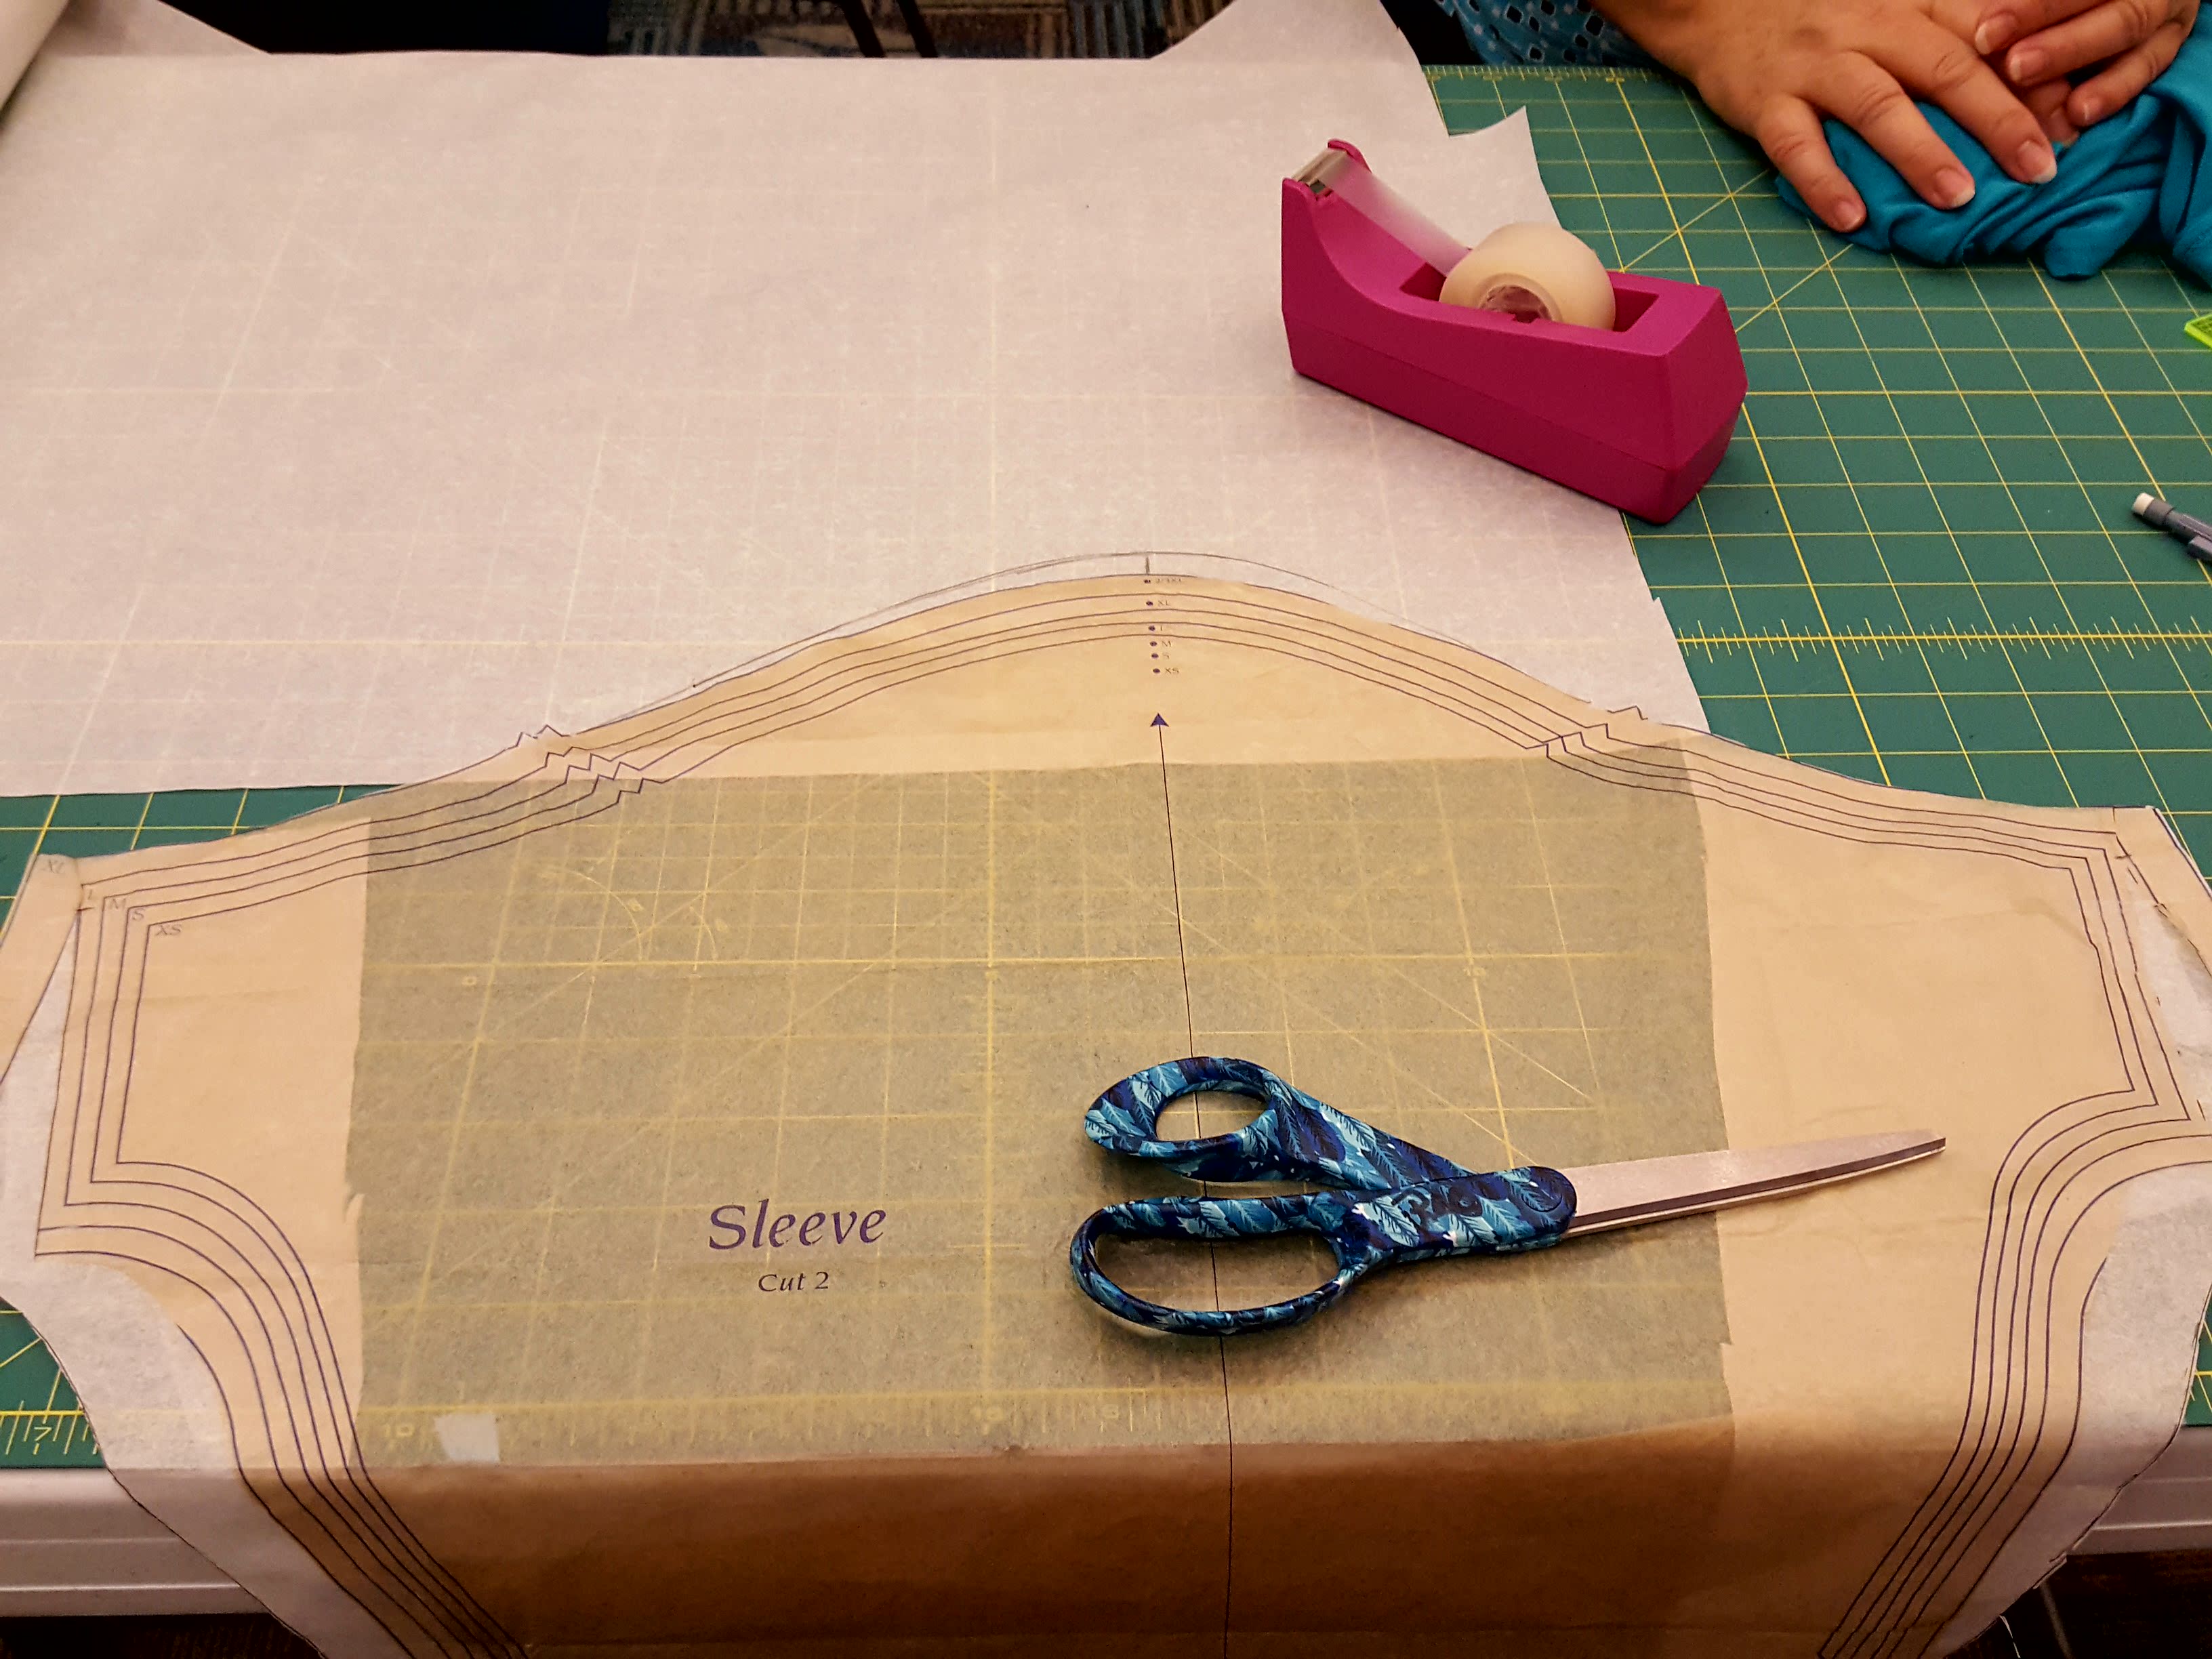
- Tape paper to the sleeve cap between the notches and extending above the original cutting line.
- Extend the grain line up beyond the cutting line, for Marie we added ½”.
- Use the curved ruler to draw a new cutting line that peaks at the extended grainline and eases into the notches.

Close up of the adjustment
Marie chose different Rifle Paper Co. prints, this time a couple of fun knits, for her next tunic. Once she stitched it together, she could test the pattern changes.
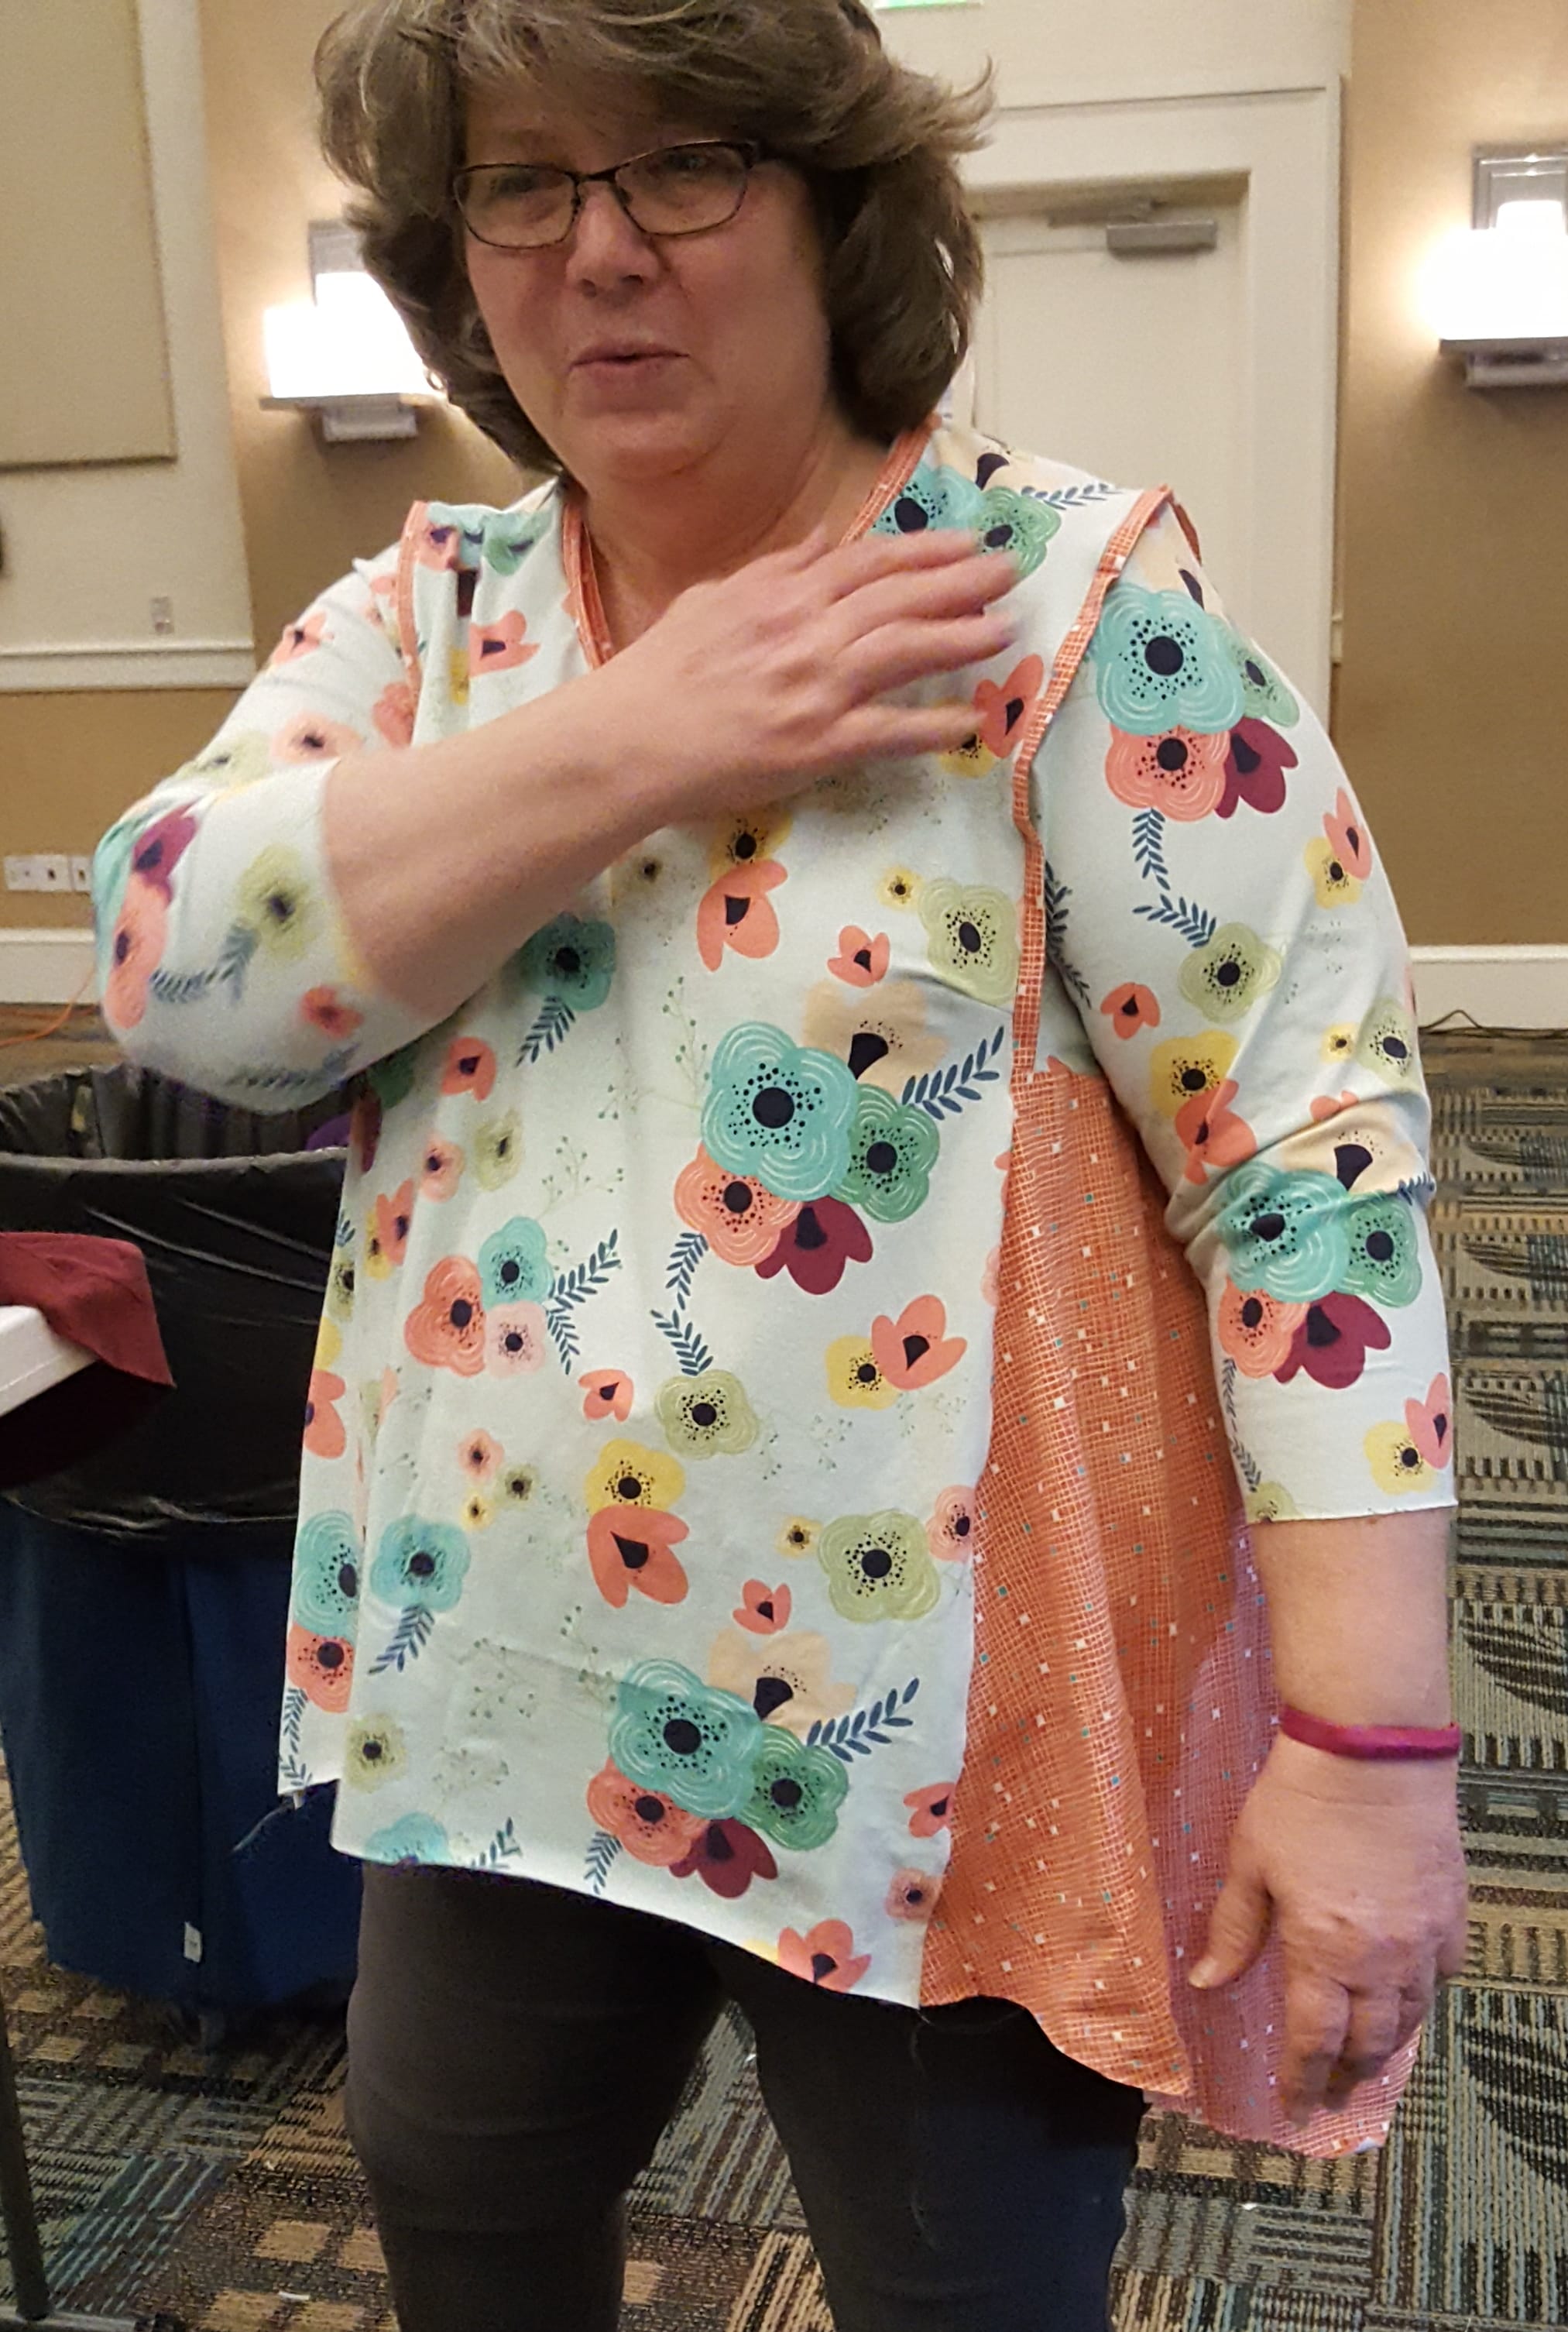
Marie is such a speedy stitcher, even when she is learning new techniques such as adding flat piping to her sleeve cap, it was not long before she was trying on this new tunic. The result was an improved fit and a great new top for her spring and summer wardrobe. Read more about the flat piping technique in our previous post, Imperfect Knit – Perfect Top.
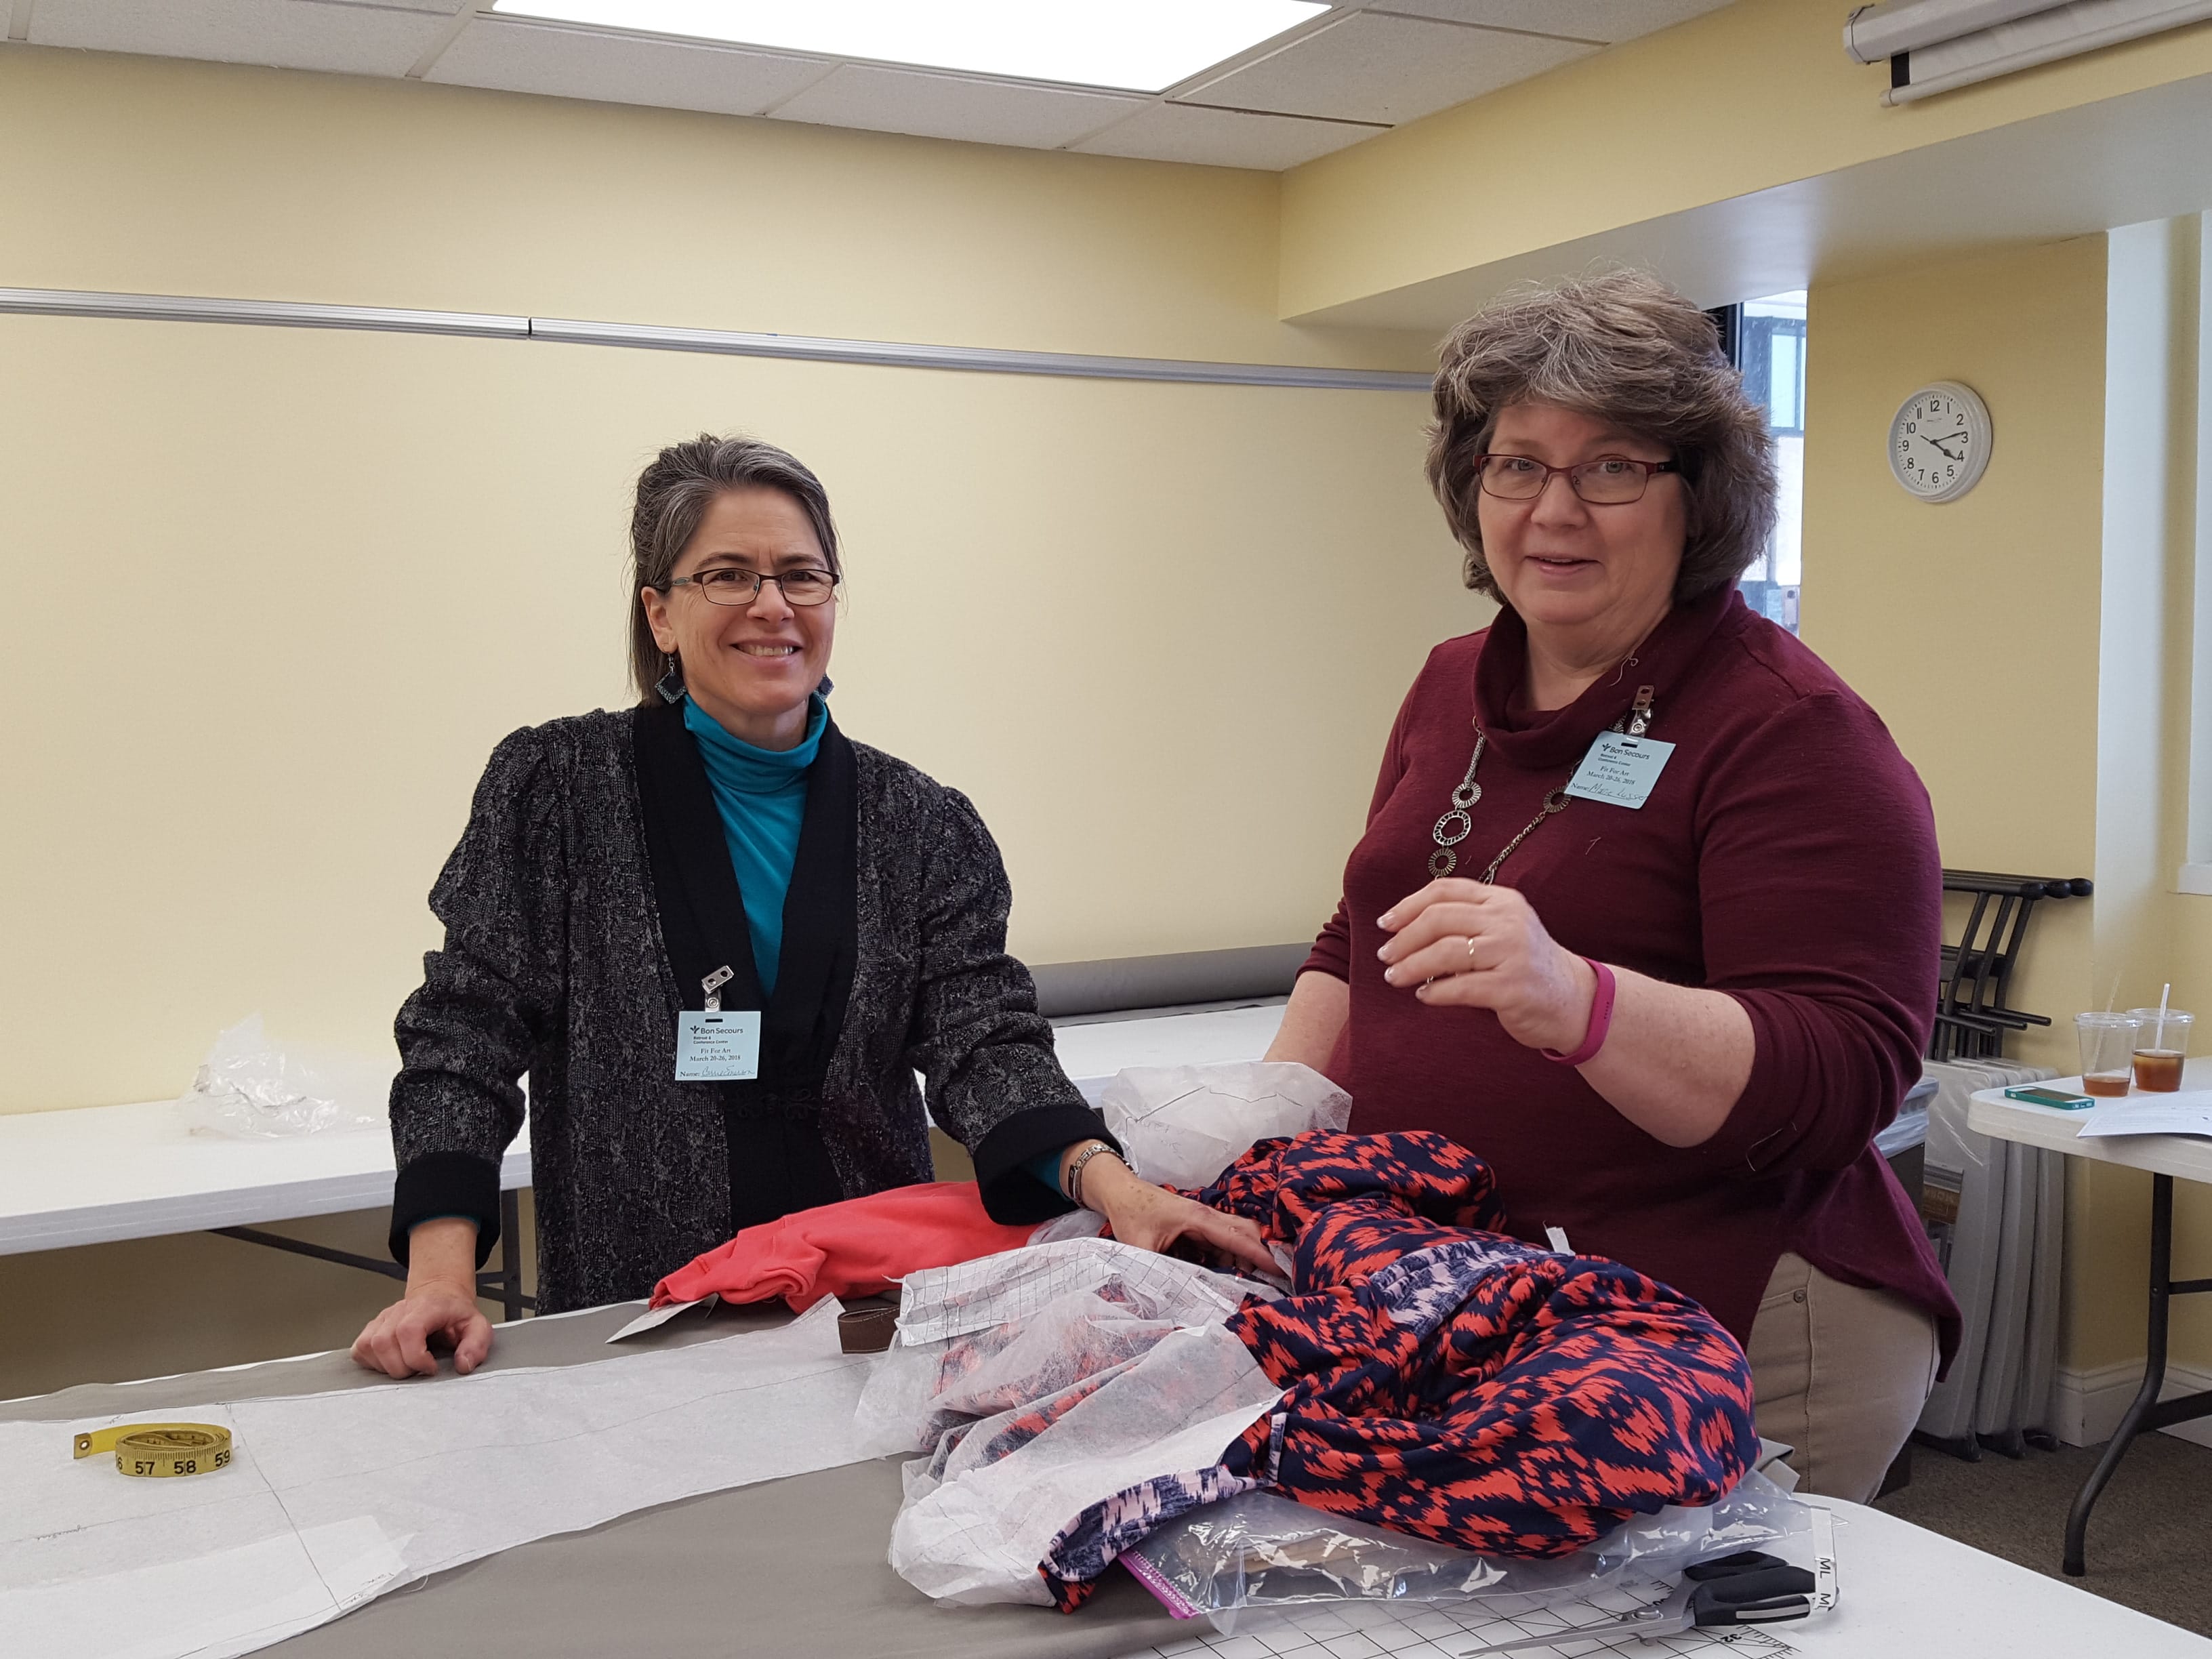
Take your sewing and personal fitting to a new level. Join Carrie, me and Marie at our Sew Successfully Retreat in March. We will have a great time and feast on fabulous food. Our planned fabric painting station will let everyone decorate knit tops in fun new ways. Marie already has her solid knit pre-washed and ready to decorate. I cannot wait to see her new creations!
Happy Sewing, RAE