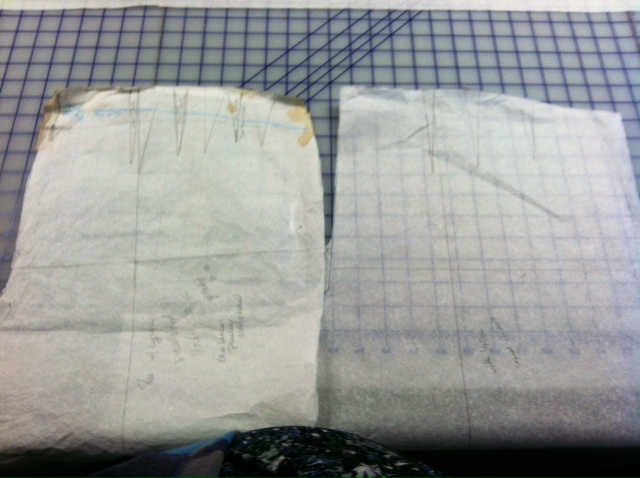
Today we will think about patterns and what is needed to keep a pattern working hard for you. I don’t mean the process of making changes during the development of a pattern, but the destiny of a frequently used pattern. Be forewarned, this is a new year’s confessional.
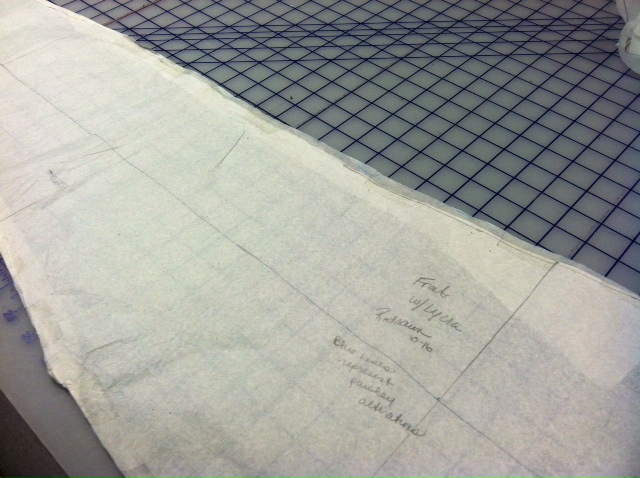
Our pattern conversation will revolve around my pants pattern. Pants is the topic of the week so I can encourage folks to take our Jan. 31-Feb. 1 Eureka! Pants class at Capital Quilts. ( There are still a few spaces left in their lovely classroom.) My plan was to write this post about marking and sewing darts in pants. I knew that I had photographed the steps when making pants in the fall but when I located the photos on my studio camera, I was struck by the dreadful state of my paper pattern. Not only had it been altered on numerous occasions but it carried the scars of an epic coffee spill!
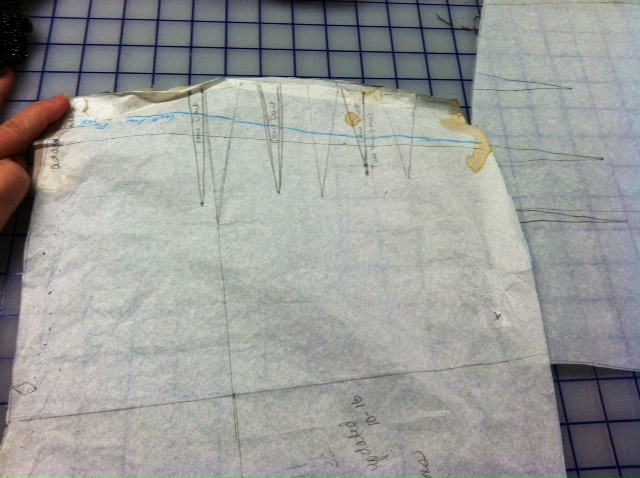
I was ashamed that my pattern looked so awful. Perhaps you can sympathize: each time I set out to make my basic Eureka! Pants in a stretch fabric I use this pattern. The pattern notations indicated that I had drafted it off my basic pattern in 2013 and did a major resize in 2016 with lots of smaller changes along the way. I have made at least 20 pairs of pants with this beloved but tattered pattern. The changes represent my ever changing body and my ever increasing awareness of how I want my pants to fit.
I should have copied the pattern a few years ago when the 2016 resize had proven successful. But time is always in short supply. There are barely enough hours to get new pants made and a new pair of pants always seem more important than a new pattern.
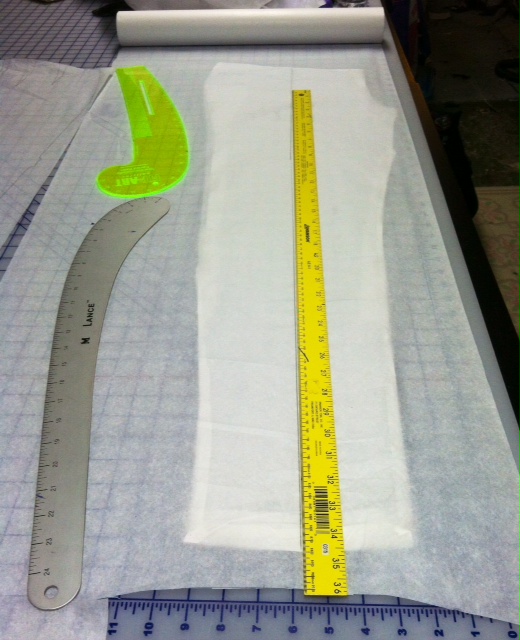
This week I remedied the problem. The pattern has been traced off onto clean pattern paper. Before I traced the pattern, I walked the inseams and side seams and adjusted the notches where they had shifted over the course of 5 years of adjustments.
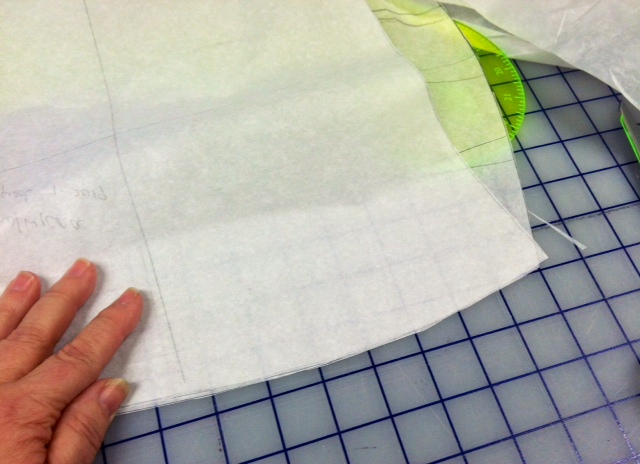
I took the time as I copied the pattern to smooth out the heavily adjusted, torn and folded cutting lines on the original pattern with my Sew Successfully curved ruler. I love the very slight curve on the inside of the ruler when working on tapered leg pants patterns.
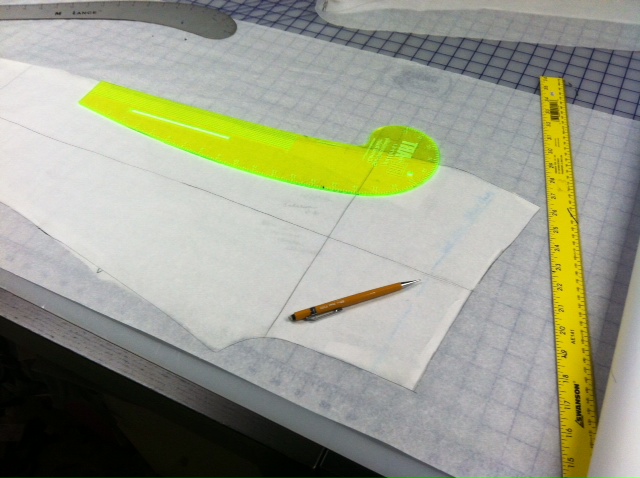
Now the 3 darts I sew into each pair of stretch woven Eureka Pants are easy to identify and the grainlines and HBLs are clearly established. (Find more information about accurately tracing patterns in our February 2018 post.)

I cut out a new pair of black stretch denim pants with the traced pattern and marked the darts. Next month I will write a post about marking and sewing darts in pants and the visuals will be pristine.
In the meantime, I will put my fresh pattern, dated January 2019 on my pattern hanger in the studio alongside the adjusted coffee stained pattern. Some day I will throw it away, but not yet. It symbolizes my productive pants making journey. Each change represents an improved fit and the empowering confidence that I can make great pants that fit my body and my lifestyle.
How do you take care of your well used patterns? Do you like to have a record of your changes or is a pristine pattern more to your liking? At the advice of some students, I mounted a clean copy of my basic Eureka! Pants on fusible weft insertion interfacing.
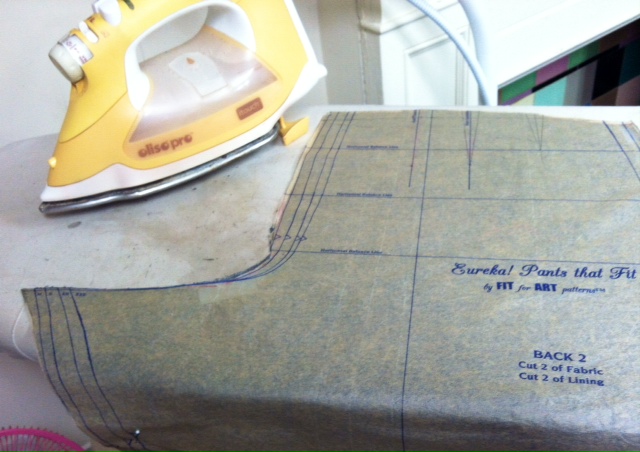
It does make the patterns sturdier, but they are too opaque for my taste. Another idea is to create permanent patterns using Tru-Grid Pelon, but carefully transfer your pattern only when you have made all your fitting adjustments and are satisfied with the fit.
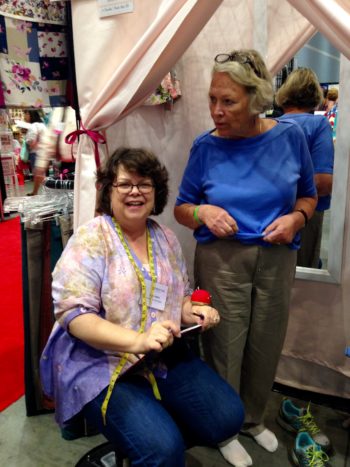
Rae doing a pants fitting at the Raleigh Expo.Improve your fit, or the state of your patterns during oone oof our Sew Successfully Retreats. It’s well worth the time and effort.
Happy Sewing, RAE


Great article, and you *deserve* a nice pattern! Thanks!
Wonderfully helpful, Rae. Thank you!