
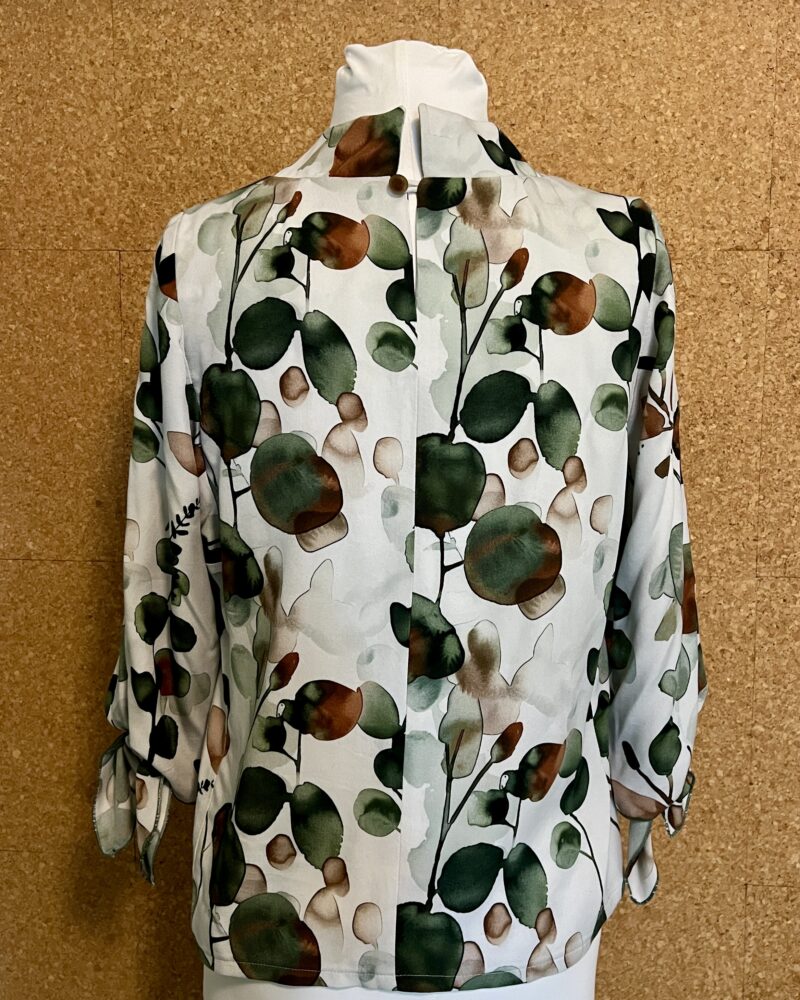
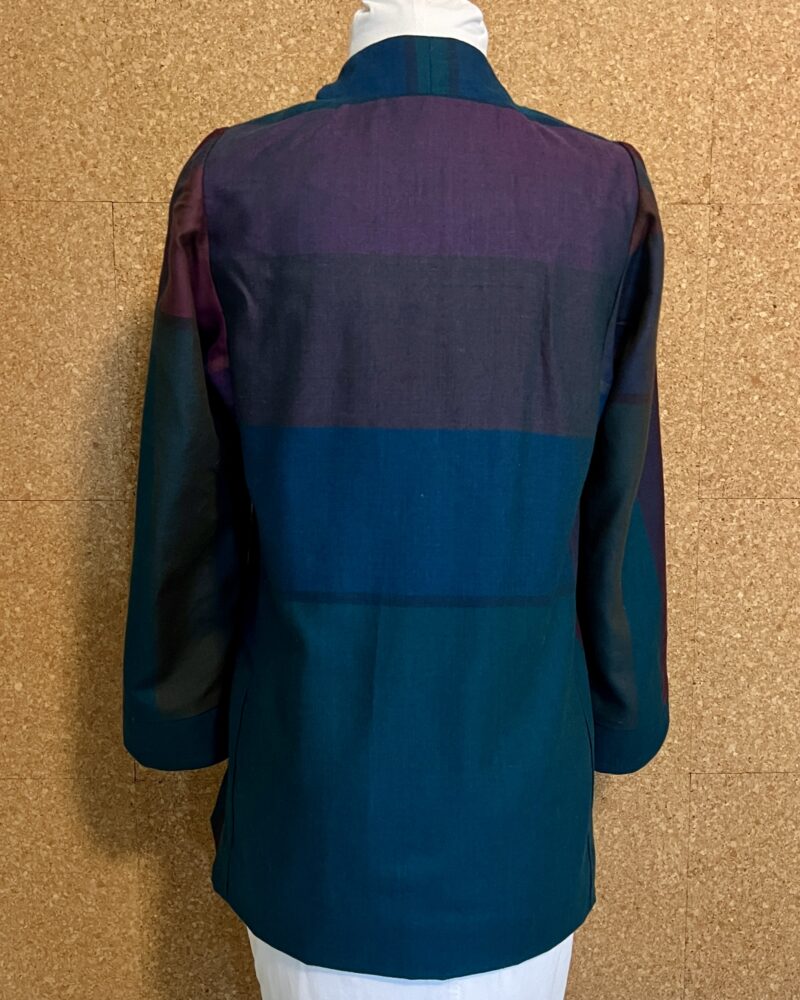
Today we take a closer look at how to add a Curved Collar to a V-Neckline Carpe Diem Dress or Tunic. The collar and V-front work together to gracefully frame the wearer’s face, making this a very flattering style for a transitional or cool-weather top or dress. Read on for tips on how to fit, prepare, and insert the collar into a V-Neck garment. Carrie will illustrate with photos from two tops, the Eucalyptus Top in rayon with self-facings and a keyhole back opening and the Wool Tunic with a closed back and complementary silk facings and collar lining.
Prepare the Patterns
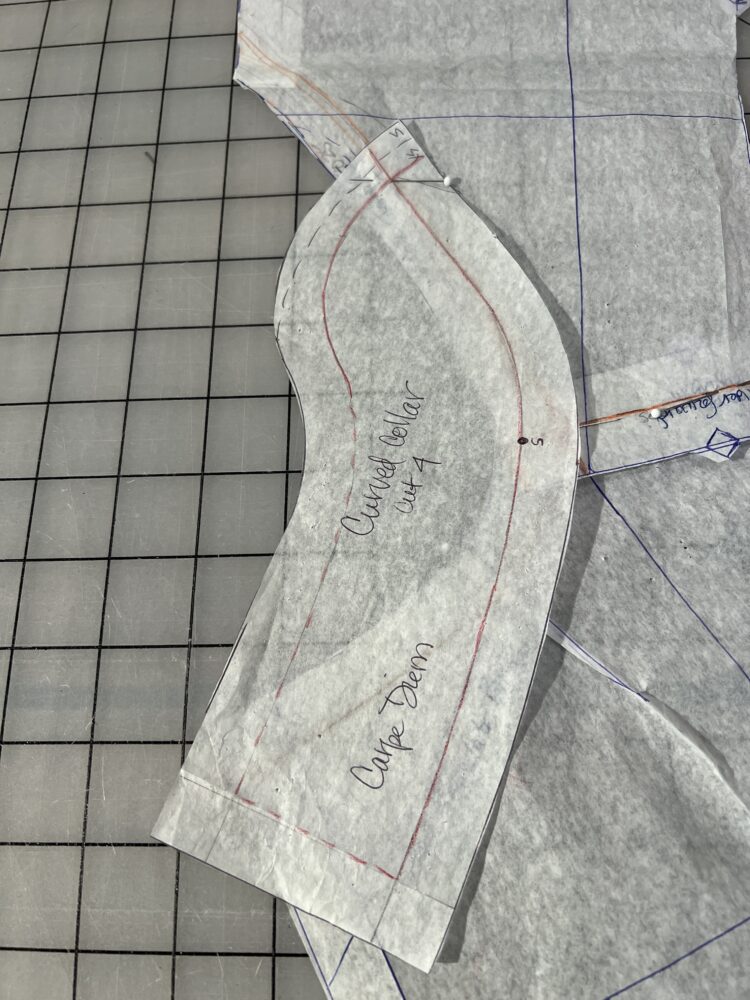
The Curved Collar V-Neck blends pattern pieces from the original Carpe Diem Dress & Tunic and the V-Neckline Variations. Gather and cut out the following pattern pieces:
- Traced copy of your original Carpe Diem Front with personal adjustments,
- V-Neck Template for Front AB or CD from V-Neckline Variations in your size,
- Original Carpe Diem Back and Back Facing with your adjustments, and
- Curved Collar for V-Neckline Variations in your size.
To modify the Carpe Diem Front for a V-Neckline dress or top, simply tape the V-Neck Front Template to your traced copy, lining up the grainline, HBL, and shoulder line. Label this pattern the V-Neckline Front. If your original Carpe Diem Front was adjusted in the front neckline or shoulders, such as a petite adjustment, shaping the front neckline or moving the shoulder seam, make matching adjustments to your V-Neck Carpe Diem Front and V-Neck Front Facing.
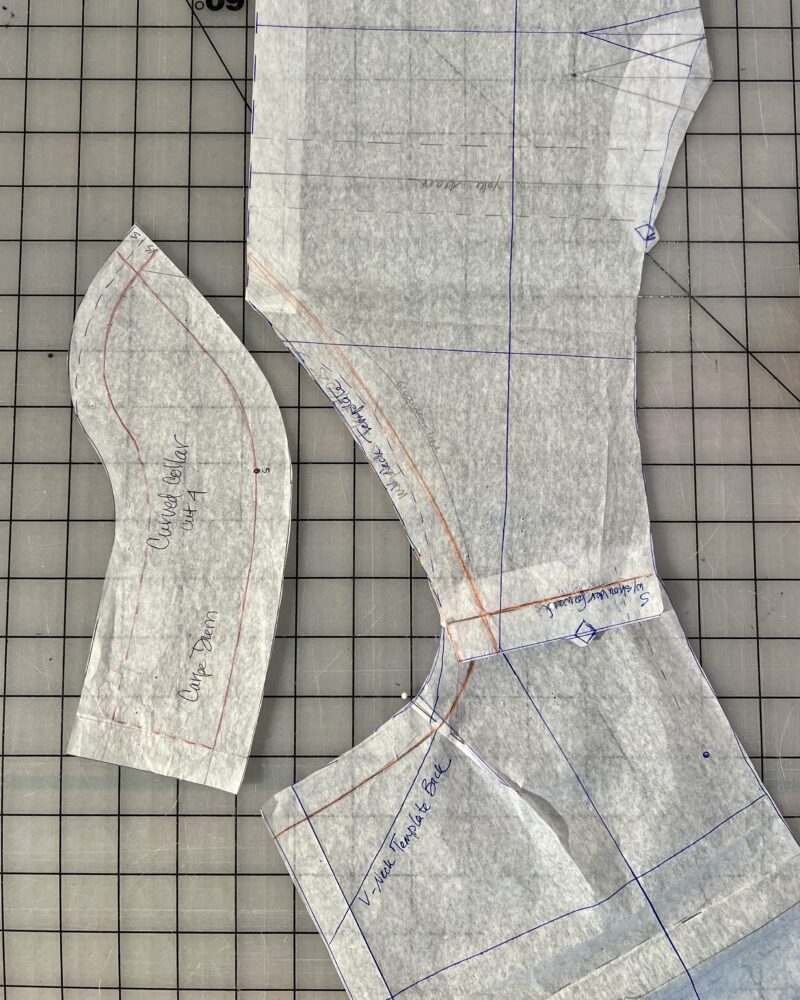
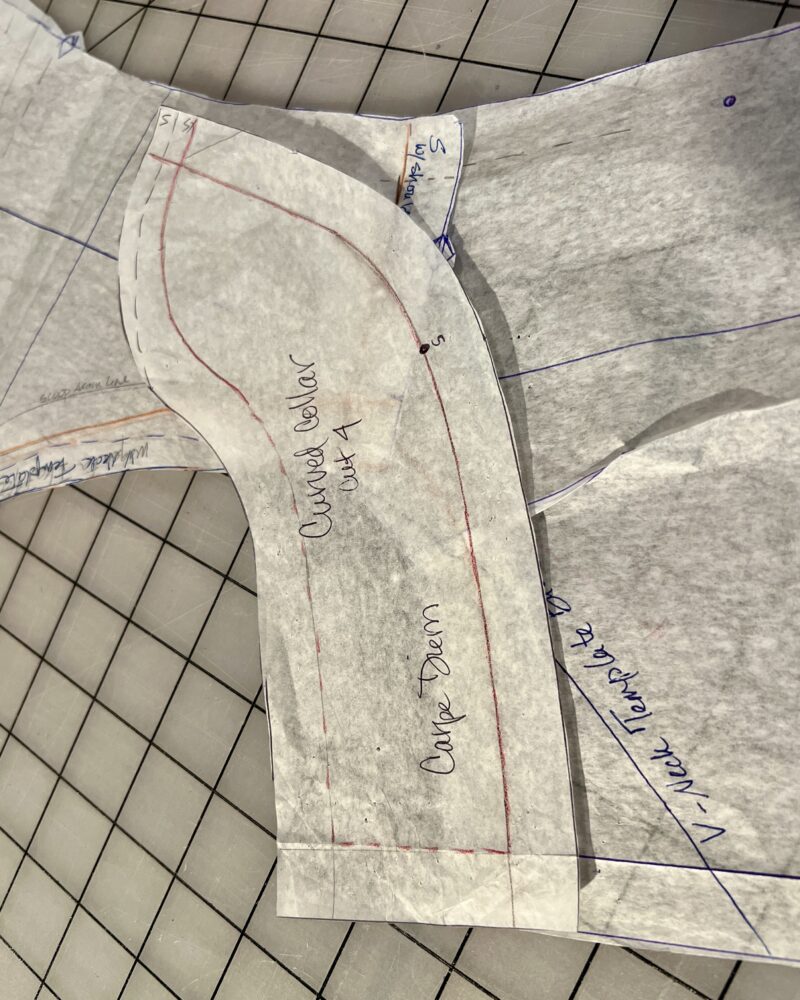
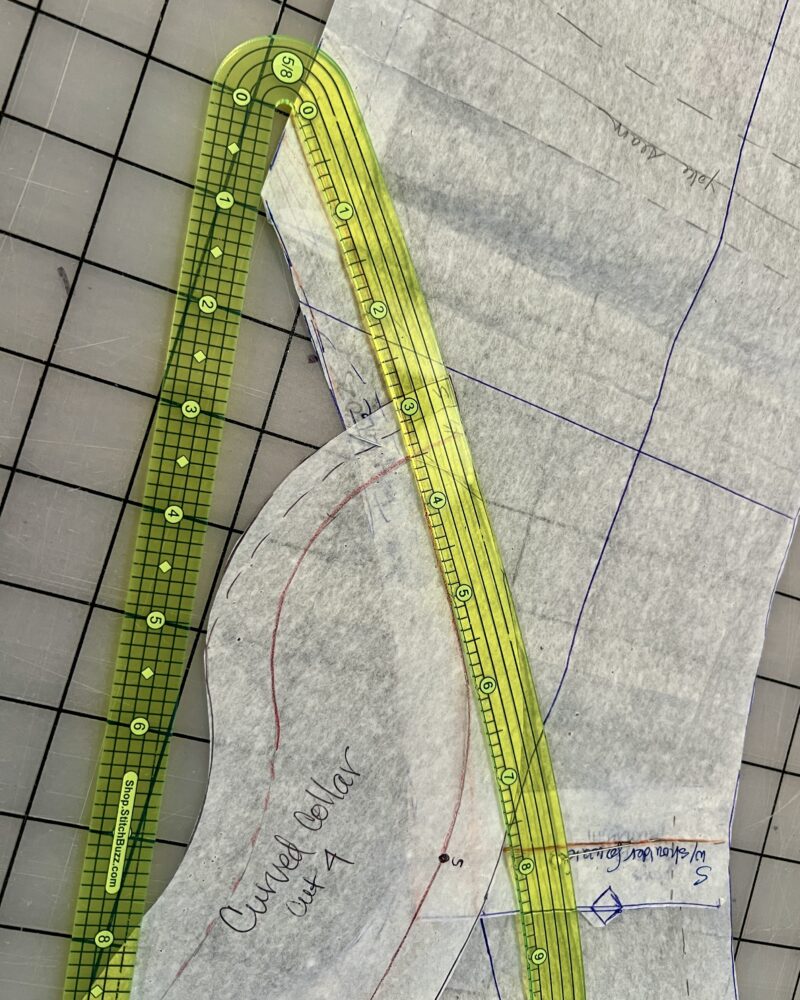
Now you are ready to check the fit of the Curved Collar by “walking” the collar pattern to the prepared front and back patterns. Begin by penciling in the 5/8” seam line along the shoulder and neckline on both the Front and Back patterns. Pin them together along the shoulder seam lines, matching the notches. If you have a dart in the back neckline for a rounded back adjustment, pin out the dart before walking the patterns.
On the Curved Collar pattern, pencil in a 5/8” seam line along the long outer curve, continuing a few inches at the point to the shorter inner curve. Starting with the short square edge of the collar pattern at the edge of the back pattern piece, align the penciled seam lines and slowly walk along the back neck and around the shoulder to the front neckline. The dot on the collar pattern should be placed at the point where the shoulder seams overlap, so move the dot if needed. Next, observe where the point of the collar lands along the front neckline; ideally it will be about 3-4” from the finished point of the V.
To see a video demonstrating how to walk the collar pattern to the front and back necklines to check fit, please scroll to the bottom of this blog post, or look for it on Fit for Art’s YouTube channel.
Interface Front, Collar and Facings
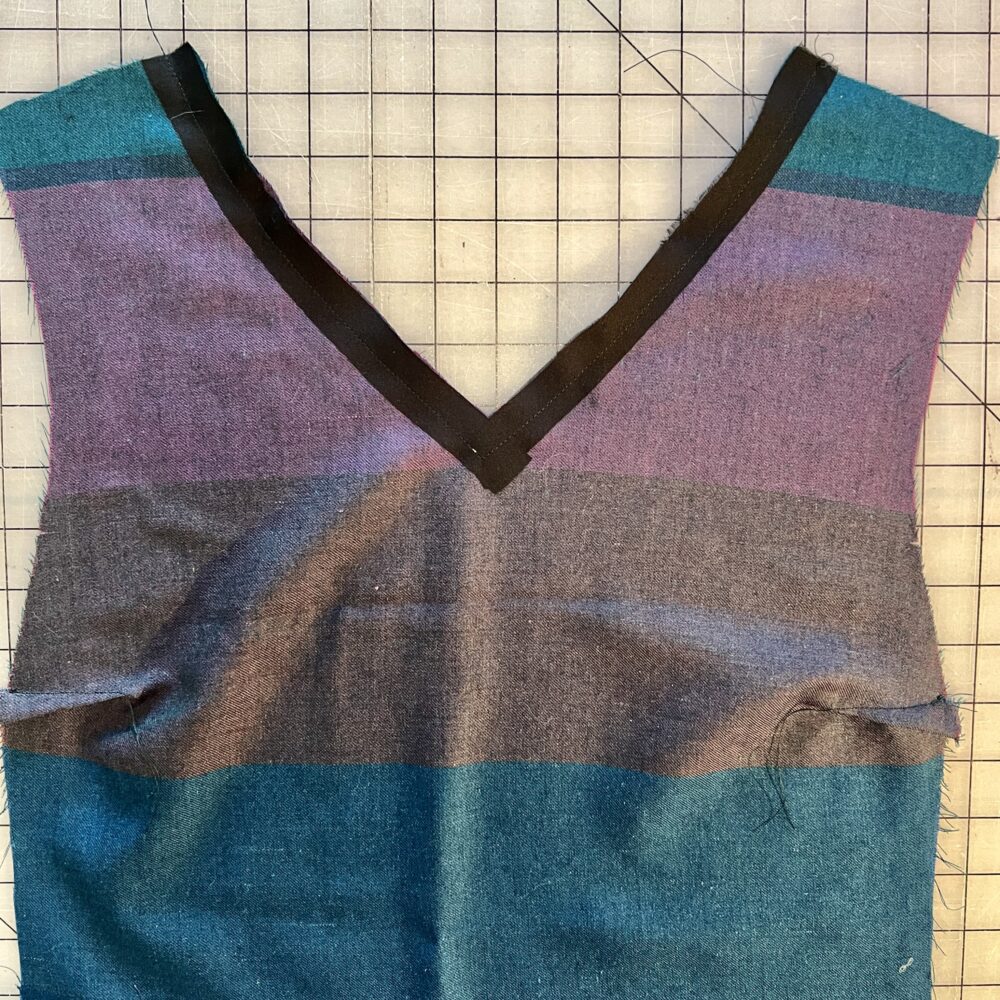
It is important to support both the neckline and collar to maintain their shape. As directed on page 7 of V-Neckline Instructions, provide support for the front V-neckline with a small piece of interfacing at the point of the V or, if the fabric is especially stretchy, soft or fragile, with a 1” wide strip of fusible interfacing along both sides of the V. Stay stitch the front and back necklines.
Apply fusible interfacing to Front and Back Facings and clean finish the lower edges by your preferred method.
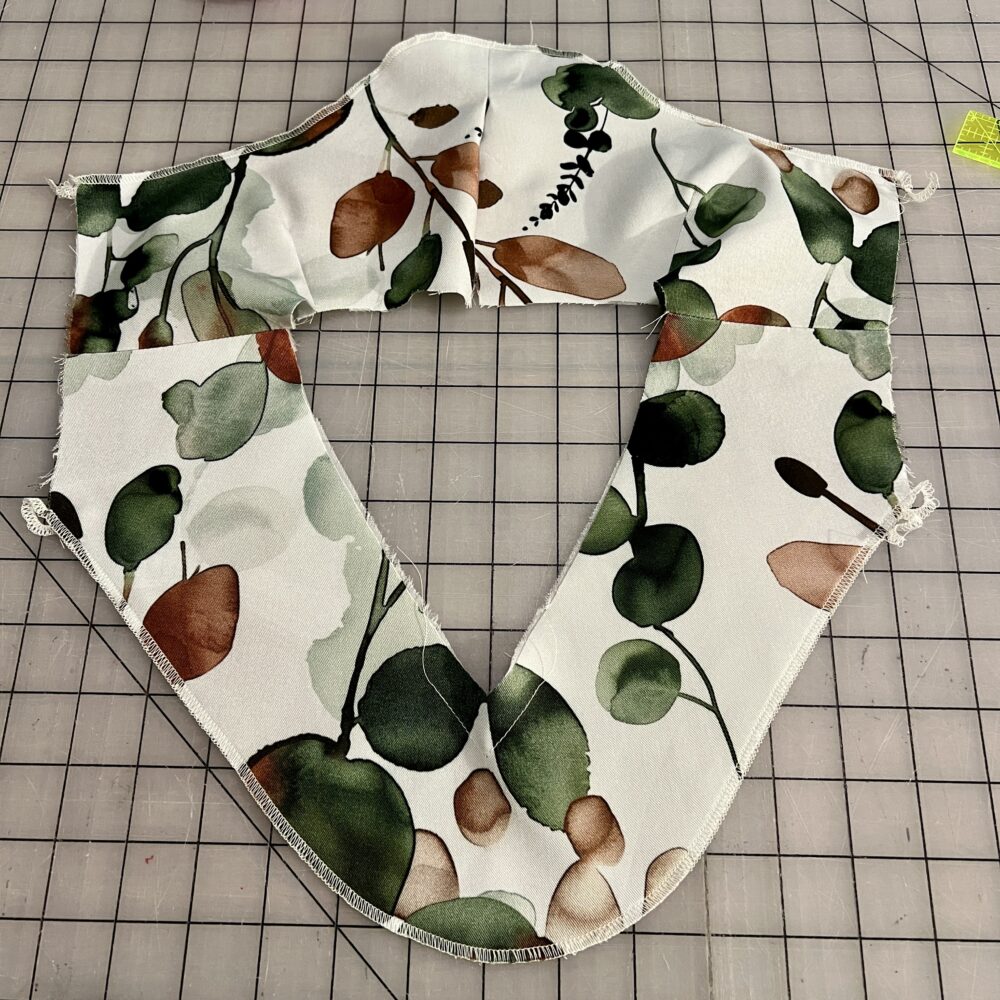

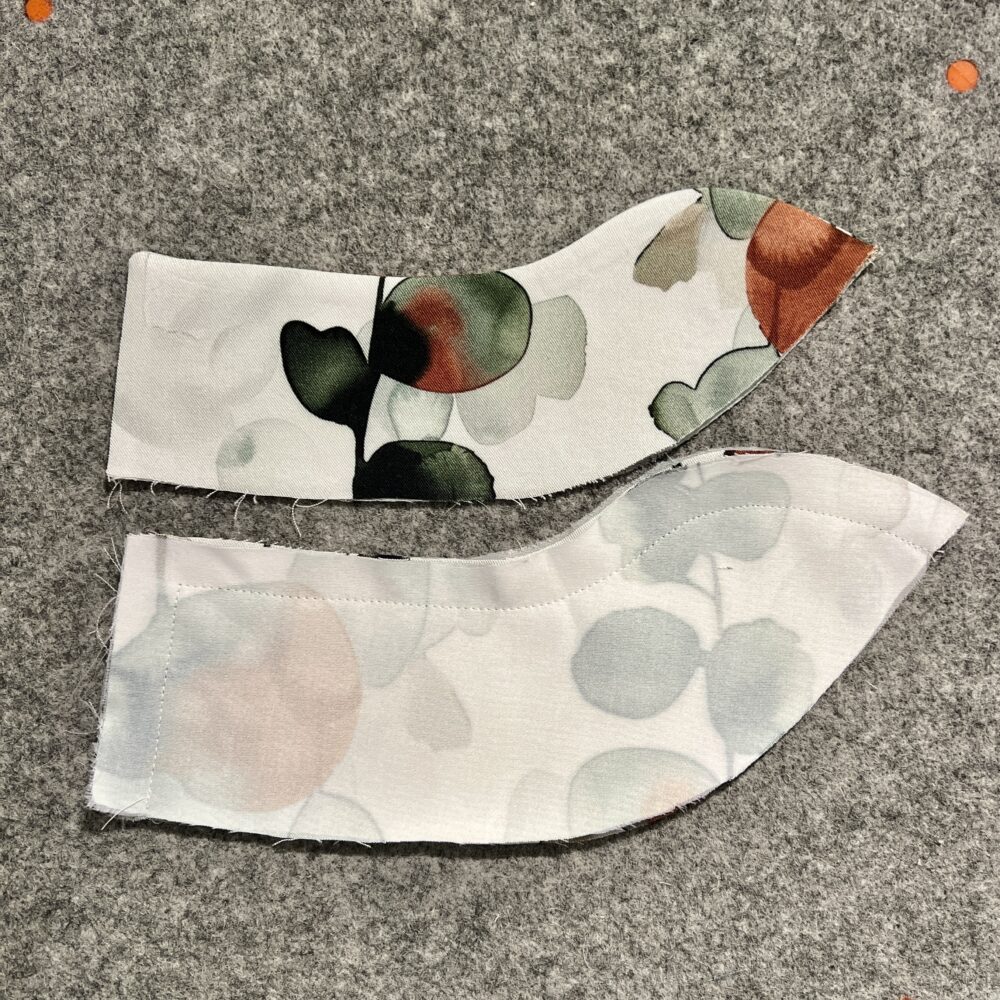
All four collar pieces must also be supported with light to medium weight fusible interfacing before assembly. Follow the directions on page 15 of the V-Neckline Instructions to prepare and assemble the single or two collars.
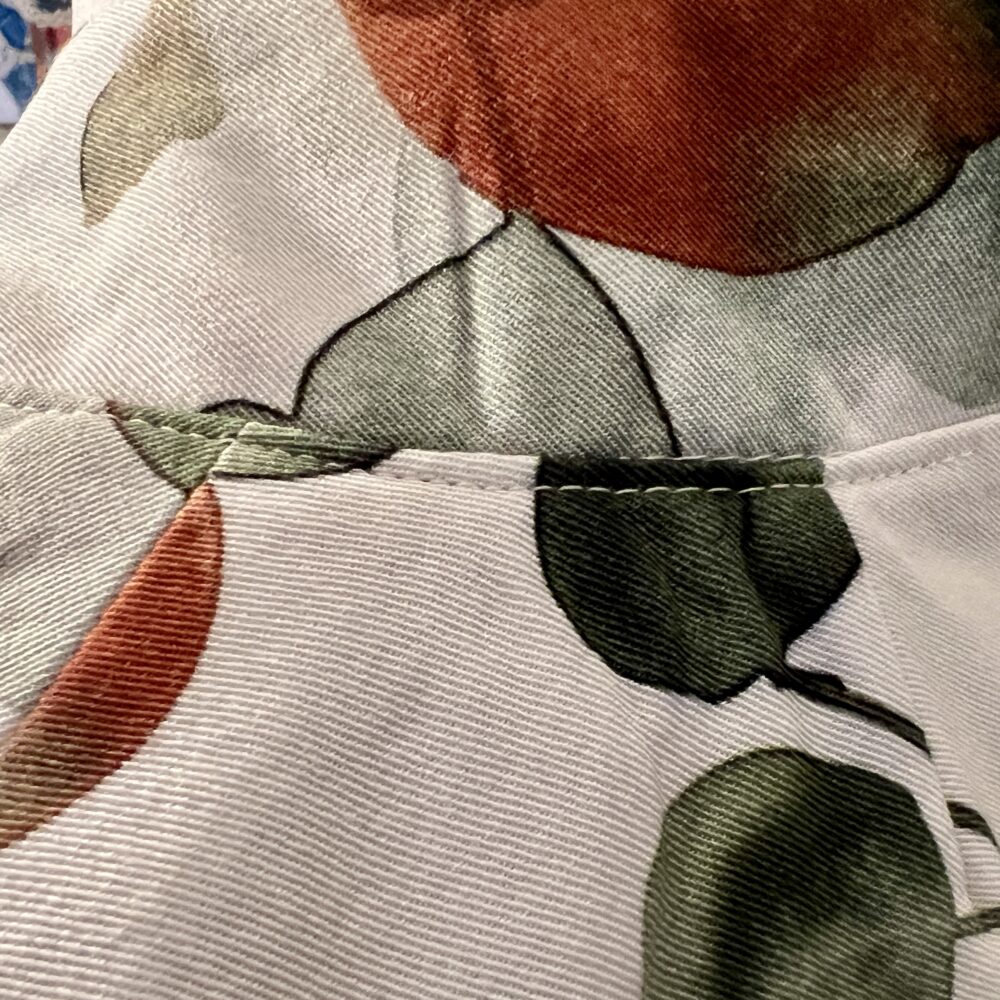
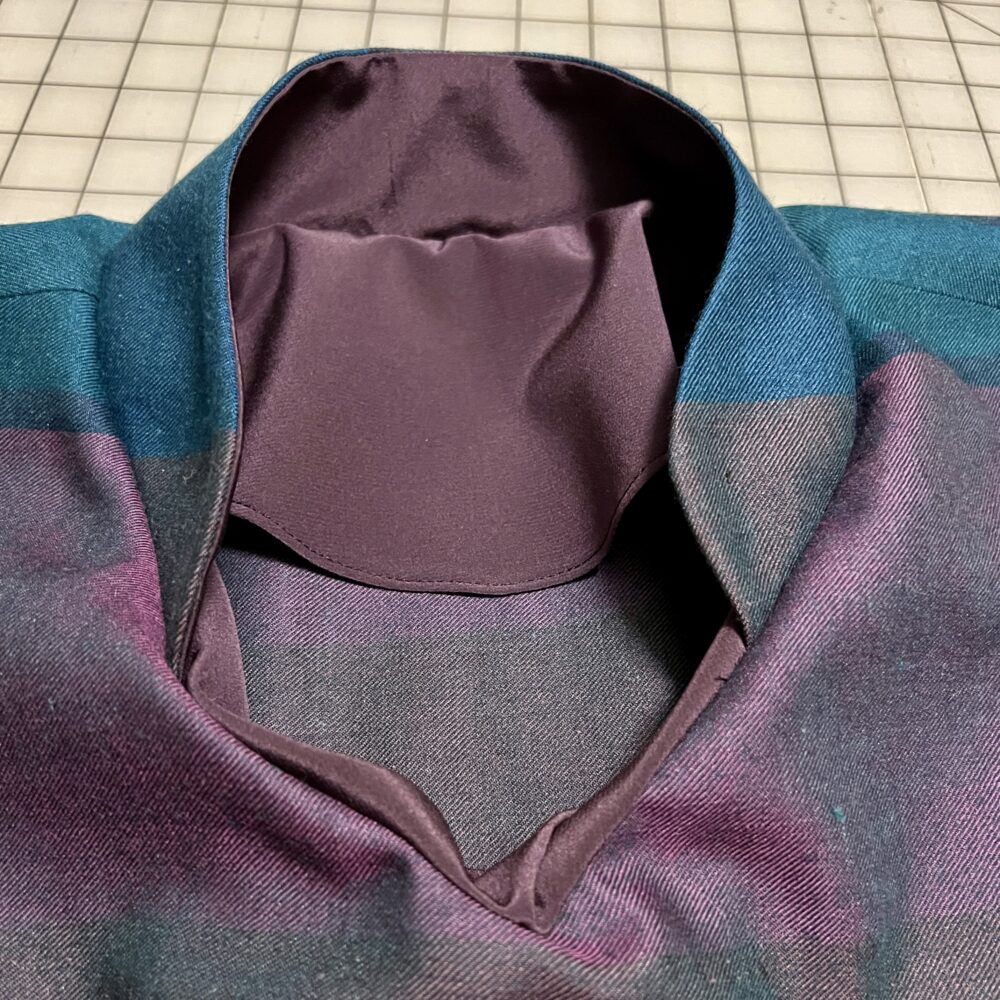
Whether you are planning a Carpe Diem with a closed back or with a zipper or keyhole opening will determine whether you are preparing a single collar joined at center back or separate right and left collars. When choosing, consider whether you will be comfortable pulling a closed back garment with collar on over your head and shoulders. You may also decide to cut the outer collar and inner collar (or collar lining) out of the same or different fabrics. Carrie lined the collar of her wool tunic with silk scraps to prevent itching, but the rayon top uses the same fabric for both inner and outer collars.

Insert Collar into Front/Back
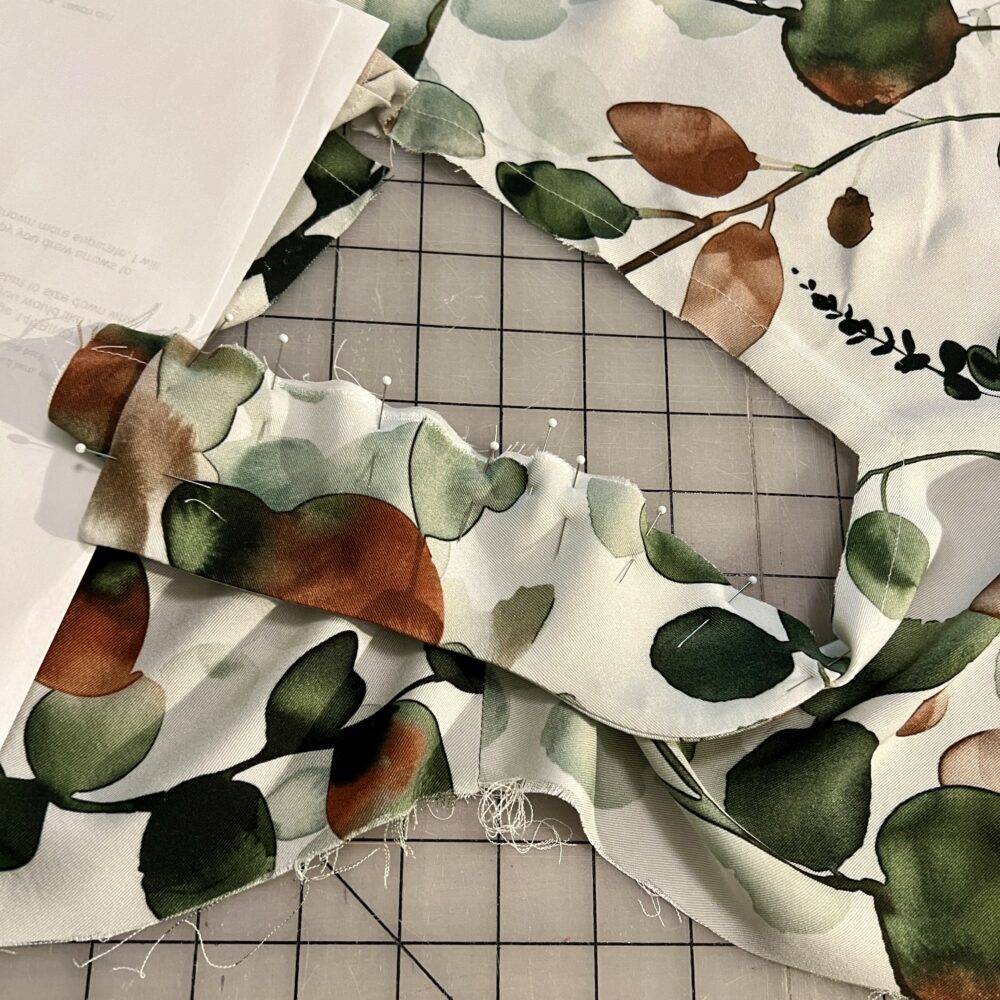
After the Carpe Diem front and back are sewn together at the shoulder seam and before inserting the prepared facings, baste the prepared collar(s) into the neckline, matching at the center back seam and dots. Now try the garment on! Remove the collar to make adjustments to shorten or lengthen the collar, if desired. When satisfied with the collar’s placement and fit, secure it with regular length stitches.
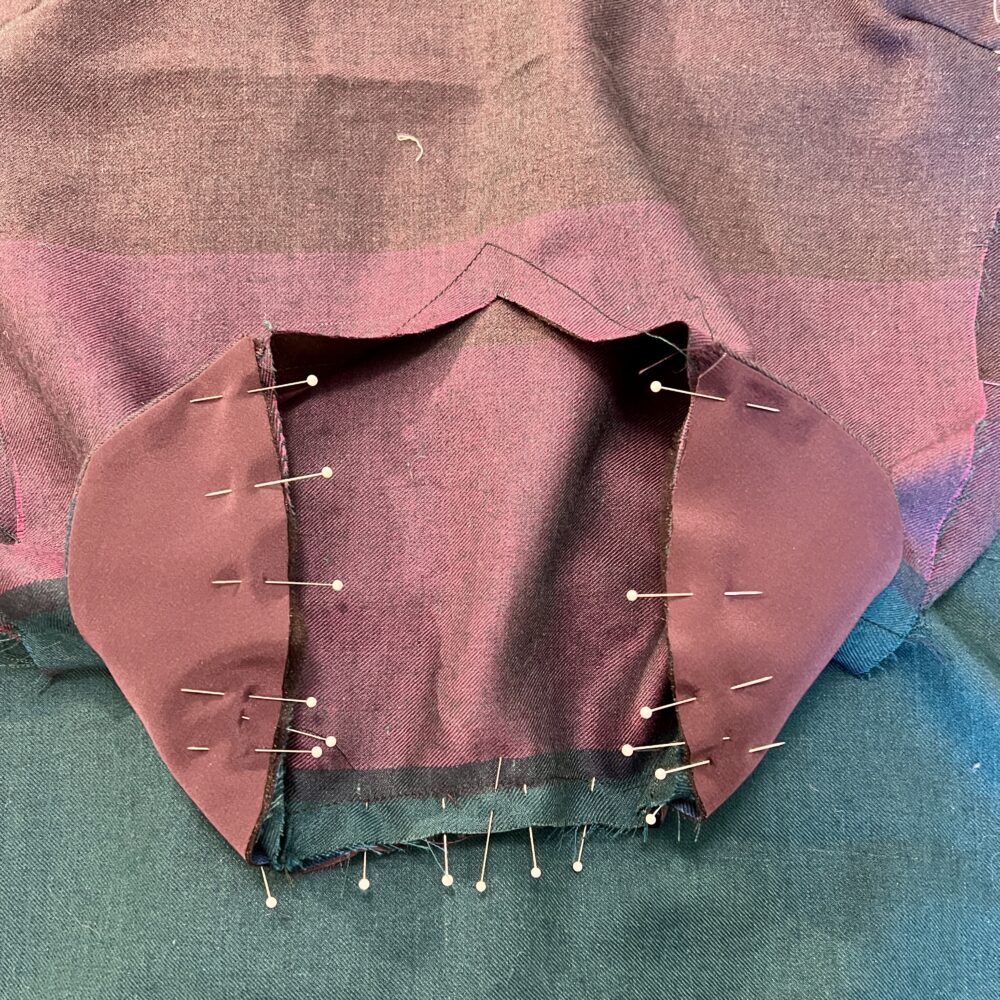
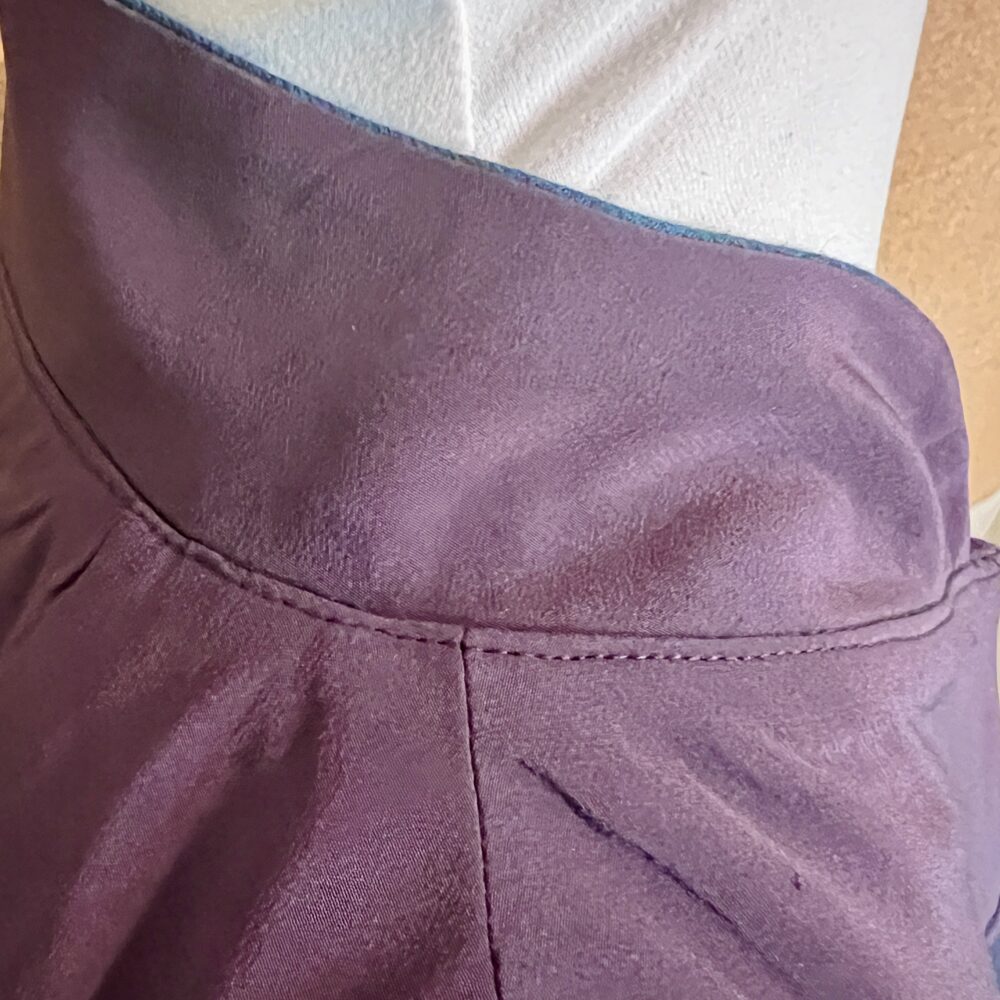
Next, pin and baste the facings into place as directed in the Carpe Diem Instructions. After ensuring that the facings are inserted smoothly, restitch with regular length stitches. Grade and clip all seam allowances around the neckline to reduce bulk and ensure that the curved collar lies smoothly. Finally, under stitch the collar and neckline seam allowances to the facings to hold everything securely in place.
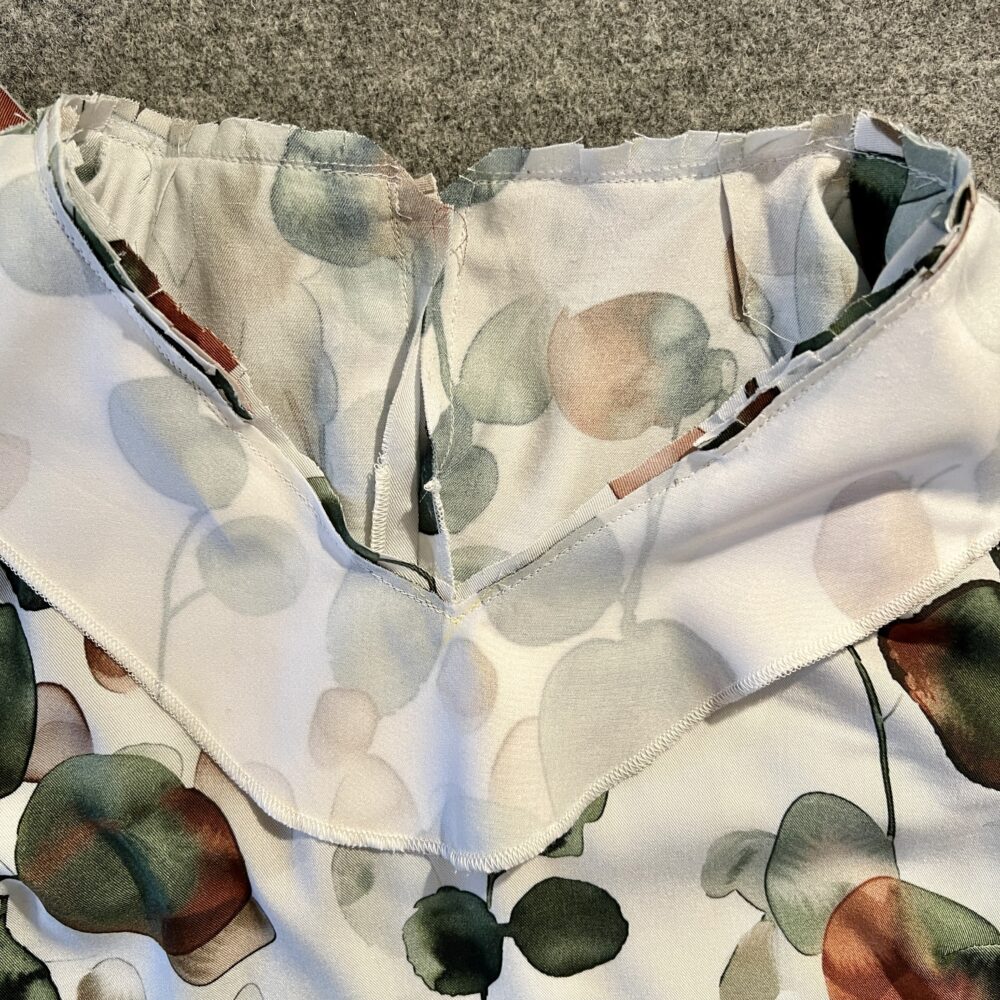
Phew! Now you are ready to insert the side/sleeve units and proceed with finishing your Carpe Diem.
While the collar does add several steps and a bit of time to the project, we think it is well worth the effort to add a Curved Collar to a V-Neckline Carpe Diem. The shaped collar is very flattering and offers a substantially different look for a Carpe Diem. It is especially nice if you like to keep the back of your neck covered in cool or transitional weather. We can’t wait to see photos of your V-Neckline Carpe Diems with, or without, Curved Collars! Please post with our hashtag #carpediemdresstunic.
Get started on fitting and making your first Carpe Diem dress or tunic with help from Rae and Carrie at a 2-day workshop on June 12-13 in Alexandria VA. Register today with Artistic Artifacts!
Happy Sewing, Carrie
Watch this terrific video of Carrie walking her prepared collar pattern to her front and back pattern pieces to assure construction success.


