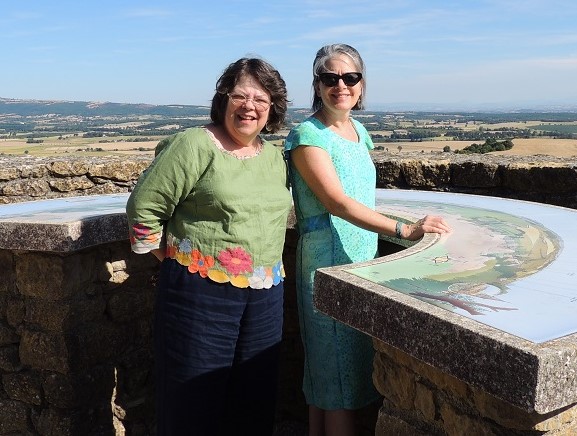
The uninterrupted hemline of the Carpe Diem opens up some fun hemline design opportunities. A new linen top, designed and made as spring became summer, is an excellent example of creative energy moving a Carpe Diem hemline to the next level.
Plan the Project
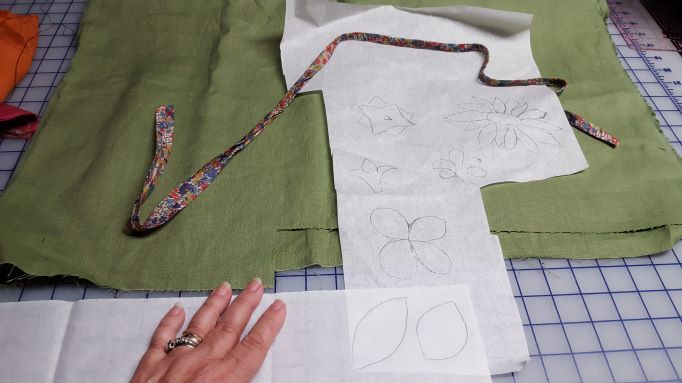
It started with a stash search for fabric and bias tape to illustrate a bias tape finishing on a Carpe Diem neckline (usually finished with a facing). A piece of olive linen surfaced. It beautifully coordinated with a piece of bias tape decorated with a small floral print. On its own, this combination of fabric and trim would have made a serviceable cropped Carpe Diem top to go with my blue Glamour Details Eureka! Pants.
Find Creative Inspiration
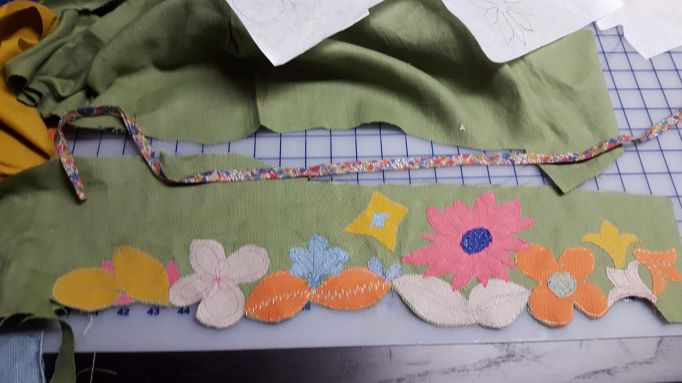
Then it occurred to me that perhaps the motifs in the bias tape could be enlarged into a decorative hem finish. Between Carrie’s and my stash, a number of coordinating linens surfaced and the top’s detailing came into focus. It was tested on a small sample. The colors in the sample seemed imperfect and a different blue, orange and red were chosen for an improved palette.
Act on the Inspiration
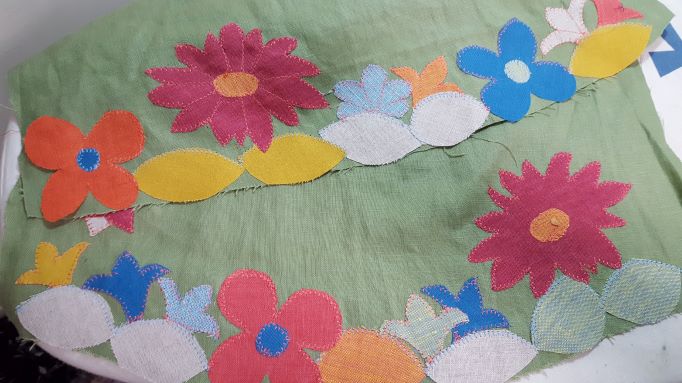
This was a great project to test out Sulky’s new Perfect Applique. Linen can be ravelly so a light fusible base would make the project easier. Flower templates were drawn, inspired by the printed bias tape, then traced onto the paper side of the 2-sided applique product. These drawn templates were fused to linen, cut out and then arranged decoratively on the slightly curved hemline of each carpe diem section.
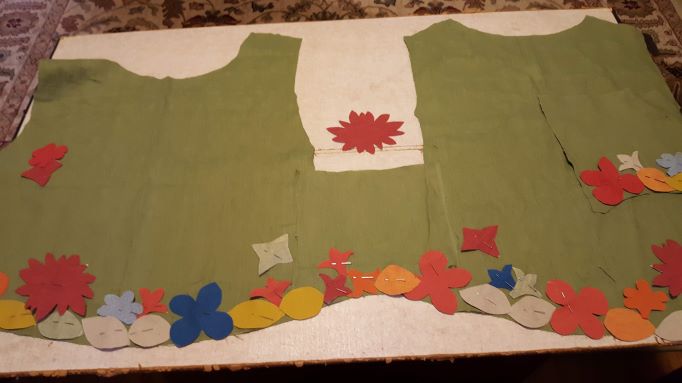
Their arrangement was changed and rearranged with pins until the balance of shape and color seemed right. Then each applique was pealed and fused along the hem of each Carpe Diem section.

Any applique that was to cross a seamline was partially pealed and attached so the hem edge could be finished smoothly after the top’s construction was complete.
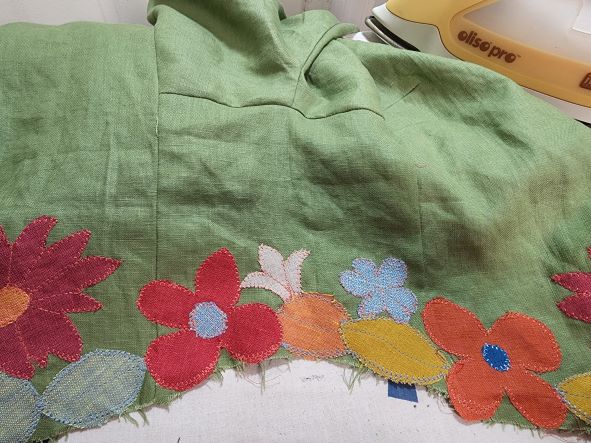
Once everything is stitched in place, the raw edges of the hem were carefully trimmed away.
Years ago, I put a similar hem on a collaged vest. It was a technique featured in a Threads Article by Rosemary Eichorn on raw edge collage. It was fun to try it in a simpler format and it is very fun to wear.
Plan to Repeat the idea
While this Carpe Diem is cropped with a slightly curved hem, the technique could be applied to a longer tunic or a dress. It could even be used on the hem of tapered, cropped or wide leg Eureka! Pants. The possibilities are endless when you are working with a well fitting pattern that has been tested for comfort and wear.

Take a Class or Sew on Retreat
If you are coming to the Fredericksburg OSQE, see the original sample in my Creative Hemlines Class or drop by the booth to see the top up close. A project like this would be perfect to work on at our Sew Successfully Retreat in November. We would love to sew with you in person.
Keep an eye on Facebook and Instagram this week for photos of the neck binding process and a few more process photos of this fun project, there’s even a Pinterest Idea Pin with a more detailed set of photos.
Happy Sewing, RAE


