In this year of fashionable quilted jackets, why not make one for yourself. If you are feeling nervous about the prospect, join my free stage class on quilted jackets next Wednesday at the virtual Sewing and Stitchery Expo or the Layering Class at the in person OSQE in Atlanta. This post will review the basic steps and show you the quilted spring coat currently on my work table. Here is a first peek to pique your interest.
Fabric for the Quilted Coat
My daughters have great taste and they love to gift me with fabric. In 2018 they gave me this beautiful Echino canvas and a lighter weight companion fabric, for my birthday. (Read about another Echino fabric birthday gift in Imagining a Spectacle.)
This fabric has a real wow factor, so brilliantly gold on the signature Echino wheat colored background. It has been sitting prominently on my fabric to-do shelf awaiting an inspiration for some time.
Because the fabric was printed in blocks, but the blocks were undefined, my ongoing thought was to use thread to define the blocks into a quilted coat. But, an entire coat in the beautiful block print seemed overwhelming. Then, last year at the Fredericksburg OSQE, we met a gal selling similar fabrics and I spotted a gold/wheat canvas with linear motifs. I surmised that it could be the side panels, breaking up the squares subtly on the coat. During a virtual OSQE class, the attendees helped me choose the beautiful pink vintage buttons, heavy magenta quilting thread, and the similarly colored rayon ambiance lining to round out the fabric composition.

This also seemed like a good chance to try out a new Quilters Dream batting I had ordered during the pandemic, the Cotton Premium Loft, very silky and thin, but with good stability to stand up to the canvas.
Design and Cut

A new quilted jacket is a real pick-me-up during the cold days of March and April. The canvas is very stable, so a funnel neck Tabula Rasa Jacket using the Rain or Shine Variations was my design choice. The center front opening would allow me to align the squares for a visually pleasing center front opening. I cut the coat out of single layer fabric using my grid Pellon pattern pieces, adapted with the funnel neck templates. That allows for a very accurate fussy cut of the fabric. Cut ½” outside of the pattern pieces to allow for shrinkage during the quilting process.

The lighter weight, more colorful fabric will be the facings and the split roll back cuffs. Split roll back cuffs in single layer fabric can be pretty floppy, but in a quilted jacket, they are very effective because of the batting support. The pieces were fussy cut to feature the hot pink so the buttons and lining would be complimented. The facings and cuffs are interfaced with Soft Stretch to add a loftiness to this cotton broadcloth. Use the lining directions and front lining piece in the Rain or Shine pattern to cut the lining for a smooth fit.
Quilt and Construct
Quilt the jacket in pieces by stacking and pressing the batting and fabric together. I put a few pins in the interior to hold the two layers together smoothly while quilting to form the lines between the printed squares on the front and back, and lines on the sides. Don’t forget to cut the batting out of any darts that will be sewn in after the quilting.
Press the quilted pieces, then lay the pattern on top and cut away any extra that still remains so the pieces reflect the well-fitting pattern. Follow the jacket construction directions to assemble the jacket, test the fit and adjust if necessary. Then trim the batting out of all the seam allowances. I did this while watching the Olympics.


Assemble the facings and linings as well into the free-hanging layer that will be connected around the outer edge.

Before the outside and inside are put together, I have to decide whether to add some trim along the seamlines, determine where to place the buttons and choose a finished length.

Why Not Try it Yourself?
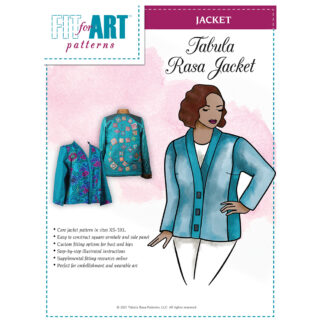
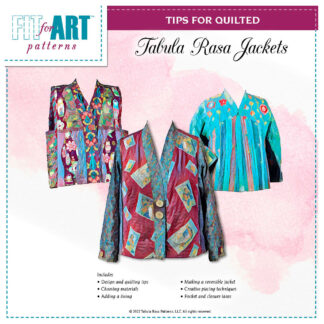
Whole cloth quilting with a free hanging lining, is to my mind, the easiest kind of quilted jacket to make. Because the fabric in this jacket was printed in blocks and lines already, the quilting simply followed the print. Find some fun fabric and get started on your own. Our Quilting Tips Booklet and Tabula Rasa Jacket pattern will walk you through all the details. Come to our April retreat if you need encouragement while working on a quilted jacket project, or other complex garment, or simple garment that needs some fit finesse.

Keep an eye on our social media to watch the finishing process on this fun spring coat
Happy Sewing, RAE
PS Search the quilting tab in the blog archive to read about more quilted jackets.


Yes, I would add the trim on those seams. It adds vertical interest and repeats the pink in a subtle way. Good choice! Thanks for the tips. I look forward to seeing the finished jacket.
agree with the pink trim. My question is how do you figure out how to allow for the thickness of the quilted fabric in the fitting of the garment?
If you have fit your jacket mock up with some wearing ease, the pattern should not need adjusting unless you are using a very think batting like thinsulate, you will not need to adjust. That said, you have 5/8″ seams so if you do need to release the jacket a little, you can let it out.
If you do not believe me and add some anyway, just add 1/4″ to all the vertical seams for some additional ease. You want a quilted jacket to fit neatly so it does not look too boxy.
Love seeing this fabric get transformed!