
Finishing the edge of a sleeve can involve hems, decorative stitches, elaborate cuffs or selvage edges, just to name a few. I love to add detail to the edges of my sleeves. It provides an opportunity to repeat a fabric that is used but not featured in the garment, and sometimes it adds length when I do not have quite enough fabric.
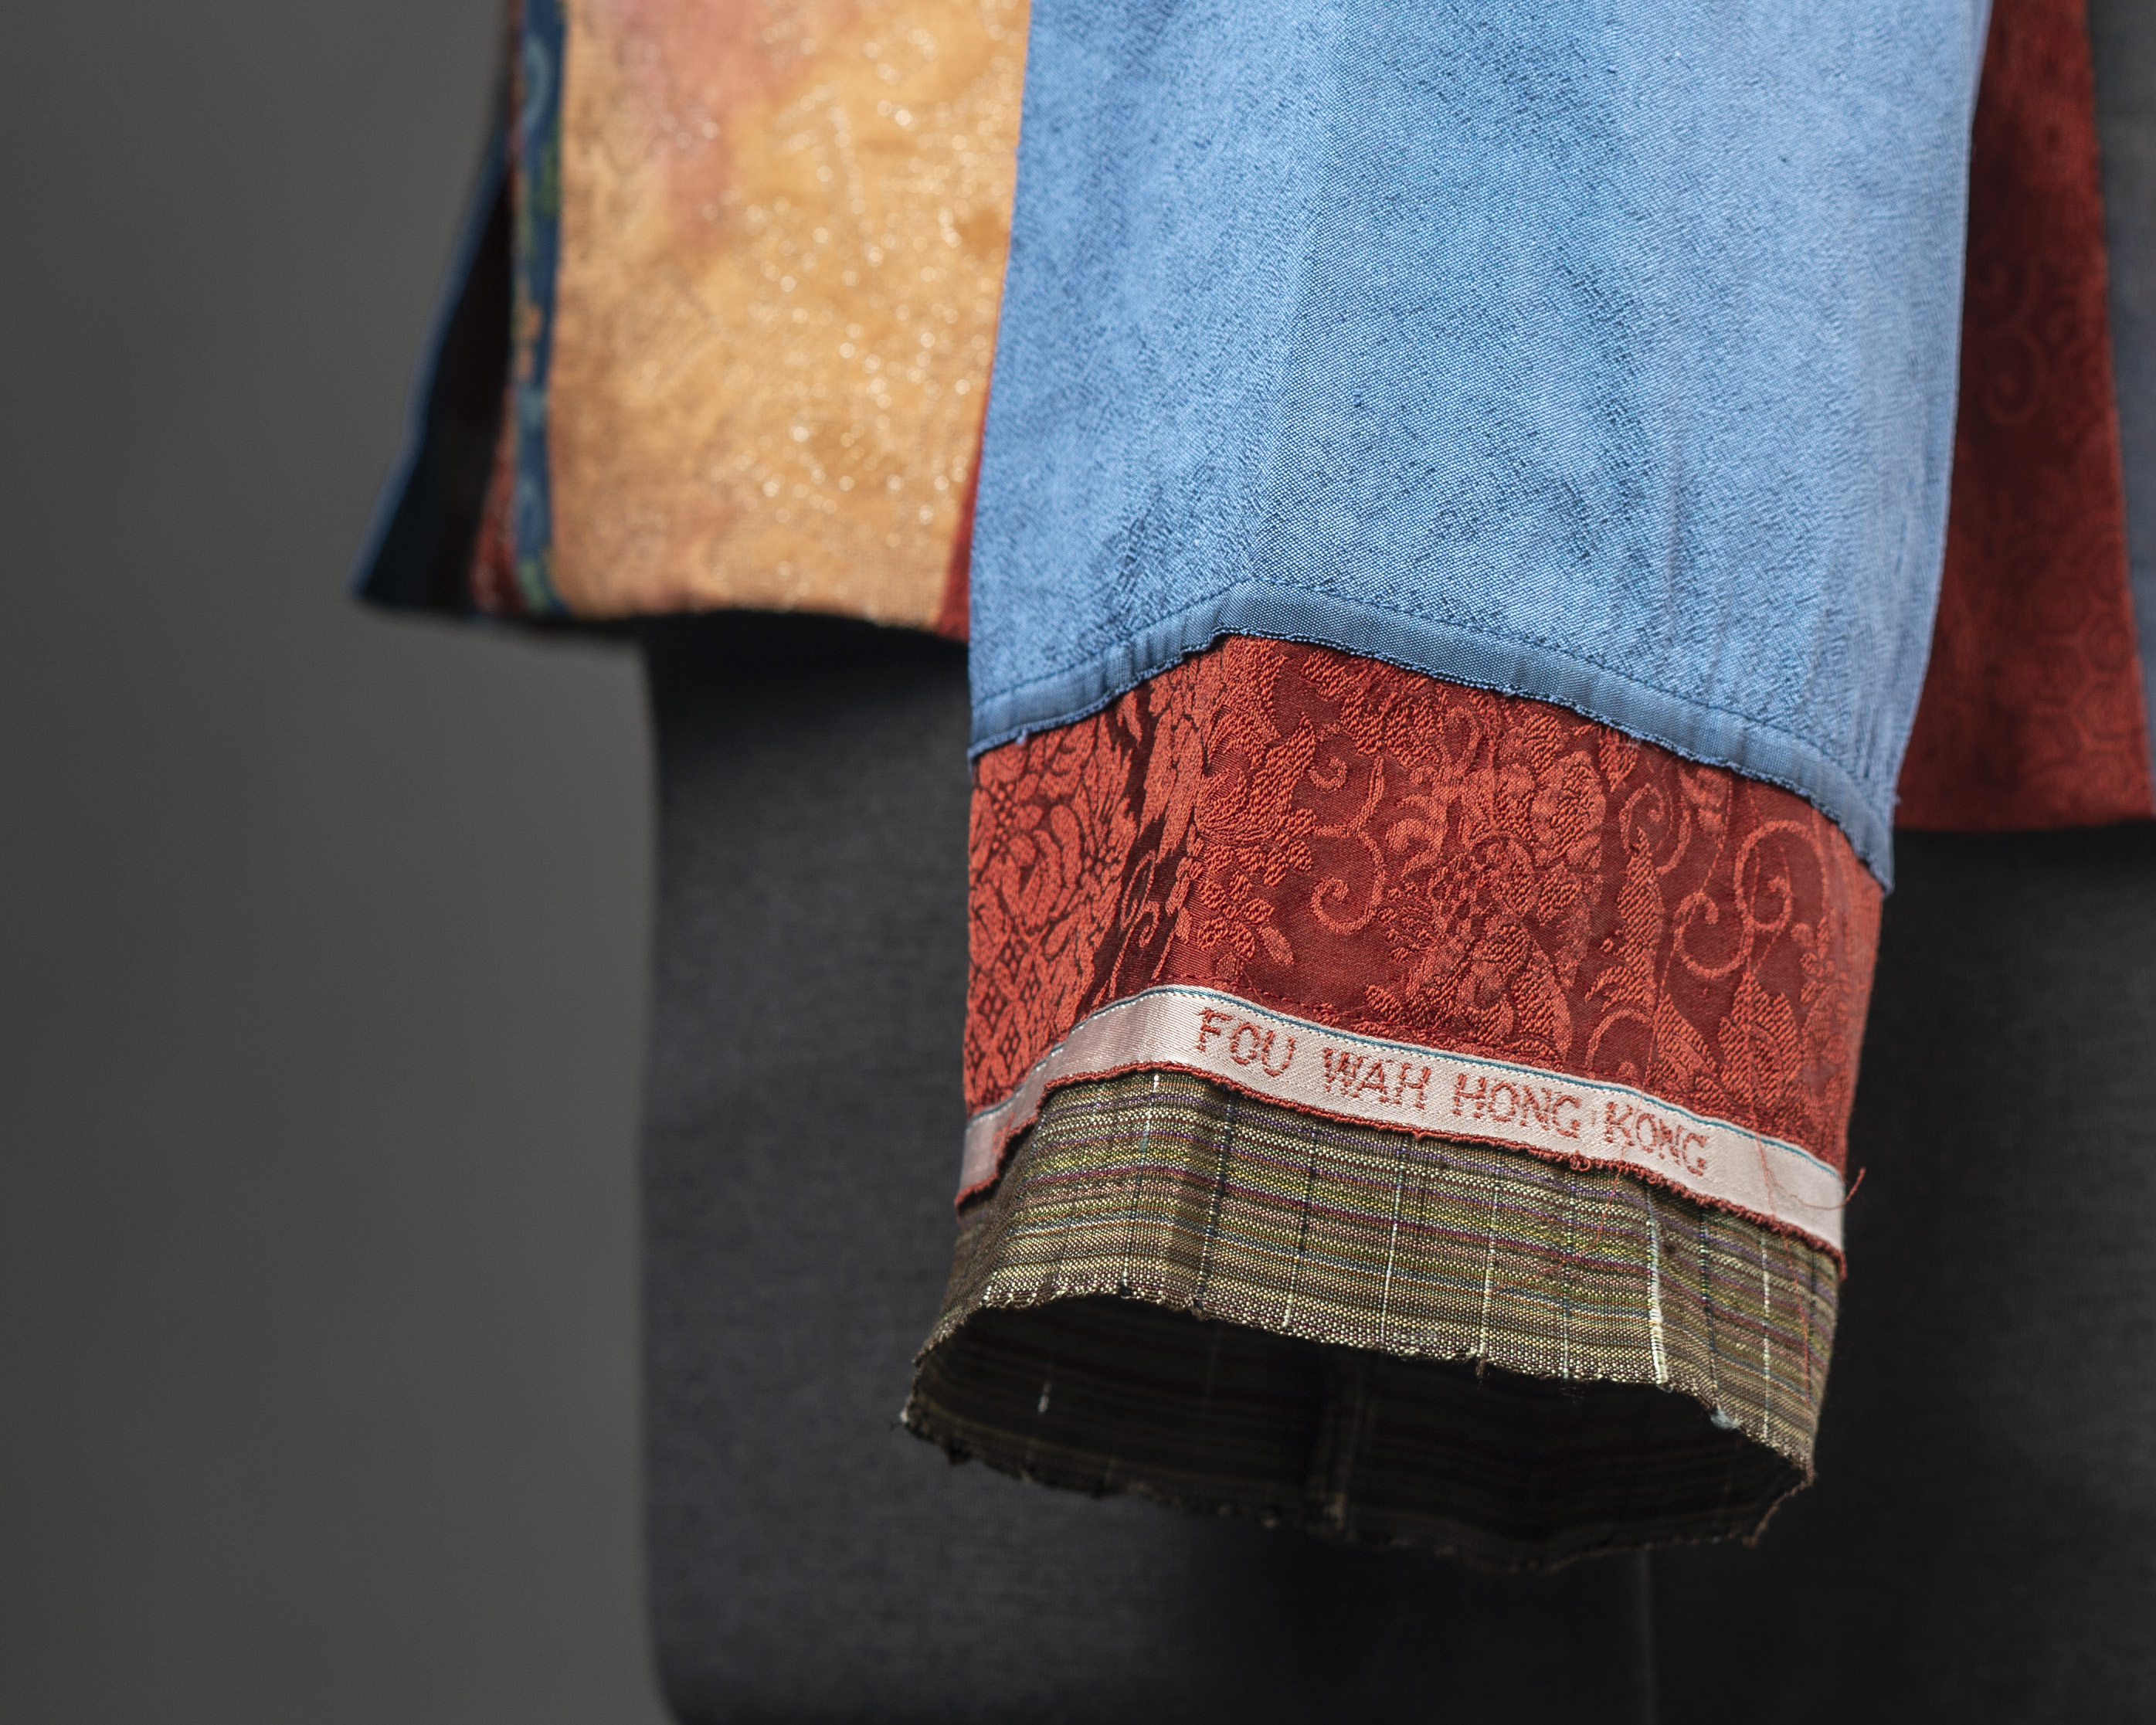
Last week, Carrie featured one of my favorite stacked cuff examples in the Exhibit at OSQE post. That heavily pieced jacket was made for Threads Magazine and they always want really long sleeves for their models. The fabric scrap I was using for the sleeves needed to be extended and fortunately there were several interesting selvage edges I was able to incorporate. It is easy to finish the raw edge above the selvage edge and slide the finished edge under the next selvage edge to be connected. Then topstitch the two layers together. I like working with the sleeve unconstructed when adding these selvage edge finishes so I can stitch flat, then sew the under arm seam that gives the Tabula Rasa sleeve it’s wonderful shape.
Asian fabrics and handwoven fabrics provide very interesting selvages. The fabric yardage is often narrow, which requires you to have lots of yards, with both edges of selvage available.
wedding guest top
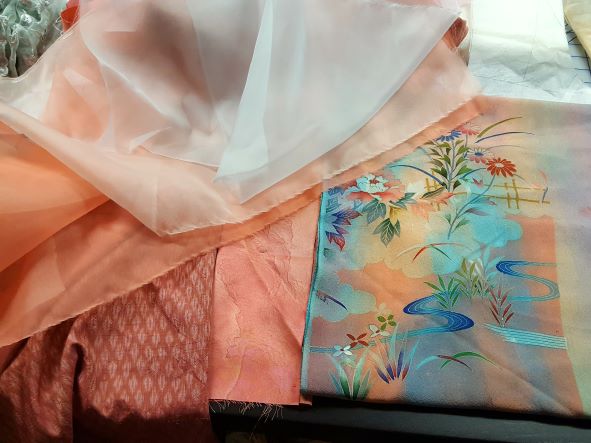
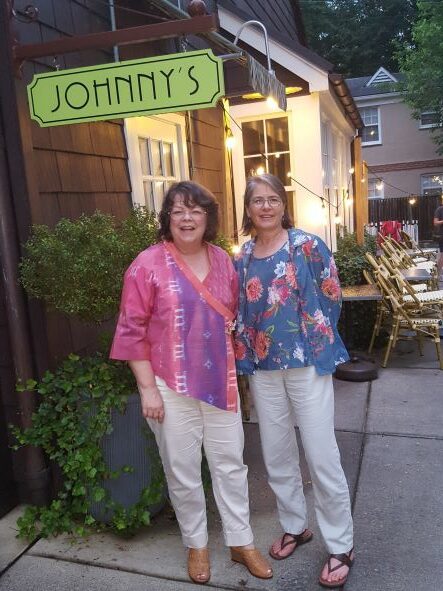
As I frantically try to get a new outfit made to wear to Carrie’s daughter’s wedding on Saturday, I was again faced with the need to extend a sleeve because there was not much fabric. In this case, I was cutting the Summer Sleeves, from our Sleeve and Cuff Variations, out of a lovely overdyed Kimono panel purchased from Laura Murray. The fabric was 14″ wide and I was cutting the sleeve on the crossgrain, with the hem positioned along the selvage. I like to have at least a 17″ long sleeve to cover my elbows gracefully so some sort of extension was necessary.
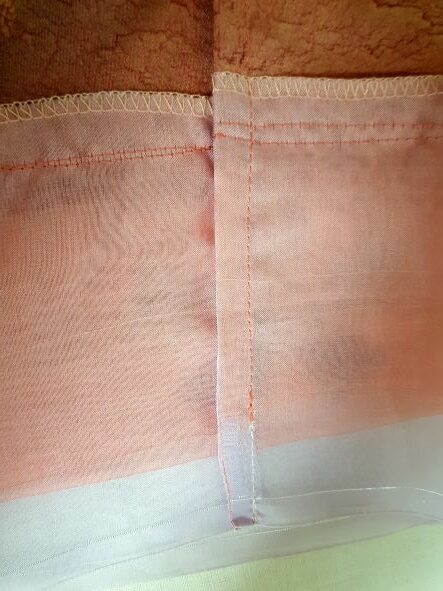
My collection of fabrics for this top included a group of pastel colored silk organzas that I was piecing into a yoke. The sleeve was the perfect place to use the organza again. After choosing the three I liked best, I stacked, arranged and rearranged until I found a combination I liked that would add at least 3″ to the sleeve.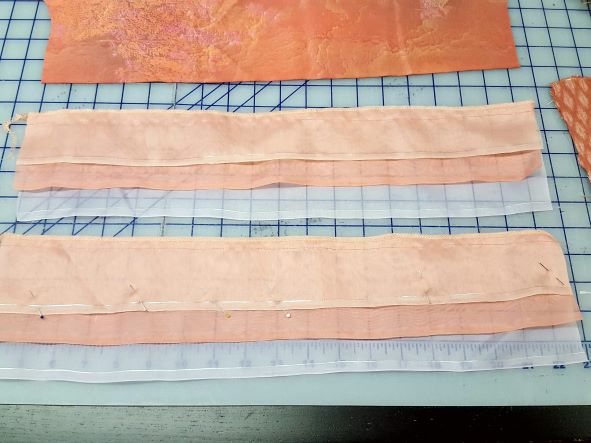
In this case, I decided to layer the organza, since it is sheer, rather than stitch each selvage edge to the previous selvage edge. The longest piece on the bottom, two additional pieces stacked on top with the selvage edge finishing each layer neatly and adding a little pop of color. I love the way the colors interact with each other and with the sleeve fabric.
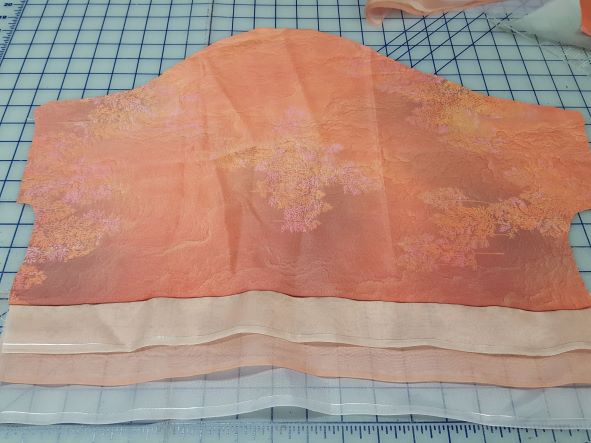
The three layers were stitched together along their raw top edges and then the strip was serged to keep things neat and tidy. The strip of organza was positioned under the sleeve selvage, pinned and then stitched into place. It is so much easier to do this while the sleeve is still flat. Once you have attached the selvage edge cuff, you can sew the under arm seam. I used a French seam for this light, unlined sleeve. After stitching the first pass in the peach thread I was using for the top, I decided on the second pass, to change the thread for the last layer of organza. It looks great.
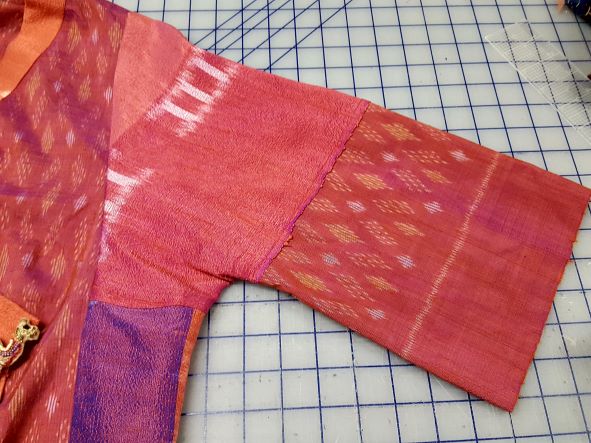
During isolation last spring, I was testing a new Tabula Rasa Variation idea with a couple unique ikats from Mekong River Textiles. Nothing from my stash quite coordinated with these fabrics but I did not have enough of either to cut sleeves in my preferred length. Again, my selvage edge piecing technique came in handy. I had selvages with about 9″ of width in both fabric. I was able to piece the sleeve right across the middle and use the selvage edge trick to stitch them together. I was afraid that this piecing would seem awkward but actually, now that I have been wearing it, I don’t notice it at all.
Stacking selvages can also be used for jacket or pants hems, slot seams, and more when the fabric is in short supply or is not wide enough to accommodate your pattern piece. Keep an eye on Facebook and Instagram this week to see examples of other selvage edge techniques.
I am getting ready to cut the pants that will go with my wedding ensemble top. They will be made in a 32″ wide silk from Thailand. I will have to stack the selvages at the hem to get my desired pant length, but the extra fabric in the hem will add both weight and interest to the pants. Isn’t sewing fun!
Happy Sewing, RAE


