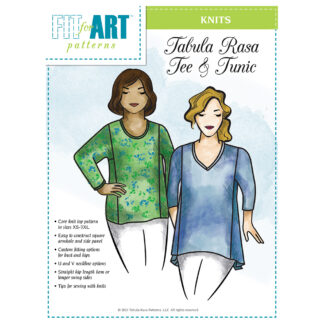
I wanted to make knit tees for fall to go with my Recycled Denim Vest, so I chose the bundle with a green floral print and camel heather solid. I felt the tee needed to have full sleeves, so I decided to try the new layer and gathered cuff Rae had created with her knit bundle sample in Knit Tops from Bundles. I also chose the draped front from Wide Neckline Variations for Tabula Rasa Knits to wear under the collar from Jean Jacket Variations for the TRJ.

Construction of the front and back of my draped front Tee was as directed in the Wide Neckline Variations instruction book. To adapt the sleeve, I created a ¾ length sleeve pattern that is much wider at the hem than the basic knit sleeve; in my case I added about 2½” to each side of the pattern at the hem line and re-drew the underarm seam cutting lines. The sleeve was then constructed, attached to the side panel, and inserted into the body of the Tee as directed in the basic Tabula Rasa Knit Tee instruction book.
The game plan here is to attach the knit cuffs to the sleeve and in the process create a casing in which to insert elastic to gather the sleeve cuffs. Here are my step-by-steps photos and notes.
To prepare the knit cuffs, cut two rectangles out of each fabric the width of the sleeve hem and about 4” deep. The underneath layer should be ½” deeper than the top layer, so I started with 4” and 4½”. The short sides of each cuff are sewn together to create a circle. There are a couple of ways to treat these seam allowances. Because they won’t be visible, I pressed the upper layer seams open and clean finished them for less bulk. I finished the underneath layer seams allowances with a rolled edge on the outside of the cuff because the seam allowances would have been very visible inside the cuff. The bottom edge of each cuff was then finished with a rolled edge on the serger and the two layers were basted together in preparation for attaching onto the sleeve.


Before sewing the cuffs to the sleeve, pin them onto the sleeve at a ¾ inch seam line and try the top on to check the finished sleeve length. If needed, adjust the length of the sleeve or cuff (or both) before proceeding. The cuffs are then sewn right sides together onto each sleeve with a ¾” wide seam allowance, leaving an opening in the seam of about ¾” for inserting the elastic into the casing. Clean finish all three layers together and press the cuff away from the sleeve while pressing the seam allowance up toward the sleeve. Turn sleeve right side out and topstitch the along the edge of the seam allowance to create the casing.


Thread 3/8” wide elastic through the casing using your tool of choice (safety pin? Bodkin?). Pull the elastic to tighten until the cuff is a comfortable circumference for your wrist. Overlap and sew the two ends of the elastic together and slide it into the casing. That’s it! Your knit tee or tunic with gathered cuffs is ready to go!


Happy Sewing, Carrie


