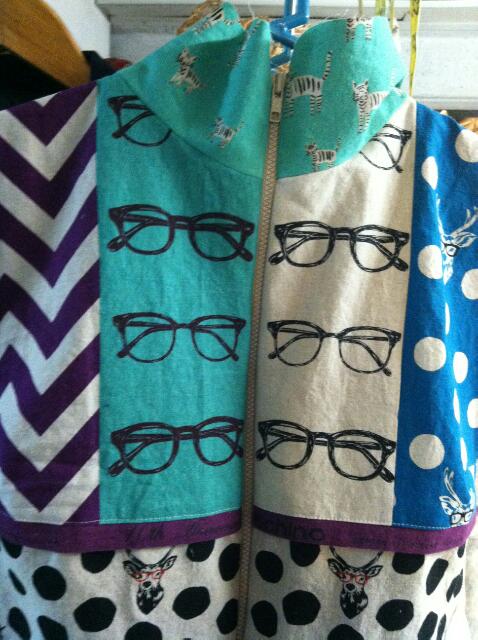
Let’s continue our close look at the multi-fabric Spectacle Jacket. Last week we reviewed the design process. This week we will consider a few construction tips that make this Rain or Shine Variation (RSV) of the Tabula Rasa Jacket (TRJ) a winner.
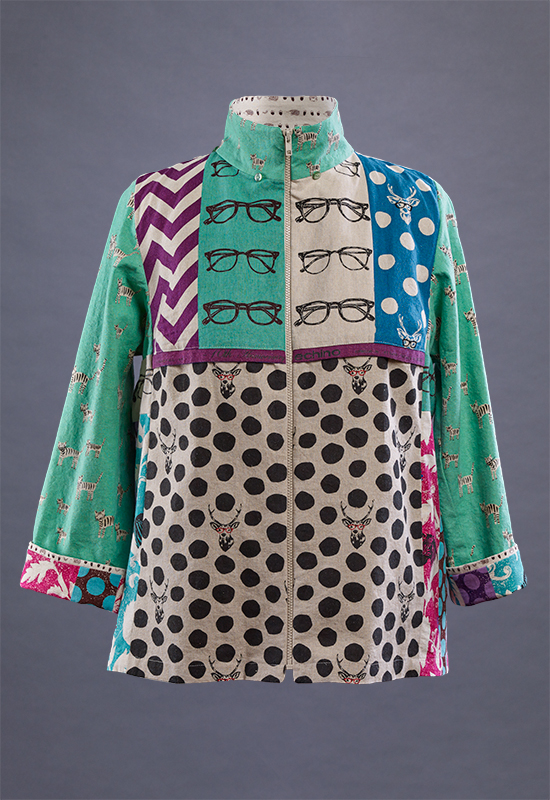
The Rain or Shine direction book has plenty of information about purchasing and inserting a separating zipper, but with this jacket the installation became more challenging. When the fronts are pieced symmetrically as these have been, the zipper placement must be spot on. Add my design decision to extend the zipper into the collar to the front piecing, and now the zipper must match in 3 very visible locations.
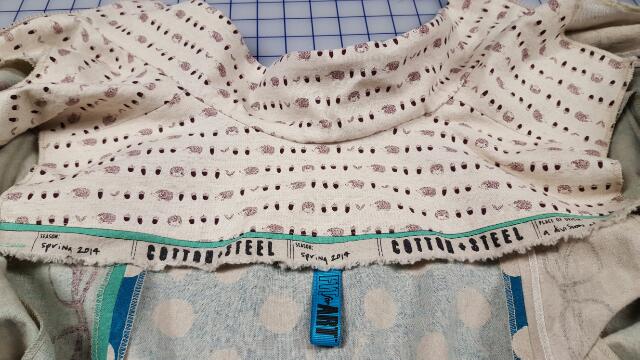
Once the front and backs were pieced, interfaced and joined at the shoulder, I attached the interfaced under-collar to the neck edge. (This, too, is clearly outlined in the direction booklet.) I have learned the hard way that it is prudent to take a minute to compare the two fronts, checking that the seams line up in mirror image along the 5/8” seam line.
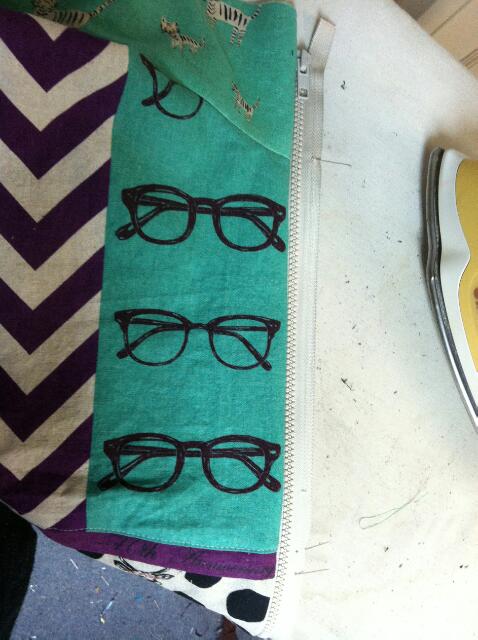
It was easy to insert the first side of the exposed zipper. I laid the zipper on the jacket right sides together with the tape in the seam allowance and the teeth extending into the jacket. The upper stop of the zipper was placed ¾” down from the raw edge at the top of the collar and the length of the zipper was pinned in place.
I stitched the zipper along the 5/8” seam line just shy of the molded plastic zipper teeth and turned the zipper to check that no teeth had been caught in the stitching and the zipper sat smoothly. With the zipper zipped closed, I carefully marked the zipper tape with pins at the seam line for the collar, the bodice piecing line and the selvage trim line. These pins were my guide to precisely insert the zipper in the second side on the jacket.
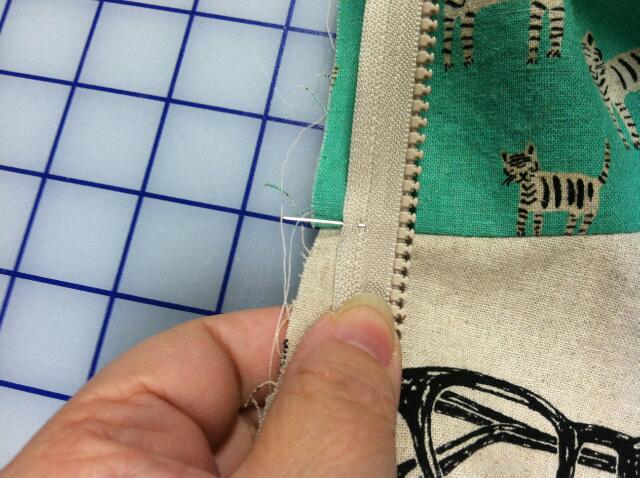
After unzipping the zipper and separating it completely, I pinned it to the second side of the jacket matching the pins to the corresponding seam lines. At this point it is wise to baste in the zipper and check the placement, making any necessary adjustments before stitching it securely. And voila, the zipper smoothly complements my jacket’s design.
The entire collar and zipper is ready to be finished with a facing. I created the facings with the upper collar attached as directed in the direction booklet. When I stitched it to the jacket I was careful to avoid stitching into the zipper teeth.
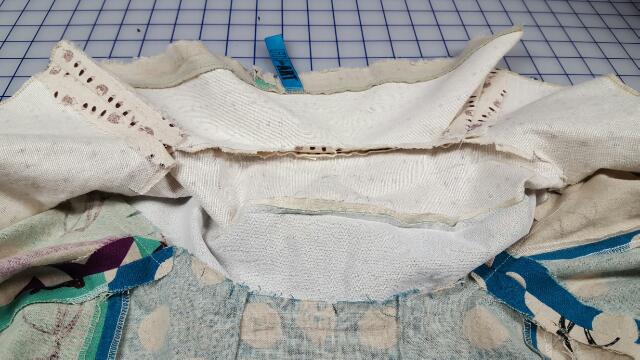
Note that I used weft insertion interfacing on the facing pieces and upper collar and a softer tricot on the under-collar and jacket. This interfacing is essential to support the jacket and keep the collar crisp whether the jacket is worn with or without the detachable hood.
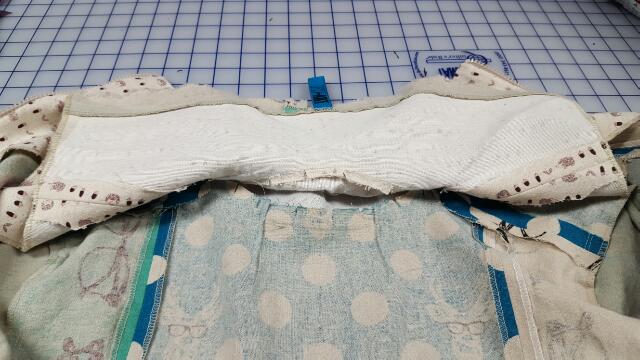
I very carefully graded the seams of the jacket, facings and collars, clipping the curves and trimming the corners, while avoiding the zipper tape. I trimmed it only at the very top of the zipper. I also pressed carefully keeping the zipper teeth away from the iron. This is very important if you are using a nylon or plastic zipper.
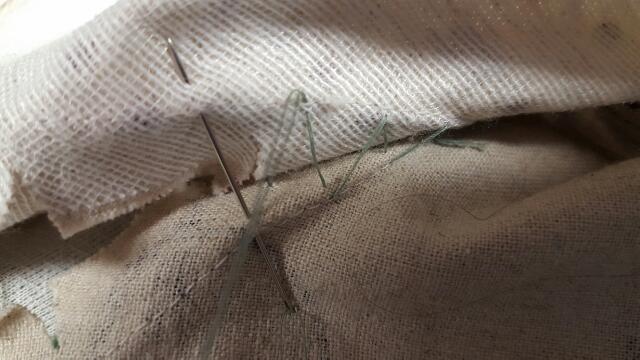
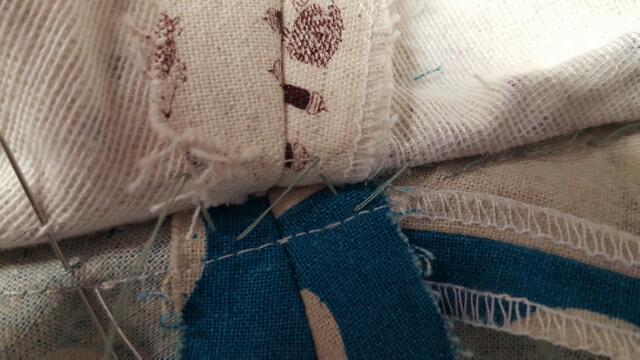
The final step was to anchor the 2 layers of the collar along the neck seam. I used a hand sewing needle with a doubled thread to loosely connect the neck edges. My stitching began as close as possible to the zipper tape and connected the collars all around the neck matching the seams and finishing close to the other side of the zipper.
Now I have built a solid base for attaching the detachable hood, which we will look at closely next week in the final Spectacle post.

We have several events coming up in March. If you live in the Atlanta or Cleveland area, register today to attend the Original Sewing and Quilt Expo. I hope to see you in one of my classes, or at Carrie’s Knockout Knits presentation on the Expo Stage. If you live in the Greater Baltimore area, come visit us at the Baltimore Heritage Quilt Guild expo the weekend of March 18-19 at the Park School.
Happy Sewing, RAE


