Drapey pants are perfect for holiday occasions that call for something special. If you have developed a Eureka! Pants that Fit pattern, you can get right to work.
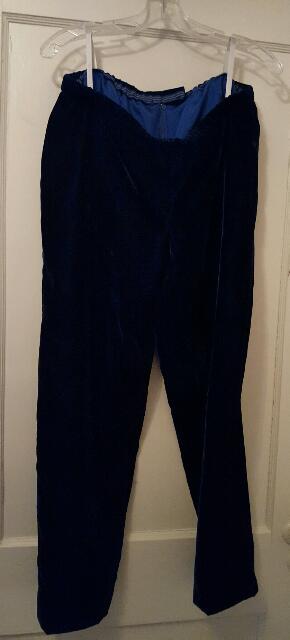
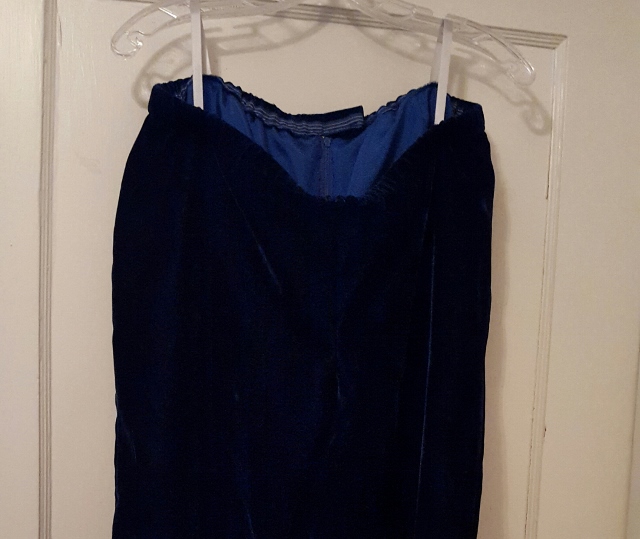
Because velvet is very trendy this year, Carrie and I decided to add a pair of velvet pants to our holiday wardrobe. I pulled a piece of dark blue rayon velvet from my stash box labeled “large pieces of velvet” for my classic Eureka! Pants. Carrie ordered a lovely plum colored silk and rayon velvet for her wide leg, faced waist pants. We both chose colors that will go with lots of Tabula Rasa Jackets (TRJ) and knits in our closets. We kept our designs very simple, just legs and waist treatments, no pockets or embellishments.
Velvet can be a challenge to cut and sew so here are a few tips we tested with success as we stitched up our pants:
- Allow plenty of time for this project, velvet is temperamental and does not like to be rushed.
- Buy plenty of fabric so you can cut all your pieces going the same direction, or with the nap.
- Pre-wash your fabric if desired (test a sample if you are not sure it can be washed). Or, steam the velvet with your iron hovering just above the pile to remove any difficult creases. Do not touch the iron to the velvet unless you want to emboss the fabric.
- Cut out each pattern piece separately placing the pattern pieces on the wrong side of the fabric. Use pattern weights to anchor the pieces. I put a pin in each corner, then weights in between when I was ready to cut.
- Remember to keep all your pattern pieces running the same direction and to flip your pattern pieces after cutting the first leg so you have both a right and a left leg.
- Underline if desired. For drapey pants the best choice is silk chiffon.
- Keep the fabric as close to the table as possible when you cut with sharp scissors or cut with a rotary cutter.
- Pin seams with the pins alternating right and left entry.
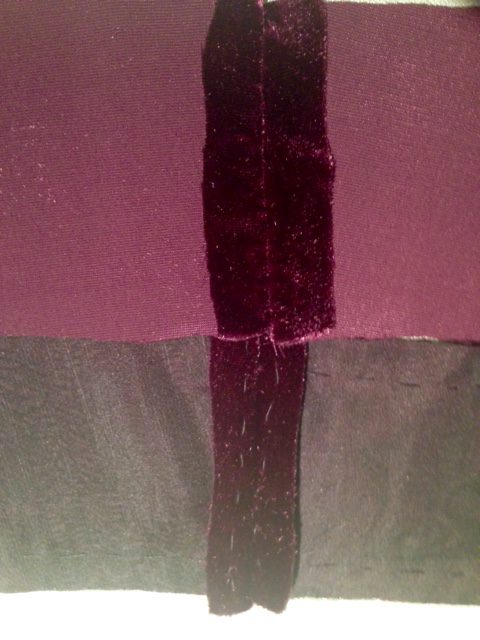
Pinned and basted seam. - Hand baste each seam before sewing on the machine. The best choice is silk basting thread. Use double rows of basting with the one row at ½” and a parallel row at ¾” or use a stitch that tacks back and forth within the seam allowance to keep the fabric from shifting. Once you have sewn the seam on the machine, remove the basting stitches.
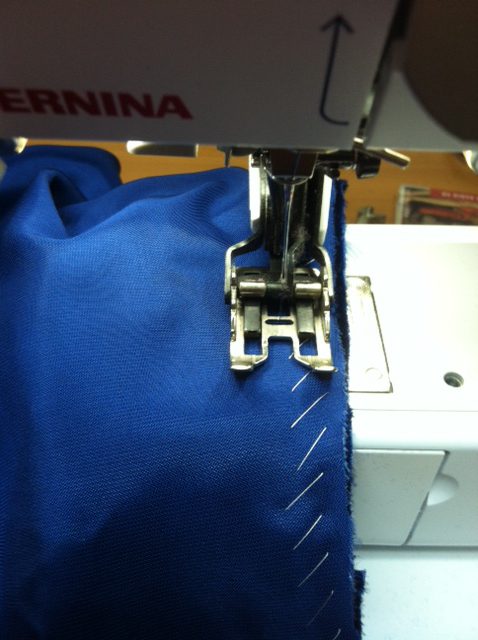
Basted seam being stitched with the walking foot. - Use a walking foot to sew your seams and if possible, release the pressure on the presser foot. Use a clean, sharp and fine needle.
- Steam the seams as you finger press them open, again hovering the iron above the fabric.
- Choose a soft lining. I used china silk and Carrie used silk crepe de chine.
- Support the zipper opening and waist facings with sew-in silk organza or cotton interfacing, or lightly steam and finger press Envy Silk interfacing along the zipper opening.
Carrie’s facing with silk organza underlining. Carrie used a turned under and machine stitch finish for her waist facings and then hand tacked them into place.
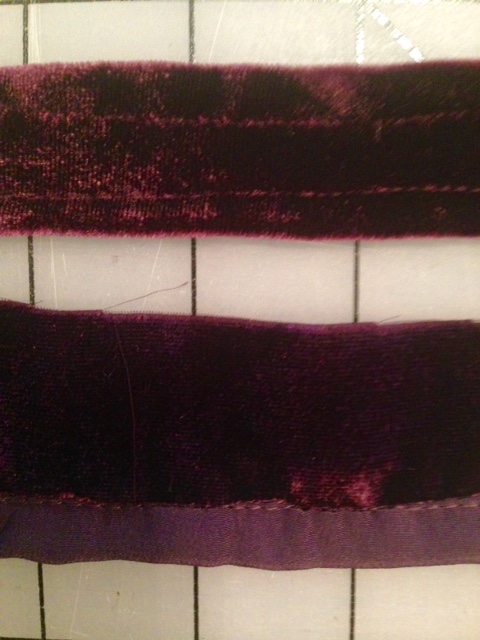
Carrie’s samples of facing finishes. If you have chosen a classic waistband, use waist stiffener or elastic as always to support the band.
- Be very patient with the zipper application. We had better luck with a lap zipper than an invisible zipper but both work if you baste them in, one side at a time, with a back stitch very close to the actual stitching line. If the pants don’t quite match at the top once the zipper is inserted, adjust the waist treatment seam so it sits evenly on the pants.
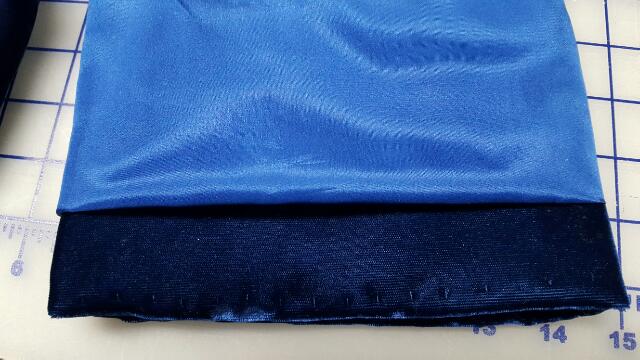
- For a hand-sewn hem, baste a bias cut strip of cotton batiste into the hem to support the turn of the hem and capture your hand stitching.

Hem supported with cotton. If you have underlined the pants, this step is not necessary. (Visit instagram/RaeCumbie for photos of the hemming process.
- For a machine hem, pin regularly, and baste the hem in place. If you are not lining the pants, finish the edge as you would the facing discussed above. The machine stitches will get lost in the pile over time.
- If you are lining the pants, as we did, finish the lining over the hem with a jump in the same way you would hem a lined TRJ.
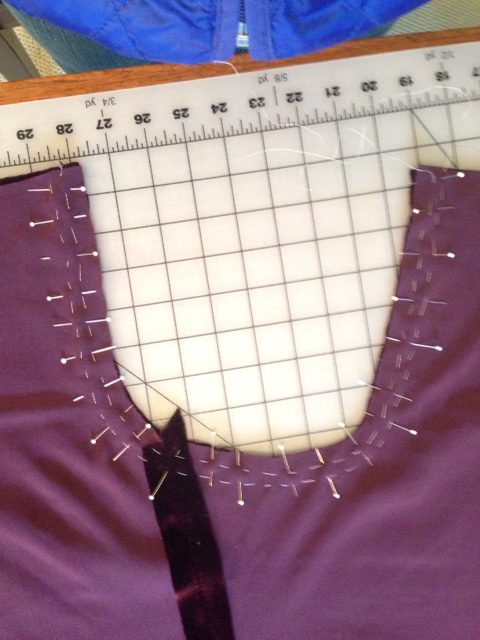
Jump at hem. - Stitch in some hanger holders so you pants can hang suspended from the hanger rather than be clipped on or folded over which will leave marks on the pants.
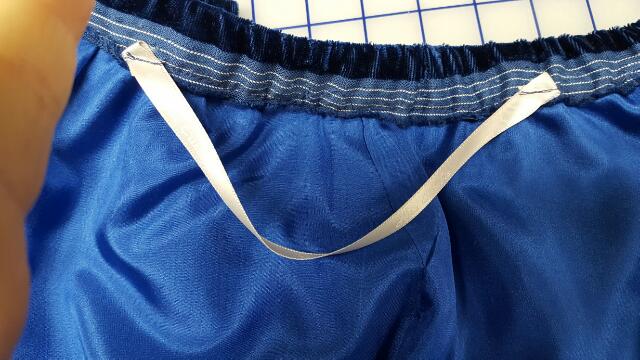
Hanger holder that straddles the side seam.
We will post photos on our Facebook page when we wear our velvet pants!
These velvet tips will work for any type of velvet garment. Visit my Velvet Trends page on Pinterest for more ideas.
Happy Holidays and Happy Sewing! RAE


Rae,
Thank you SO much for all of the excellent information/recommendations about working with velvet. Your pants are so pretty, it is inspiring. Hope to take another class with you soon.
Thanks Nancy, Happy Holidays! RAE