Meet our friend Andi. Andi first emailed Rae in 2020 about trying to get the Tabula Rasa Knit Tee & Tunic pattern to fit her well. She was frustrated and although Rae had sent her suggestions, her life was busy and she had not found knit top success. Fast forward to September 2025 when we led a one-day class for the Maryland ASG on sewing knit tops for which Andi and a friend registered. As you will see in this post, she is good at persevering, and we are pleased that she has given Rae permission to tell you about her journey to a comfortable fit.
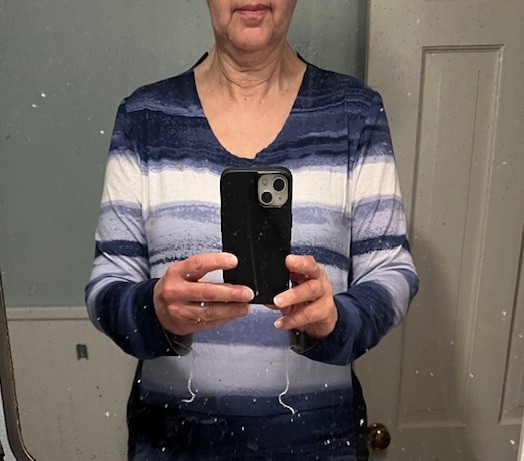
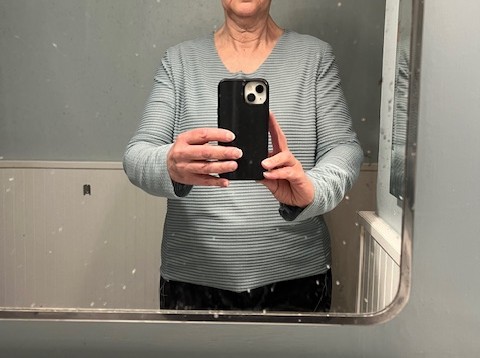
It is hard to get things done in a one-day class, but on that rainy September day, Andi stitched a mock-up following Rae’s sizing suggestions. While Andi was pleased, Rae suggested she use the CD front the next time she stitched a top because the mock-up looked pretty snug across the bustline. In January 2026, Andi tried a top with the CD front and reported back.
Here, in Rae’s words, is how Andi found her knit fit.
Andi sent me a note saying she had made the CD front top but she really did not like having to sew a dart and she wanted it to be taken out. She is certainly not the first person to ask this, but when she started sharing with me other sewing teachers’ suggestions for rotating out a dart, all of which made me shudder, I told her we could try it together.
A Knit Note: When fitting knits, sometimes there is a bit of freedom with dart rotation because the stretchy nature of the fabric forms itself to the body, unlike woven garments. That is how our round back adjustment for knits works to accomplish the fit with no neckline dart.
First, Andi closed the dart using classic dart rotation theory and sent it into the shoulder. By doing this, she still had the extra width and length from the CD front she needed in the bust area. My next instruction did not make sense to her, so she tried something and sent me a photo to confirm it was going to work.
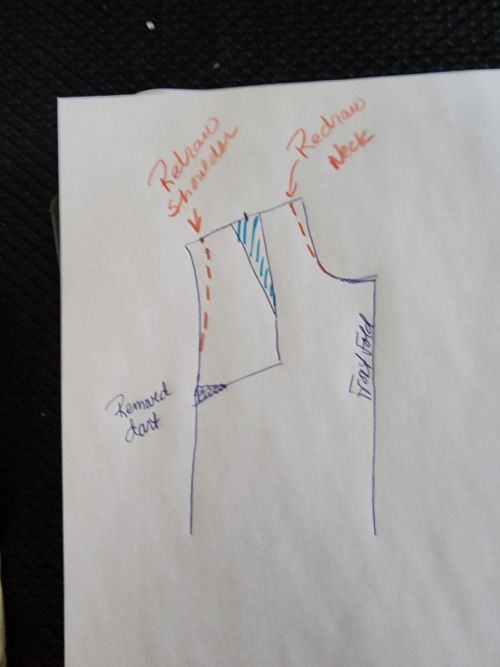
I was able to get back to her with a little sketch to show her my intention, which was to:
- Measure the shoulder seam increase due to the dart and divide that amount in half.
- Take the first half off at the shoulder, easing the new cut line into the armhole.
- Take the second half off the neckline, reshaping it to a pleasing curve, or a trace of the original curve, which Andi used.
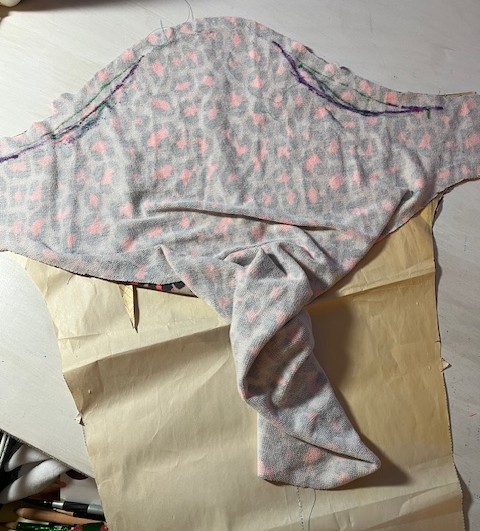
Once she sent a photo to confirm that she had done the pattern work correctly, she made a new sample.
After each new adjustment, she realized other ways the top did not feel quite right and most of them had to do with the sleeve.
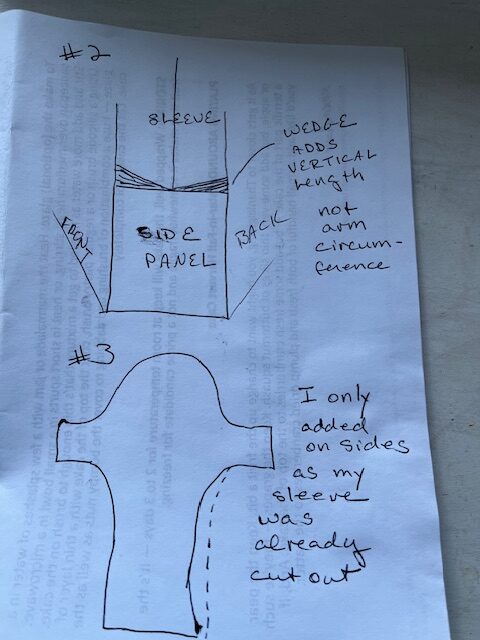
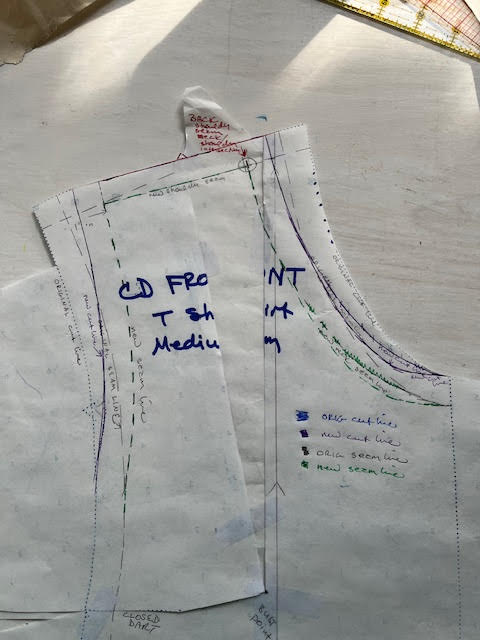
She was directed to visit the Common Fitting Adjustments document for knit sleeves to consider the options. (The simpler method for adding ease in the upper arm is illustrated in Common Fitting Adjustments for the Tabula Rasa Jacket and can be applied to knit tops as well. That easier adjustment is seen in both of the drawings that Andi and I exchanged. The more complex method for adding even more ease to the upper sleeve is explained in this video sleeve tutorial for Tabula Rasa Knits, as well as in the Common Fitting Adjustments for the TRJ.)
After seeing her in the new mock-up, a large sleeve adjustment did not seem in order, but because she was confused by my proposed alteration, we sketched our way through her questions. This is a very counter-intuitive adjustment that is unique to the square armhole configuration, so no surprise that it required a bit more conversation. I assured her that it is odd, but by adding in the underarm seam, you get the option of adding almost 3” in the upper arm. This adjustment was used early on in the life of the Knit pattern by our friend Marie. You can read about it and see it with written and photographic steps in a previous blog post: An Improved Fit!
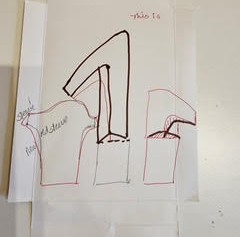
Once she understood, she chose the easy alteration, adding into the underarm sleeve on each side. Once again she tested it with a mock-up and was very pleased.
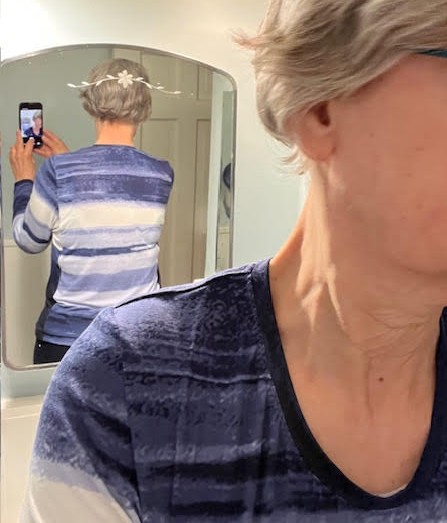
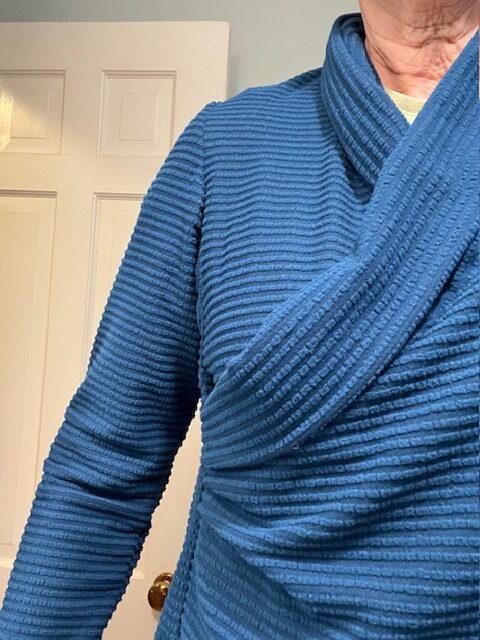
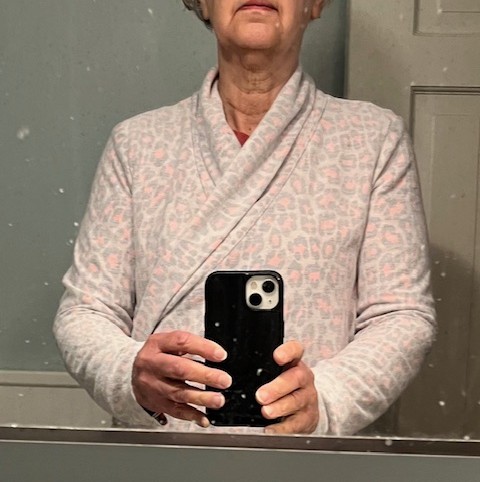
Next she moved onto making a surplice top from the Clever Crossing Variations and made a mock-up that looks great. She said it is a good thing we could not see the right side of the fabric! Mock-up making is a good way to use up unfortunate fabric purchases. On this mock-up, she made some scoops into the sleeve cap to reduce bulk in the armhole. She also tightened up the side seams through the waistline, as described in a sidebar in the Clever Crossings direction book.
A Knit Note: During the process, we regularly discussed the difference between the stretch and drape of different knits. We always recommend you keep your pattern a bit larger than some knits might require, but plan to make adjustments for the specific fabric as you sew. Be sure to give yourself time to try on and make those adjustments during construction for your best fit.
Now she is busy making new knits for her retirement lifestyle. With all the Fit for Art knit variations, I expect she will be busy for quite a while!
We invite you to work with Fit for Art to experience the process through which Andi found her knit fit. It is well worth the time to make small incremental changes to get the fit you want that looks and feels great in a basic TRK tee first. Don’t get discouraged; keep asking us questions and trusting our answers. As you can see, there’s no need for great photos or professional sketches to get great fitting help.
We offer several ways to help you get to your own good fit:
- Host a class with your local ASG group or sewing organization.
- Sign up for a Fit for Art Retreat.
- Register for our Sewing with Knits On Demand Class.
- Schedule a virtual consultation with Rae for her undivided attention.
It all starts with communication (an email is best to rae@fitforartpatterns.com) and a persevering spirit. That is what sewing successfully is all about!


I once gathered the space where the dart was on a finicky fabric that just wouldn’t hold still to sew the dart. A MacGyver solution that worked pretty well!
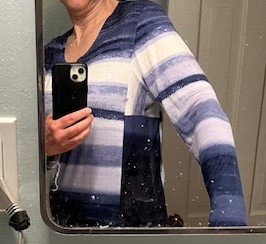
I love the blue crossover above!