The Tabula Rasa Knit Tee & Tunic pattern has two neckline options. We already have a blog post in the archive to walking you through V neck construction. Now you can relax and sew a U neck knit top following Rae’s step-by step-construction tips in this post. We chose the U neck design for our basic construction because it is universally easy to construct and control, being neither too wide nor too low. It sits neatly under a jacket or sweater and stays tidy wash after wash with our recommended band finish. For a video lesson on making this neckline, register for our Virtual Tabula Rasa Knit class which is currently on sale during this knit sewing month.
Author’s note: This method differs slightly from the directions in the Knit Tee & Tunic Instruction book, so here is my disclaimer. Because I have made a ton of these neckbands and have decided I like my neckband an eighth of an inch narrower so it looks less industrial, I cut a 2″ wide neckband instead of a 2 1/4″ neckband as directed in the book. I also do not sew the band’s center back until I have gently attached the band around the neckline, which I describe below. This saves me the need to fix it, also described in the booklet, when it is not quite right. It seems easier for me to position the band when it is straight rather than in a circle. Finally, matching the band along the cutting lines is something I just noticed when I stretched it as described in the instruction directions one day. The cutting lines aligned, placing the curves exactly where the top needed them. This method feels easier to me and I have had lots of success with it, so I am happy to pass these suggestions along to you.
Why a U Neckline?
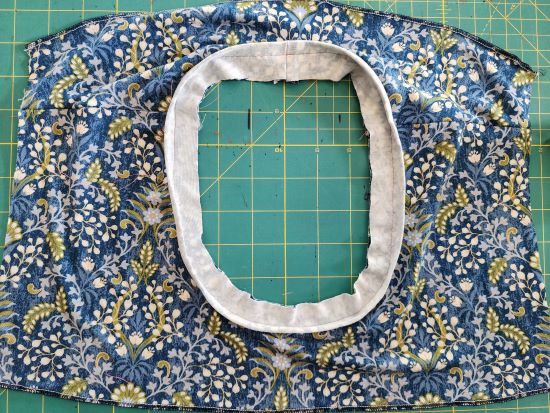
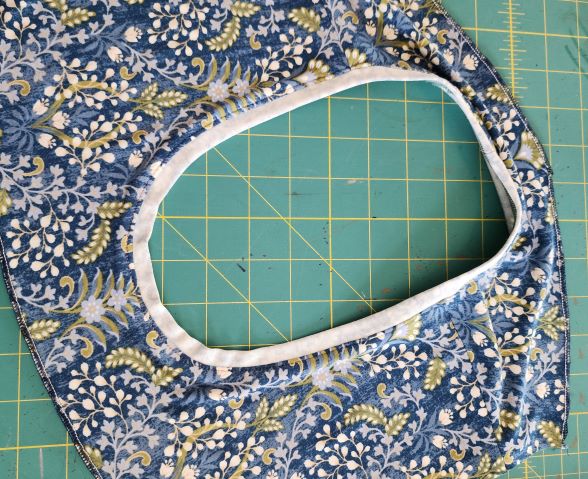
If sewing knit neck bands makes you nervous, why not start by making a sample as I did for this post? Before making the actual top, I cut out a short sample of my neckline using my personalized pattern. It is about 8 inches long from shoulder to the sample’s lower edge which offers plenty of space to sew the neckline without the sleeves and body to weigh you down. Because it is easier to photograph the sample, that is how we will look at the U neck construction.
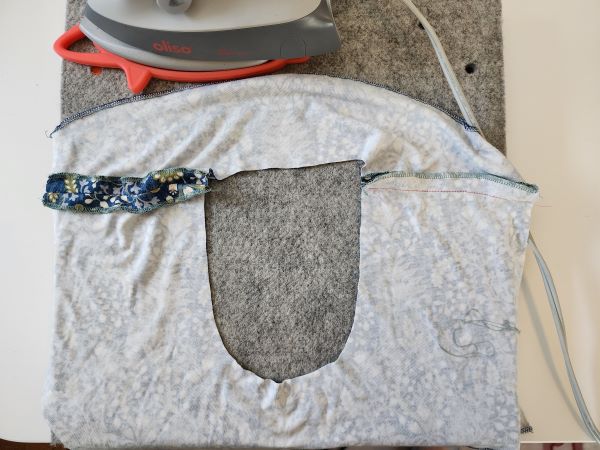
First, follow the directions in the pattern to interface the back shoulder line and sew the shoulder seam. As is my habit, I then pressed the seam open and finished each edge with the 3 thread overlock on my serger. A zig zag stitch work as well if there is no available serger.
Prepare Neckband
Next I folded the neckline along the center front and center back to easily measure the neck opening. A flexible plastic ruler or a soft tape measure works great. Double the number of inches and then subtract one inch for a jersey with nice stretch, like this fabric.
While you have the neck folded in half, mark the center front and centerback which will assist you when attaching the neckband. To get a contrast color, I used the wrong side of the knit print. My neckline measured 12½” which doubled is 25″, less one inch is 24″.
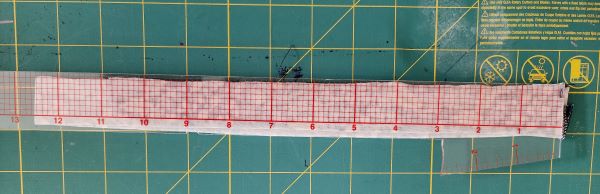
Cut a 2” wide strip that is the calculated length; I cut it on the fold lengthwise as you see in the photo. When possible I cut it in the knit fabric’s less stretchy direction. A 2” wide strip will ultimately be finished as a ⅜” band, my preferred width, which assumes a ⅝” seam allowance. This is not industry standard knit construction but I find there is so much more control with a wider seam allowance and the excess can be trimmed away once the band has been applied successfully.
GentlyPosition the Band around the Neckline
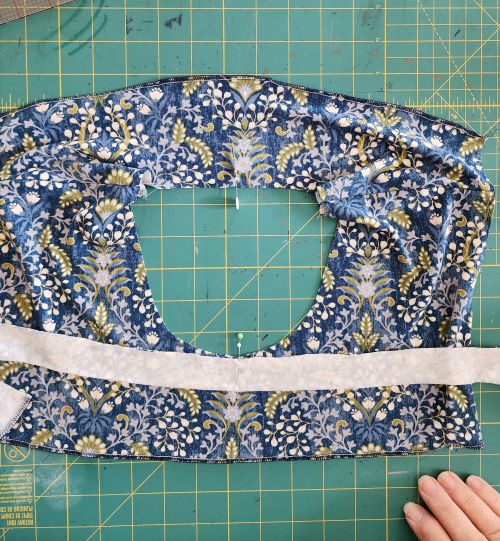
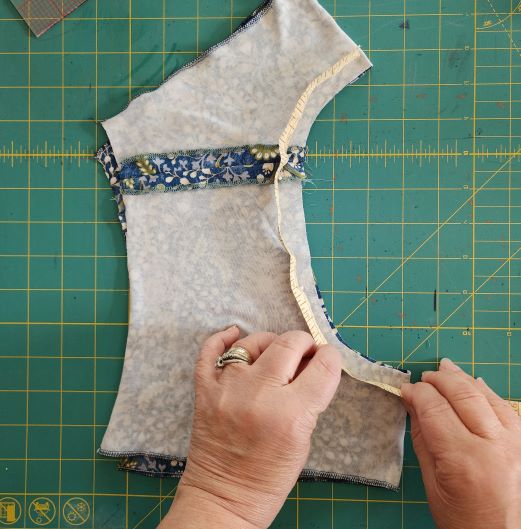
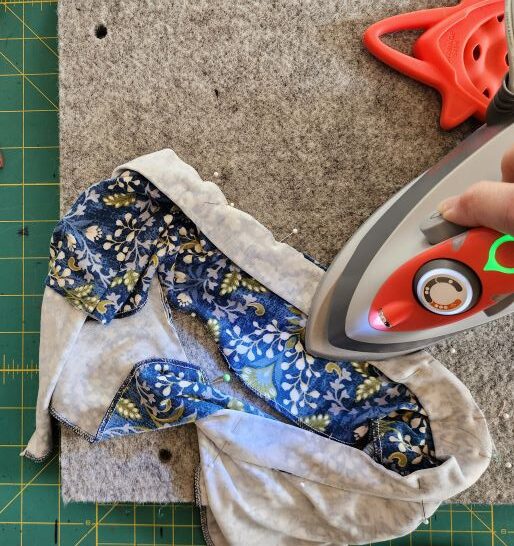
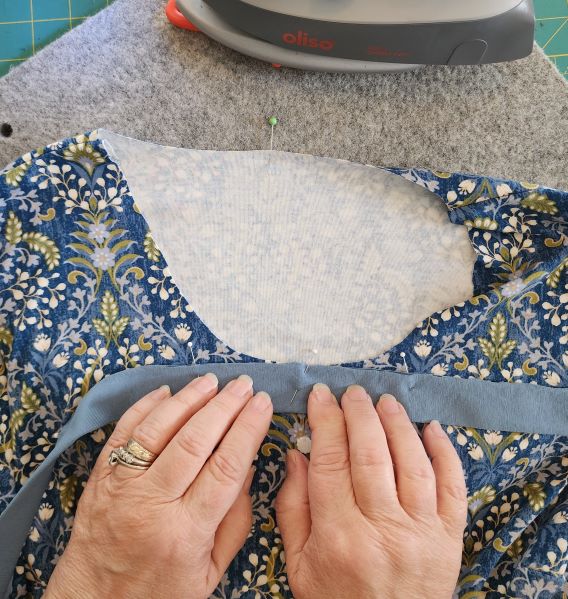
Fold the band in half the long way, right sides together, and press in the crease. Now fold the band in half to find it’s center and place the center point on the center front of the top. Pin the band in place lining up the raw edges of the band to the raw edge of the neckline. Continue to pin around the neckline matching the raw edges evenly. (Usually when sewing garments I am adamant that you match seams along the seam line, but to get the stretch needed for the band to sit smoothly around the curves, this works successfully.)
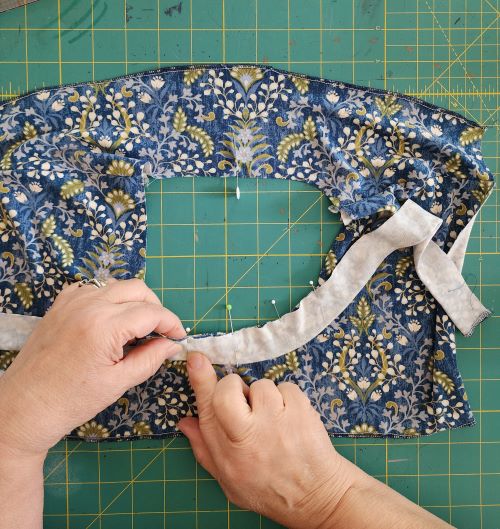
When you get to the back, you should have at least ½” on each side for a seam allowance. Check to make sure the band seems even on each side of the top, then stitch the band’s center back seam and press it open. Trim seam allowances to ½” if needed. Refold the band right sides together at center back and press crease in place; finish pinning the band to the neckline.
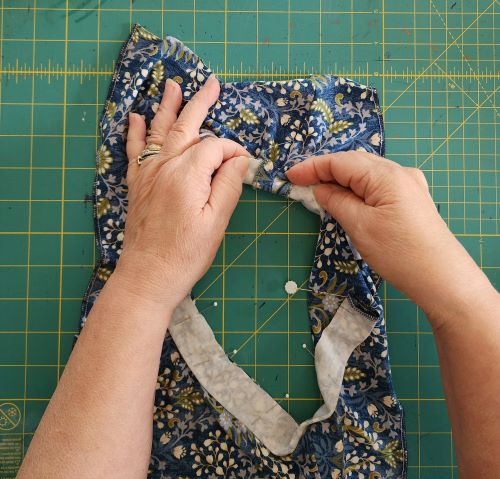
This is not a fast operation. I like to take my time and stay loose and relaxed in my hands as I apply the band and sew the center back seam. If the knit band fabric wants to roll along the edges, don’t fret – use plenty of pins, uncurling it as you move around the neckline. If you are still unsure, hand baste the band to the neckline to check how it will look.
Stitch and Finish the Neckline Finish
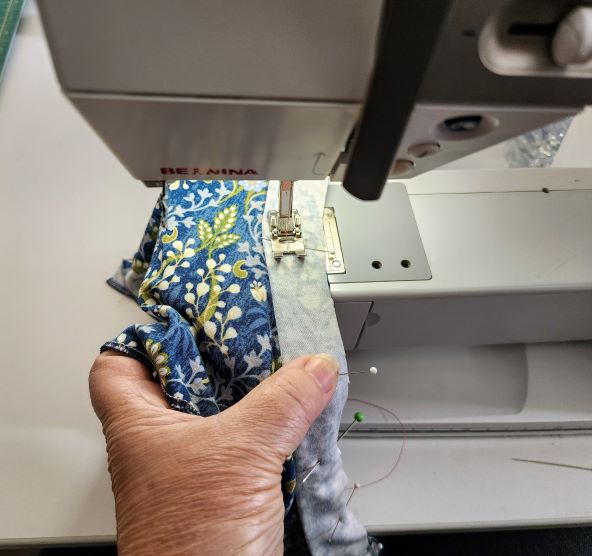
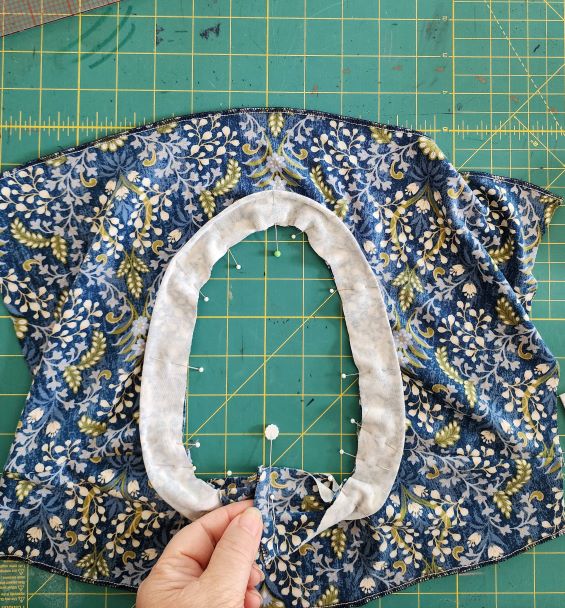
Set the sewing machine for knit stitching with a wobbly straight stitch and a jersey sewing needle. Stitch the band to the neckline along the ⅝” seam line. To be honest, I pay more attention to the ⅜” width of the band than the seam allowance but it usually comes out just right.

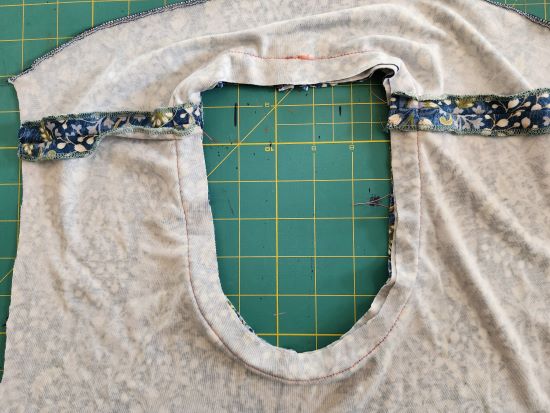
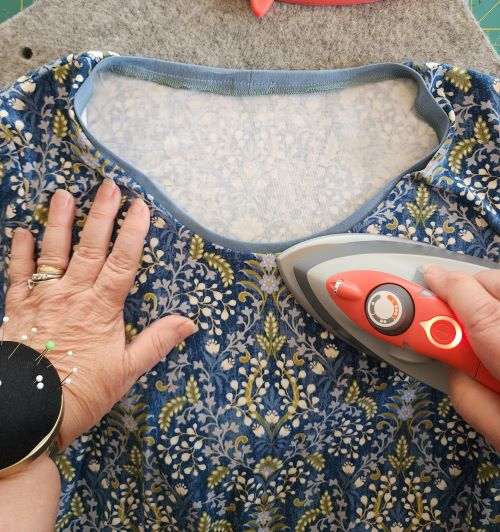
Observe how the stitching looks on the outside and inside of the top or sample and adjust if there are any areas that have a little tuck in the fabric or the seam is uneven. Then gently press the band into position with seam allowances to the inside and test the neckline on your body again. Once satisfied, serge off all but ¼” of the seam allowance or trim it away and zig zag the seam allowances together.
Topstitch the seam allowances of the neckband application to the top close to the juncture of the band and the top.
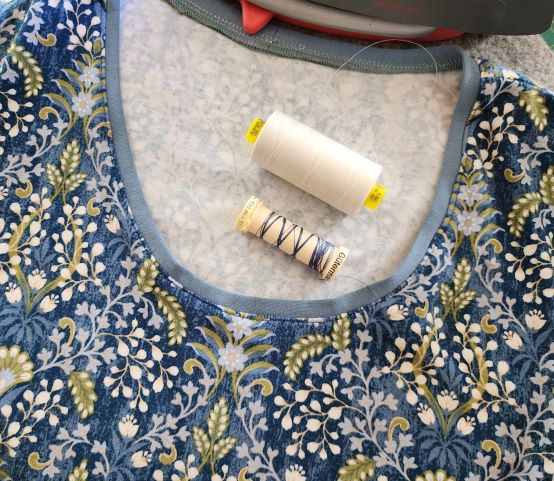
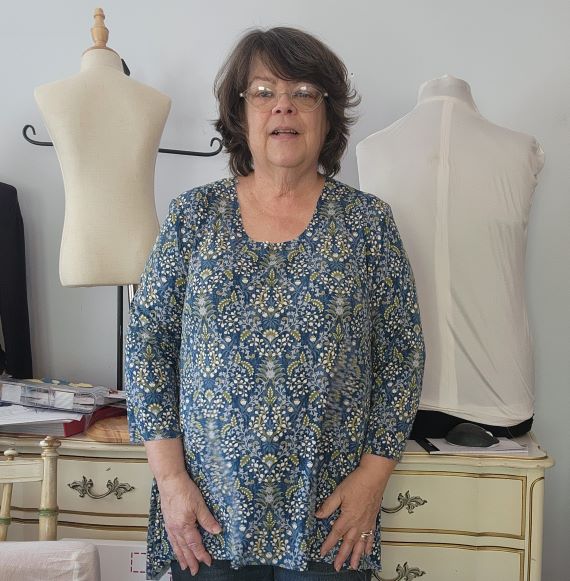
If you have just made a sample, then cut and sew your actual top, following these instructions exactly. For my tunic, I used a contrasting blue jersey for the neckband and topstitched the neckband to the top with blue thread instead of the white thread used for construction. It turned out great and the print is perfectly framed by the neckband.
Beautiful Knit tops – Planned and Sewn with Care
While it is not necessary to make a sample, it is something I do if I have not made a knit in a while or if the fabric seems finicky. Once you have conquered the sample, a sense of confidence will allow you to relax and sew a U neck top.
Here is another tip! Don’t start with your favorite fabric. This pretty fabric was contributed to Fit for Art by our colleague Edye who had purchased it to make something for herself and then decided it was just not her style.
Hopefully these tips will help you stitch even better knit necklines if it is a technique you struggle with. This little update offers you the option to try it a different way, or use the super basic directions in the direction booklet which will also yield a great neckline finish.
There are many other methods to finish our knit tops if the fabric seems too thick or stiff to make a successful U neckband. For example, check out the blog post about making a Boat or Ballet neck top from Wide Neckline Variations with either a band or a folded under application.
Happy Knit Sewing, RAE