The Tabula Rasa Knit Tee and Tunic (TRK) pattern includes options for U-neck and V-neck construction. The V-neck scares lots of folks because it requires you to clip into the seam allowance to begin the process, but don’t worry! Follow these V-neck tee tips for the perfect neckline.
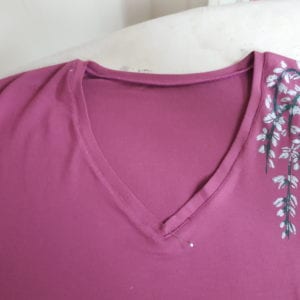
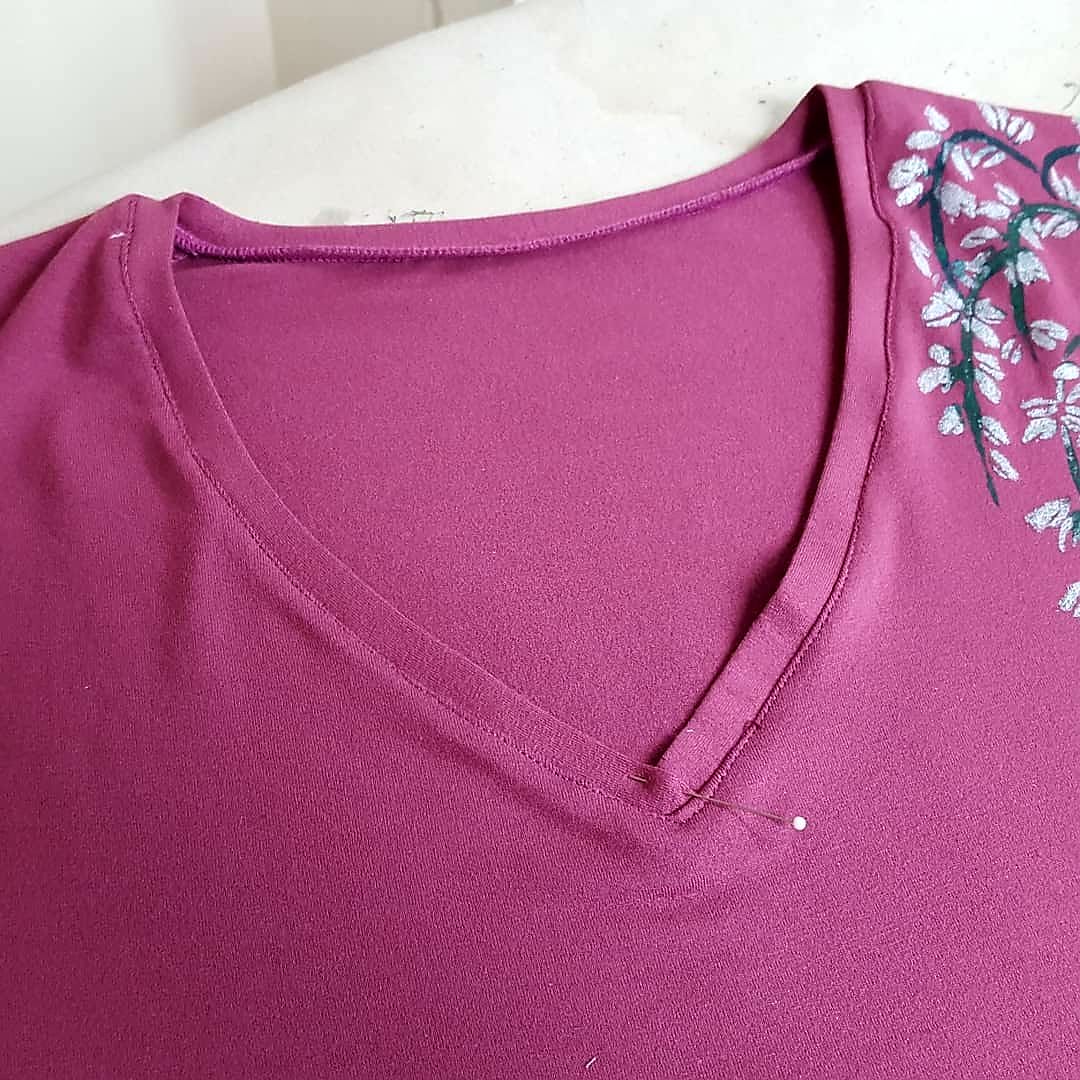
Here are some step-by-step tips on how to smoothly construct the V-neckline. It’s not really that hard. The photos are from the construction of the rose-colored painted tee.
Before you cut and sew, use the V-neckline template to adjust your pattern. See page 3 of the TRK direction booklet for the detailed directions.
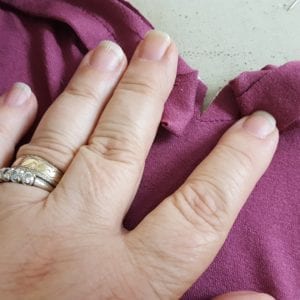
When you cut out your fabric, place a mark at the point of the V that corresponds with the intersection of the 5/8” seam line.

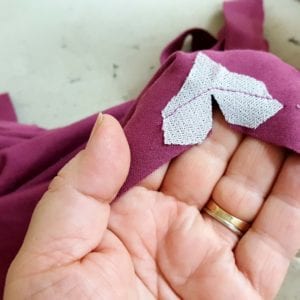
Before you begin construction, cut and apply a small piece of fusible soft knit interfacing to reinforce the point of the V neckline as shown on page 12 of the direction booklet. Either interfacing in our Interfacing Sampler for Knits and fine fabrics would be perfect.
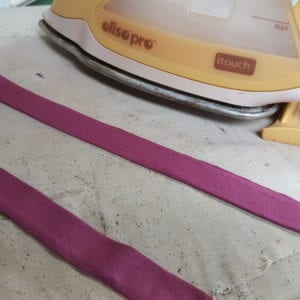
Measure the neck opening along the 5/8” seam line after you have sewn the shoulder seams. Add 1″ to the length. Cut the neck band 2” wide by the calculated length. Fold the band in half lengthwise and press in the fold.
Though the direction booklet recommends you complete the tee before finishing the neckline, it is a little easier to do this V-neck finish before you add the sleeves and side sections.
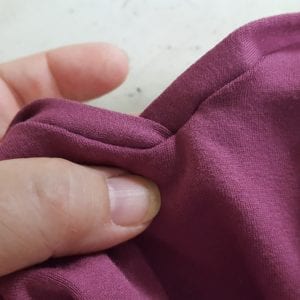
Stay stitch the V-neckline along the 5/8” seam line on either side of the point and then clip into the V to just shy of the stay stitching. See page 12 for the details.
Attach the neckline as directed on page 12, leaving about 2” free on either side of the V. You will have extra band, but that is OK.
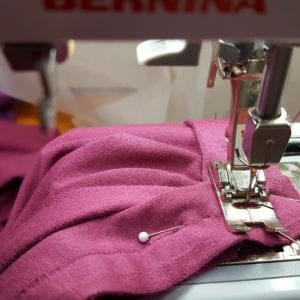
Next, attach the first side into the V-neckline so the stitching ends at the point and anchors one side of the band.
Press the seam allowance away from the neck edge. Working from the outside, slide the neck band into place on the other side of the V. When you are pleased with the placement, baste the band to the second side of the V.
Now pin the loose end of the V-neck band into place underneath the anchored band.

Check on the outside to make sure it looks great, then stitch it into place ending at the V point. Finally, anchor the loose end of the band to the first side of the V. Before stitching it securely, check the placement on the right side of the tee and adjust if needed.
Trim away all but 1/4” of the seam allowance and band. Finish the seam allowance with a serged 3 thread overlock or zigzag stitch.

Gently press the seam allowance away from the band. Topstitch the seam allowance to the neckline 1/16 or 1/8” away from the seam itself.

Finally, finish the construction of the tee or tunic and wear your new V-neckline proudly.
Another way to get the look of a V-neckline is to use one of the styles in our Clever Crossing Variations pattern. It will elevate your necklines to new heights!
Afraid to insert a V-neckband on your own? Come sew with us at a retreat! You can try out this technique while we are there to guide you through the process.
Happy Sewing, RAE


Great tutorial! I stopped a while ago on my Rasa Tee, because I was hesitant to do the v-neck. Now I’ll be able to do it! Thank you. Are you planning to come to Cleveland this coming year? Missed you last year. Would love to have a class with you here, or would like to help you arrange one somewhere.
Helen, there is some conversation about us visiting Cleveland on our way to Novi in November. Keep an eye on our schedule and let us know what sort of class would interest you. RAE