What’s more fun than sewing? Sharing the joy of sewing with a young person, of course! With the roll out of the Tabby Jacket, Rae and Carrie asked fellow creator, Edye Sanford, to put together some thoughts on sewing with kids (and really any newer sewists). Read on for insiration.
I love working with kids! They tend to be enthusiastic and bring lots of fun ideas. Basic sewing knowledge is important and we all have to start somewhere. When I was a kid, my mom turned me loose with her Wards portable sewing machine. It WAS the 1970s, after all. In hindsight, it probably would have been helpful to know some basics to help minimize the frustration I often felt. My goal in teaching is always to set students up for success.
Basics for Sewing Success
The Tabby Jacket instruction book has a whole section on Sewing Skills and Tools for Kids. Here are some additional things that might be helpful.
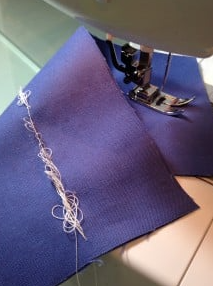
As any experienced sewist knows, threading the machine properly is super import. Have your young person thread and rethread their machine a few times – especially if they haven’t sewn in a while. When I teach, I tend to have students thread their machines manually so they will always be able to sit down at any machine and sew. If you or they want to use an automatic threader, the machine manual likely has complete instructions.


Want to get in some practice sewing straight and curved lines? Use a pen or marker to draw lines on a piece of solid, quilting weight fabric. Make some straight, some a little curvy, and some with corners.
This is also a good time to practice backstitching as described in Fit for Art’s Glossary of Common Sewing Terms.
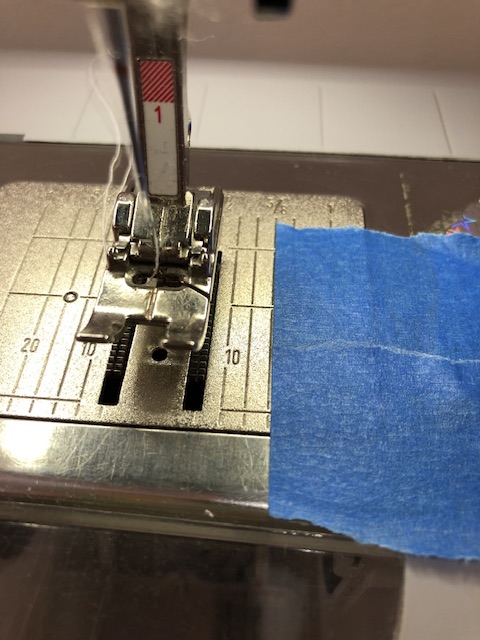
Next up, put a piece of painters’ tape on the machine to mark a 5/8” seam allowance as suggested in the Tabby Jacket instructions. This allows your young person to get a feel for keeping an even seam allowance.

Projects to Practice Basic Sewing Skills
While the Tabby Jacket is a great first garment to sew, it might help your friend to start with some other, even easier projects. Here are some projects my students like.
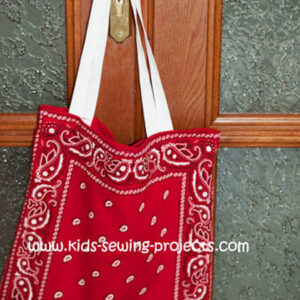
Simple Tote Bag
In this tutorial for sewing a tote bag geared to kids, the author suggests using bandanas. But you can also use pieces of fabric that are 20” x 20”. Is your fabric smaller? That’s OK. Give it a try anyway. The bag will just be a little different in size. And if you don’t want to line the bag, you can use two squares of fabric instead of four. https://www.kids-sewing-projects.com/sew-a-tote-bag.html
Or check out this video tutorial on YouTube. If you opt for this tote bag project, you can zig zag the edges as suggested, or just leave them unfinished.
For both bags, you don’t have to have webbing (straps) for the handles. You can use wide ribbon or even strips of fabric. You can try both of these bag options to see what you like and how your own creativity makes each bag your own.
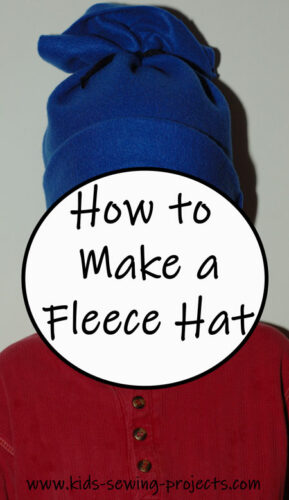
Fleece Hat
This is a fun, quick project and it’s great to make for gifts. Just be sure to cut the fabric so the stretch goes around the head – not up and down.
https://www.kids-sewing-projects.com/fleece-hat.html
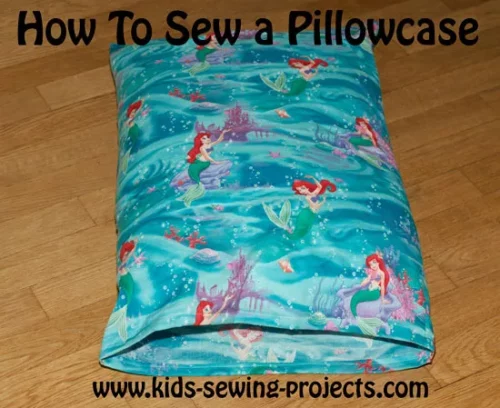
Pillowcase
Who doesn’t love a special pillowcase? Here’s an easy project that’s a great way to keep a favorite fabric close by every night.
https://www.kids-sewing-projects.com/how-to-sew-a-pillowcase.html
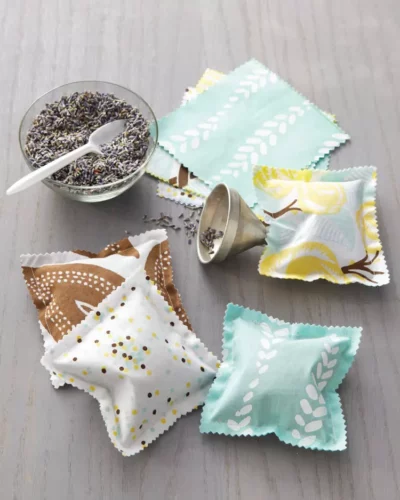
Bean Bags or Scented Sachets
This link is just a jumping-off point. You can fill 5” squares of fabric with dried beans or uncooked rice to make bean bags. Or use dried flowers or potpourri to make a fresh-smelling sachet for the closet. And while “pinking” (cutting with zig zag scissors) is a great way to keep fabric edges from raveling, you don’t have to worry about it on this practice project. You’re only limited by your imagination!
https://www.marthastewart.com/341942/scented-sachets
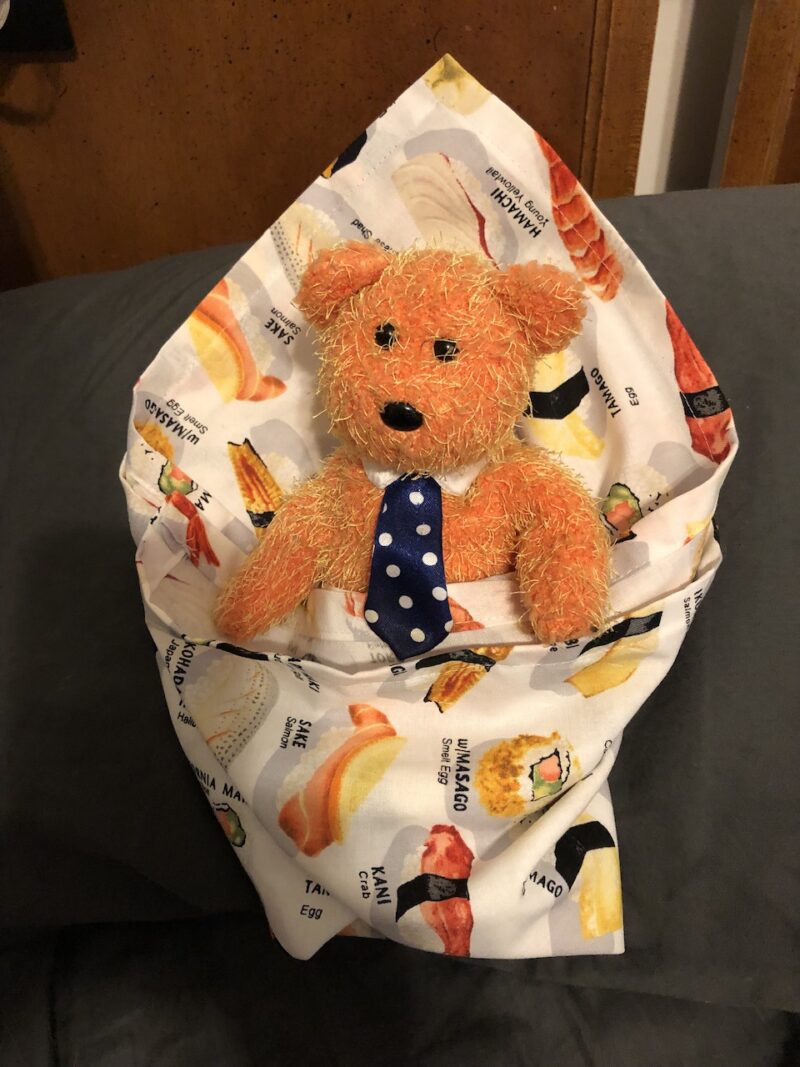
Doll Blanket/Napkin/Bandana
This is a great way to practice pressing and stitching hems. Cut a piece of fabric 20” x 20”, or whatever size you want. Press the raw edge under 1/2” all the way around. Then turn the pressed edge under an additional 1/2” all the way around. Stitch the hem close to the first fold on all four sides. A hemmed square can be all kinds of things. What will yours be?


Lots of kids enjoy making “sleeping bags” for stuffed animals, hair ties, or even fabric bracelets. With each of these projects, keep in mind that perfectly finished seams and 90 degree angles aren’t the goal. We want young sewists to have something they can call their own. That’s a true success.


Final Thoughts
So remember…
- Balance patience and supportive perseverance
- Take breaks as needed
- Keep in mind that we all start somewhere
- Be open to new ideas
- Be sure to have fun!
Happy Sewing with Kids! Edye


