It is important to save some time and energy for the final step required to complete a Tabula Rasa Jacket project. In our virtual Tabula Rasa Jacket course, front band finishes are demonstrated thoroughly. This prompted me to find a blog post addressing this topic to list as an additional resource. Guess what? There wasn’t one. So today, in upstanding sewing geek fashion, we will look closely at the final step of applying and finishing the front band.

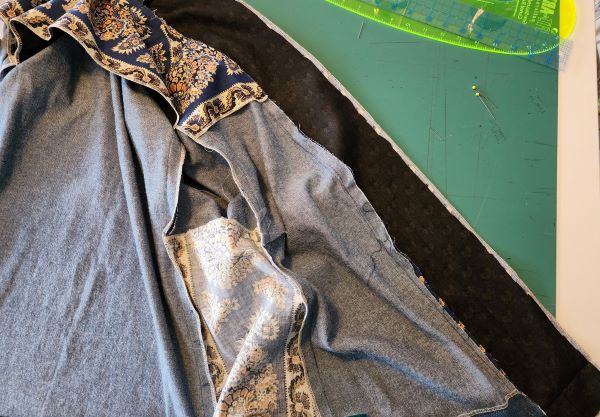
The sample jackets we will examine are the samples that were used to demonstrate the jacket making process in the virtual class. Two are made with SewBatik canvas, which is a great product for this jacket as it holds a press well as you work through the construction. The result is a crisp coat, perfect for transitional weather in seasonal climates, winter weather in warmer climates and summer time in cold climates. The other sample is from stash; light-weight denim and home decorator cotton scraps.
Prepare the Band—Choose an Edge Finish
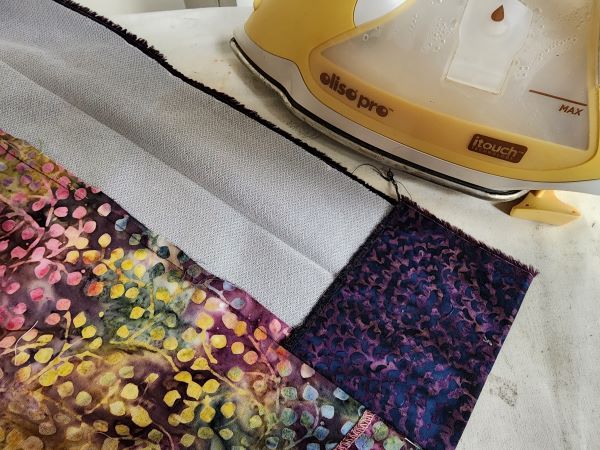
- Choose an interfacing to support the band. Make a sample on scrap fabric with possible interfacings and fold it in half to make an informed decision.
- Cut interfacing to match the band width you have chosen—at least one width and the turn needs interfacing.
- Fuse the interfacing for a smooth application.
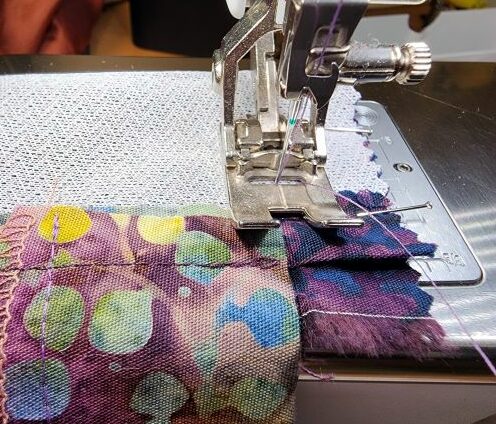
- Sew the center back seam matching the notches.
- Press the seam open.
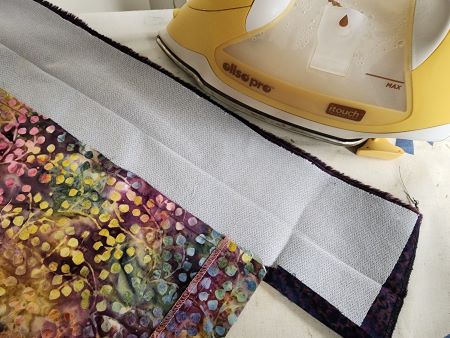
- Fold the band in half the long way and press.
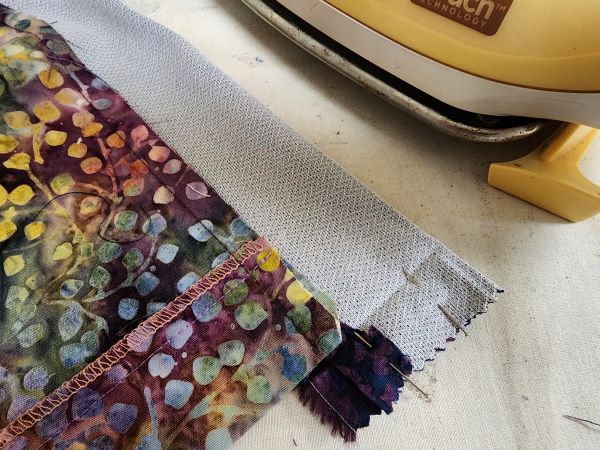
- Clean finish the inside edge of the band. Use selvage if possible or choose a clean finish for a machine finished jacket. Fold under the 5/8” seam on the band for a hand stitched finish.
Attach the Band
- Align the band’s seam to the center back neck, right sides together.
- Walk and pin the band to the jacket along the 5/8” seam line.
- Align the band’s dots to each shoulder seam.
- Pin the band all the way to the hem on both sides.
- There should be at least 5/8” extra band length extending below the hem. Once trimmed, it can be used to make buttonhole or other closure samples.
- Stitch the band to the jacket opening in one long 5/8” seam.
- Press the band away from the jacket with the seam allowance extending under the band.
- Grade the band seam.
Press in the Band Finish
- Fold up the remaining band fabric and press it to align it as an extension of the hemline.
- Re-press the band’s long fold line to create a neat edge.
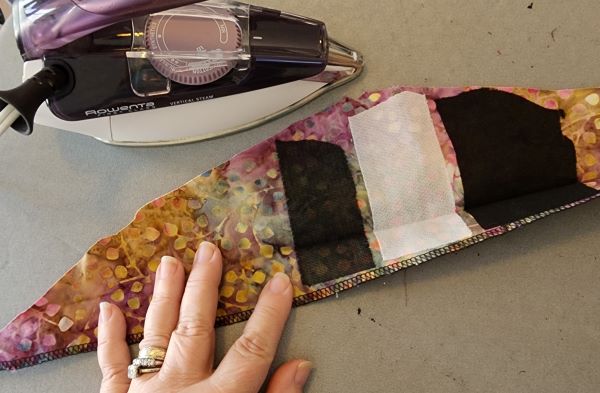
- Unfold the end of the band and trim away excess fabric leaving 5/8” for a seam.
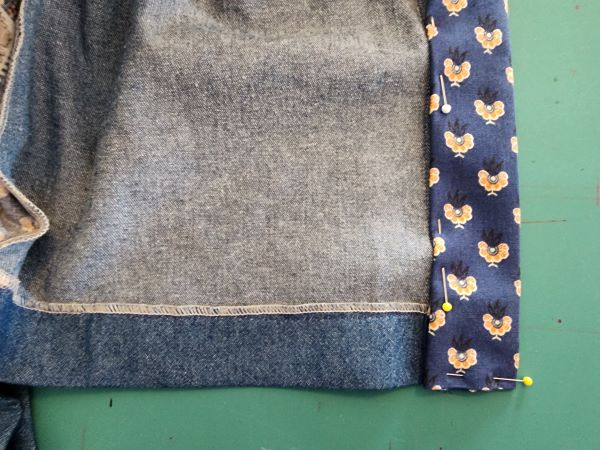
- For a machine stitched end finish, reverse fold the band and pin the two layers of the lower edge together.
- For a hand stitched finish, reconfigure the folded end of each band and pin in place and move down to the final set of bullets for the finishing work.
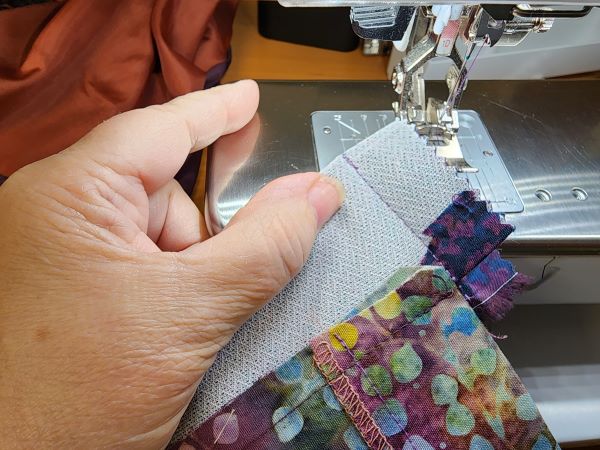

Stitch in Place and Trim Off Extra Fabric for a Machine Finish
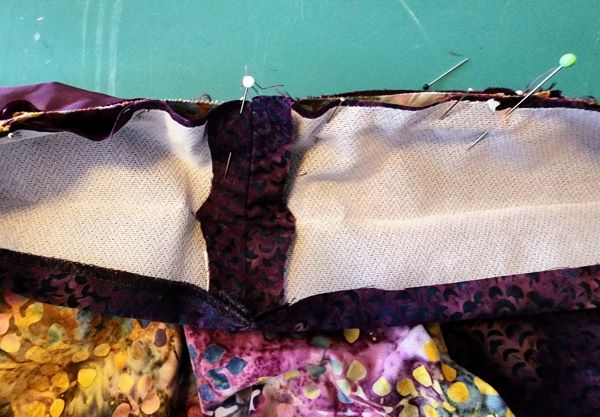
- Stitch the band together just below the crease line with the band right sides together.
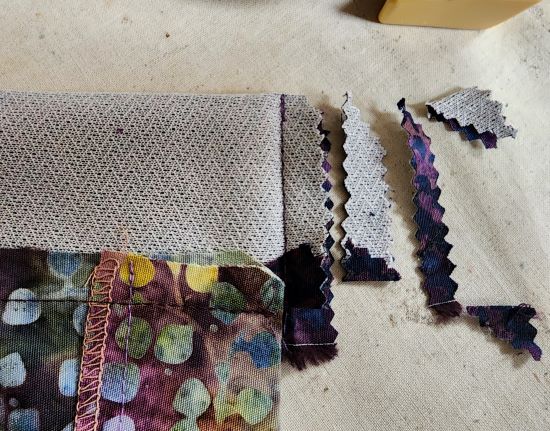
- Turn the ends right side out to check that they align with the hem smoothly and adjust if necessary.
- Return to the underside and grade the seam by trimming off the additional fabric to 1/4” and 3/8” respectively and clipping excess from the seam allowance fold line.
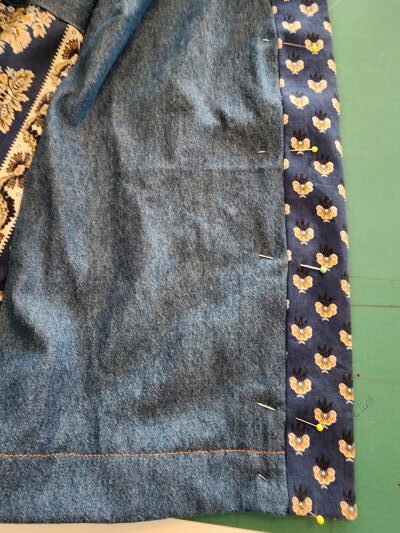
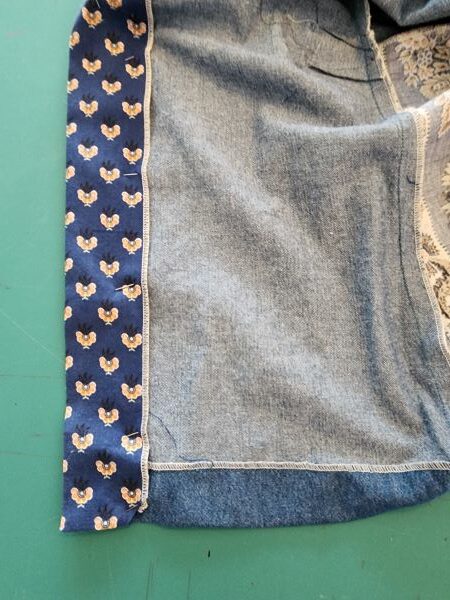
Press, Pin and Stitch the Inside Band for a Machine Finish
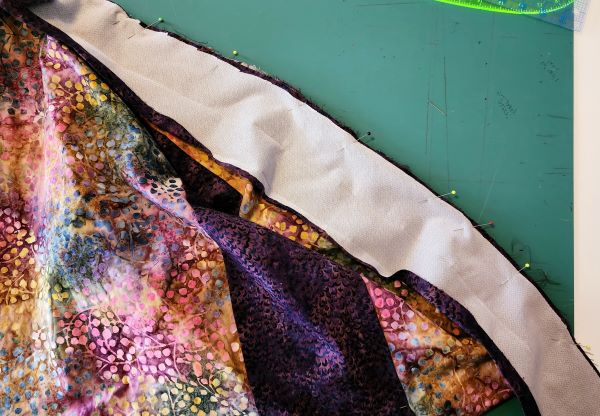
- Wrap the band along the fold line to the wrong side of the jacket.
- Pin the band in place securely all around the front opening.
- Stitch the underside of the band in place—machine stitch in the ditch.
Hand Stitch the Band as an Alternative to Machine Stitching
- Pin the folded end of the band to cover the band seam line all around the front opening and pin smoothly in place.
- Use a hand-stitching needle to hand stitch the band end together securely and attach the band all around the neck edge.
There are 12 steps in the Tabula Rasa Jacket direction book. Each one outlines the sewing techniques needed to construct this rather simple jacket in a neat manner. While we pride ourselves on writing thorough directions, there is always a way to expand them for a more thorough step-by-step set of instructions. I hope you have enjoyed this little tutorial. It will ensure that the jackets you make in the future have beautiful front bands with neat and tidy ends, illustrating that you must not cheat the final TRJ step.

Happy Sewing, RAE


This post was very helpful to me in completing my jacket. Thank you!!!
That is great news. Hope you are loving your new jacket.