Before winter gets away from us entirely, I want to share the Seawool Jean Jacket I am enjoying for our transitional weather. The fabric has been languishing in my to-do pile for at least a year, originally conceived as a “shacket” or hybrid shirt-jacket. As we’ve been focusing on sustainable sewing this year, it seemed the perfect time to tackle this project.
The Seawool Melton was purchased from The Confident Stitch, an online and in person fabric shop in Missoula, MT, which describes Seawool as:

“An environmental home run from Robert Kaufman, Seawool(R) is made from post-consumer oyster shells. After being crushed, the shells are mixed with plastic (PET) from recycled plastic bottles and spun into yarn which is naturally anti-static, anti-odor, anti-bacterial, and quick drying!”
Be sure to check out Kate’s helpful tips 4 Lessons I Learned about Sewing with Seawool shared in the Confident Stitch blog post.
Planning and Preparation

I began by gathering possible materials from my stash to use with the teal Seawool. I collected a wool scarf that my mother wove years ago in gray and blue, a fabulous silk print in teal that Rae picked up for me a few years ago (knowing this is one of my favorite go-to colors), and pearly teal vintage buttons that were purchased a few years ago at an Expo from Dusty’s Vintage Buttons. The Seawool itself has two usable faces as the “wrong side” is darker than the “right side”, presenting additional options.
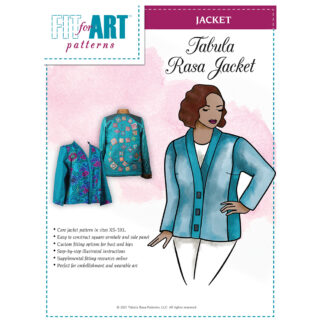
As I thought about which TRJ style to use for my “shacket”, I decided that the Jean Jacket Variation would be a nice change from a Shirt Variation (such Carrie’s plaid flannel shacket). Jean jacket topstitching will break up the solid fabric with design lines and the scarf can be incorporated for the collar and cuffs. The pattern work for the jean jacket, which involves some slicing and taping of your basic TRJ pattern is a great project for pattern work nerds like me! Luckily, I already had a jean jacket pattern ready to go.
After cutting out the front, back and side pieces, I played with layout and quickly decided that alternating the light and dark sides would be too much like a checkerboard. I assembled the fronts and back and put together the 2-part sleeves all with the light side as “right side, and reserved judgment on the side panels. Because the Jean Jacket placket finish is more difficult to line, and the Seawool fabric is so soft and cozy, I decided to skip the lining and save the beautiful teal silk for another project.
Collar and Cuffs from Handwoven Scarf
The time had come to decide about the collar and cuffs, so I draped the jacket on my dress form to contemplate the possibilities. I opted for the ruffle collar and cuff for several reasons: it seemed to best take advantage of the nature of the scarf; I had never made a ruffle version of the jean jacket; and Fit for Art would benefit from having another sample of a ruffled jean jacket.


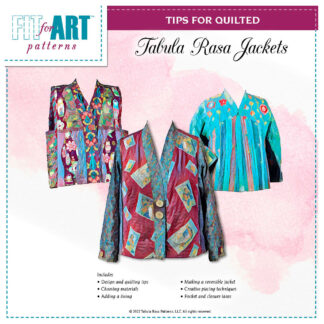
The scarf was a very limited resource that would easily unravel, requiring careful planning before cutting into it. The finished edges of the scarf would serve as the finished edge of each ruffle and the cut edges would be secured within the seams. As we advise in Tips for Handwoven Tabula Rasa Jackets, I fused a strip of soft stretch interfacing along all the cutting lines and stitched along each side before cutting it apart. After the collar and cuff pieces were cut apart and raw edges secured with the serger, the ruffles were created with gathering stitches, drawing each piece into the right length to fit the neckline or cuff base.
Rae helped me figure out that I would be happier with the neckline more open and the collar farther away from my neck, especially since this scarf ruffle is deeper than the version that the pattern provides. Here you can see how I laid out the new neckline shape on the constructed front/back. After cutting away the excess, the ruffle collar was sewn into the front placket according to the Jean Jacket instructions and finished with a bias binding.


Final Details

Of course I had to add pockets for gloves, phone, and keys, so kangaroo pockets were incorporated into the side panel and seams. This inspired me to use the dark face of the Seawool for the side panels topped with the lighter face for the pockets.
Finally, it was all done and just needed the buttonholes and buttons, always a nervous moment for me! Sample making led me to conclude that the heavy gray thread I was using for topstitching was just too distracting next to the buttons, so I made the buttonholes with a standard weight thread that blended into the fabric. A little “cheat” – due to the bulk in the cuff base, I was afraid buttonholes would be a disaster, so the cuff buttons are simply sew in place.


The jean jacket style is not just for denim! We would love to see photos of your Jean Jacket Variations, so send them to us at info@fitforartpatterns.com or post photos on social media with the hashtags #tabularasajacket and #jeanjacketvariation.
Happy Sewing, Carrie


Beautiful! Love the fabrics you used!