
The Carpe Diem Dress & Tunic is the perfect garment design for featuring fun trim. If you watched the Artistic Artifacts Facebook Live on Saturday morning, you saw a number of trimmed Carpe Diems that have become wardrobe favorites.
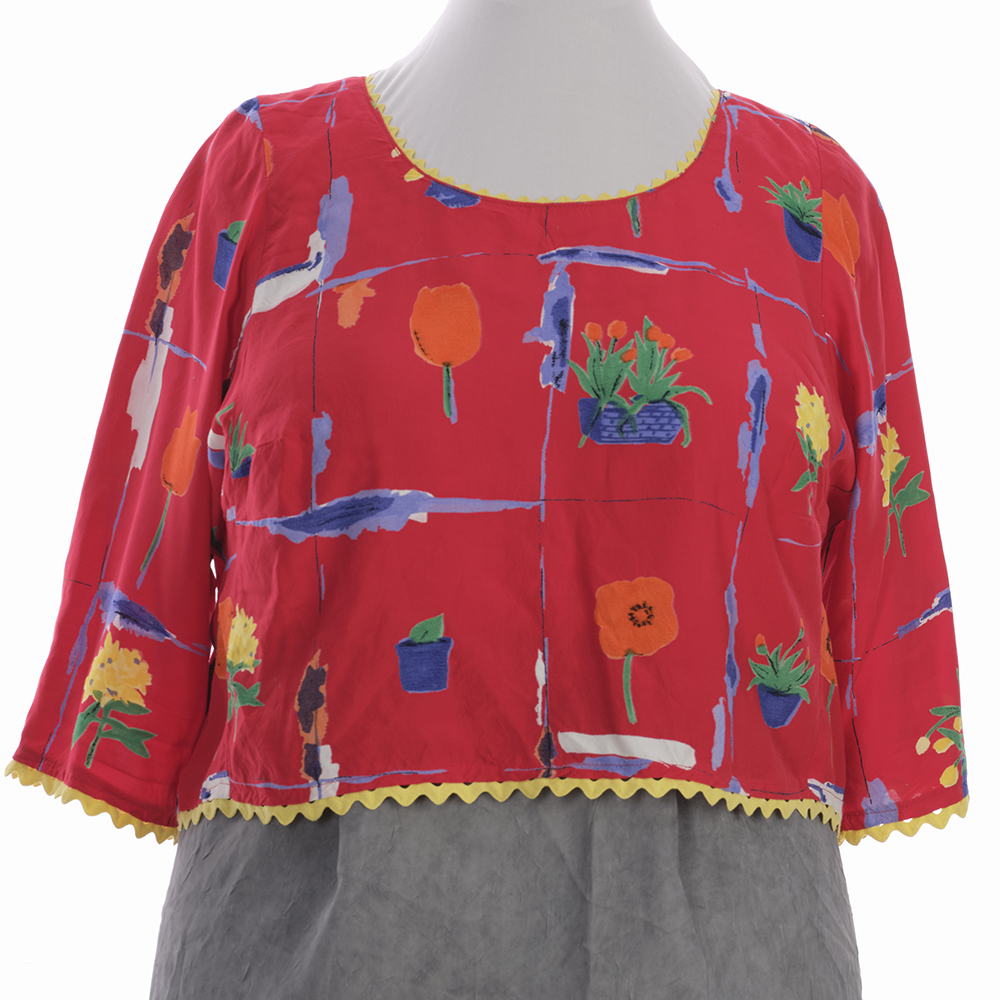
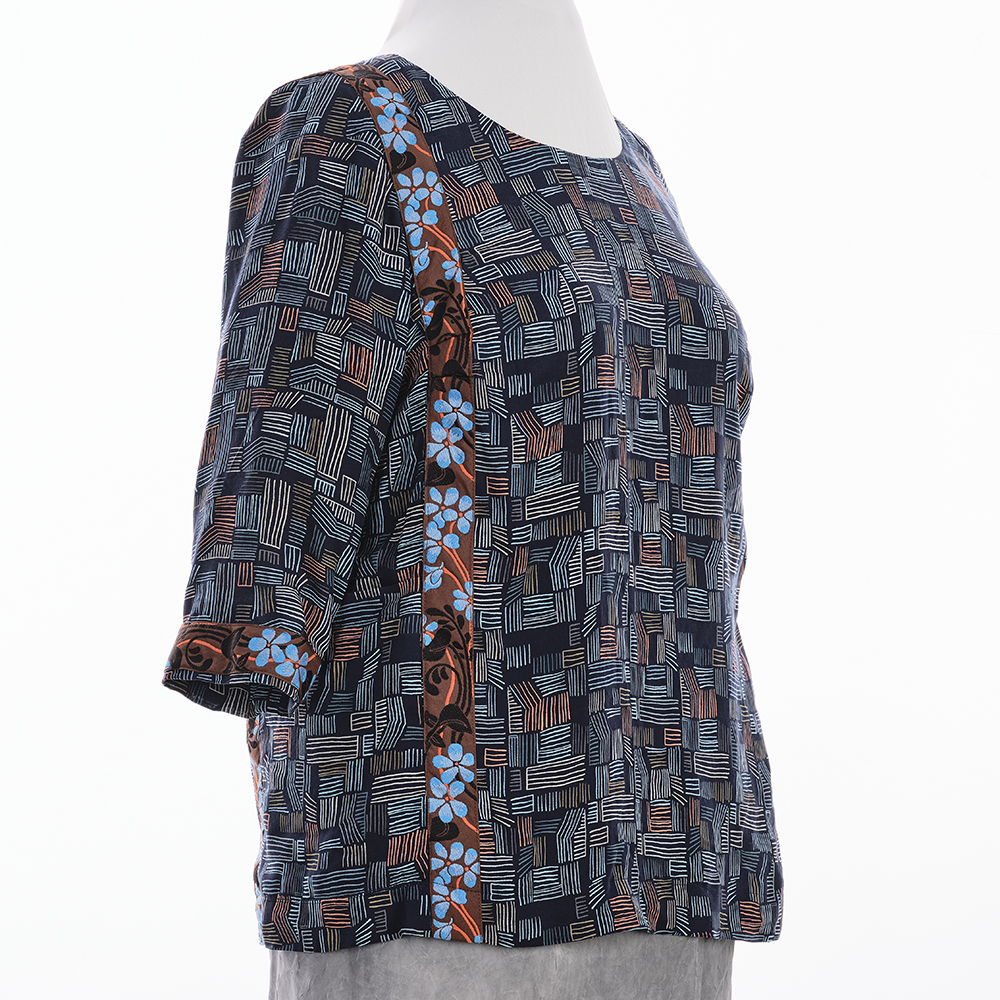

We are going to look at the Indian Cotton Batik from Artistic Artifacts used for my most recent Carpe Diem make. It utilizes a vintage trim and a binding fabric that I hand-dyed in a class at Artistic Artifacts in 2020. The fabric is such a light weight cotton, I needed to design the top so the trim was supported for many summers of wear. Are you coming to the ASG conference in San Antonio the first week of July? My Mix up the Perfect Fabric Cocktail class will look at this topic in great detail.
Designing with Trim in Mind

First it was necessary to calculate how much trim there was and how it could be used. My hope was that there would be enough to trim the hemline and the sleeves of a blouse length top that could be worn with tapered pants. After measuring the front, back and side pieces and subtracting out the seam allowances it appeared that there was enough trim for the hem and a remaining 22 inches. For a standard sleeve I need about 15” of width to trim each sleeve, or 30”. So I put my design brain to work thinking about sleeve options. Carrie recently wrote about her notched front Carpe Diem and even showed the pattern work to expand the sleeves so they could be gathered into a little cuff. I created a little mock up cuff 11” in circumference and wide enough to hold the trim. Once I decided where it would comfortably fit, I lengthened the sleeve so there would be enough sleeve length for ease of movement. I had plenty of cotton, just not enough trim.


Build in Support for the Trim
The cuffs were interfaced with Envy Silk interfacing so they would stay neat and support the trim. The sleeves were gathered and the cuffs attached. I hand stitched all the trim onto the blouse, attaching it along the top edge and along the middle section of the trim resembling butterflies or bows. I left the dangly flowers loose
The top was cut and assembled so there would be a double turned hem also designed to support the trim. I did not interface it but carefully pressed the hems in place and tried the top on to check the length before topstitching the hem in place. The trim was hand stitched using the same method used on the sleeves.


Choose finishes that Complement the Trim
The final finish was to bind the neckline. The Carpe Diem pattern offers facings as finishes, but for this very light weight top, I wanted to use a hand-dyed linen napkin for the binding. The binding, which is folded under, is designed to not show. It is my little secret that the color of the trim is also neatly finishing the neck edge.

So many of the elements of the hand died linen napkin were interesting so no need to mess up the lovely hemstitched edge and the embroidered corner. They will find a home in a future garment. I cut two 1½” wide strips on the bias of the napkin’s center. One was cut in half and the two halves were stitched to each end of the long strip (so the seams would fall in the back neck). The keyhole opening had already been stitched in place and a fabric loop attached for the closure.


The binding was pinned and then stitched around the neck edge leaving at least ½” extending beyond each keyhole opening. (For a folded under binding, don’t stretch the binding as much as you might for a binding that shows. Carrie is going to demonstrate that type of binding in a future post.)


Double check that the two binding seams match in the back before trimming out the seam allowances and pressing the binding to the back. Fold up the raw edge for a 5/8” edge finish. When it has been pressed in place all around the neck edge, turn under the raw edges at each end and neatly hand stitch them securely. Topstitch or hand stitch the binding to the top all around the neck edge. Finish by stitching a little button in place to align with the fabric loop.
Plan your own Trimmed Tunic
There are so many options for trimming and finishing the versatile Carpe Diem dress or tunic. Do you have some trim that has been languishing in your stash? Find a coordinating fabric and begin your design process. This combination of fabric and trim we found Saturday at Artistic Artifacts is so yummy. I hope someone will choose it to stitch up the perfect cool summer top with these textiles from Artistic Artifacts and the sewing tips from Fit for Art.


