Another post, another zipper! We are finishing out this series of zipper posts in advance of the Zipper Sampler class I am teaching at the Schaumburg Original Sewing and Quilt Expo (OSQE), and the Zipper Sampler stage presentation I will be leading at the Fredericksburg OSQE.

Exposed zippers continue to be a trend in Ready to Wear so they are a fun detail to add to a simple garment. If you are redesigning a garment that is snug, releasing the zipper and adding an exposed zipper can give you extra room. ( I talk about this in my Tailoring for Fit and Style class available through Burda Style or Craft U.)

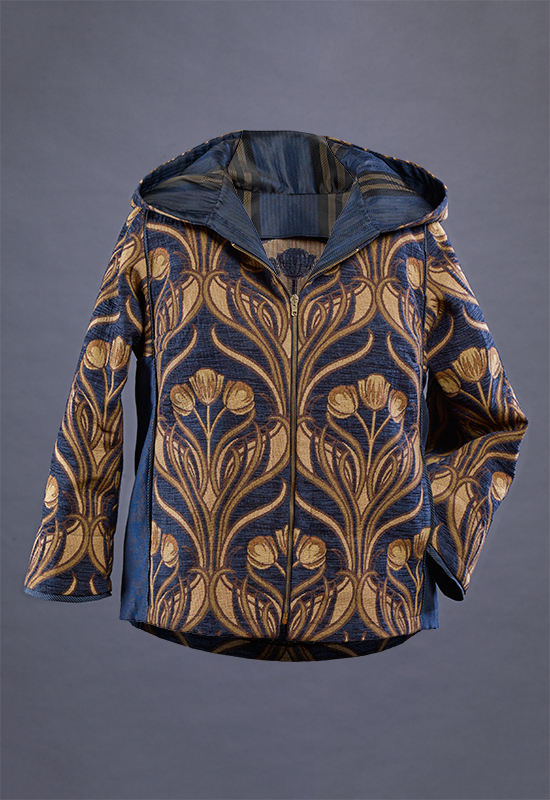
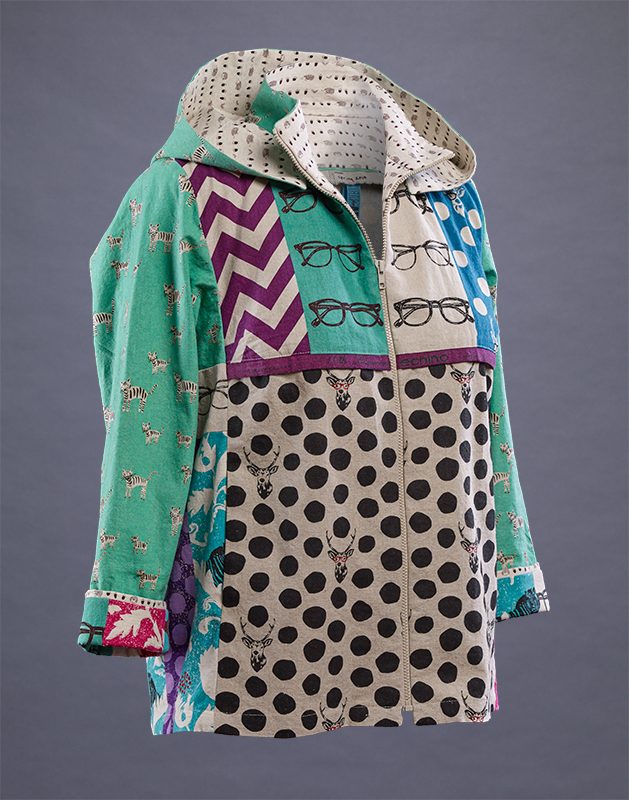
For this post, I will give you the step by step instructions for inserting an exposed separating zipper into the front of a jacket or top. There is more info on separating zippers and several styling opportunities in the Rain or Shine Variations pattern for the Tabula Rasa Jacket (TRJ). Separating zippers are available in several different materials: brass or other metals, molded plastic, nylon coil, and even invisible nylon coil.

Visit our Helpful Hints page to read about sizing zippers and sources for interesting zippers. For this post, we will be inserting a 20” long 3mm molded plastic separating zipper into a jacket weight fabric sample, as you would for a front opening jacket.
To keep the jacket from being too large, we will take an extra 1/8” off each side of the front, turning the 5/8” seam into a ¾” seam.
It is very difficult to shorten these zippers yourself. Plan the jacket so it will work with a standard- length zipper, or have your supplier shorten the zipper for you.
Heat up the iron and press interfacing, if you need it, along both sides of the center front opening. For a ¾” seam, I would cut 1” strips.

Press the ¾” seam allowance in place on both sides of the center front opening. Clean finish the edge if the jacket will be unlined and without a facing.

Lay the two seam allowances side-by-side and set the zipper along the opening to determine where you want the zipper to begin and end. Remember to leave at least 5/8” free at the top neck edge and enough fabric to turn up an adequate hem along the bottom. The zipper should not fill the entire opening.

Make a small clip or chalk mark in both seam allowances at the top of the zipper teeth and at the bottom of the zipper stop so you can insert the zipper evenly into the opening.

Read more about positioning an exposed zipper in a jacket with piecing lines or in a fabric with a pattern that needs to be matched in previous posts.

Pin the right side of the zipper to the right side of the jacket, lining the folded edge along the edge of the zipper teeth.

Match the zipper to the clips in the seam allowance for perfect positioning.

Fold back the tab at the top so it does not extend above the zipper on the jacket.

Put the zipper foot on your machine and position it so you can stitch to the left of the fold. Stitch a straight-line close to the zipper teeth, attaching the zipper to the jacket opening.

Unzip the zipper to make sure it was not caught in the stitching. The rezip the zipper.

Pin the left side of the jacket along the left side of the zipper teeth, carefully matching any seams or print and aligning the top and bottom of the zipper to the clips. Carefully unzip the zipper, removing the right side from the left side.

Stitch the zipper to the jacket as you stitched the previous side.

Zip the zipper again to check placement, then finish the jacket construction.

Come watch me insert one of these zippers in the Zipper Sampler class at the Schaumberg OSQE. You will get a kit with fabric and a zipper, courtesy of Coats & Clark, so you can try inserting an invisible, separating, lap, and fly front zipper at home on your own machine with your own zipper foot.
Happy Sewing, RAE


