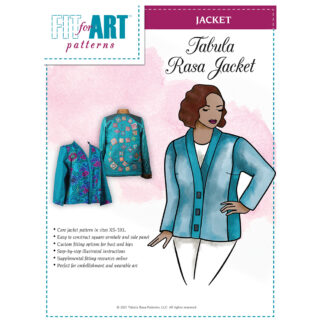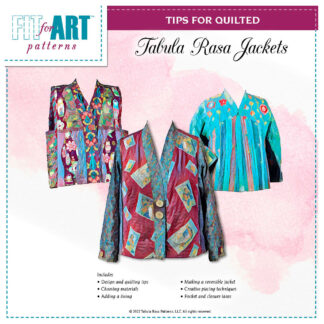
Stitch up a scarf band to finish your Tabula Rasa Jacket (TRJ)! I used a scarf band on this blue mixed fiber TRJ that has been hanging on our wardrobe wall at the last several sewing shows. The scarf band creates a built-in tie closure for a soft daytime look. Many of you asked about this particular top, so I decided to blog about it.

The unlined top is crafted from 5 different lightweight fabrics. Here in Baltimore it serves as a three season fabrication, so I have found it to be a very versatile addition to my Fit for Art wardrobe. The blue base looks great with my jeans, my navy Eureka! Pants with Trouser Details, and my navy silk dupioni Eureka! Pants with narrowed legs and hem slits. Sadly for you, I made this top long ago, before I started photographing my techniques and processes.
This week I will write about the fabric combination, pattern work and seaming in the body of the garment and next week I will tell you how to put the scarf/ band onto the top and finish the edges of the scarf.

So you ask, how did I get started? The first task was to arrange the fabrics. Because they varied in weight, I placed the sturdiest fabrics – the woven silk and metallic stripe and the cross woven polyester damask – in the spots where an unlined jacket needs the most support, that is at its center front, back neck and side panels. I used a navy georgette for the sleeves to keep them soft and dark but edged them with a strip of damask selvage to provide structure at the wrist with an interesting natural finish. There is lots of great color and texture playing in this little jacket!

Two coordinating printed georgettes round out the fabric grouping. I featured the larger paisley print on the armhole side of the split front and back. I reserved the smaller floral print for the scarf band. The prominent blues in this print made it an excellent choice for the part of the top that is closest to my face. The small scale of the print allows the scarf to blend easily into the top. The other bonus of this small print is that its reverse side was almost identical to the right side. In a scarf band, both sides of the band will be visible and often drape together. I finished the scarf band on each end with a strip of the selvage from the paisley georgette.
To create the linear piecing on the front and back sections of my TRJ, I traced off my front and back pattern pieces and split them vertically, making sure the split met at the shoulder line. Then I added a 5/8” seam allowance to each side of the pattern along the split line. (Refer to page 13 of the TRJ instruction booklet for more information on dividing up your pattern pieces.) I used the 5¼” wide front band pattern from the basic TRJ pattern to cut out the scarf.
I cut out all my garment pieces from the chosen fabrics and began constructing the top with the seams on the outside. Each seam was sewn at the 5/8” seam allowance, then rolled on the serger set for a 3-thread rolled edge. When I rolled each seam, I allowed the serger to trim off most of the seam allowance. If you do not have a serger, you can use French seams on the inside of the garment and baby hems for your final finishes. Though I have never tried it myself, I am told that you can trim your seams and use the rolled edge foot on your sewing machine to get a similar effect to a serger’s rolled edge. (Read more about serger rolled edge seams in Swing Variations for the TRJ.)
If you have a group of fabrics you want to combine into an unlined top, why not get them out this week and play with the placement to begin planning your own TRJ? I frequently use a dress form or hanger to look at the fabrics next to each other as I am deciding where to place each one. As you plan your top, remember to consider the weight and drape of each fabric as well as which ones will look best near your face. Use our Endless Possibilities page to sketch your ideas. You may even complete your pattern work and begin construction.
Next week you will be able to read about adding the scarf band and finishing its edges. Happy Sewing. RAE


