Seams are such an integral part of garment sewing, yet they are often taken for granted. My DIY clothes move up a notch when I pay close attention to each seam. Today we will begin to think differently about seams. That magical 5/8” garment sewing seam allowance is the first place to focus. In a previous post, Seams are Sew Important, we talked about the difference between the cutting line and the seam line. These pattern specifics are especially blurry when using a multi-size pattern.
Look at the Pattern
Because garment patterns that actually fit women’s bodies are not squares, they cannot be stitched together along a stable line as easily as block piecing a quilt with 1/4” seam allowances. The width of the 5/8” seam allowance allows for adjustments in fit when necessary, but it also creates a differential between the length of the cutting line and the length of the seam line at each subtle or significant curve. This is most clearly seen when looking at patterns for clothing that fit a woman’s upper body.
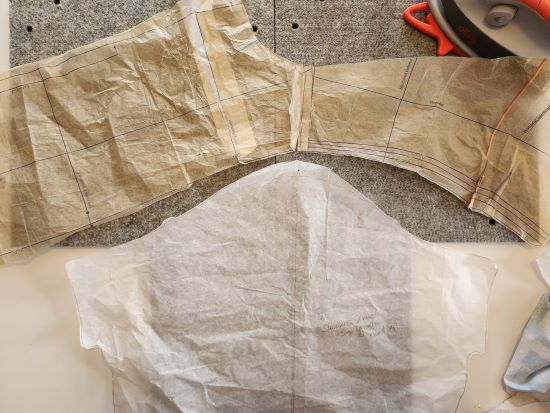
Here is an example using the cotton summer top that is my sewing project for the ongoing virtual class series with Fabric Mart. Let’s look at the pattern pieces first. The armhole of my adjusted Tabula Rasa Jacket pattern, with the shoulder seams pinned together and darts folded out, measures 22 3/8″ at the cutting line with a double notch in the back and a single notch in the front. The cutting line of the sleeve I will insert into this armhole measures 24 3/4 ” with similar notches in the back and front and a dot at the shoulder seam. That is a difference of 2 3/8”.
Draw the Seam Line on the Pattern
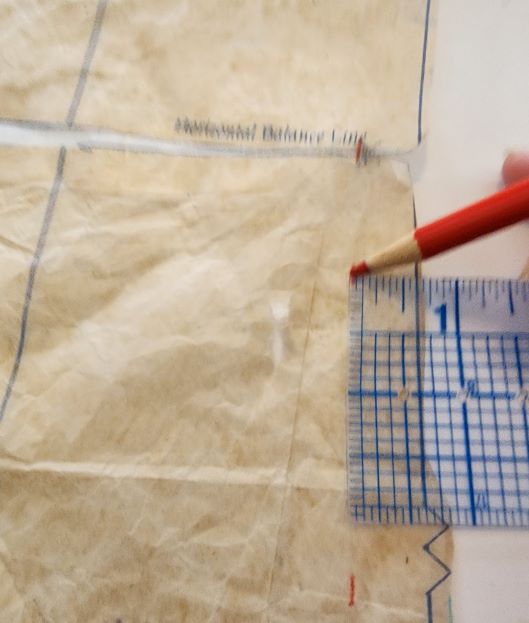

When I draw in the 5/8” seam line on the paper sleeve pattern and measure, it measures 24”. The seam line drawn onto the armhole front and back measures 23”, a difference of 1″.
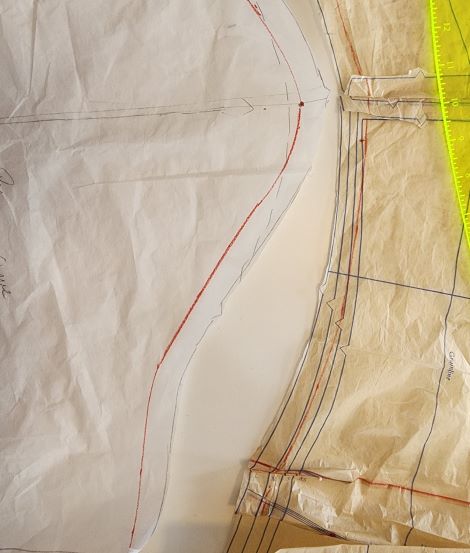
When I carried this a bit forward and measured the sleeve in the front from the dart to the notch and the same on the back sleeve, then measured the lower dot to notch on the back, these measurements were within 1/8”.
Then I measured the sleeve cap stitching line between the notches, which is even longer than the basic pattern 13 1/4″ because I raised the sleeve cap for an improved fit. Finally, I measured the armhole on the front/ back pattern from notch to notch along the seam line at 12”.
As you can see, there is just over an 1” difference when we are working on the seam line. When working with the full armhole at the cutting line the difference is 2 1/2″.
Is it different with fabric?
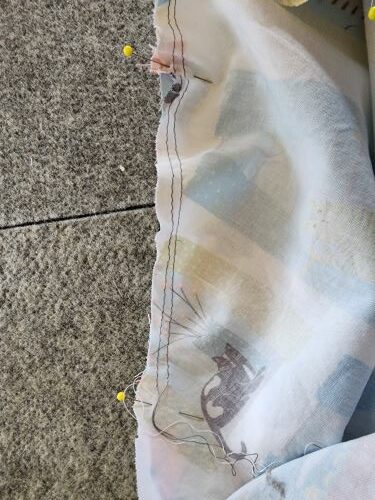
Now think for a minute about the times you have put in a sleeve and, by the end of the process, there is extra sleeve fabric and nowhere to put it! That is the reason two or three rows of gathering stitches are sewn into the top of a sleeve before it is inserted; it permits better control of the extra fabric in the seam allowance, so the sleeve fits into the armhole better.
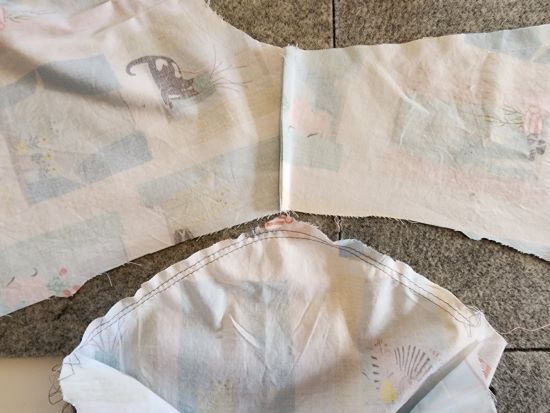
When working in fabric and not with unforgiving paper, the process is easier. Most fabric can be molded to the shape needed. Try to relax while working through the process and make sure you do not stretch the fabric while working along the seam line. For stiff or unforgiving fabric, it can be useful to make a few small clips into the seam allowance of the armhole around the sleeve cap to relax the shorter armhole cutting line edge.
Manage Fabric Strategically
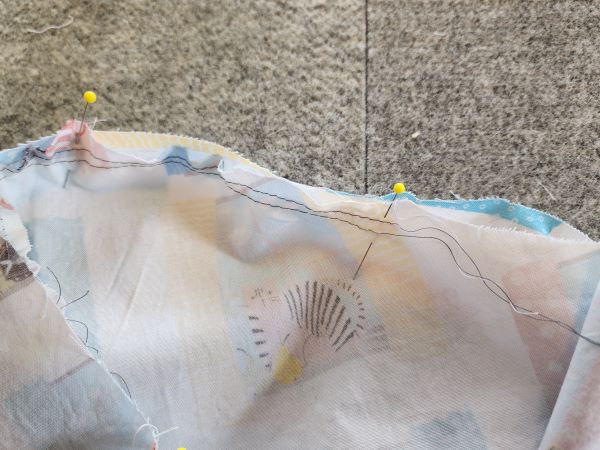
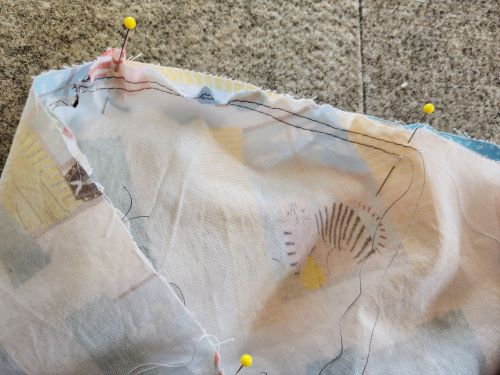
Always sew with the armhole down and the eased sleeve facing up in the sewing machine, so you can keep track of the eased fabric. If there seems to be fabric bunching, stop with the needle down, raise the presser foot and relax the fabric underneath.
What is the takeaway here from this little exercise? Learning to connect curved seams along the seam line, not match up the cutting lines, is a good start.
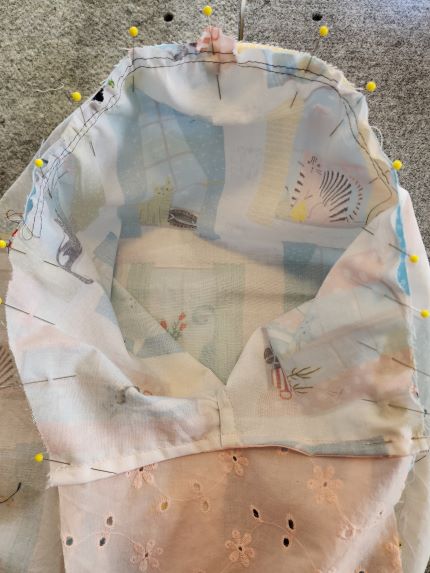
The notches force us to make a couple of connections along the cutting line, which is helpful for positioning the additional fabric where it is needed for ease of wear. Practice intentionally pinning at each notch and at the shoulder seam/sleeve dot connection on the cutting line to begin the process of pinning sleeve into armhole. Next, position the smaller armhole seam on top and coax the larger sleeve into the hole by drawing in the gathering stitches, smoothly and lightly pulled.
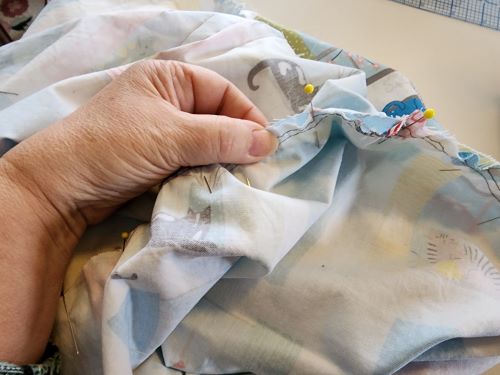
If you are like me and have the added benefit of a thumb that is about 5/8 inch wide, it can be used as a measuring tool. You might, however, with practice find your own method to solve one of the most basic quandaries of garment sewing.
Still Stumped? Get Help!
Finally, if you continue to have a problem, reassess the pattern and perhaps adjust the seam lines tor a better fitting sleeve to armhole ratio. If you have not worked with pattern alterations much, consider signing up for a Virtual Coaching session with Rae for assistance. Or join Fit for Art at our Sew Successfully Spring Retreat; there are a few spaces left.
Another place where this seamline pinning practice is helpful on the Tabula Rasa Jacket is when adding a front band or collar around the curved neckline. When I add the band onto this adorable top, I will post the process on social media. Join me next Tuesday for the next installment of the Fabric Mart series and all this math manipulated in fabric will be on display!
Happy Sewing, RAE


