The next class in Rae’s virtual series, Sew Great Clothes, with our host Fabric Mart is coming up next week with a focus on preparing the pattern and fabric to sew. Fit for Art has written many posts that touch on these topics; they can be found by search terms or categories in the Blog Archive. We hope our new garment sewers will find some constructive help for the questions that vex them. Meanwhile, we’ll bring many of those topics together in today’s post about basics for cuffs for a quick review of how to successfully fit and support cuffs on a jacket, top or pants.
Decorative Possibilities
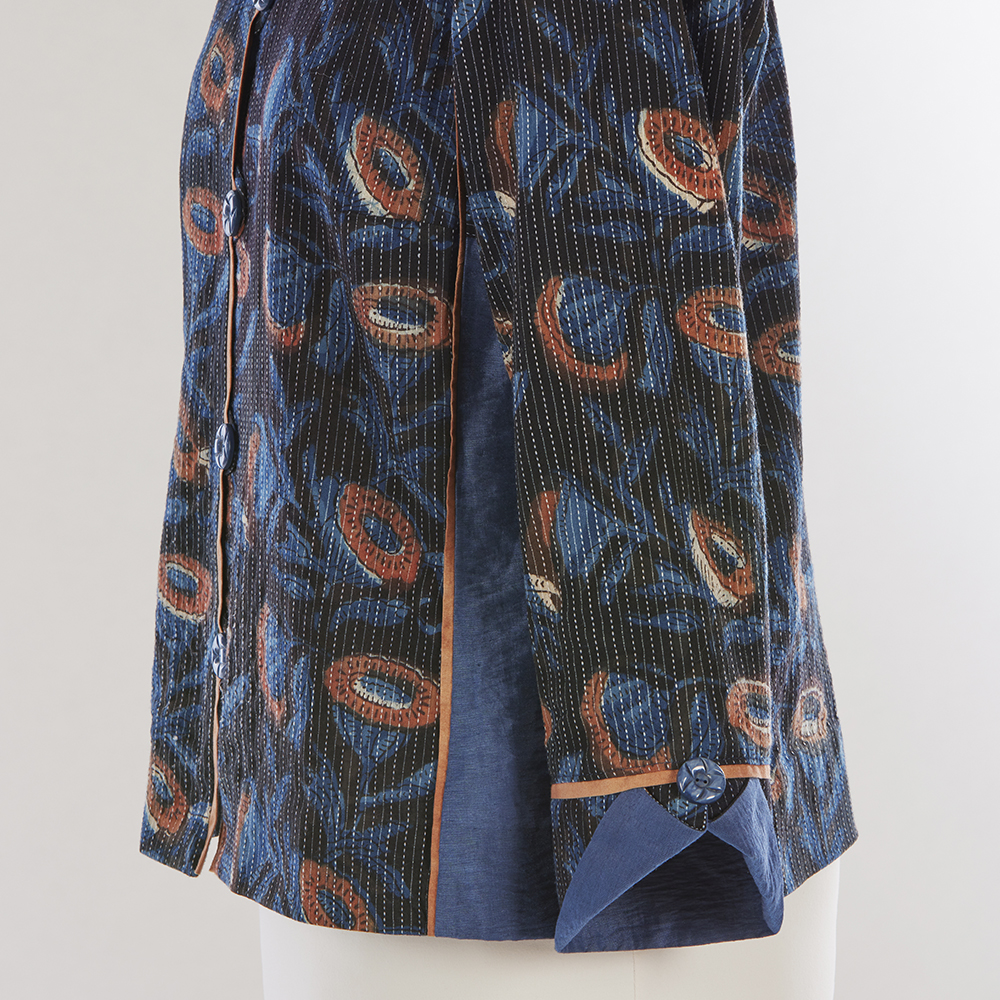
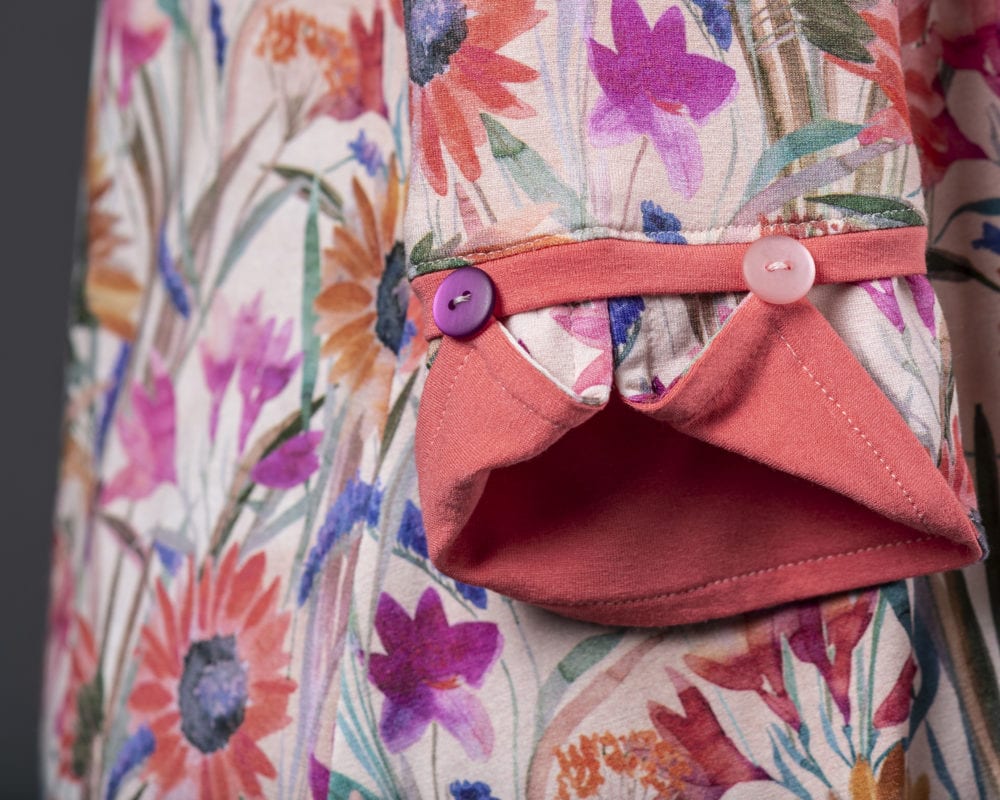
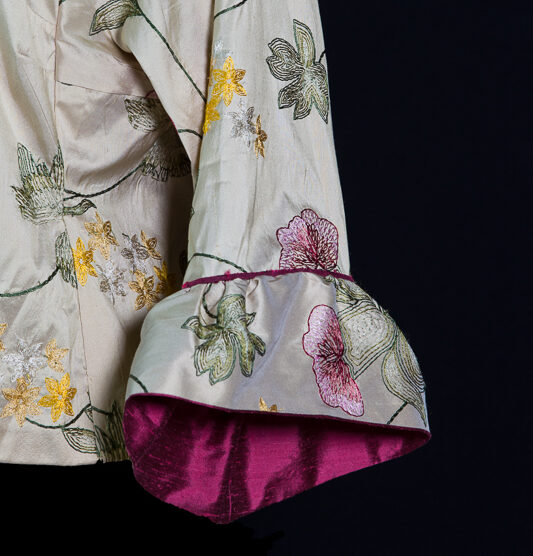
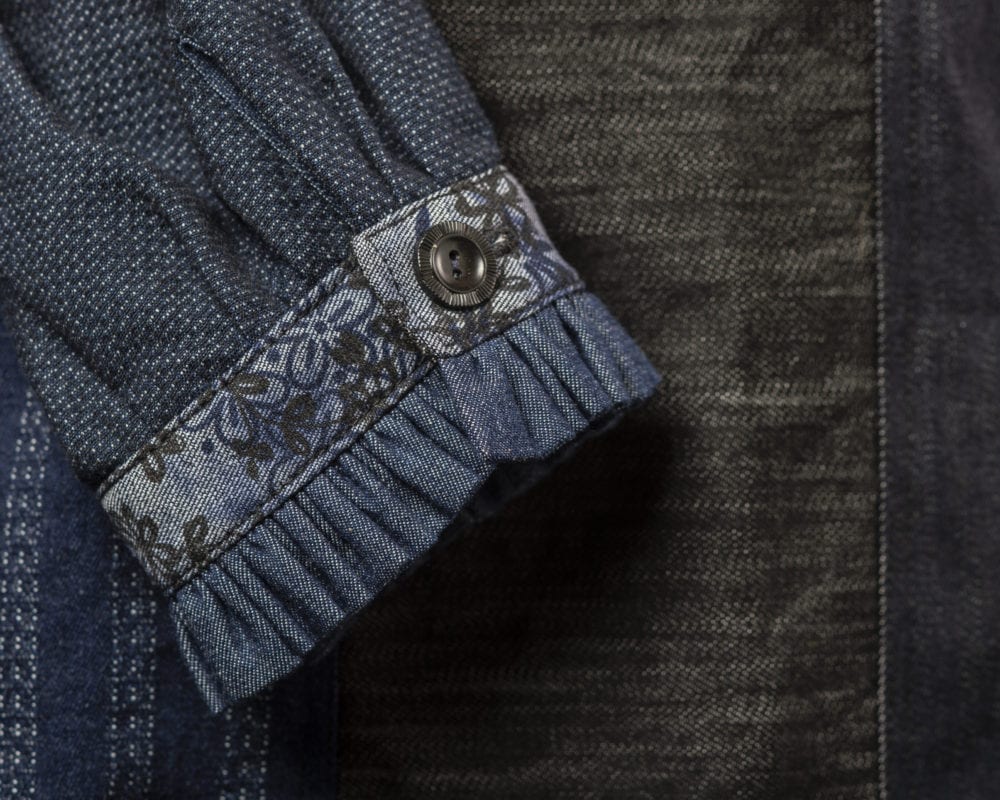
We love the decorative possibilities of a cuff and add them to many garments – tops and pants – to create a design focus or to feature fabrics used elsewhere in the garment one more time. Add piping or multiple cuff layers for a greater visual effect! You’ll find a variety of cuff patterns and instructions throughout Fit for Art’s pattern line for jackets, shirts and blouses, knit tops and pants by following the links below. In addition, search our archived blog posts for step-by-step instructions to replicate some experimental cuffs that have not yet made their way into a published pattern. Visit the photo gallery to find cuff inspiration (especially in the Sleeve & Cuff Variations tab).
Fitting Cuff to Sleeve or Pant Leg
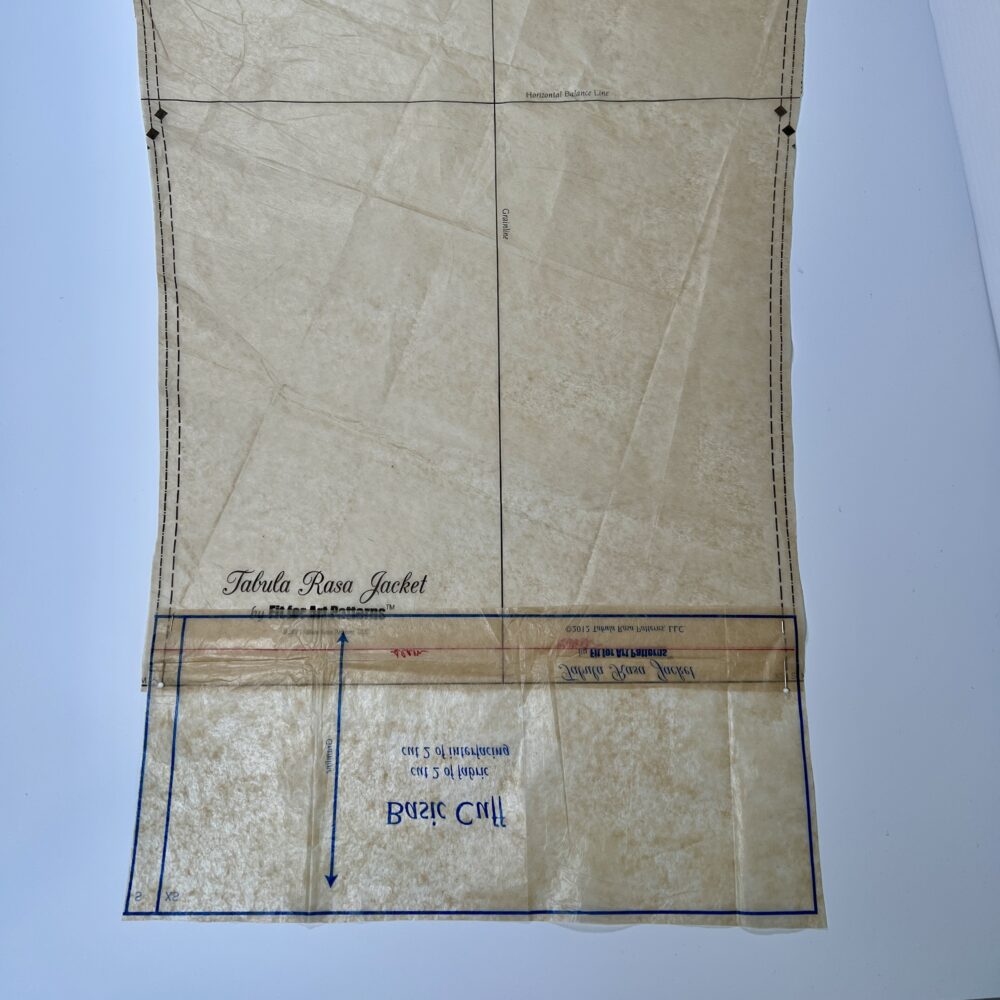
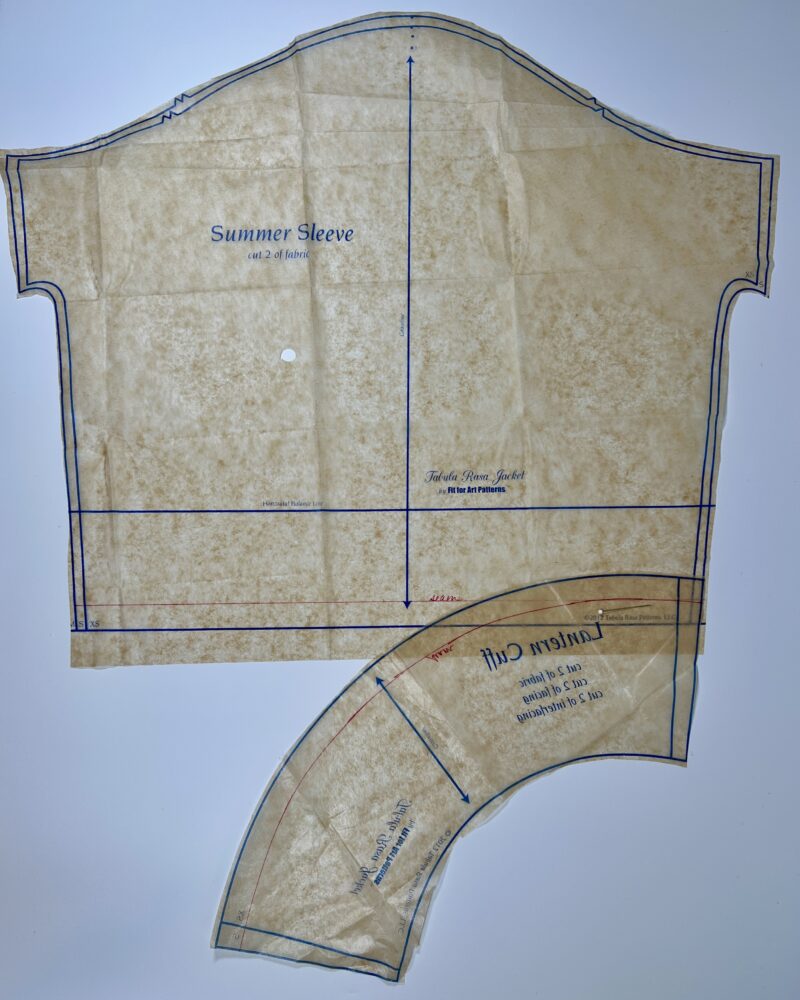
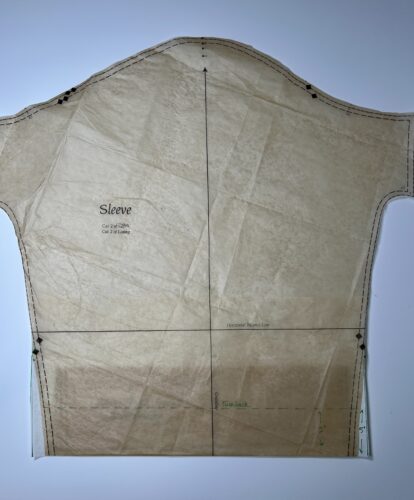
To match a cuff to a sleeve or pant leg they must fit together at the seam line. If seam lines are not printed on the pattern, and they rarely are in modern multi-size patterns, it’s helpful to draw them in yourself using a colored pencil. Fit for Art’s patterns are designed with a 5/8″ seam allowance, but check the pattern you are using to make sure you are adding the seam line in the right place.
If you have made any adjustments to the width of the sleeve or pant leg pattern at the hem, comparable adjustments will be needed for the cuff pattern. I often wait until the garment is assembled to cut out my cuffs in case I make design or fit changes to the circumference of the sleeve or pant leg during construction. Measure the circumference of the constructed sleeve or pant leg at its seam line and adjust the cuff pattern as needed to match that circumference, adding 2 seam allowances (so, for example, adding 1 1/4″ for a typical 5/8″ seam allowance).
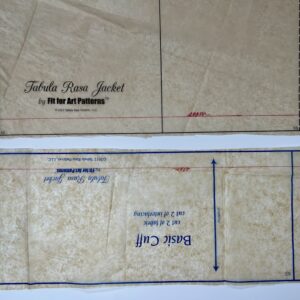
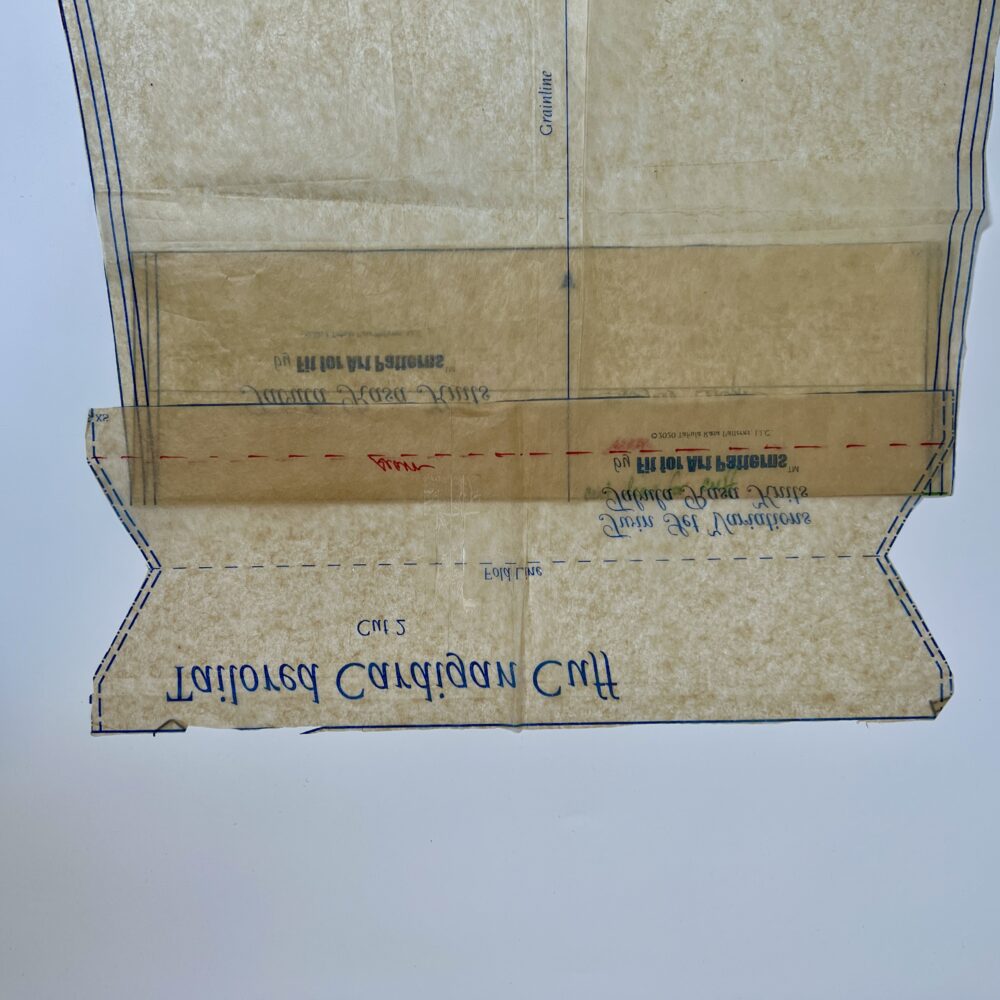
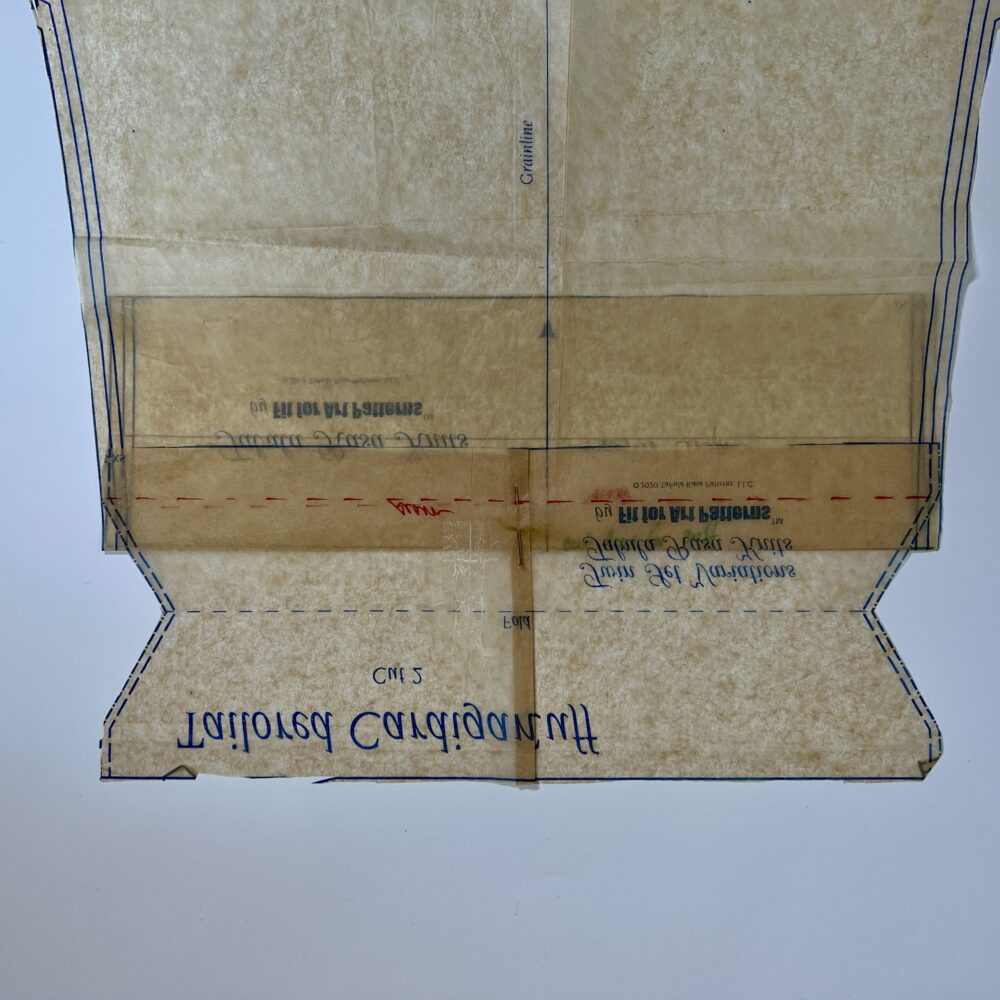
Matching the seam lengths is pretty straight forward for a cuff that starts out as a rectangle, such as a basic band (Sleeve & Cuff Variations for the Tabula Rasa Jacket) or classic (Jean Jacket Variations for the TRJ) cuff. Simply measure the sleeve pattern at the seam line and adjust the cuff pattern to measure the same at its seam line, folding out or adding paper to the cuff pattern as needed. If the sleeve or pant leg has pleats or other design elements that affect the seam’s length, measure the seam line with them folded into place as they will be in the garment, or check your measurement on the assembled sleeve or pant leg. Cuffs that are straight along the seam line but are curved or notched where the ends meet, such as the curved (Shirt Variations for the TRJ), tailored cardigan (Twin Set Variations for TRK), and decorative pant (Glamour Details for Eureka! Pants that Fit) cuff, can be measured and adjusted along the seam line in the same way.
For a cuff that is gathered, such as the bell (Sleeve & Cuff Variations for the TRJ) or ruffled (Jean Jacket Variations for the TRJ) cuff, carefully pull and evenly distribute the gathers to match the measured sleeve seam line.
Cuffs that are curved on the edge that attaches to the sleeve, such as the lantern (Sleeve & Cuff Variations for the TRJ), swing (Swing Variations for the TRJ) or flared (Wide Neckline Variations for Tabula Rasa Knits) cuff, also need to match at the seam line. When a cuff is convex or concave, the cutting lines will not match. The best way to check is to “walk” the sleeve and the cuff patterns together at the seam line. A flexible ruler that can bend with the curve may also be used to measure the cuff’s seam line. It is best to adjust these cuff’s length at their side seams; adjusting in the middle will affect the shape of the curve.

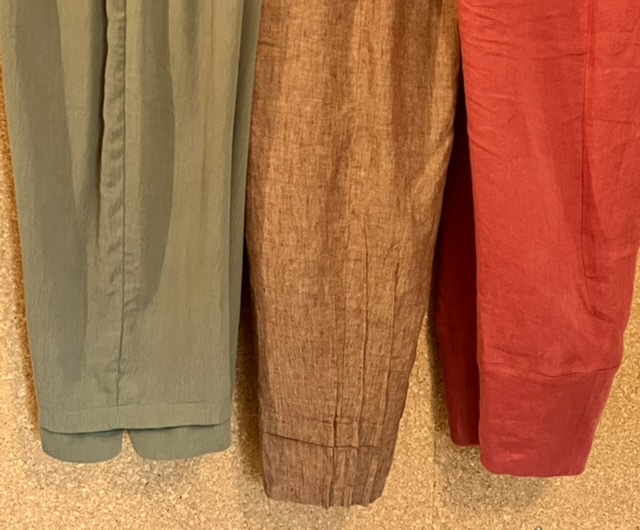
Some cuffs are formed by turning up the last few inches of the sleeve or pant, such as the trouser (Trouser Details for Eureka Pants), turnback and split turnback (Sleeve & Cuff Variations for the TRJ) or rollback (Shirt Variations for the TRJ) cuff. For these cuffs to lie smoothly, the circumference of the turned up edge needs to match the circumference of the point on sleeve or leg to which it will be turned up. Typically the pattern directions will instruct one to extend the length of the sleeve or pant pattern by a certain amount to provide material for the turn up. While doing that pattern work, adjust the side seams of a tapered sleeve or pant leg to fall straight to the cutting line for at least twice the depth of the turn up, plus seam allowances if any. For example, if the cuff will be turned up by 2″, the side seams need to be parallel for at least 4″ above the cutting line.
Support the Cuff with Interfacing
Now that you are going to the effort of adding cuffs, let’s make sure they will hold their shape and wear well for as long as you are wearing the garment! Cuffs that are drapey or gathered, such as a bell, elastic or ruffled cuff, do not need interfacing. Most other cuffs, even in knit garments, require interfacing to maintain their shape and structure and to fortify them for hard wear at the edge of the garment.
We always recommend that you test a few different fusible interfacings on fabric scraps before choosing the right one for your garment. On your test scraps, press a fold into each sample to see how it will feel and behave in the folded edge or seams of the cuff. As a general rule, choose an interfacing with stretch for a knit garment to maintain ease in pulling it on and off your body. For woven fabrics, the interfacing choice will depend largely on the weight and nature of the fabric. For example, a closely fitted stretch woven pant or sleeve may need an interfacing with stretch, whereas 100% cotton twill or denim will require more rigid interfacings. We sell interfacing samplers with one yard each of our 4 preferred fusible interfacings. After you’ve gotten familiar with them, order the ones you use most by the yard from our online shop.
Apply interfacing to both sides of the cuff. If the garment has a cuff and separate cuff facing, consider whether the two different fabrics are suited to different types of interfacing. Lay the fabric wrong side up on the ironing surface and the interfacing sticky side down against the fabric. Use a press cloth over the stack to protect the iron from the sticky fusible and the fabric from the heat and steam of the iron. Pre-heat the iron to a heat setting appropriate for the fabric. Place the iron on the press cloth and hold it there for approximately 12 seconds (or follow manufacturer guidelines if you have them) before picking the iron up and placing it back down on the next section. Do not slide the iron. While interfacing may be cut slightly smaller than the fabric, make sure it will be caught in the seam lines when sewn.

Get cuffing!
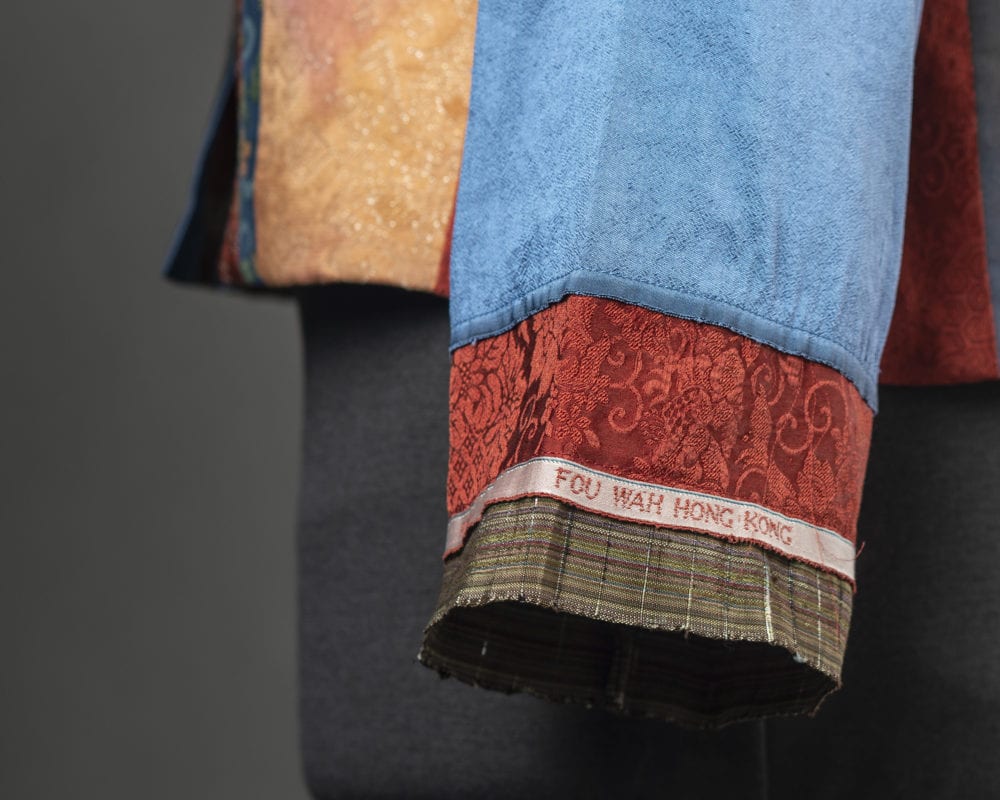
Last but not least, one of our favorite tricks is to use a fabric’s selvedge to create a cuff for fabric that is sheer or very lightweight. With this technique, you can avoid the layers and seams needed to finish the edge of a cuff. Generally interfacing is not required, but a narrow strip could be added along the seam line to prevent stretching if desired.

Now that you have an understanding of how to fit a cuff to a sleeve or pant leg, you can fit almost any cuff to any pattern in your library! We can’t wait to see what you do with your cuff know-how. Please show us some of your favorite cuff creations by posting with the #fitforartpatterns hashtag.


