Uniquely embellished, beautifully sewn and impeccably fit are phrases that describe my favorite clothing. It is such a pleasure to use one of our four core patterns to add another special garment to my wardrobe.
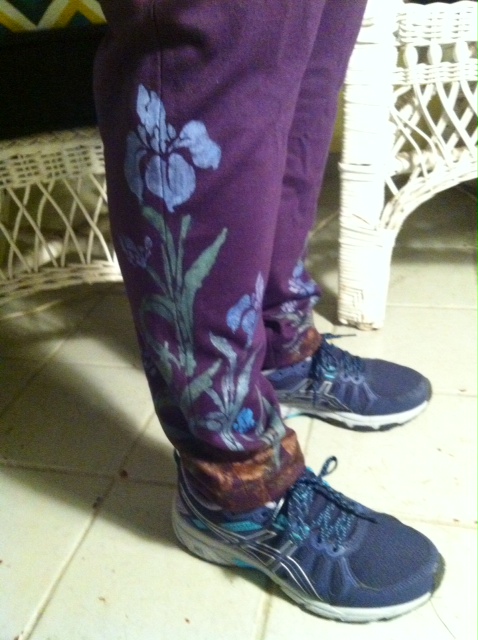
I have been wanting to make painted exercise pants for some time. The fluid textile paints we love are fabulous on jersey knit and this summer we tested it on Ponte knit. Ponte is an excellent choice for skirts, dresses and pants. So, before I left to teach a painted Tabula Rasa Knit Tee class at Stitchin’ at the Beach, I cut out exercise pants in pre-washed purple Ponte. I hoped I would have time to paint while my students were painting.
Make a Plan
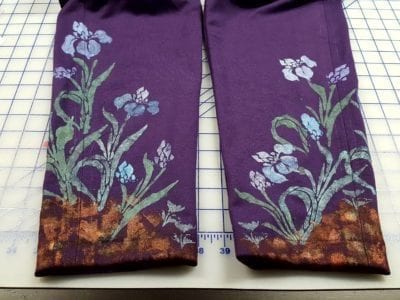
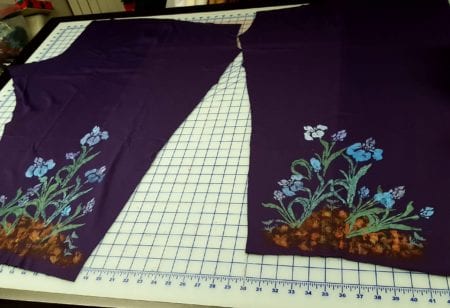
The design I was considering was based on the Iris paintings by VanGogh. I have a lovely iris stencil in my collection and did some Pinterest searching to plan for an interesting design. I wanted the painting to circle them hemline and them move up the side seam, ending around the knee. This would require me to rearrange the construction of the Eureka! Pant in order to paint the legs easily on a flat surface. It is not unusual for the order of construction to be changed to accommodate embellishment.
Choose a Dependable Pattern
When preparing and planning for any sort of embellishment, it is important to have confidence in the fit of your pattern. Once these embellishments were applied, it would be hard to alter the pants. The pattern I chose was developed using my basic Eureka! Pants pattern, narrowed for use with very stretchy fabrics. I have two pairs of exercise pants made with this pattern; they are finished with the Glamour Details contoured waistband supported with 2” wide elastic. More on the construction in a future post.
Preparing the Pants for Painting
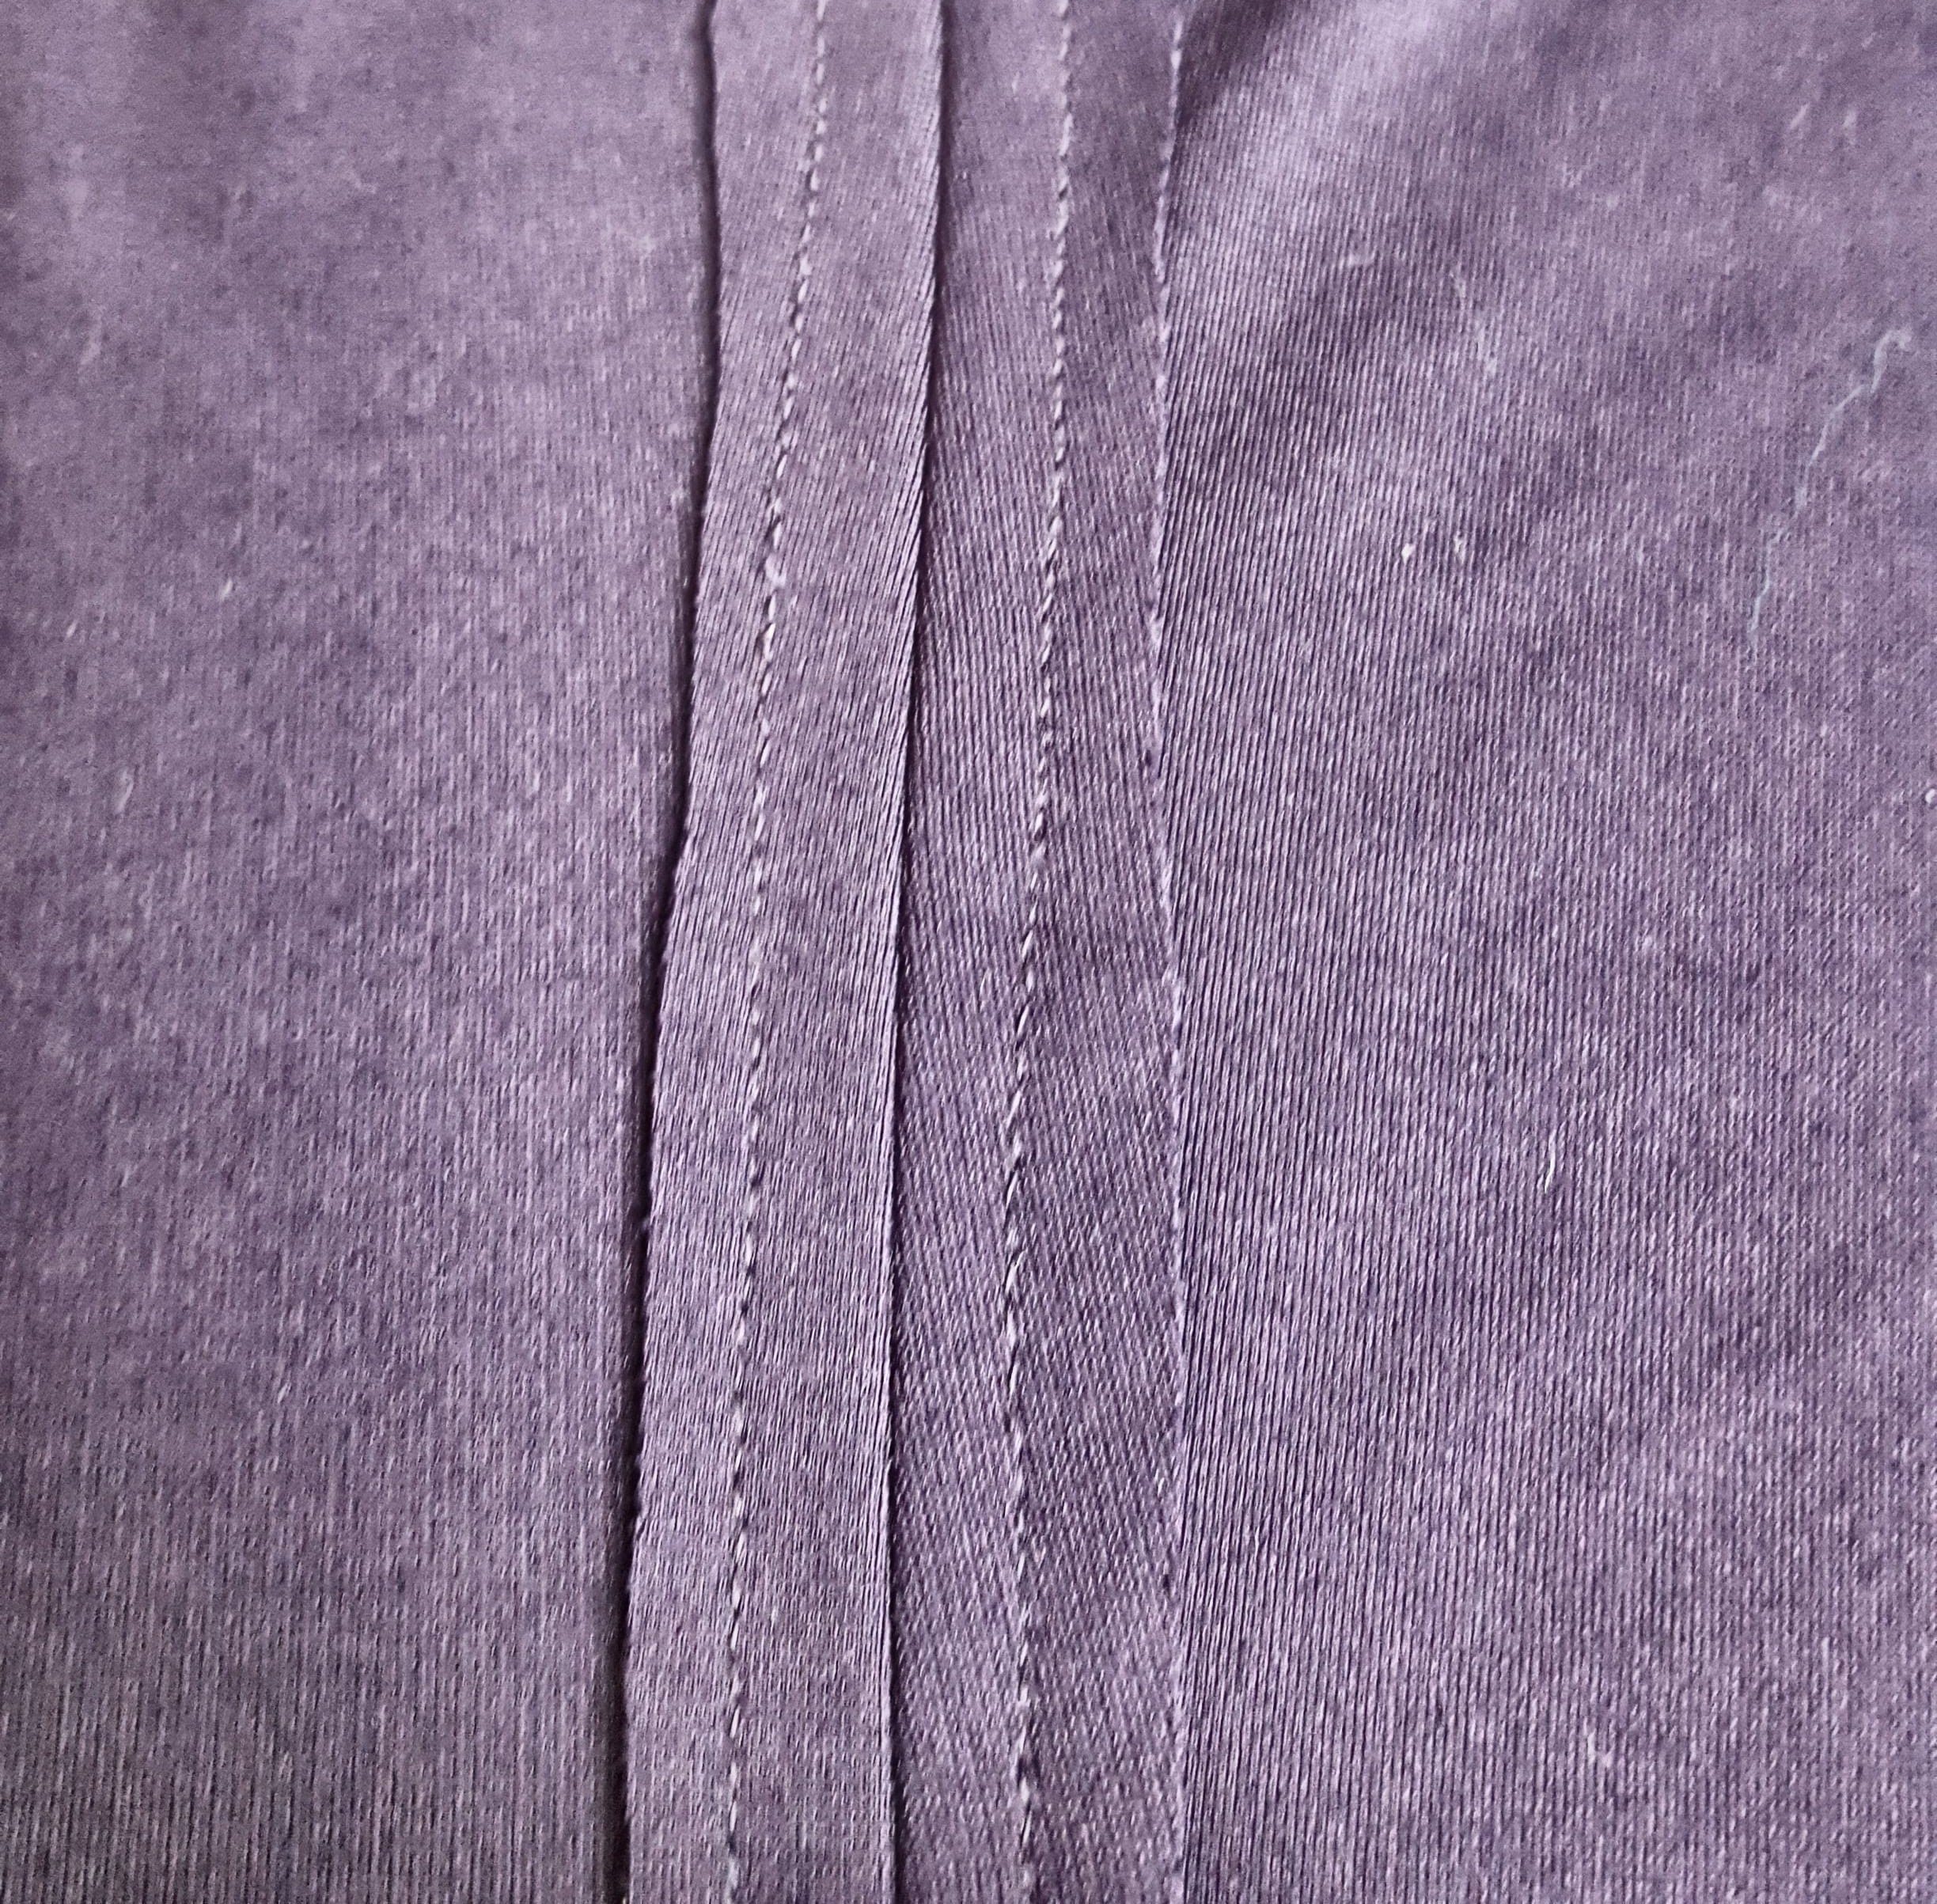
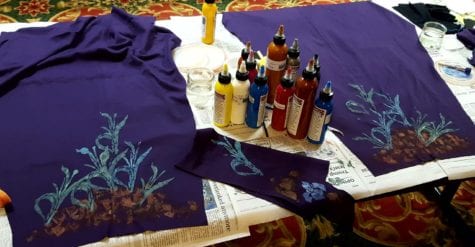
After cutting out the pre-washed Ponte, I sewed the side seams of each pant leg. This gave me a smooth pallet to paint on. Usually I would use a three-thread overlock to finish the seams, but I chose to press the seams open and top stitch them down to keep it flat and eliminate the bulk from a double layer seam and overlock thread. I made a few sketches to test my painting plan.
Have Fun Painting
Set up the paints so you can use them over an extended period of time. It is best if each color or section can dry a little before adding new colors and moving the stencil. Because the paints were set up for my students use during a two-day class, I was able to paint when I had a few extra minutes.
Make some samples on your fabric scraps to test the colors you want to use, the amount of paint you need to put on the fabric, and the stencil designs. Once you are satisfied, begin your design. There are no mistakes, just opportunities for more creativity, so work carefully, but creatively if there is a painting misstep.
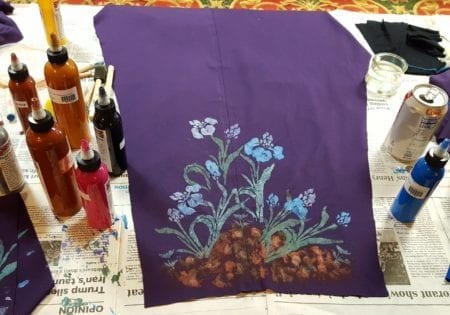
I painted the brown ground first, then the green stems, then the next day added the Iris and some additional green flowers.
Heat Set the Paints
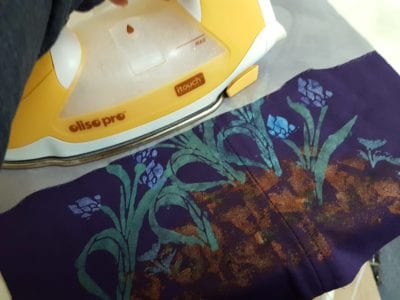
In order to have the paints last through all its washing and wearing, heat set the paints. I set my iron to the coolest cotton setting with no steam. Use a press cloth between the iron and the painted fabric. Place the iron firmly and hold it for approximately one minute. Be sure to heat set your samples too so you can wash them first to confirm that you can in fact wash these fun painted garments.
Construct the Pants
Time to put the pants together so they can be worn. I had already sewn the side seams, so I stitched the inseams to complete each leg and then stitched up the crotch. The top of my pants is finished with a two-layer contoured waistband and a small zipper pocket. The waistband is filled with 2” elastic, so these pull-on pants stay right where I put them. I will write about these construction techniques in a future post.


Get Inspired to Try This Yourself
Register for an upcoming class for more inspiration or to get going with your personal sewing.
Hope to see you for some Fit for Art fun soon. Maybe these pants will inspire your new creative sewing. Send us photos of everything you make so we can post it on our Facebook page.
Happy Sewing, RAE