Welcome to Sew! Let’s Get Dressed, a weekly blog that encourages you to sew successfully.
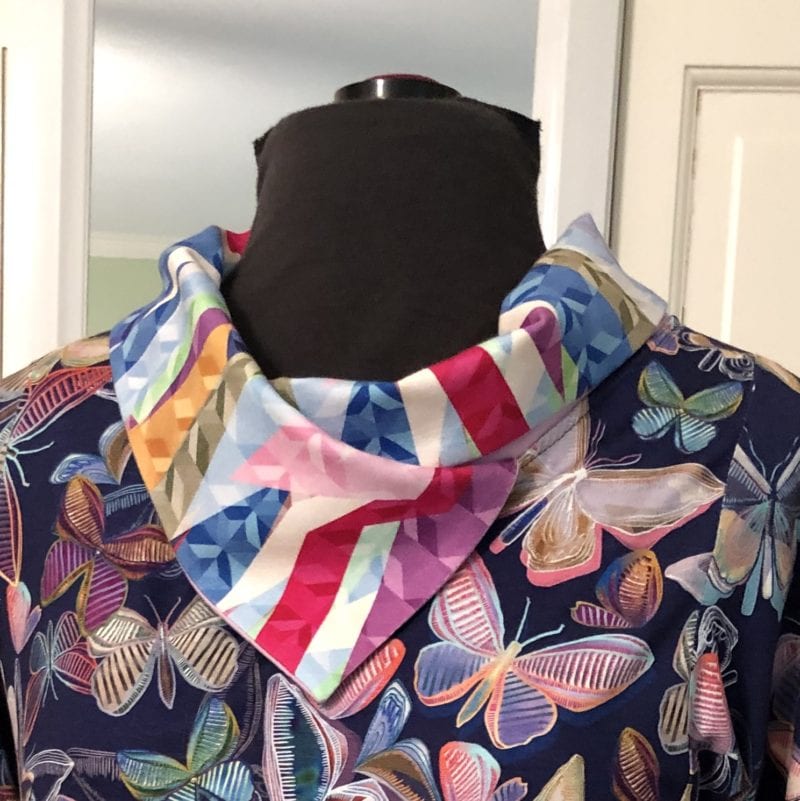
Several of you have asked how I created this fun knit top with a dramatic collar out of one of our spring knit bundles. I’ll share my process with you as a glimpse into creating new pattern variations in the “laboratories” of Rae and Carrie. I am not entirely satisfied that it is perfected yet, but it is a good start.

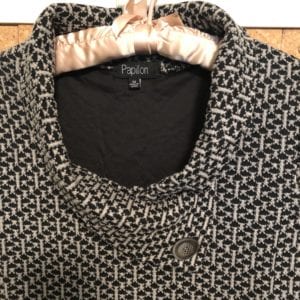
First, I want to show you my inspiration, a knit tunic I spotted in a small boutique. The fabric was unremarkable, but I liked the collar. I like to wear tops that provide some warmth to the back of my neck, so I’m on the lookout for styles that do so attractively.
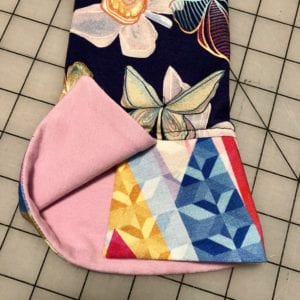
The body of my knit top started from Wide Neckline Variations for Tabula Rasa Knits. I chose the boat neckline, working straight off the pattern in the back but lowering the front by about 2″ to make room for the collar. I added the curved hem to make my top more of a tunic length and bound the curved hem with a binding in one of the contrast fabrics.
Collar
I examined my inspiration sample and measured my neckline opening to take a guess at collar length. I cut one collar and one lining on the straight of grain 32” long by 6” deep. The lining was interfaced with Envy Silk fusible interfacing to give it some support. The collar and lining were sewn right sides together around the three outer edges with a 3/8” seam allowance, then turned right side out and pressed flat. In a larger size, you may need to lengthen your collar; you are going to need an overlap of about 6-8”, appropriate to scale.
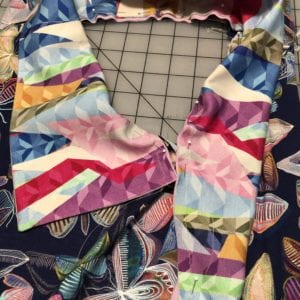

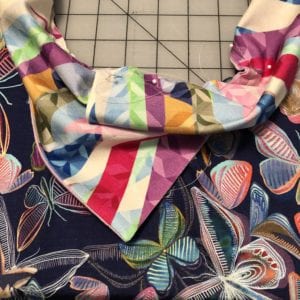
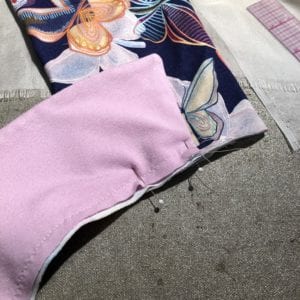
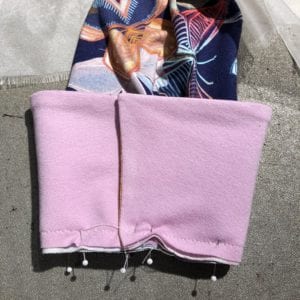
Figuring out how to position and wrap the collar required a lot of fiddling, so be sure to pin it in place and test it before sewing the collar to the top! I pinned one end of the collar at the front of the neck opening with the lining against the right side of the top, corner pointing down. Proceed to pin collar around the neck opening until reaching the point of overlap. Fold the loose end of the remaining collar down, lining side against itself and right side facing out. Pin this end of the collar into place on top of the outer end, making sure to catch the fold in the seam for 2-3”. Try it on, adjust as desired, then baste the collar into place so you can try it on one more time. I ended up cutting the inside end of the collar an inch or so narrower to decrease the depth of the folded end.
The collar was attached and finished similarly to the method described for collars in Wide Neckline Variations. Here is a quick review of the finishing steps:
- Stitch a 5/8” seam around the neckline;
- Clean finish the raw edges of the seam allowances together;
- Press seam allowances to the inside of the neck edge; and
- Topstitch around the neckline capturing the seam allowances. This stitching will anchor the collar to the top, but won’t be seen because it is covered by the collar.
Cuff
I wanted to mimic the style of the overlapping collar, so I adapted the Flared Cuff that is included in Wide Neckline Variations to create my overlapping lined cuff. This is an easy conversion. I added 1” to the length of the cuff pattern at the center to flatten the curve slightly. I cut one cuff and one lining for each sleeve and interfaced the lining for support. The cuff and lining were sewed right sides together around the three outer edges with a 1/4” seam allowance. Turn the cuff right side out and press it flat.
To position the cuff, find the center of the sleeve, opposite the underarm seam. Place the end of the cuff 3/4″ toward the back of the sleeve center. Pin the cuff around the sleeve hem. The cuff should overlap itself approximately 3/4″. The cuff was attached and finished in the same way as the flared cuff found in the Wide Neckline Variations.
I love this top! However, I’ll offer a couple of reflections. Next time, I would experiment with cutting the collar on the bias to allow it to curve around the neckline more easily. I would also interface both collar and lining, or use a somewhat stiffer, but stretchier interfacing like Soft Stretch, to support the collar stand better. If you try this collar, please share your results and successful refinements with us and our community!
Happy Experimental Sewing! Carrie
Enjoy receiving our blog? Forward this post to a friend by clicking on the Forward link at the upper right corner of your e-mail notification. Take a moment to follow Fit for Art Patterns out on Facebook and Instagram, post your own photos with the hashtags #fitforartpatterns and #sewsuccessfully.


Way cool Rae! I’m eager to try this…the suggestion to cut the collar on the bias makes sense.
Let us know how it goes!