Welcome to Sew! Let’s Get Dressed, a weekly blog that encourages you to sew successfully.
Sewing up knit tops with the scraps from our bundles is becoming one of my specialties. I am not complaining because I have a drawer bursting at the seams with fun Tabula Rasa Knit tops and tunics which I love to wear. This spring I made a TRK tunic with the fabric pieces that were left after cutting and assembling our navy knit bundles. This fabric has a higher cotton content that our usual rayon and spandex knits. I decided it would be cool for summer in addition to coordinating with all my navy and denim pants. 
(If you like these fabrics, there are still a couple bundles available with either turquoise or navy solid.)
Normally I would have placed the print in the Front and Back and the stripe on the sides, but this time I thought I would change things up. Stripes are always flattering, so I decided to place them front and center. The front and back pattern pieces fit fine on the 30″ piece of stripe. But, the situation was different for the 24″ of print. It was not quite big enough to cut the sleeves and the tunic’s swing side. Sometimes a little creative pattern placement will yield positive results, but each time I moved the pieces around I hit another wall, not enough fabric.
I took a deep breath and turned my attention to another project. Often a little diversion helps me puzzle out a solution.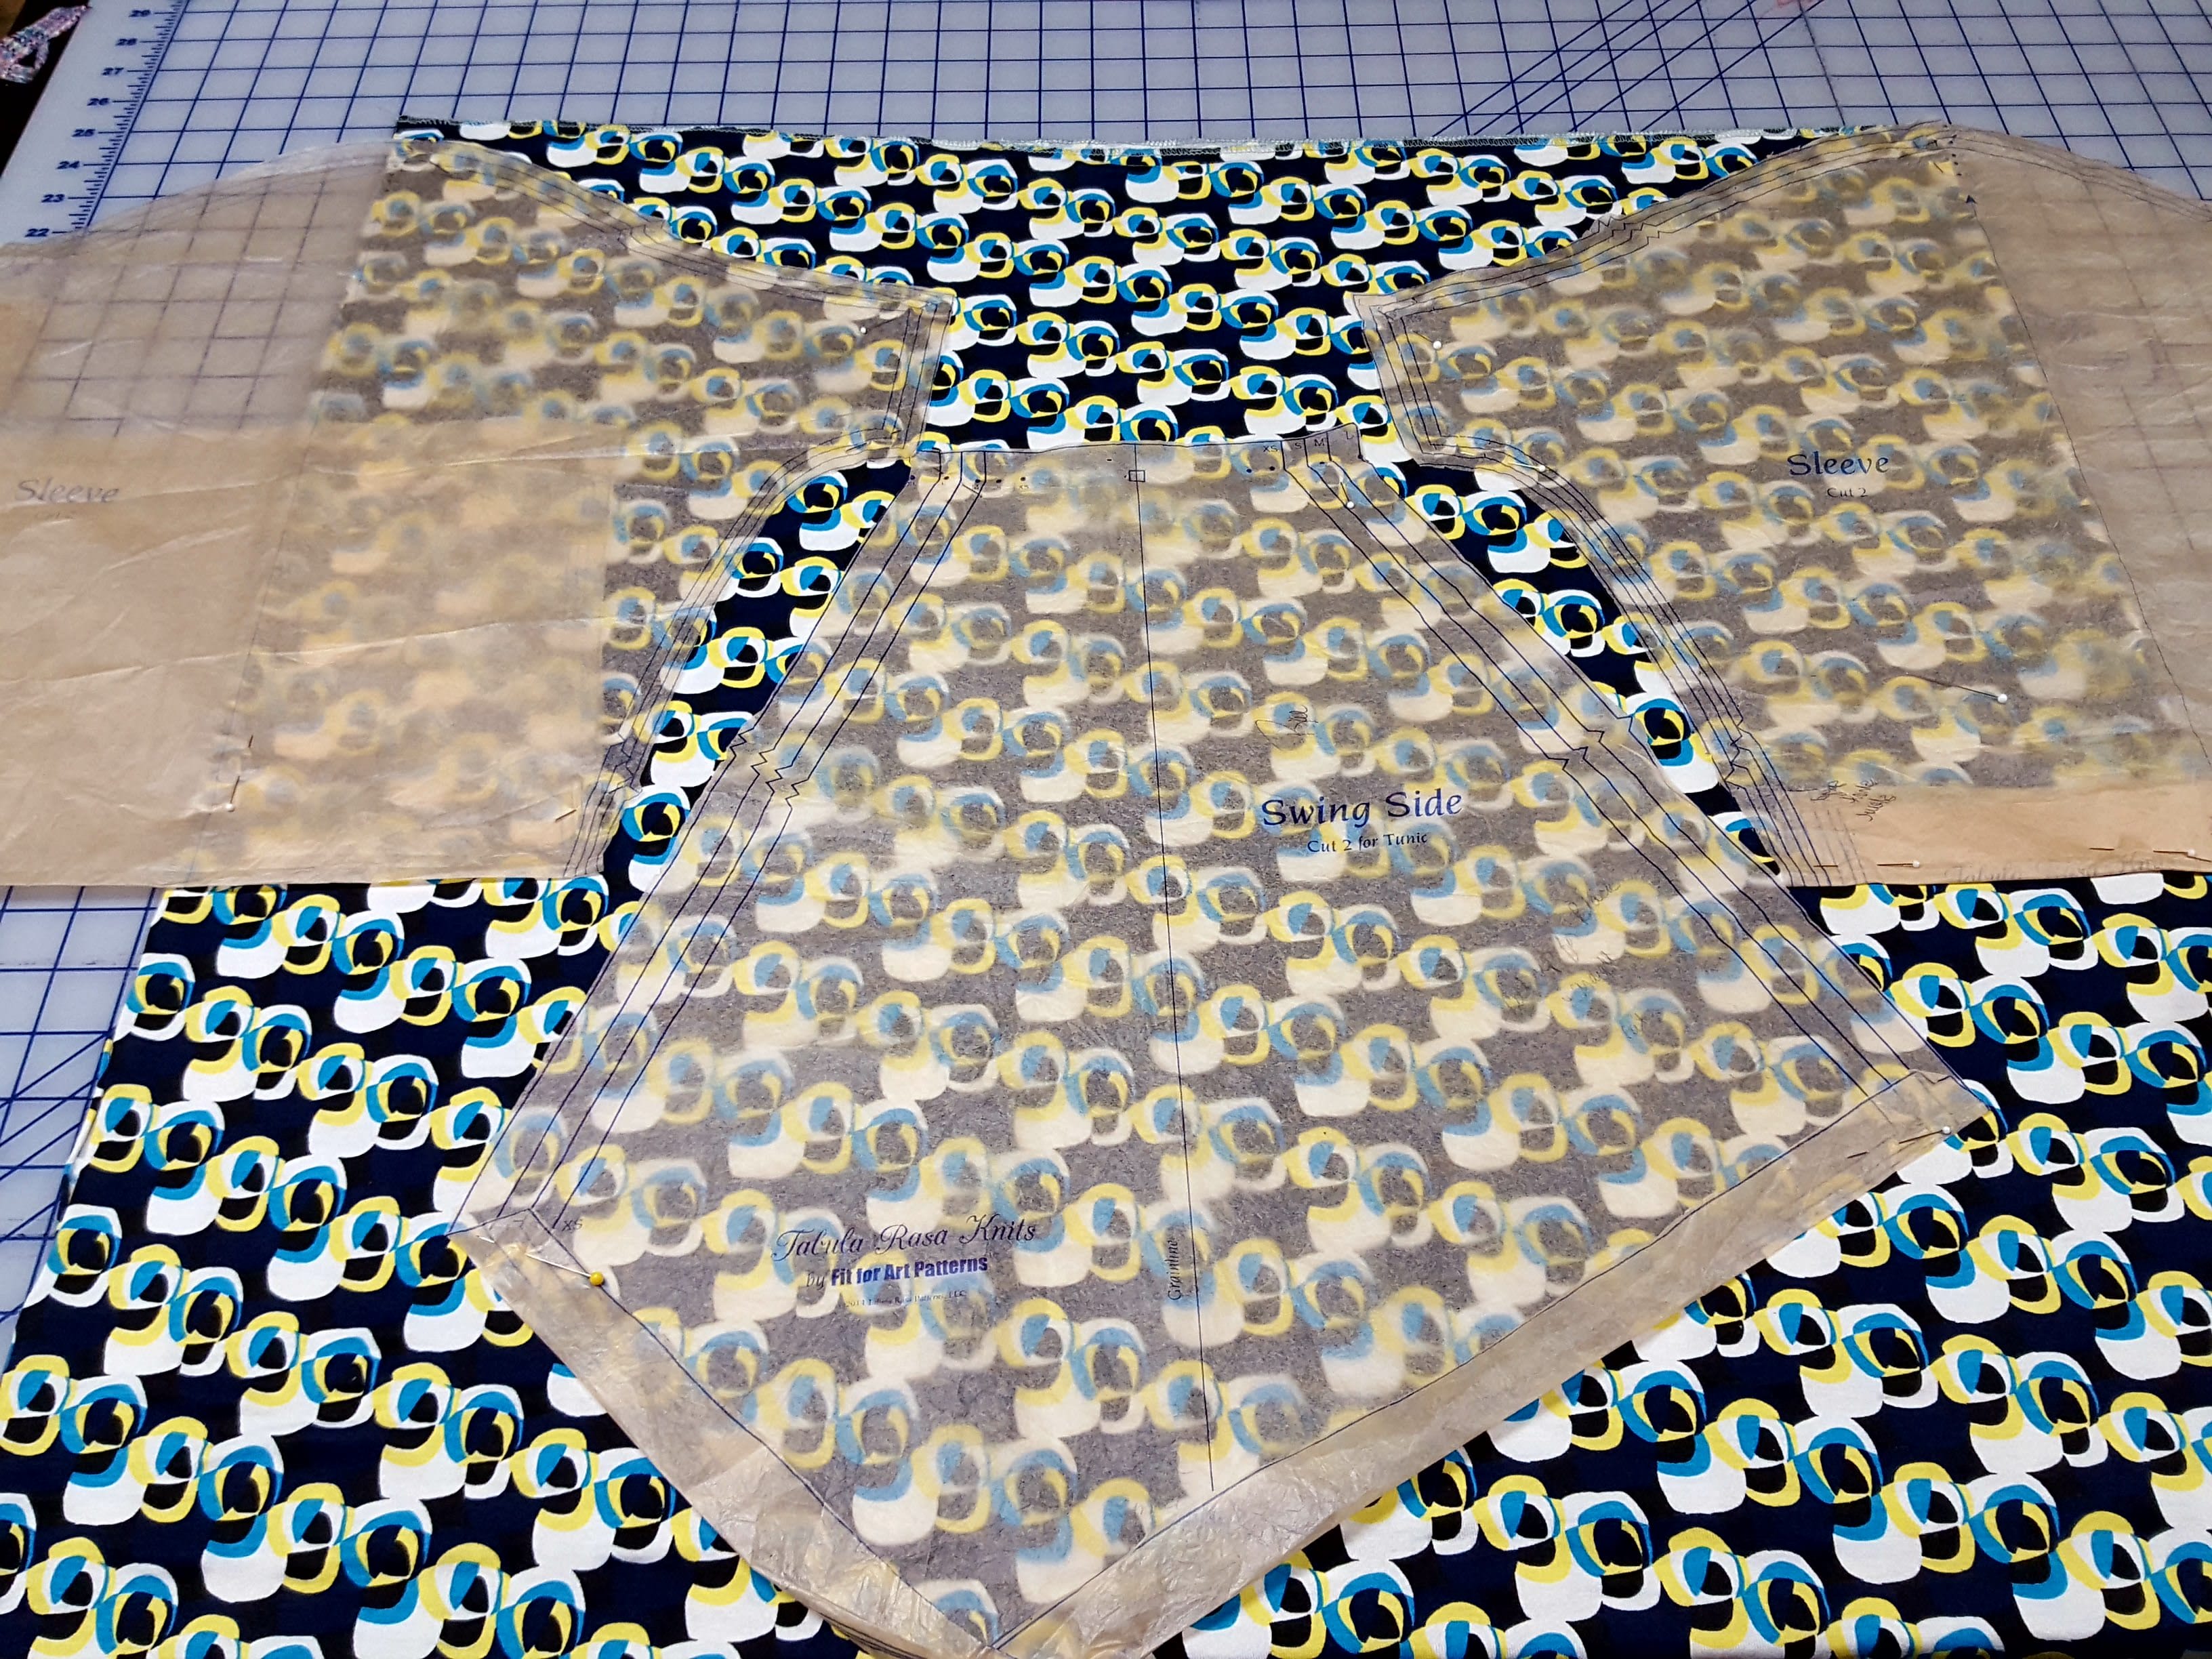
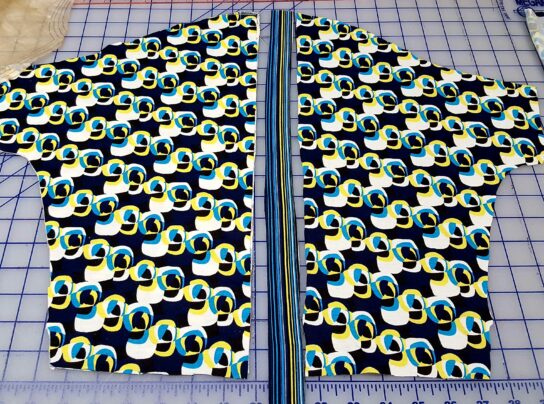
When I returned to the cutting table a new plan popped into my head. I could easily cut the sleeves in two pieces and insert a piece of striped fabric down the center to sash each sleeve together.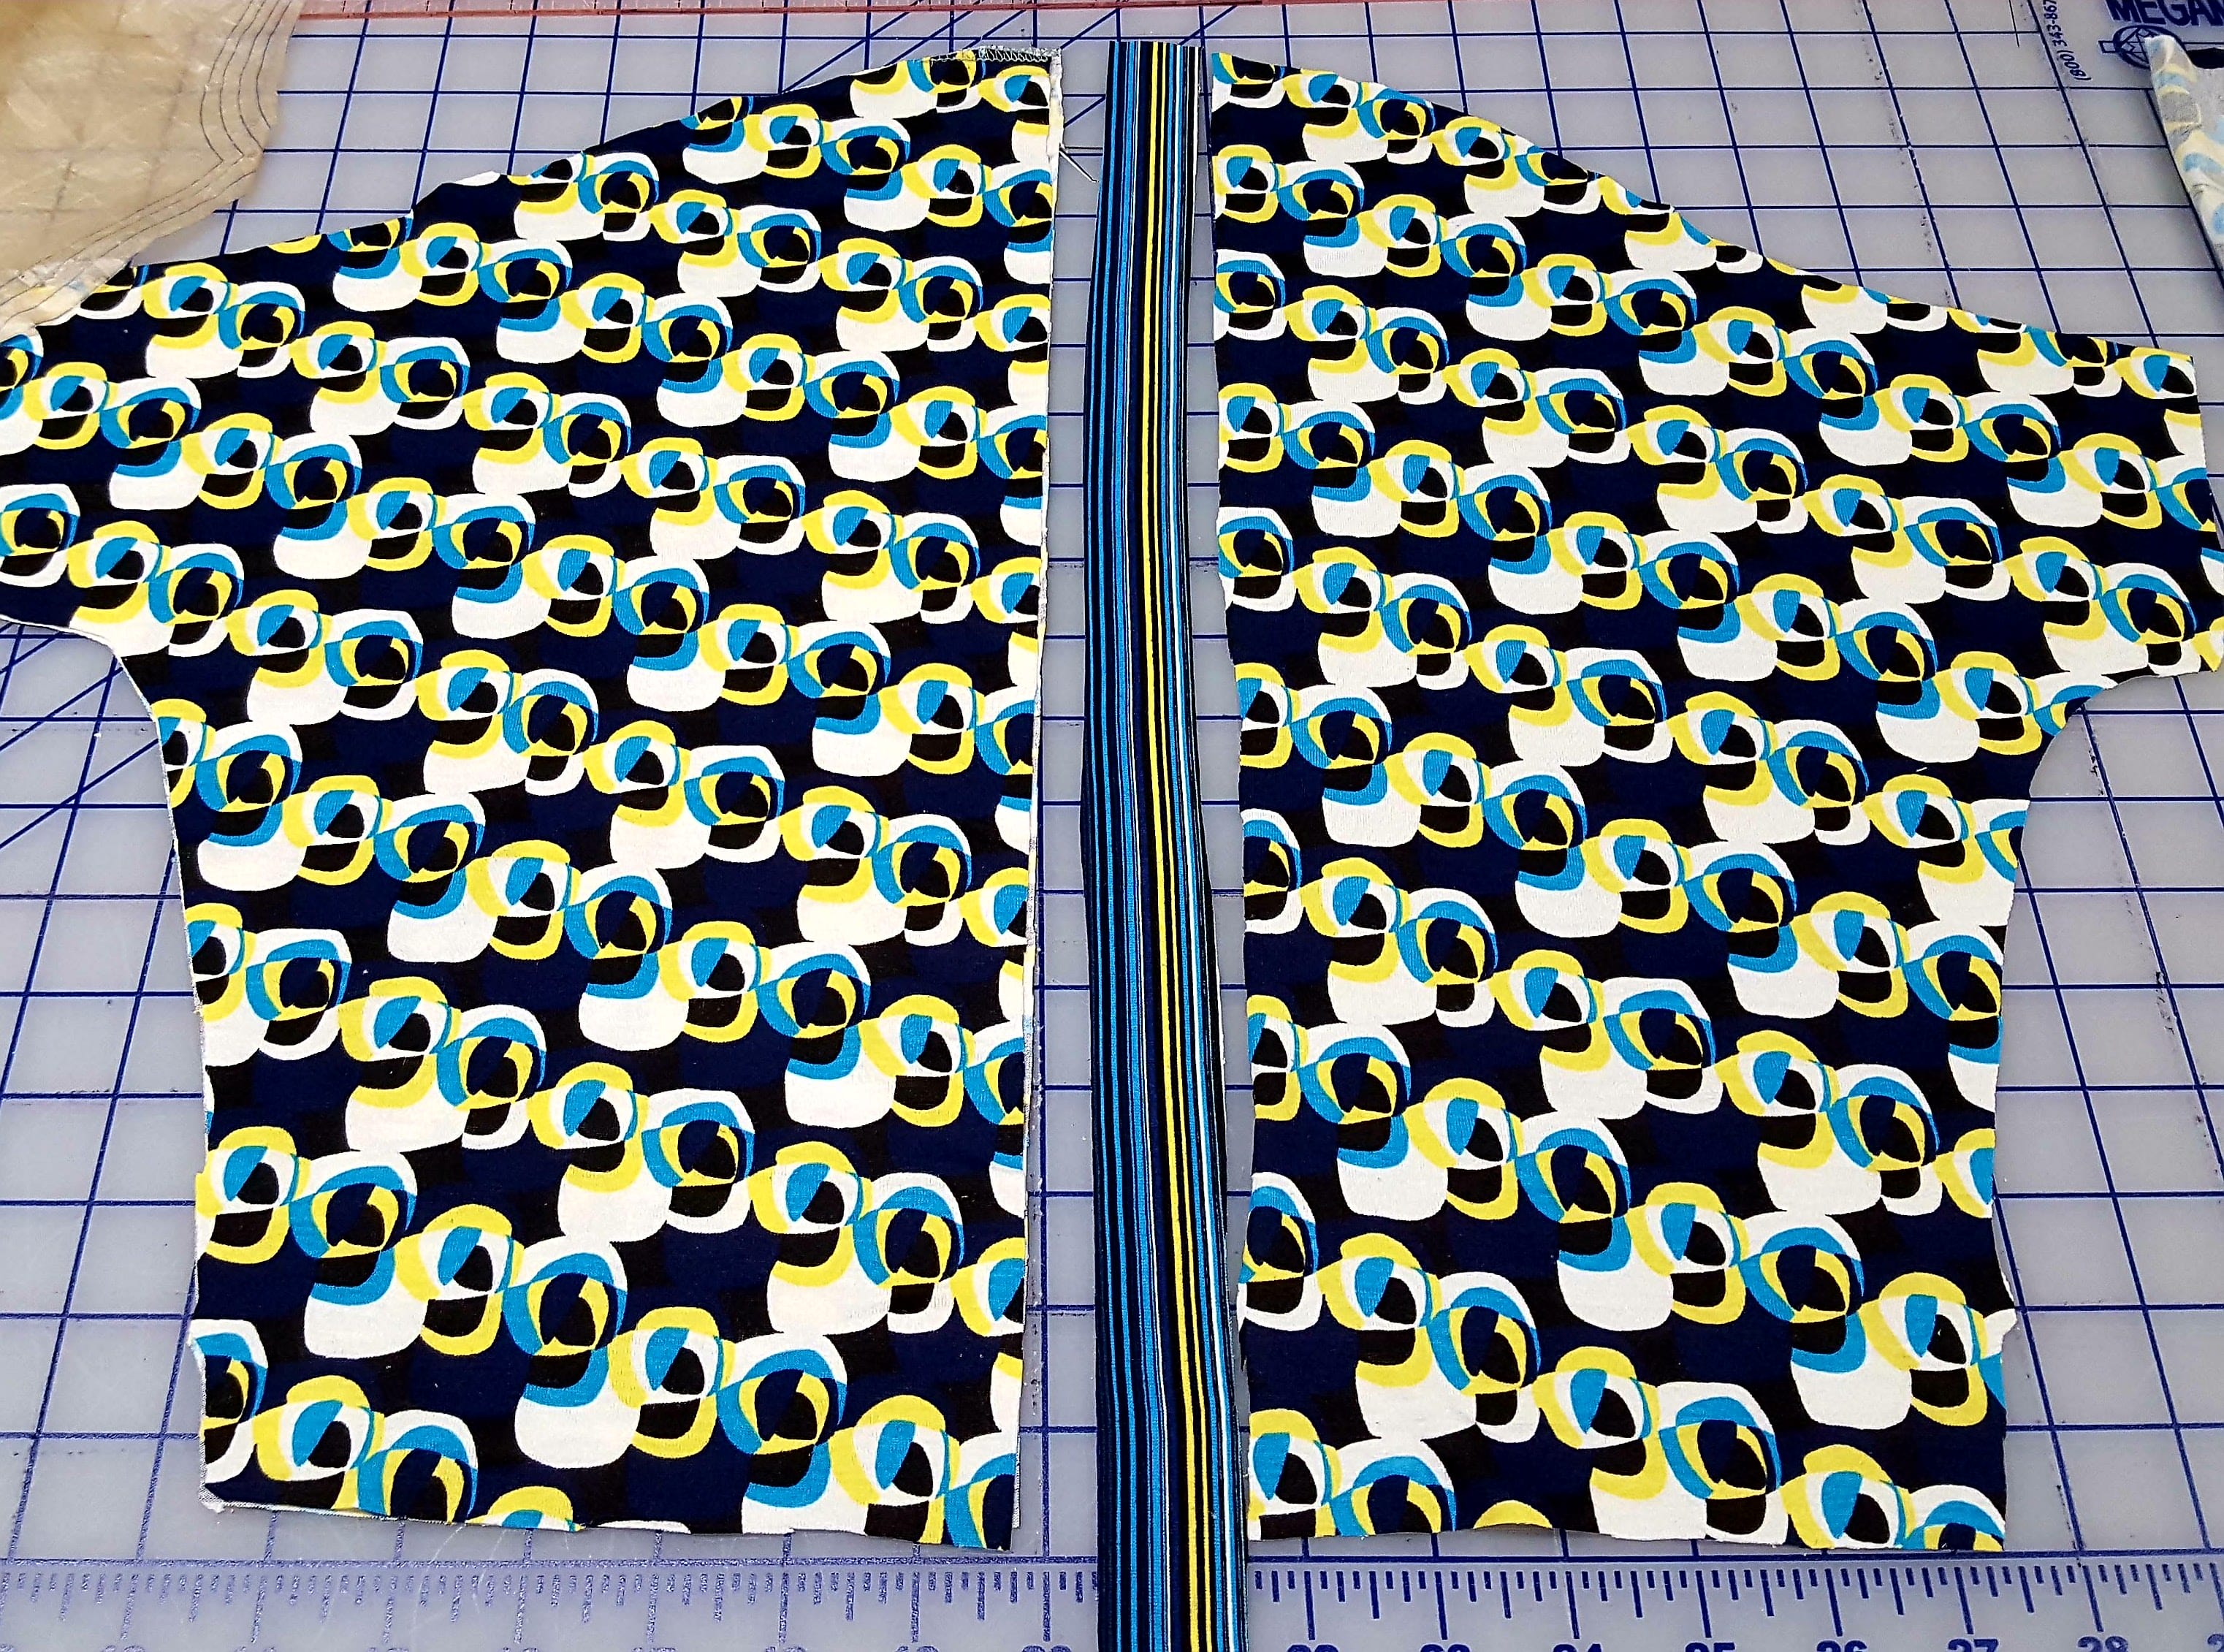
This is a technique I have used in cotton and silk jackets but never in knits. It was a bit trickier to sash the knit together. I used ¼” seams with a 1” wide piece of striped fabric as the insert. The result is a ½” stripe down the center of each sleeve. Don’t look too closely, the stripes are not quite perfectly centered in the insert, but at least it resulted in two complete sleeves.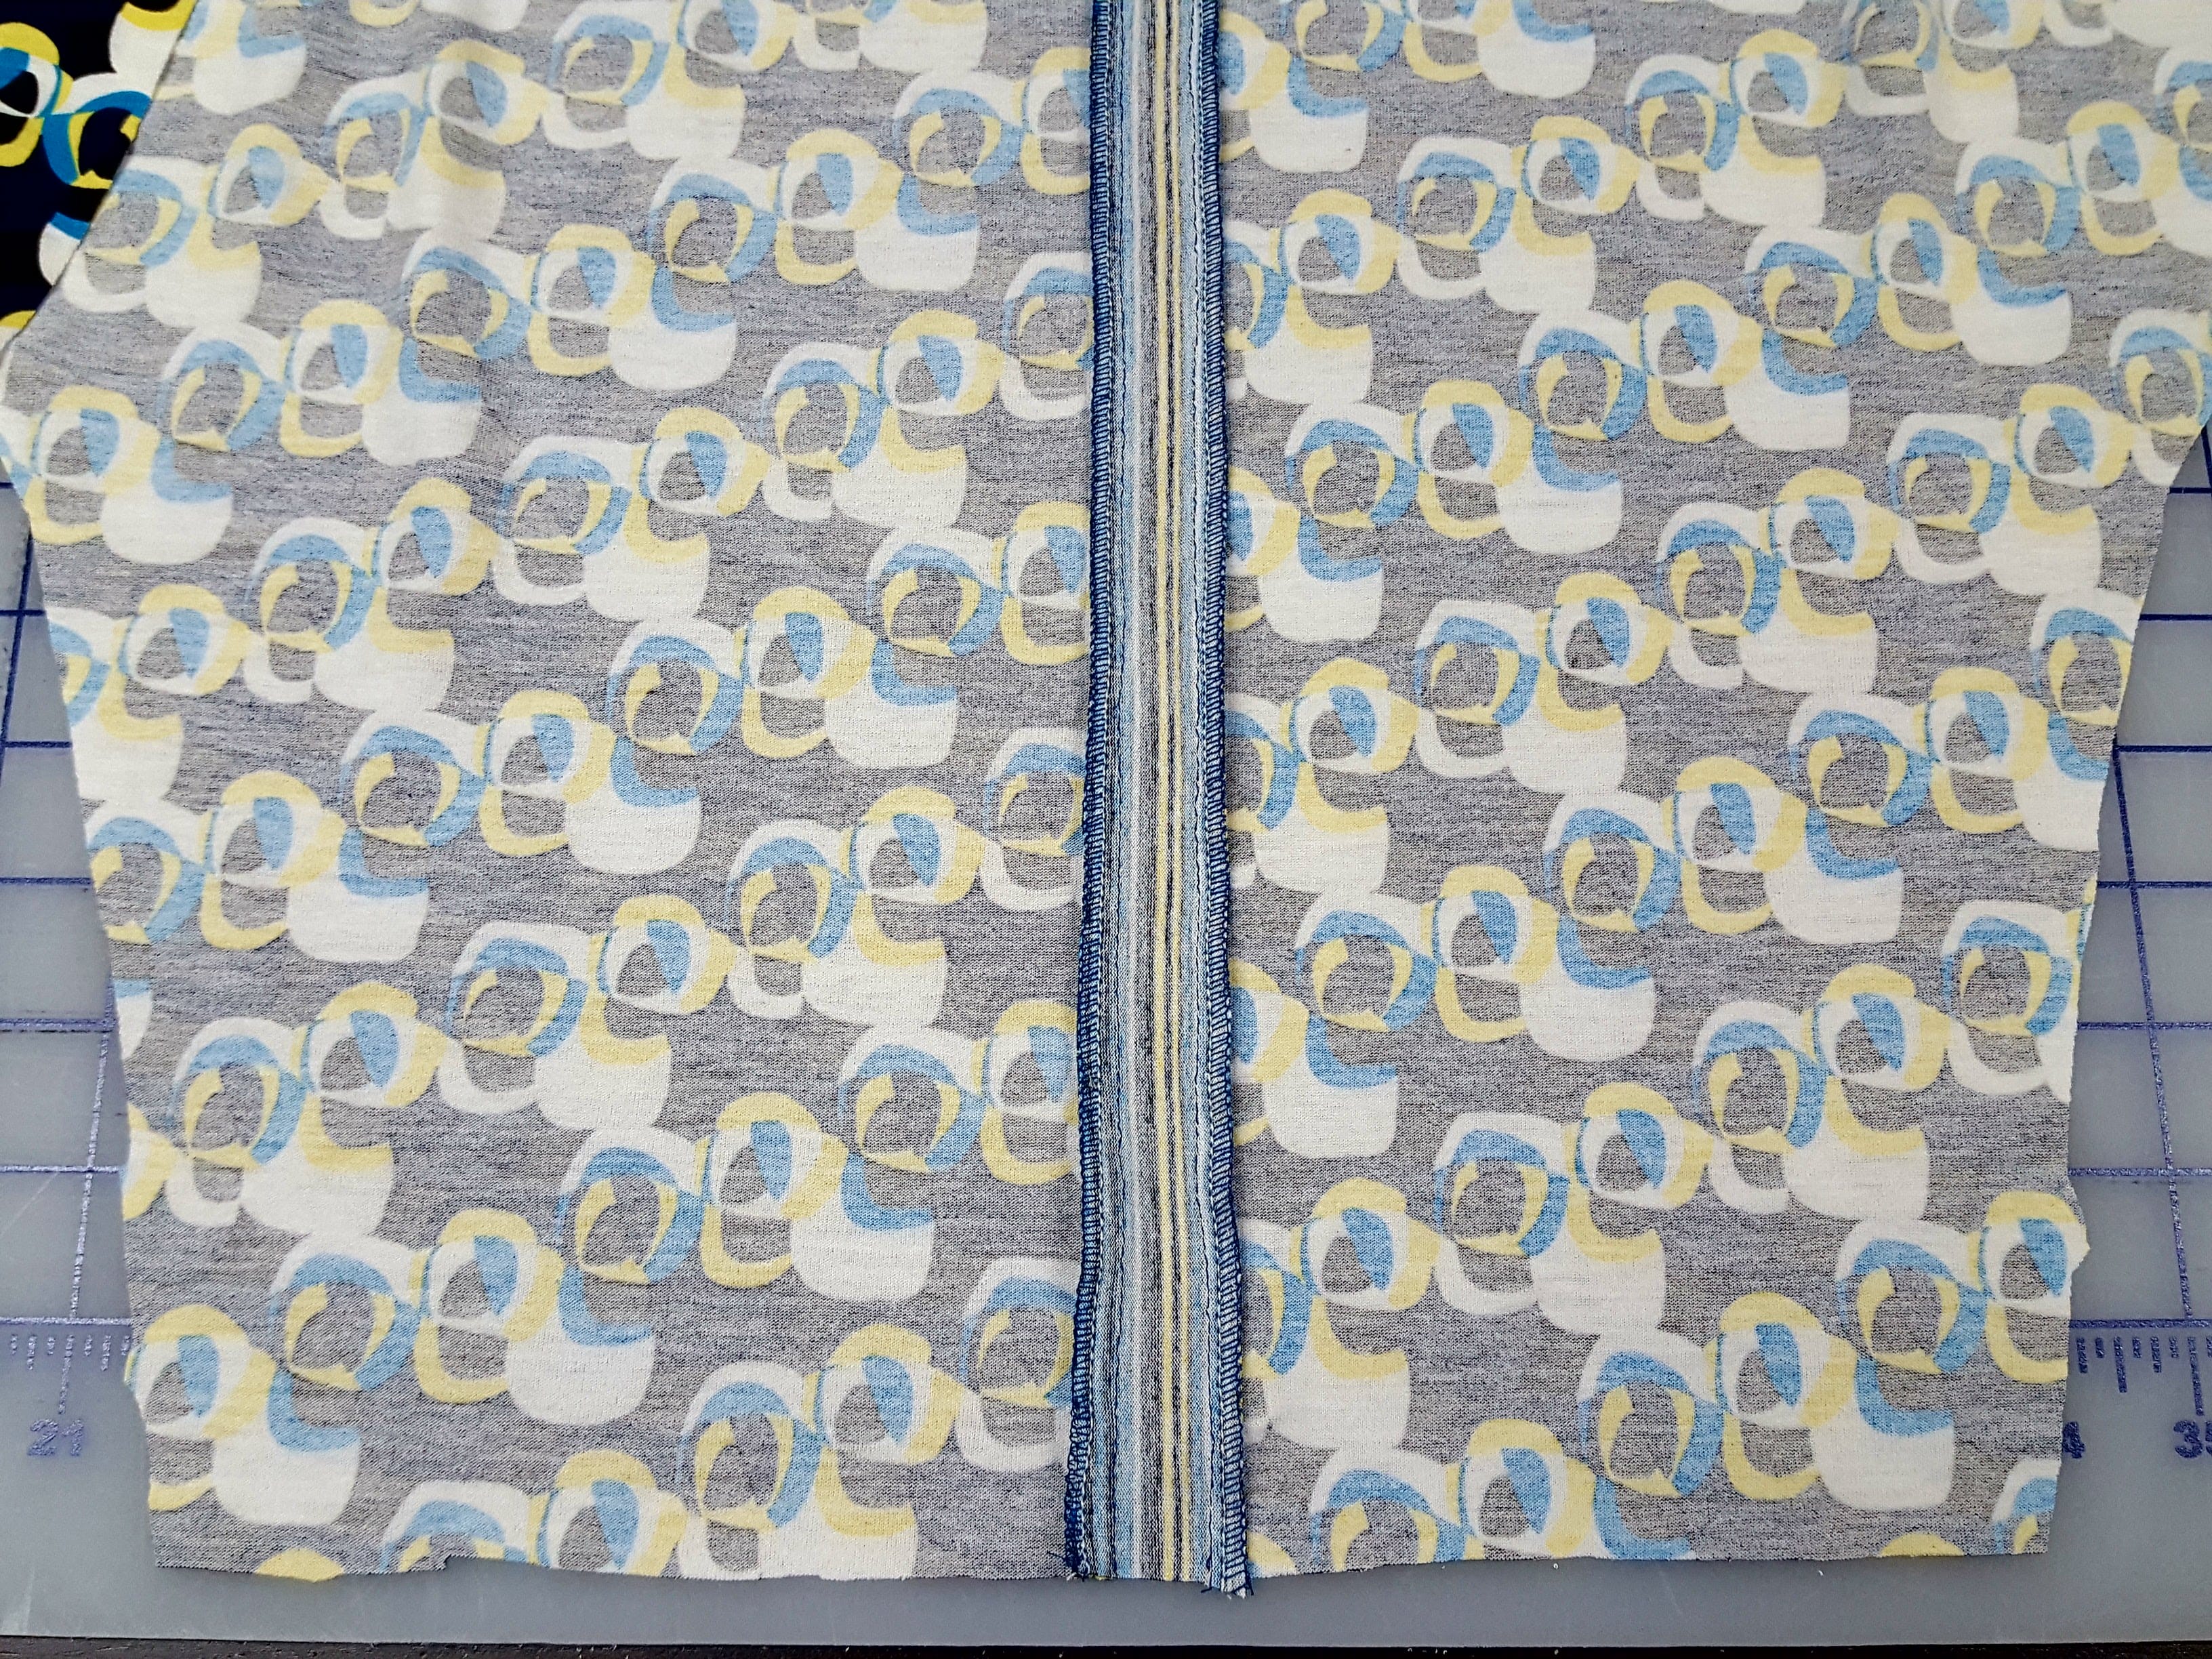
After I constructed the sleeves, I put the pattern piece back on the sleeve to make sure it was the right size before continuing the construction.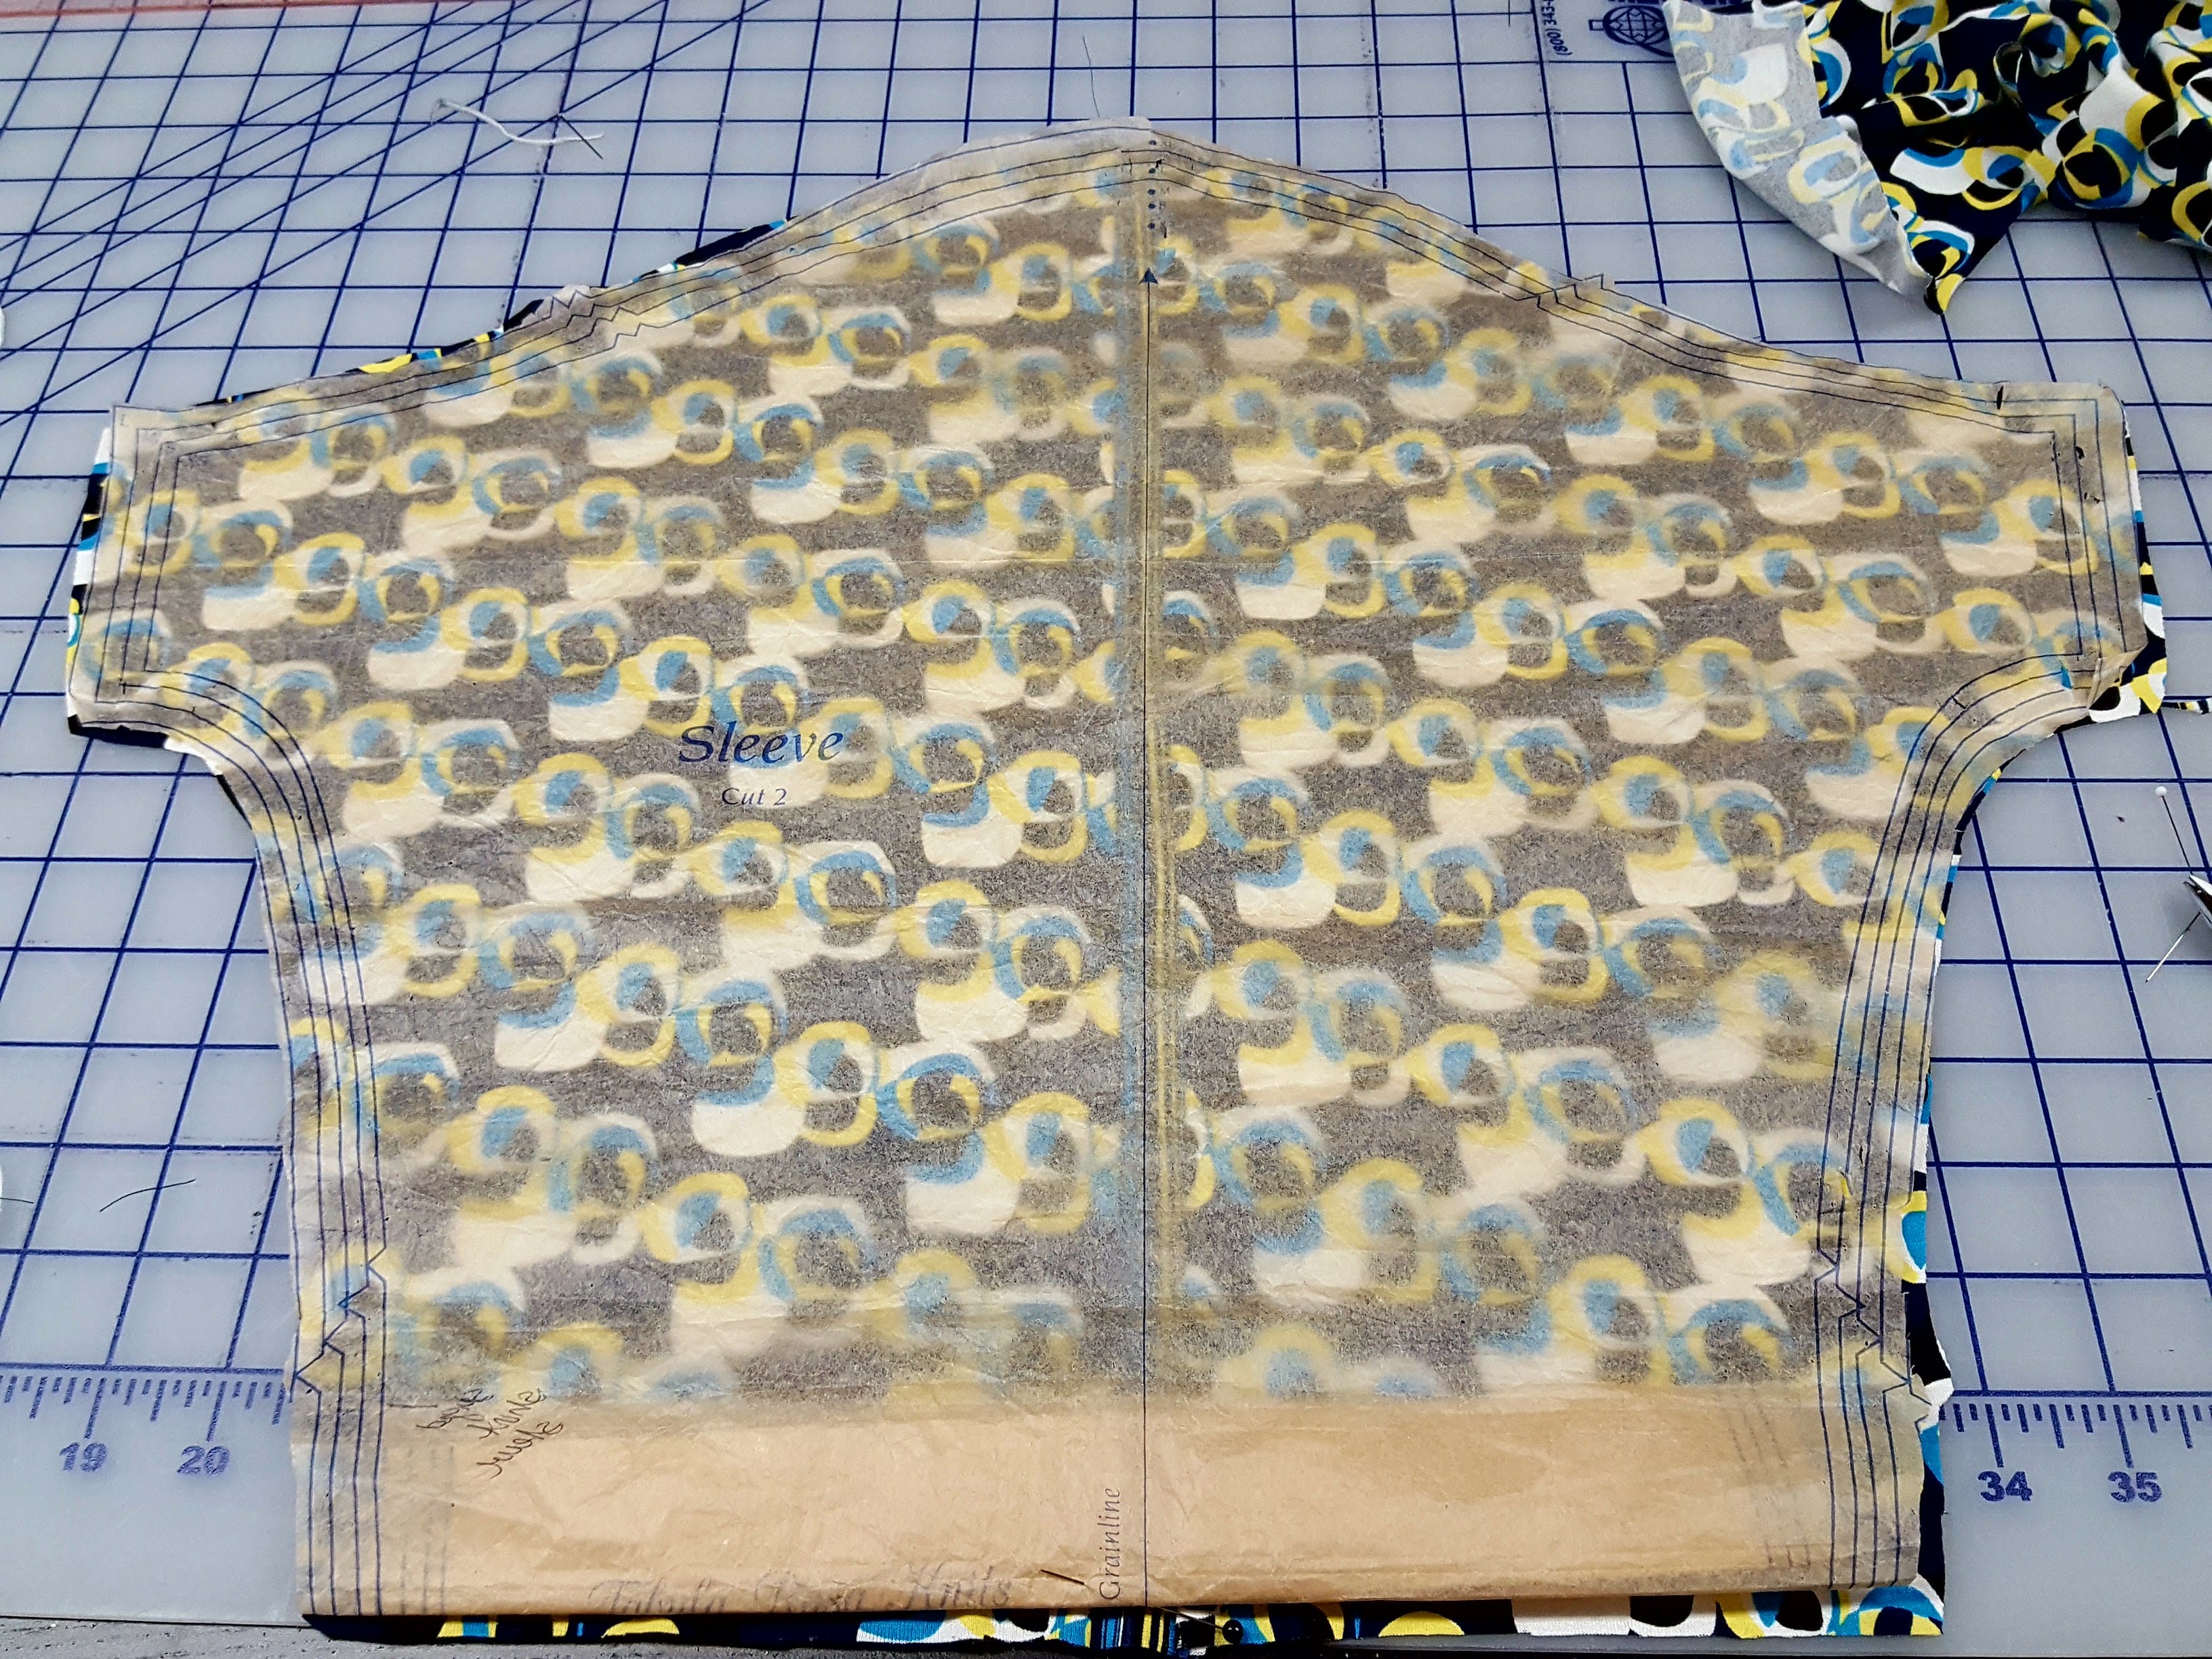
Once I puzzled through the sleeve placement, the tunic went together quickly. The rest of the construction followed along with the steps in the TRK instruction booklet. An accent of turquoise knit was used to finish off the neck and the bottom of each sleeve.
Challenges like this can derail our sewing plans, but don’t give up, there is often an answer. If you have sewing friends in an ASG group or another sewing club, get them to help you figure out a solution like TC did in last week’s post. Another option is to come sew with us at our Summer Sewing Retreat August 21-25. There are still spaces for two or more days of stitching heaven. Sewing with others is inspiring, fun and there is always a gaggle of suggestions when someone gets stumped. Plus, our expert advice and demonstrations keep all your projects moving forward. Make your reservation today!
Happy Sewing, RAE
Enjoy receiving our blog? Sharing is caring, so forward this post to a friend by clicking on the Forward link at the upper right corner of your e-mail notification. Remember that the beauty of the Fit for Art System is you can sew successfully with endless variations. Take a moment to review our variation patterns offered by clicking here. Also, are you following us on social media? Take a moment to check us out on Facebook and Instagram and follow the hashtag #fitforartpatterns and #sewsuccessfully.


