Your adjusted Eureka! Pants pattern is the first building block in your tool kit to create a contemporary pants wardrobe. There are so many styling options to lead you to great pants for any season and occasion. Each new style needs a new pattern with the pocket, waist or leg shaping adjustments drawn onto your personalized pattern. So, you need to master the skill of tracing off your pants pattern.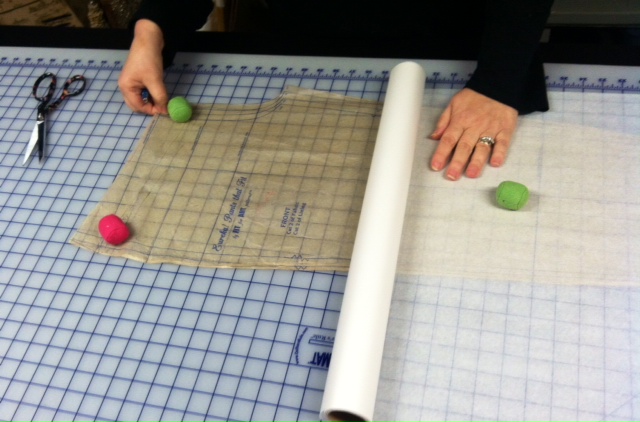
Get out your rulers, pencil, basic pattern and a roll of pattern tracing paper so we can begin. You also need a cleared off space to work your pattern copying magic. I also recommend an elevated cutting table with a 1” gridded mat to keep your back well cared for as you plan your new pants.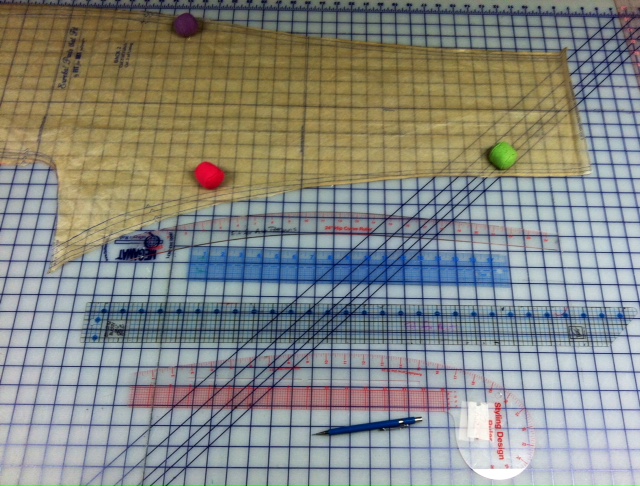
Press out any wrinkles in your paper pattern so it is ready to copy. If you have tape on your pattern avoid touching it with the hot iron.
If your surface has a grid of lines, line up the HBLs (horizontal balance lines) and Grainlines on your pattern with the grid of lines. Use a few pattern weights or heavy objects to keep the pattern lined up with the grid.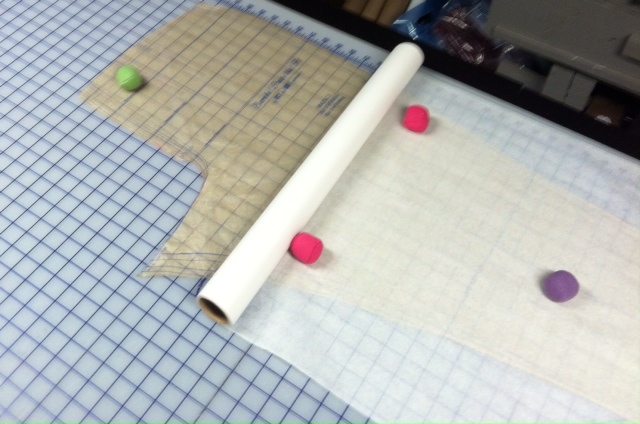
Cover your pattern with a layer of pattern tracing paper, smoothing the paper over the pattern and moving the weights onto the tracing paper. I started with the back pattern. If you do not have enough width, tape together enough paper to accommodate the entire pattern piece.
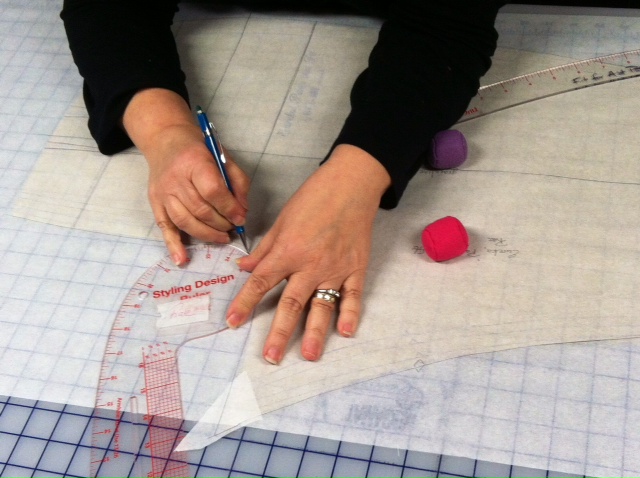
Use an 18” ruler to transfer the HBLs onto the new paper pattern. This helps you realign the copy to the original if things shift out of place.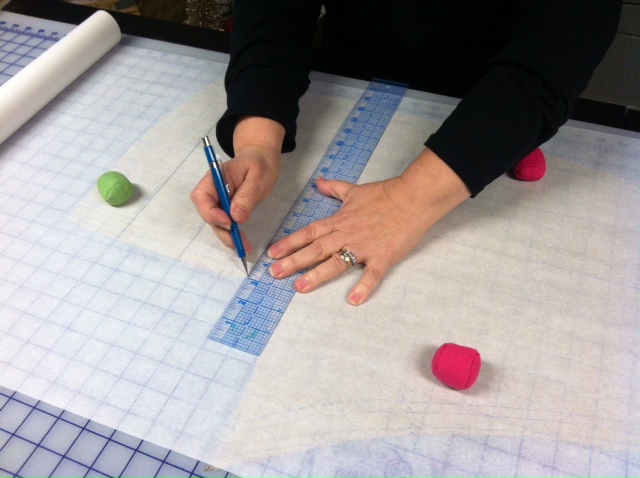
Use a long straight ruler to add the grainline, 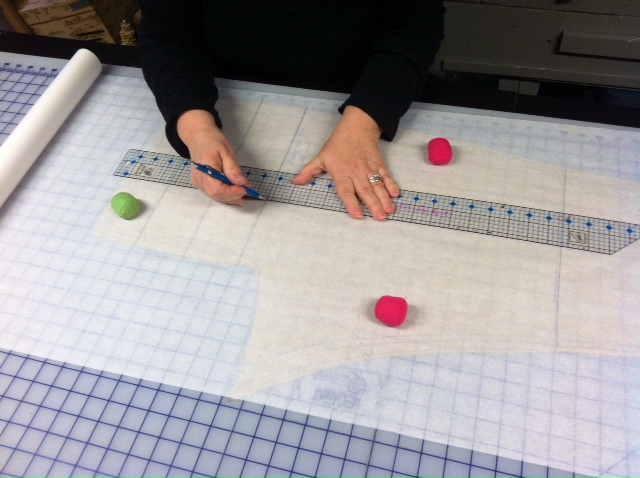 you will probably need to slide the ruler down toward the hem to complete the line.
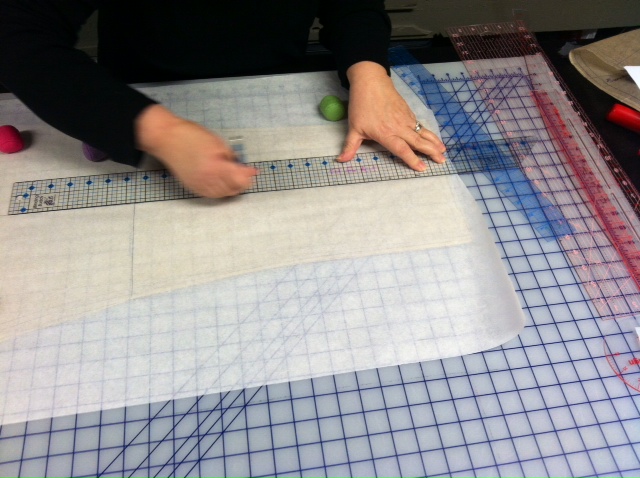
Lay a hip curve or styling ruler along the side seams and trace them onto the new pattern. Remember to transfer your notches and any dots to the pattern too.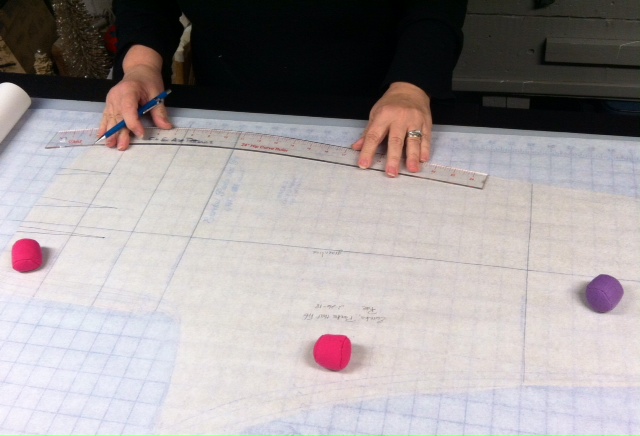
Work methodically around the pattern, changing rulers until you have inseams, and crotch curves and crotch extensions that mirror your adjusted pattern.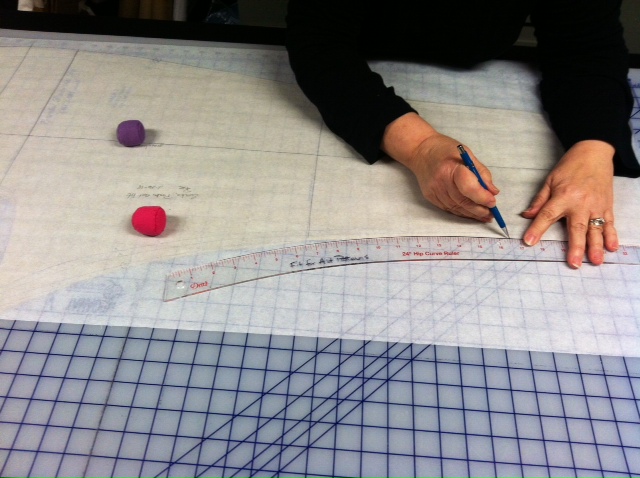
Copy any darts onto the new pattern and the waist cutting line.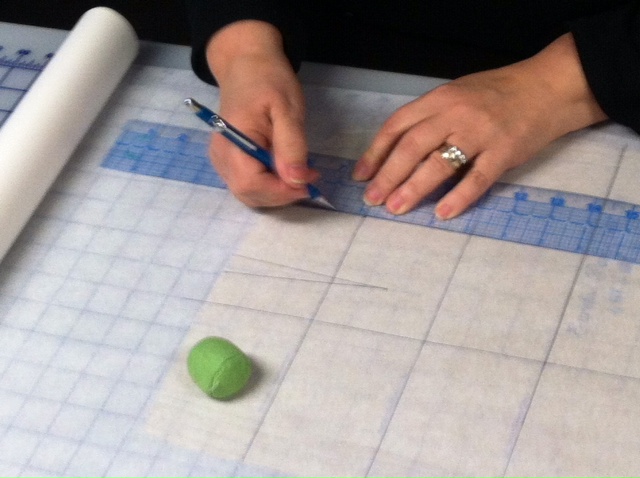 My pattern has 3 darts and a rather convex waistline. But it fits me so well I want to transfer it perfectly.
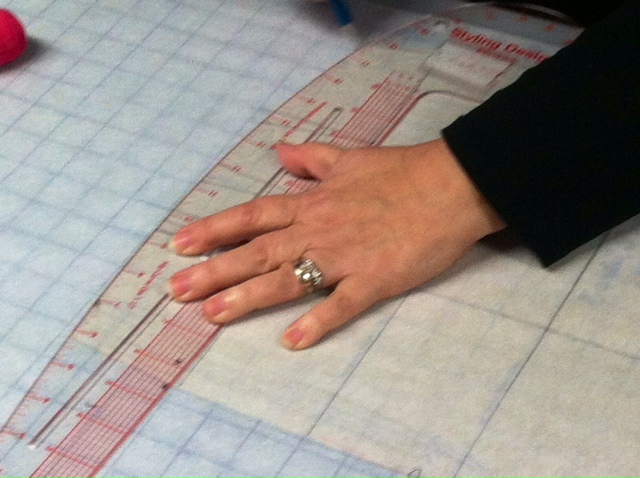
Label the pattern piece with the pattern name, piece name, owner’s name, and the date. Then cut the paper from the roll and place if in a flat place as you trace the front.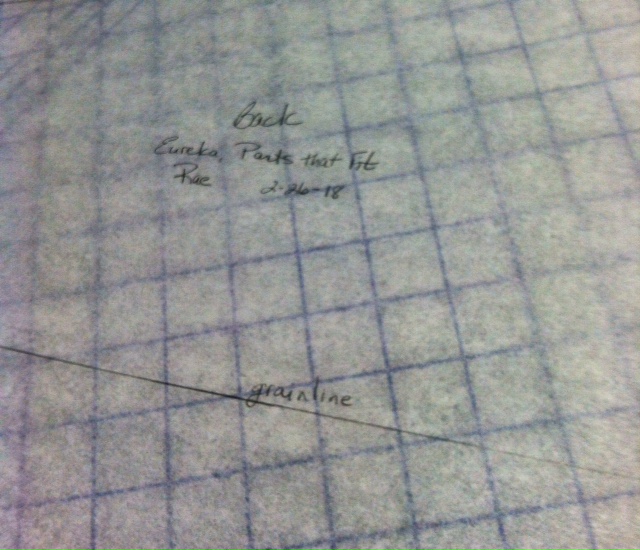
Follow the same process to copy the front of the pattern. You will have to find the right curves with your ruler again as the curves are often different on the front and back pattern pieces.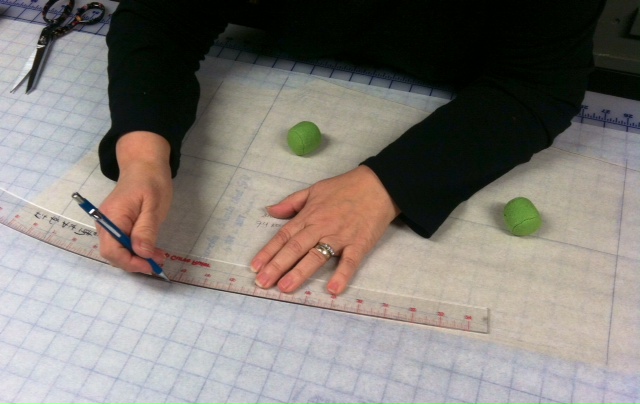
Label the front as well and trace any other pieces you might need for your new design.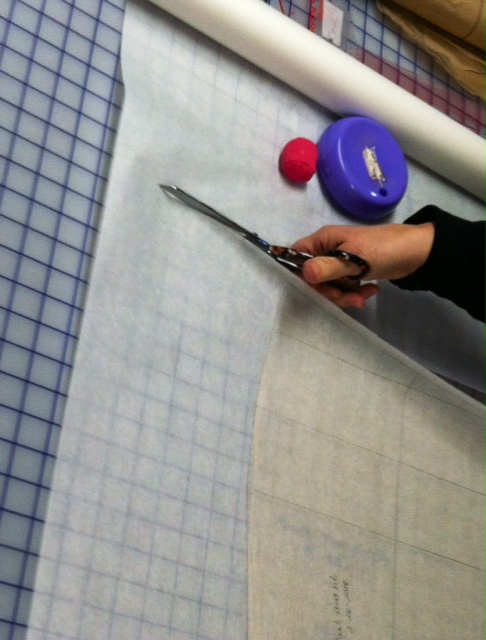
The Eureka! Pants that Fit pattern direction booklet has a design section that discusses different waist finishes, placement and leg shapes. That will get you started with your pants wardrobe designs. The Sporty Details pattern and the Trouser Details pattern give you more options. There are also plenty of Sew! Let’s Get Dressed blog posts about pants details and designs so read them all and start to make your plans. A special thanks to our Eureka! Pants Professional, Edye Sanford, who took the photos for this post.
Here is an easy and neat way to keep your Eureka! Patterns ready for use any time and day.
Do you need pattern work tools? You can purchase tracing paper, rulers, and kits in our online store.
Happy Sewing, RAE


Tracing paper would be a great addition.
Thanks for the feedback, WE are headed out on the road tomorrow for 2 weeks but when we get back, we will get it up on the product page.
RAE
I use Doctor exam paper as I work in a medical environment, but I would love if I could buy a hip curve ruler.
Good suggestion Kathy. We will add a hip curve to the list. See you at the Retreat.