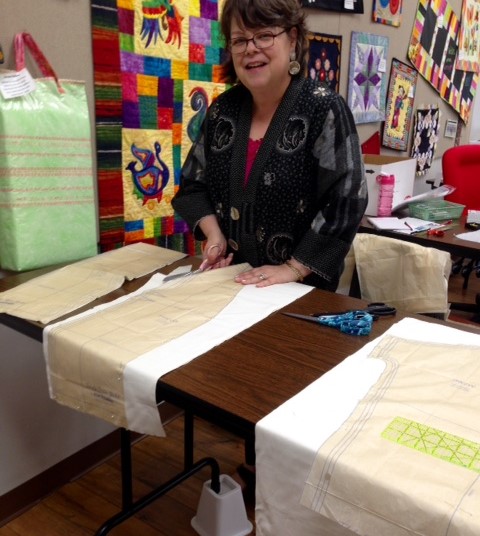
If you’ve ever taken one of our workshops, we may have helped you and fellow students make alterations to your pattern. These fitting adjustments are one occasion for pattern work. You might also do pattern work to create a pattern variation or add interesting details, using one of our templates or inventing your own. Accuracy is important. Follow these guidelines to ensure successful pattern work that will produce satisfactory results for the finished garment.
As you prepare to work, allow yourself plenty of time so you won’t be tempted to rush or take shortcuts. Work on a large, uncluttered, flat surface, preferably raised to go easy on your back, with plenty of good light. We frequently like to set a table on bed lifts to get better height.
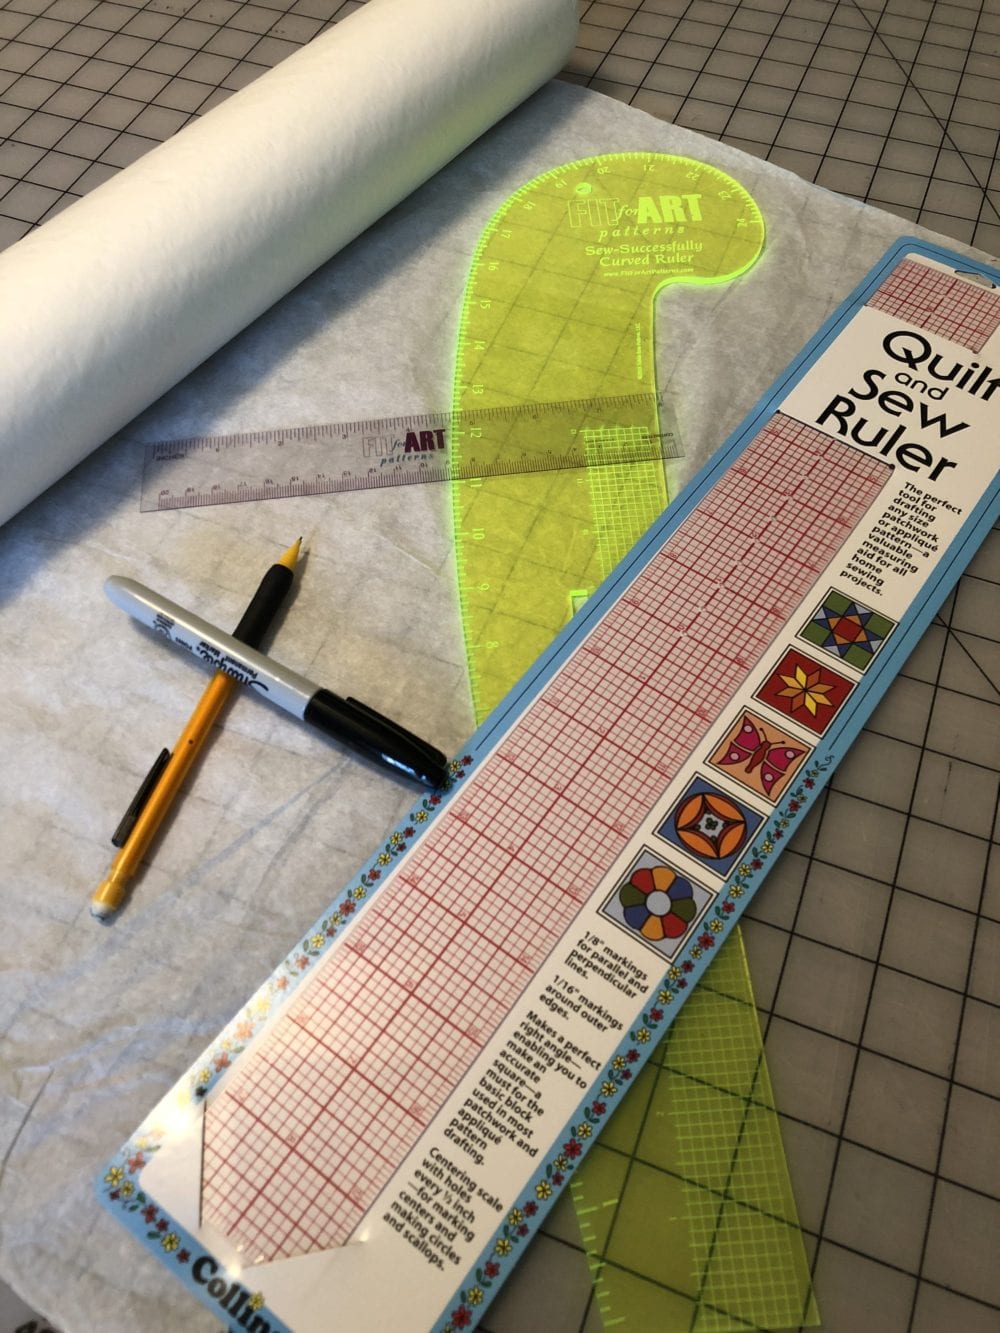
Gather all the tools you are likely to need, including Scotch tape in a weighted dispenser, sharp pencils and/or fine pens (nice to have a few colors), sharp paper scissors and tissue or other translucent paper. We like to use white paper with our standard brown pattern tissues because it makes it easier to see as you work and, later, to remember how you altered the pattern.
You will also need rulers appropriate for the project; we generally prefer plastic see-through rulers over metal rulers, but that’s a personal preference. The rulers you will need to have in your tool box include:
- A small ruler for measuring pinned changes on the garment.
- A straight see-through plastic ruler with 1/8” markings to measure and plot adjustments every few inches (or more frequently as needed).
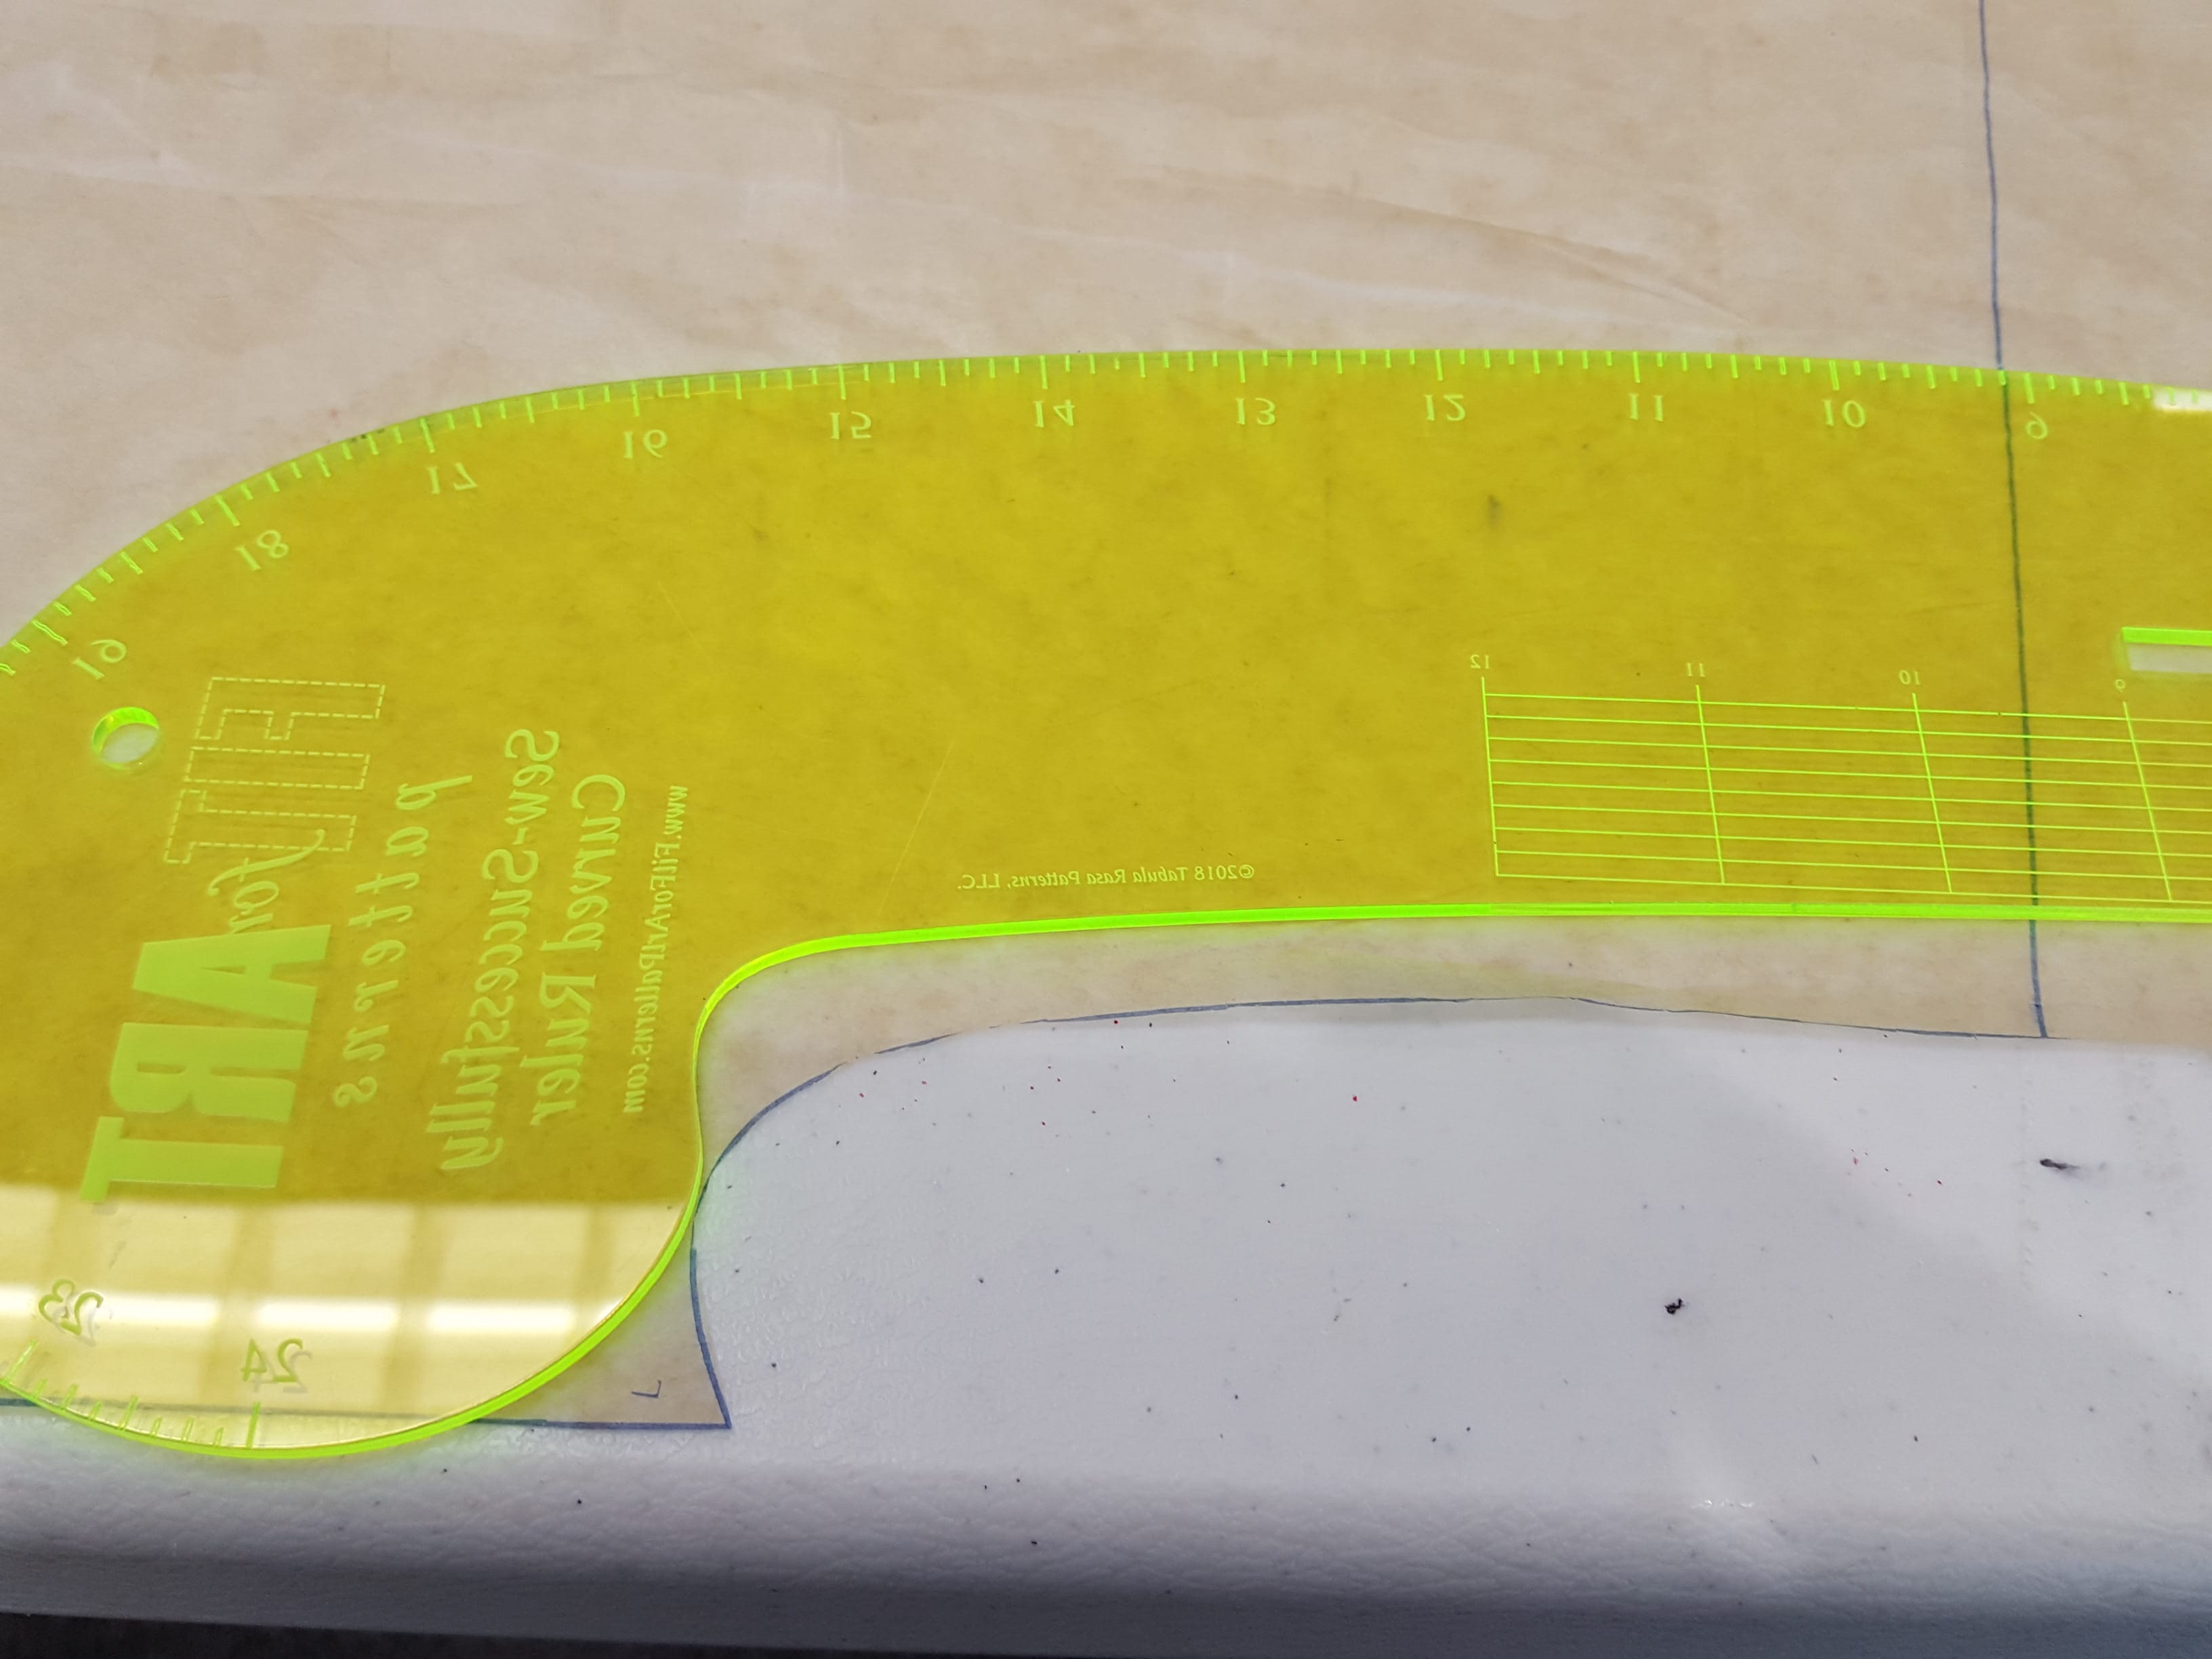
- A curved style and/or hip ruler, depending on the project, to blend a new line into the existing line gradually and smoothly. You may need to flip a curved ruler over, or flip it head to tail, to find the best fitting curve. It is more important to create a smooth line than to squarely intersect every plotted point.
- Some people also like to use a specialty ruler designed for marking or adding a standard seam allowance.
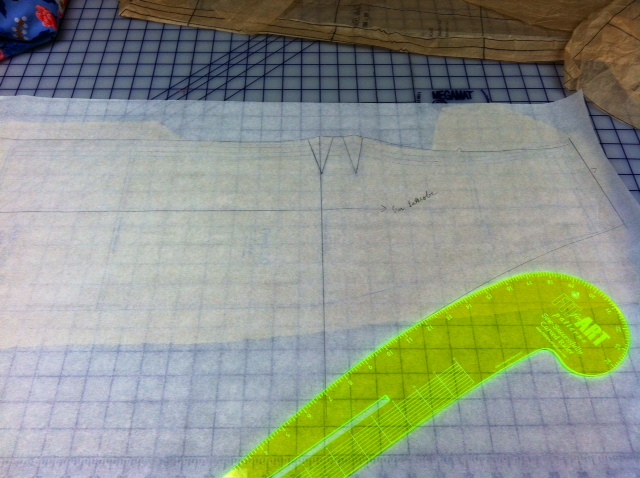
One of the most important things to be aware of as you transfer adjustments from a garment to the paper pattern is the distinction between the seam line and cutting line. The seam line is where the seam is sewn, frequently 5/8” inside the cutting line but check your pattern directions to be sure. If the seam line is not printed on the pattern (and they usually are not for multi-size patterns), consider drawing in a seam line to minimize confusion; it may help to use a different color from the cutting line. Make sure you are blending cut line to cut line and seam line to seam line, being careful not to confuse or merge the two!
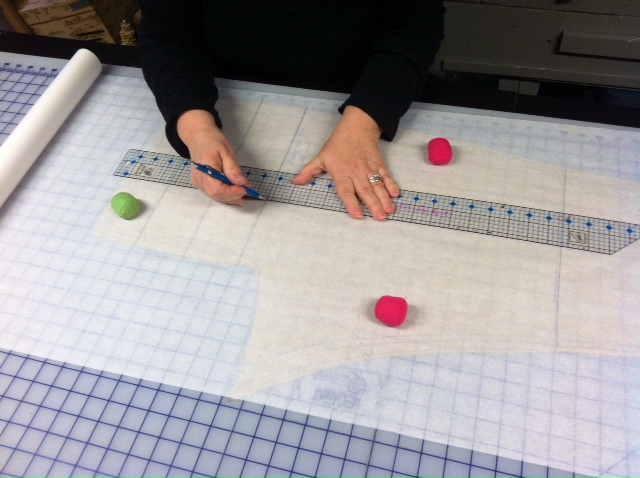
It is also important to keep the paper pattern flat. Press pattern pieces before beginning if needed. When taping paper to tissue pattern to add width, length or fill spaces, use small strips of tape to secure the new paper to pattern. Long strips of tape may seem faster, but inevitably lead to bunching the pattern. After making pattern changes, do not iron over the tape! The heat causes the tape to draw up and distort the pattern.
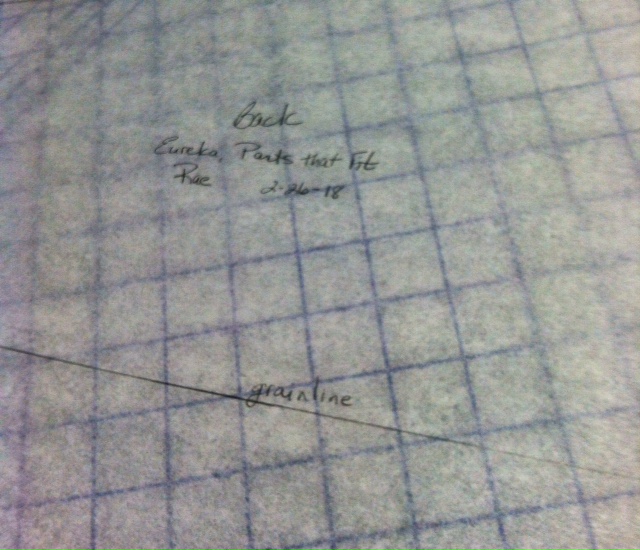
Finally, we advocate for making a clear record of your pattern changes to avoid confusion later. You think you will remember what you did the next time you use the pattern, but (speaking from experience) don’t count on it! When you have finished drawing the adjustments, cut away the excess paper beyond the new cutting line. Make notes on the tissue patterns, dating and labelling changes. Cross through lines that are no longer in use but visible on the pattern. It can also be helpful to note the garment for which you most recently used the pattern, so you can try on the garment to assess the fit before the next use.
If you haven’t been in one of our classes to see pattern adjustment demonstrations, watch one of our video tutorials for the most common fitting adjustments for the Tabula Rasa Jacket. You can purchase some essential pattern work tools in our online store including rolls of paper for pattern work, our very own Sew Successfully Curved Ruler and a Pattern Drafting Kit.
Happy Sewing! Carrie


I use Pattern Fix-It tape to add paper to a pattern. It can be ironed. Available from Nancy’s Notions and other places.
Thanks for the tip Pat, is it permanent? RAE