In this season of thanksgiving, Rae and I want to express our thankfulness to you, our community of supporters. We are so grateful for your enthusiasm and sharing of Fit for Art patterns with fellow sewists. You inspire us to continue creating new patterns and variations and to pursue our mission of helping all women create a wardrobe of well-fitting, flattering and comfortable garments.
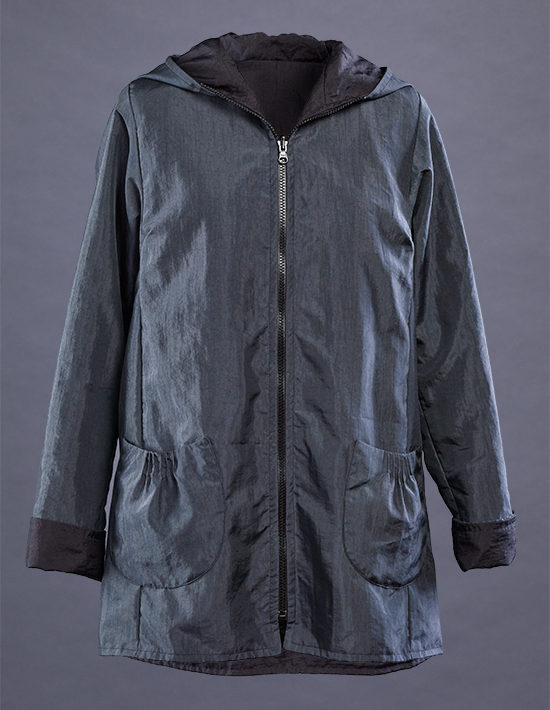
As an expression of thanks, we have created a little sewing gift for you! As we introduced Rain or Shine Variations for the Tabula Rasa Jacket this year at shows and expos, we received many compliments on the Rain or Shine samples. The eye-catching coat “It’s a Spectacle” deservedly got the most rave reviews.

The directions and tissues for this sample’s pattern modifications – center front closure with zipper, collar, detachable hood, and pleated back – are already included in the Rain or Shine Variations for you to follow. It is Rae’s fabric combination and piecing that really makes this coat a spectacle; soon we’ll get Rae to blog about her creative process for designing this coat.

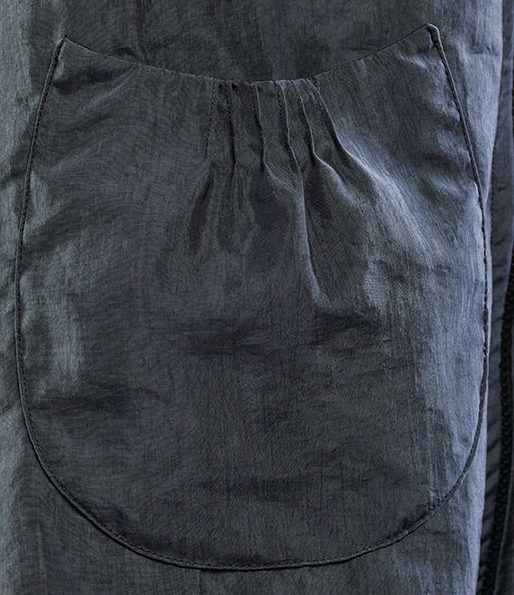
The cute little pintuck pocket on my Two-sided Travel Raincoat also received attention. That pocket had been an experiment to jazz up what was otherwise a very plain looking coat. The pintuck pocket came too late to make it into the published Rain or Shine pattern. So, today we are giving you downloadable patterns and directions for creating pintuck pockets for your own Tabula Rasa Jacket creations. Click on this link – Pintuck Pockets – to open and print out the pdf.
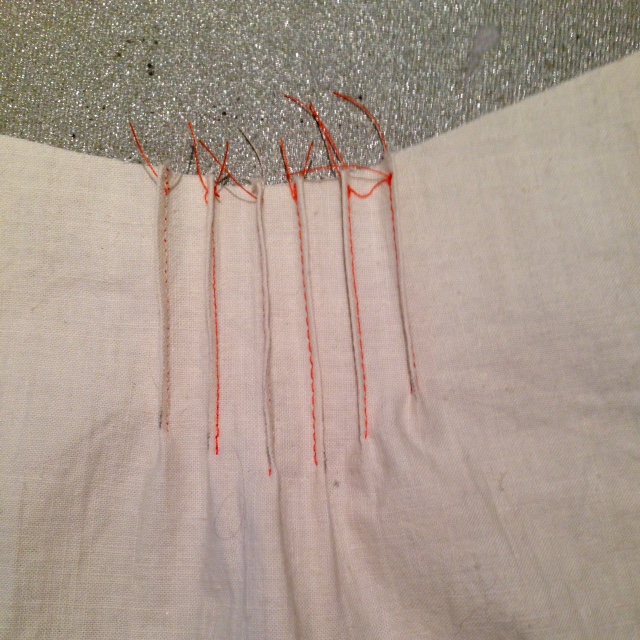
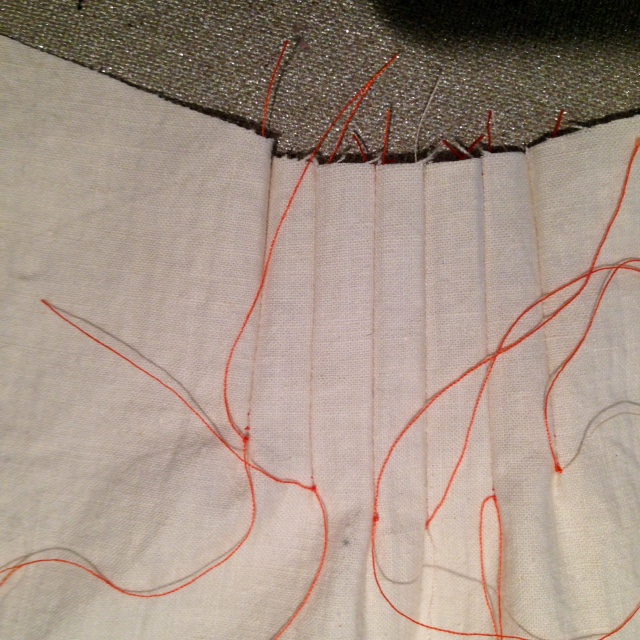
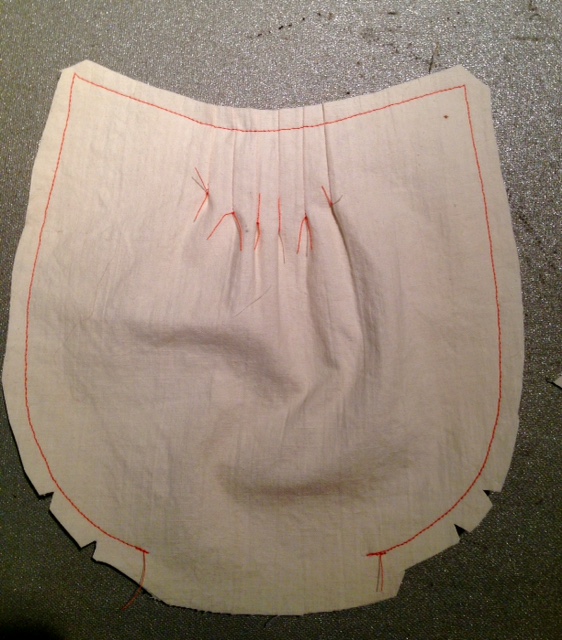
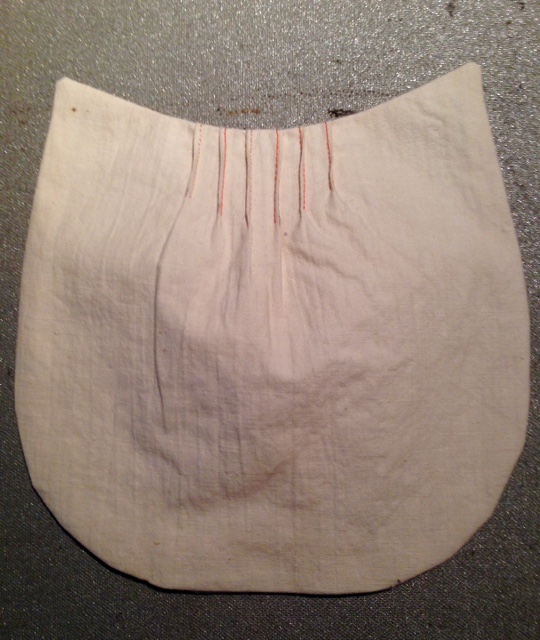
The full directions for making a pintuck pocket are included in the download, but here are a few photos of the construction process. This sample is in muslin with contrasting thread so you can see the stitching. In brief, after cutting out the pocket and lining, sew all of the pintucks into the outer shell of the pockets. Here you can see how the pintucks look on the right and wrong side.
Next, sew the pocket and pocket lining right sides together, leaving an open between the two dots to turn the pocket right side out. Finally, you see a completed pocket with the seam allowances pressed into the opening ready to be topstitched onto a jacket.
A few pointers for working with this pattern:
- While certainly not limited to raincoats, this pocket will work best on longer jackets and tops due to its scale; the finished pocket is 7” tall and wide.
- This pocket will not work well with very heavy or stiff fabrics because the pintucks are tiny – just 1/16” to 1/8” deep.
- Add interfacing along the top edge of the pocket lining if the fabric needs support to maintain its shape – fusible interfacing if the fabric can take it, sew-in if the fabric cannot be heated (such as laminated or technical fabrics).
- Be sure to try the jacket on with pockets pinned in place before topstitching to make sure that they are sitting in a functional and comfortable place.
- Topstitch the pocket onto the outer shell of the jacket before inserting the lining.
We hope you have fun with Pintuck Pockets! Please send us photos of your jackets, coats and tops incorporating the pintuck pocket. We’d love to see what you create!
Happy Holiday Sewing, Carrie


Thanks for the fun pocket idea. Hope to try your jacket pattern soon.
Thank you for the pintuck pocket – can’t wait to try it
Happy Holidays
xo