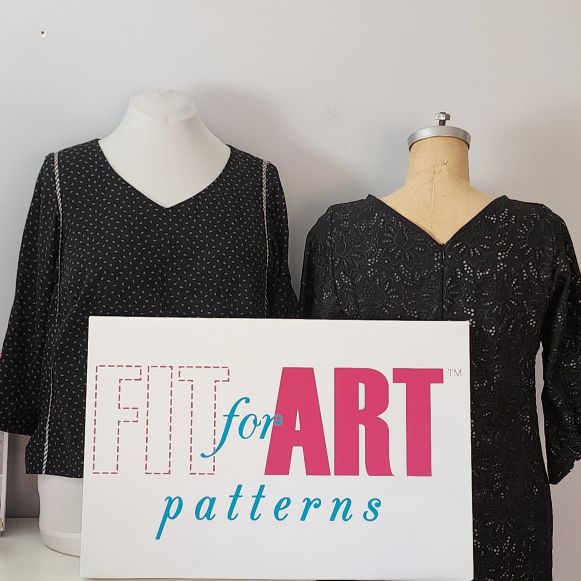
The basic instructions for the new V Neckline Variations for the Carpe Diem Dress & Tunic utilizes a facing application to finish the neckline. Let’s look together at how to add a facing to a top with a V front and V back. Fortunately, the facings on this little blouse are in a contrasting fabric so you can see clearly how to sew a successful V neck.
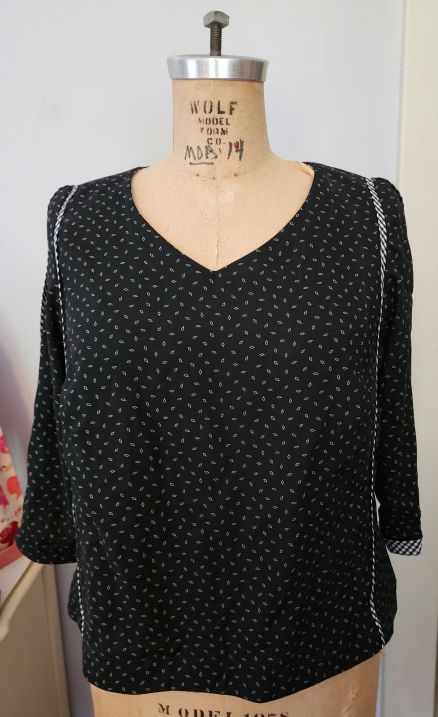
Sewing a successful V neckline with a facing depends on stay stitching and good interfacing choices on both the top and the facings. For this light weight vintage rayon top with cotton blend gingham accents, Rae chose the wonderful Envy Silk interfacing. The rayon with a tiny white paisley print came from our French friend Aline at AntiqueTextileshop on Instagram. Depending on the fabric you have chosen, make test samples to choose the best interfacing for your project. Grab one of our interfacing samplers to keep time-tested interfacing choices on hand.
Both the front and back were interfaced before construction began with a 1” wide strip fused around the back and front necklines of the rayon top. Stay stitching was added in the point of the V using small stitches to keep the fabric stable during and after construction. This top was made for Rae, so she stitched in her rounded back darts after interfacing the back V and then stay stitched to keep the neck from stretching when applying the facings.
Follow the directions in the booklet included with the V Neckline Variations download. Stitch the top’s shoulder seams together but leave the center back seam open. You will notice in the photos that Rae added flat piping to the body of the blouse before adding the facings. Don’t let this distract you. You can read more about flat piping in the Tabula Rasa Jacket booklet, where it is a design extra at the end of the direction book, and in many blog posts in our archive.
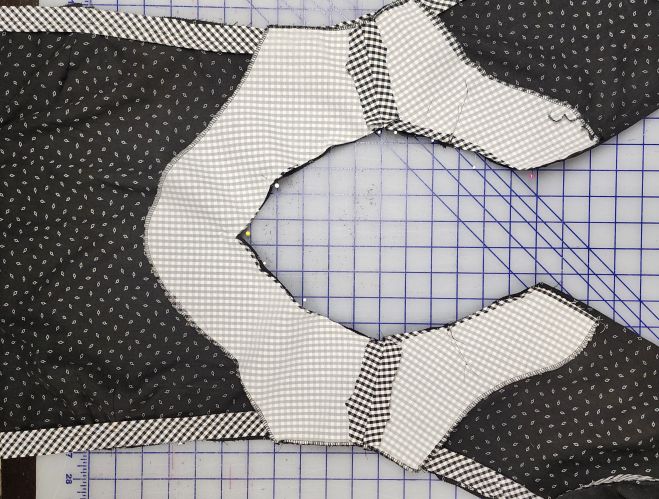
Sew the front and back facings together at the shoulders as well after applying fusible interfacing. Make sure you are using the correct pattern facing pieces for the view you are constructing. This top is view 1, with sleeves, which is the easiest view to begin with.
Clean finish the lower edges of the facings. If you have darts like Rae for a round back adjustment, be sure to stitch them into the facings as well.
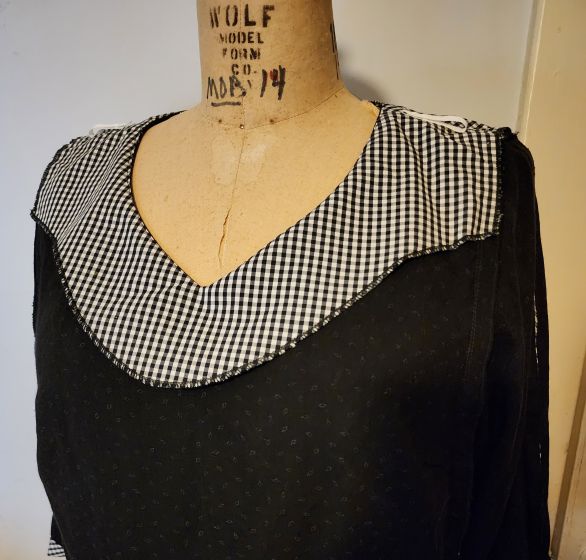
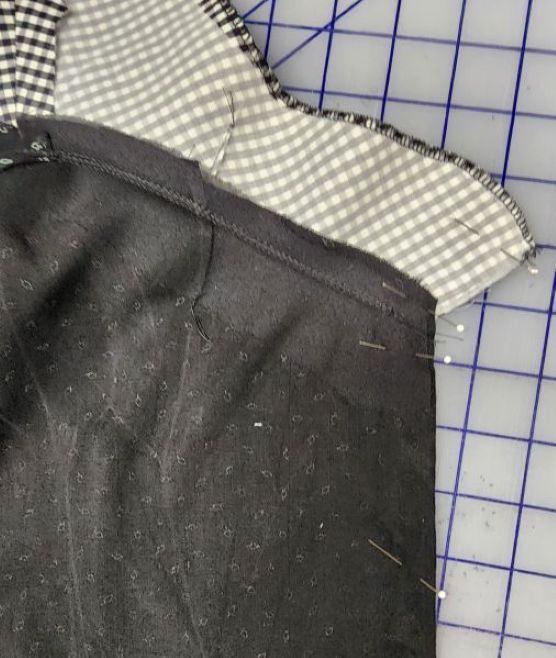
Lay the prepared facing right sides together with the blouse. Pin carefully all around the neckline matching at the shoulder seams and the center back seam on each side.
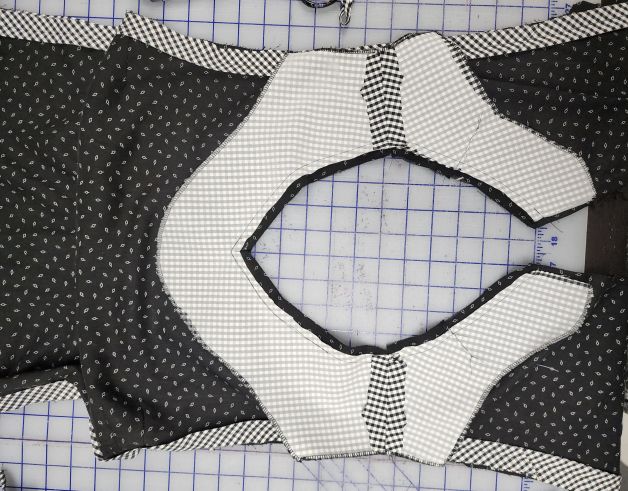
Stitch carefully around the neckline dropping the needle and pivoting at the V front. Once stitched, check both the facing side and the garment side to ensure that the facing was applied smoothly. Then clip very deeply into the V ending just shy of the seamline. You might also clip around the shoulder line and along the curves of the front and back neckline so the facing will lay smoothly. Grade the seam allowance, especially if the fabric is thick. (Read about seam grading in the post Back to Basics – Understitching.)
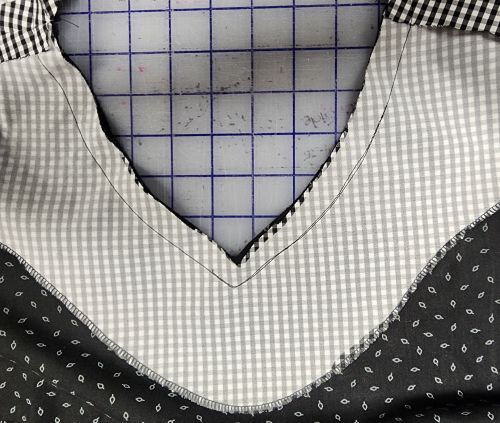
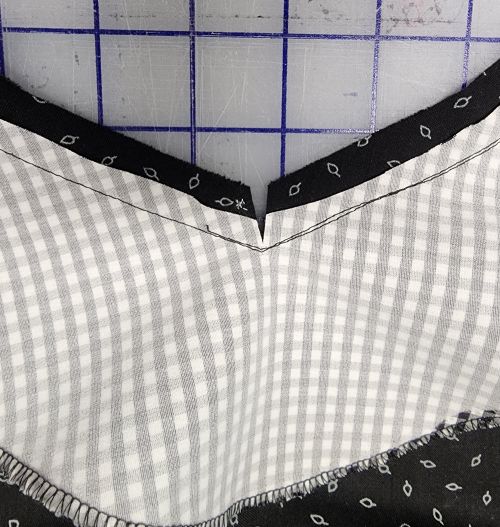
Press the facing away from the top. Understitch the facing to the clipped and graded seam allowances so the facing will roll successfully to the inside of the top. Do not understitch all the way to the point of the V; leave about an inch on each side of the V unstitched.
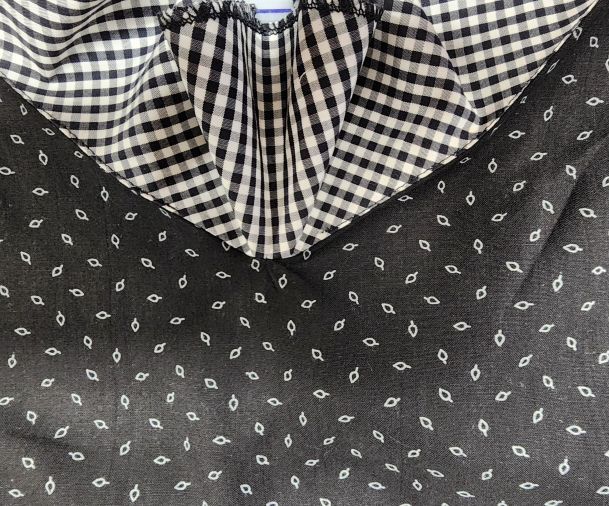
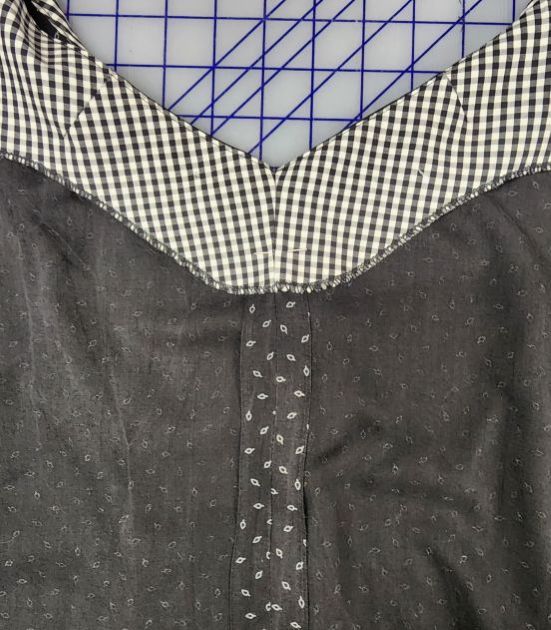
Once you have finished the facing, you can finish the center back seam. This top has a closed center back seam. The original Carpe Diem directions also provide instructions to finish a center back seam with a zipper or a keyhole opening. Roll up the facing and pin the center back seam which will extend into the facing as shown in the photo above.
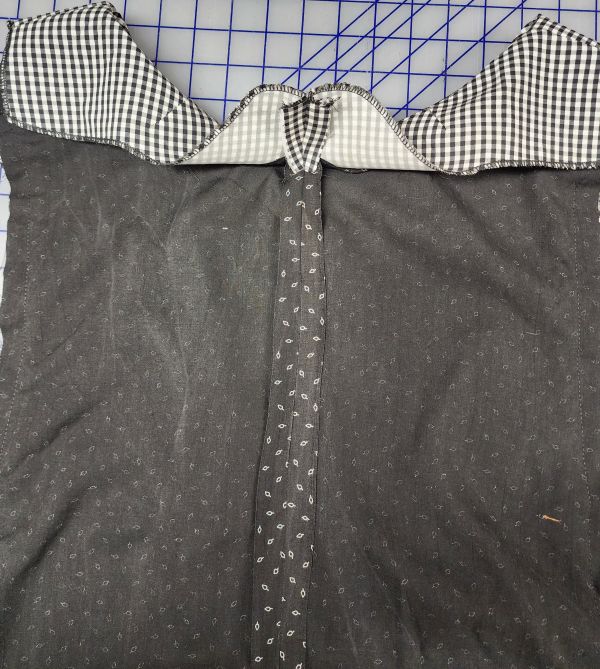
Stitch the center back seam from the hemline to the edge of the facing. Press the seam open. Fold the facing back down to cover the top of the back V, then hand tack the lower edge of the facing to the seam allowance.
After the sleeves were inserted, the outer sides of the facing were stitched to the sleeve/side seam along the armhole as directed in the original Carpe Diem instructions. Rae says she does this by hand so she is sure it lays smoothly and is easy to adjust if necessary. Follow the directions included as a sidebar on the last page of the V Neckline Variations directions to add a pair of lingerie straps at the shoulders.
Are you planning to make a V Neckline Carpe Diem for yourself? We sure hope so! We promise to write more tips about sewing with this fun new variation, but we feel certain that you now have enough info to sew a successful V neck. If you want help, consider attending our Sew Successfully Fall Retreat Nov. 13-15. There are still a few spaces left. Be sure to send us photos of your new creations or post them with the hashtag #Carpediemdresstunic.
Happy Sewing, Rae and Carrie