
As we continue to spend the next few weeks thinking about sewing with knit fabrics, we want to offer up some Knit Cutting Table Tips to make your Tabula Rasa Knit Tee & Tunic sewing successful.
If your experience with sewing is mostly with quilting cottons or other woven fabrics, then knits, especially the very drapey rayon/lycra jerseys, will feel like a completely different animal. When you start sewing knits, start with those with a bit less stretch and drape, such as interlock or cotton jersey. We are particularly fond of the solids from Stof fabrics and the lovely batik cotton jersey from SewBatik.
Now onto the cutting table suggestions which are covered in much more detail in our Virtual Tabula Rasa Knit Class, discounted for a limited time to help you sew knits successfully.
Prepare the Fabric First
Make sure you have prewashed the fabric. Rae’s habit is using her serger to overlock the two raw edges and then washing them on the gentle cycle with cold water and a small amount of fine fabric detergent. She lays them flat, if possible, to dry. If they are hung to dry on a hanger, shift them around several times during the drying process so they do not get a ridge that is difficult to press out. Once they are dry, fluff the fabric in a dryer with cool air for a few minutes to soften before cutting.
If you are working on a first project, consider using a fabric with a distinctive right side/wrong side so you won’t mix up the pieces for the right and left side and will have a mirror image sleeves and sides. When it is difficult to distinguish right and wrong side of your fabric, mark the wrong side of each piece by your preferred method before removing the pattern pieces. Some folks like to use chalk, some easily removed painters’ or masking tape, to indicate the wrong side.
Clear the Cutting Table
Have a clean flat surface for cutting, preferably a raised table that will not strain your back.
Have your pattern ready, altered for your size if necessary, pressed neatly, and adjusted for the style top you are making.
Cut Carefully
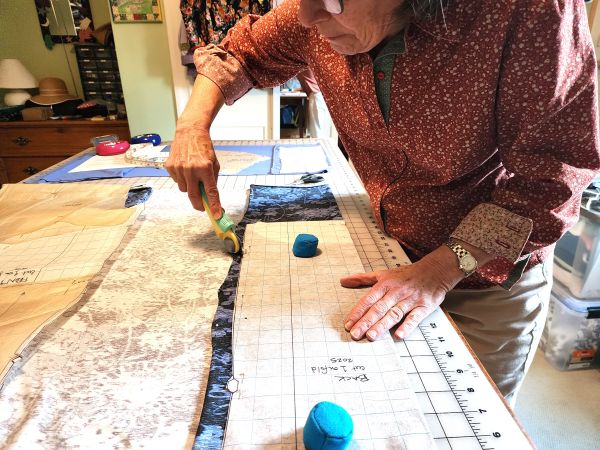
Arrange the fabric on the table, making sure none of the fabric falls off the table as this will distort the pieces you are cutting in unpleasant ways. Knit fabric can be a bit wiggly to manage, so scootch it rather than shaking it into place. If you have a mat with a 1 inch grid of lines, line up the fabric edges to the grid. Sometimes the fabric has distorted a bit from washing. It is best to let the fabric sit as needed, often meaning that each pattern piece will need to be cut separately, as discussed in Imperfect Fabric, Perfect Top.
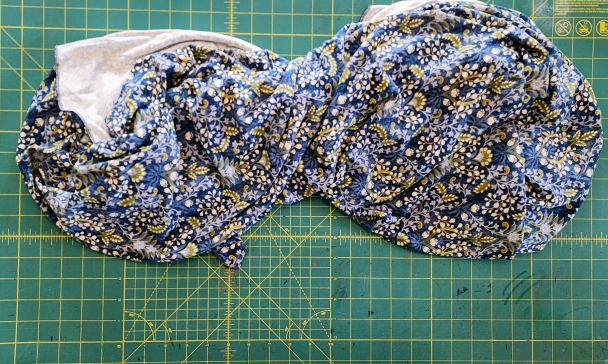
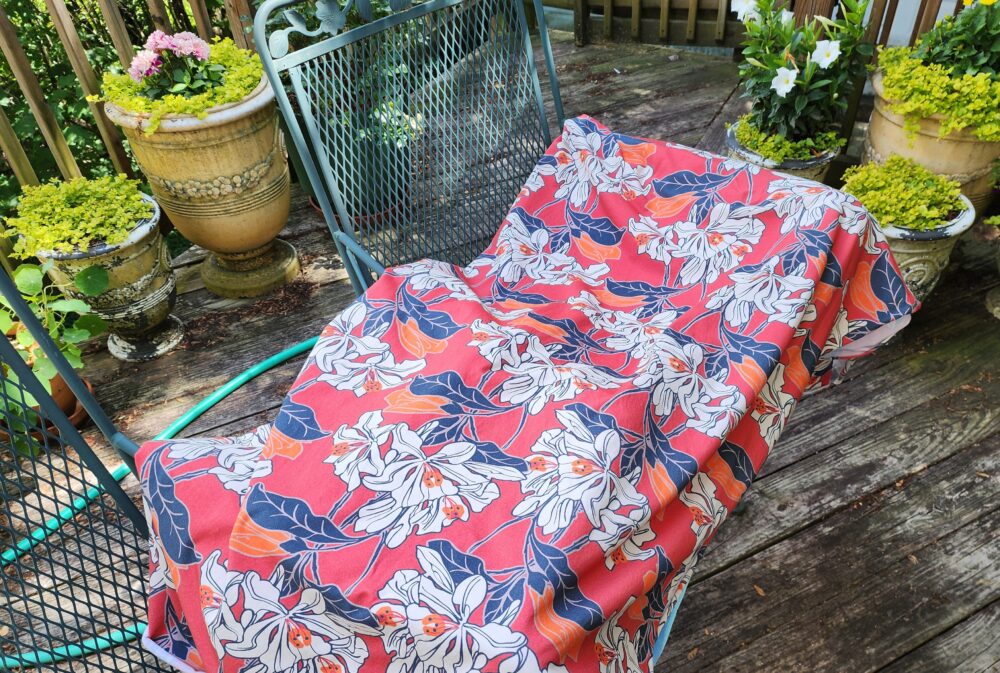
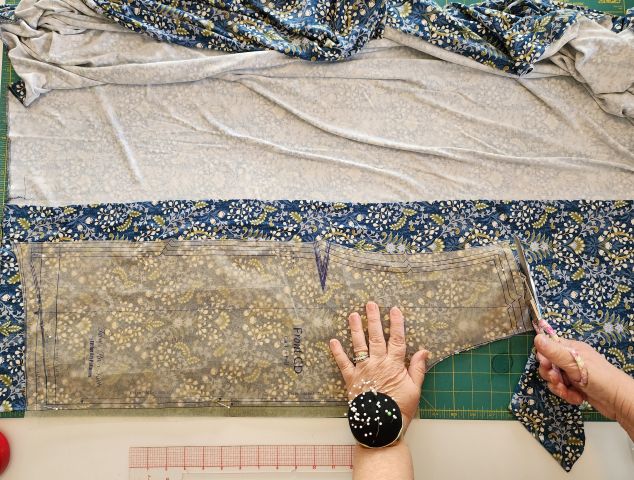
Assess the fabric’s print if there’s one. Some knits like the one shown here, benefit from a fussy cutting approach. This is best accomplished with a full pattern (by which we mean preparing a pattern piece for each section of the garment, such as a right and left sleeve, right and left side, etc) so all the pieces can be laid and cut out on a single layer. Drape the fabric over the body if you want to plan the placement well. Check out our post Placing Knit Prints to Complement the Body.
If there is not enough fabric for this method, cut the Front and Back with each edge of the fabric folded in just enough to cut out each section. Then rearrange the fabric to cut the sleeves one at a time with the space that remains in between. When cutting out single layer pieces, flip the pattern over to cut the second one, such as a sleeve, so you have a matched set.
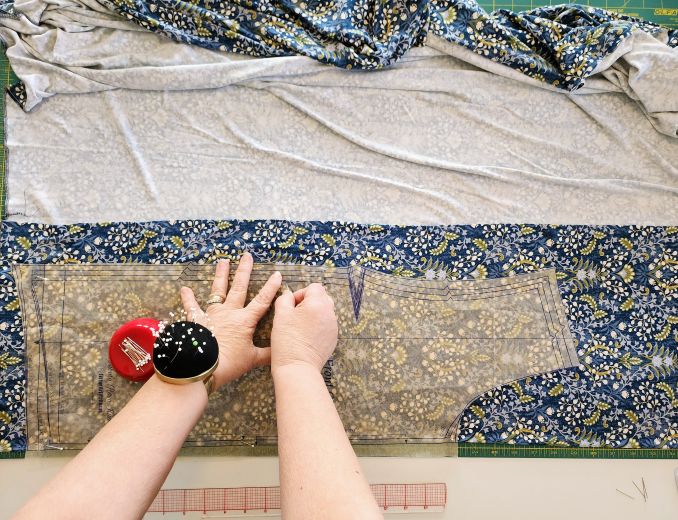
Use weights to anchor the pattern pieces as you begin placing them on the knit fabric, then pins around the edges at approximately 4-5” intervals before cutting.
Rae uses serrated edge scissors. If you like to cut with a rotary cutter, be sure it is sharp and there is a rubber mat under the fabric. This is Carrie’s preferred cutting method for knits and other drapey fabrics. Whatever tools you choose, have them close by as you are preparing to cut.
Try not to move the fabric off the table when cutting, especially with scissors, allowing the scissors to glide along the cutting surface. Cut notches in an exaggerated fashion because sometimes they are hard to find once the fabric has been cut and the pattern pieces removed.
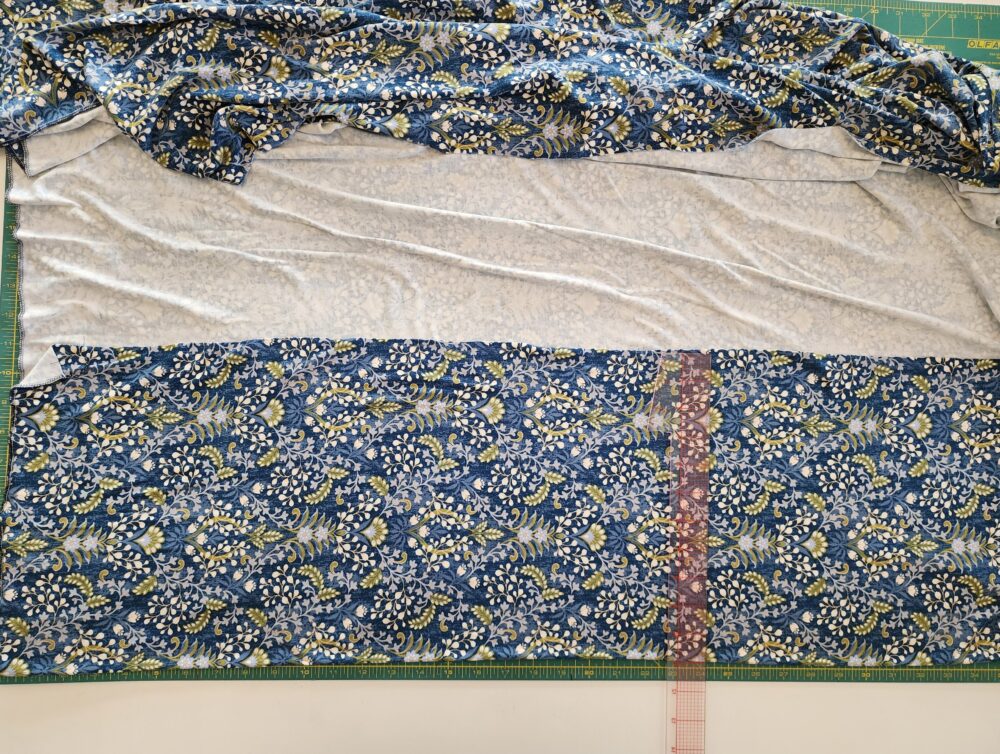
While you are arranging the pattern pieces on the fabric, be sure to save enough fabric to cut strips for the neck and sleeve bands. For this top, the bands were made from a coordinating solid. The band making process will be discussed in a future post.
Mark Important Dots and Darts
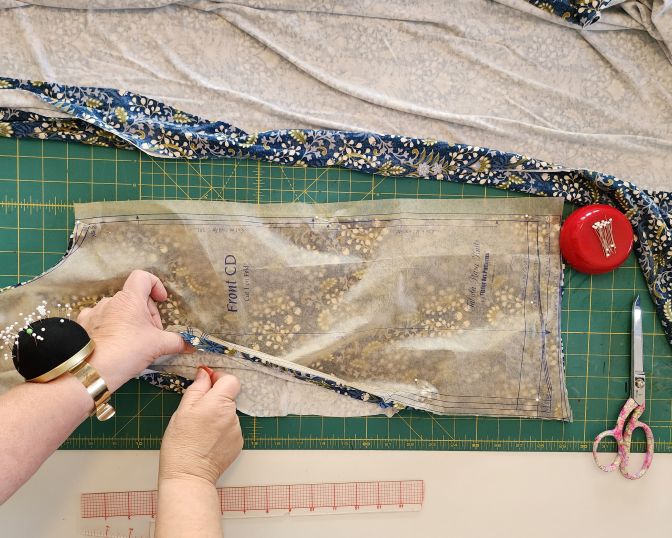
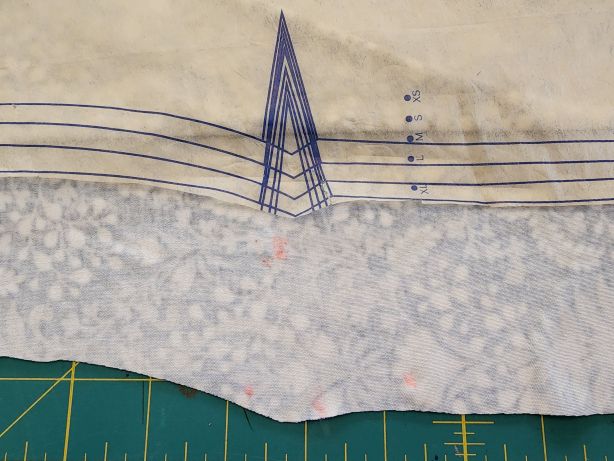
Before you remove the patterns to sew, mark the dots and darts and make sure the notches are visible so the sleeves can be inserted properly.
Ready to Sew
Now you should be ready to sew. We have made 2 little short videos to reinforce these concepts. Watch for them this week on Facebook and Instagram. Hope these Knit Cutting Table Tips have been helpful.
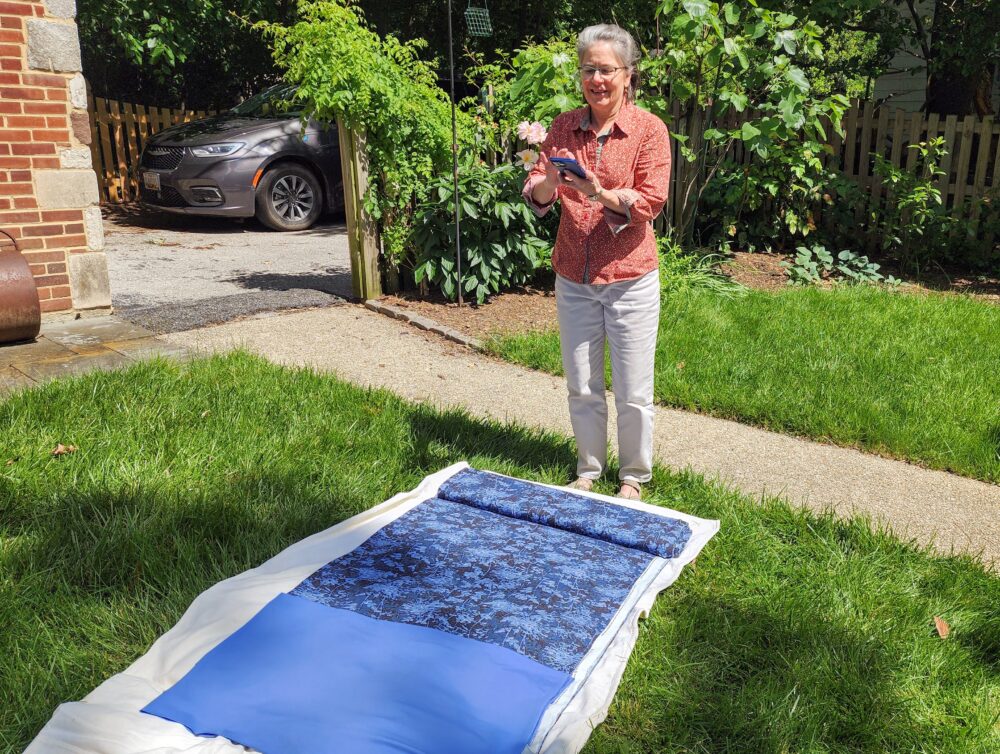
We have been busy preparing some lovely new knit bundles, each combining a floral print and a solid, for your knit sewing. Keep an eye on our social media for updates and to see how beautifully these bundles make up as Tabula Rasa Knit tops!


Do you have a you tube of this process, hints, tips. Some of us have been hacked and REFUSE to use FB .
We will be posting the videos on social media this week, but you will also find them as Shorts at Fit for Art’s YouTube channel. Scroll down the landing page on YouTube to find the Shorts. Thanks for asking, Rebecca!