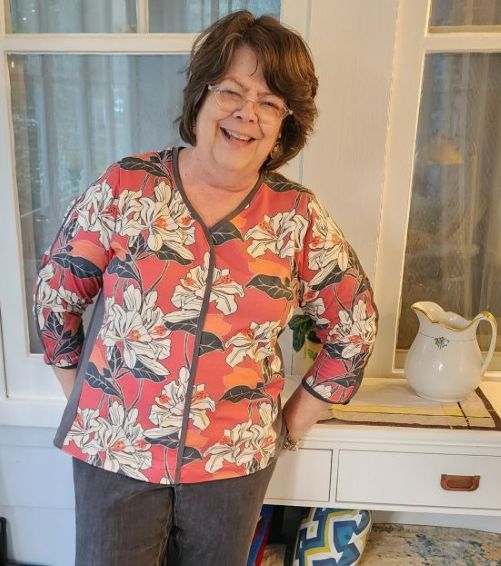
In our photo gallery, this top is called Floral Fabulousness. Rae thinks this print is so very lovely and features colors she just loves. But, it needed to be managed with care and placed just so in order to create the knit print magic. You can have some of this print too! It’s being sold in a bundle in our online shop and there are a few more in stock. Check out all our solid and bundled knit prints to jumpstart your autumnal knit stitching. Read on to find out what techniques she used to stitch up this very striking Tabula Rasa Knit Tee with a V Neck.
Plan the Placement
Big prints have always been my passion, usually flowers. But if you know me, you can easily see that they are not my best look in their natural state. Over the years I have cut them up into appliques, pieced them into mixed fabric garments, and more to tame the lovely prints. When we ordered this lovely knit Stof print it did not look quite as large as it actually was, but the colors were grand and perfect for fall. It is also really enhanced by the charcoal gray print we purchased to pair with it.
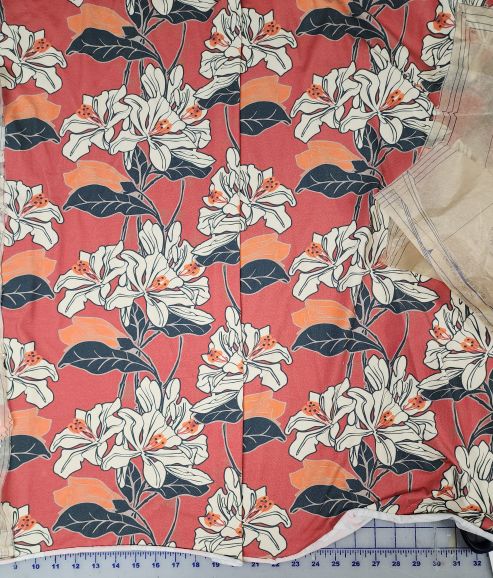
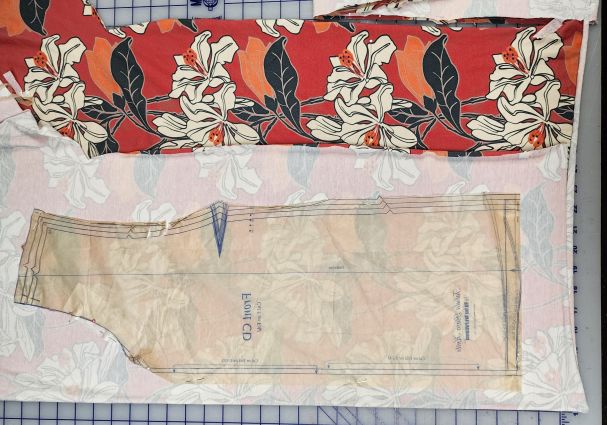
After prewashing the fabrics, I stood in front of a mirror to figure out how to place the flowers for the best appearance. Frustration often leads to creative compromises; in this case I found a combination I liked by pleating out part of one line of flowers and centering the resulting smaller flowers in the front. I put a couple of pins in the folded fabric to remember what I was thinking.
Knit seams down the front of a top need to make a statement or a camouflage and I wondered what to do. It took me back to a top I wrote about years ago in the post Imperfect Fabric – Perfect Top. For that top, I ran a strip of flat knit piping down the center front to create a decorative seam in the fabric and work around flaws in the fabric. That top has a wide ballet neckline; this one will have a V neck, which should make it easy to combine the sections successfully.
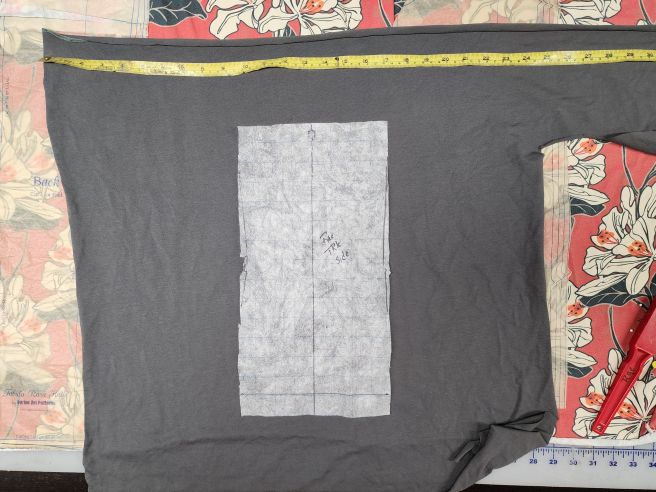
I made a sample or two and decided this plan would work. Then I measured the gray fabric to make sure there was enough for this technique as well as for a pair of gray side panels. Once satisfied, I began to imagine the rest of the top. Maybe a centered flat piping seam would also be lovely on each sleeve. So, I got to work.
Cut all the Fabric
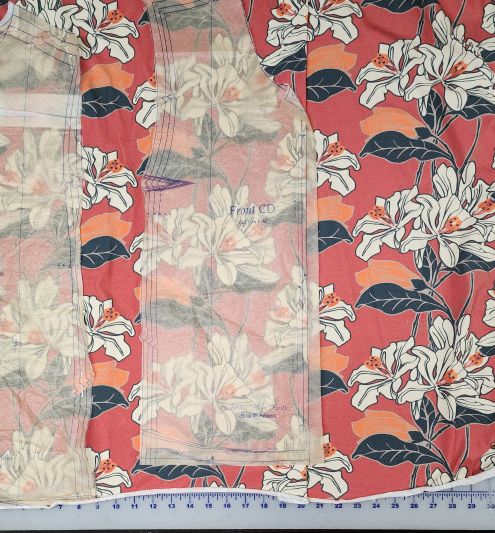
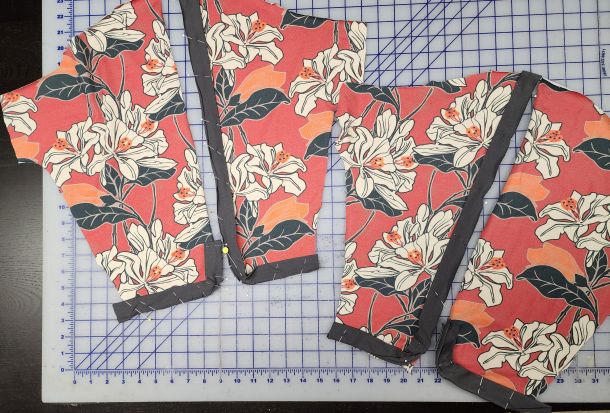
The cutting was the slowest, but most critical part. The flower clusters when minimized in the center front and back needed to look natural, not chopped up. I played around with the pattern pieces and found a path forward. Fortunately, the match would not have to be perfect because the piping would smooth out the manipulated change in the print.
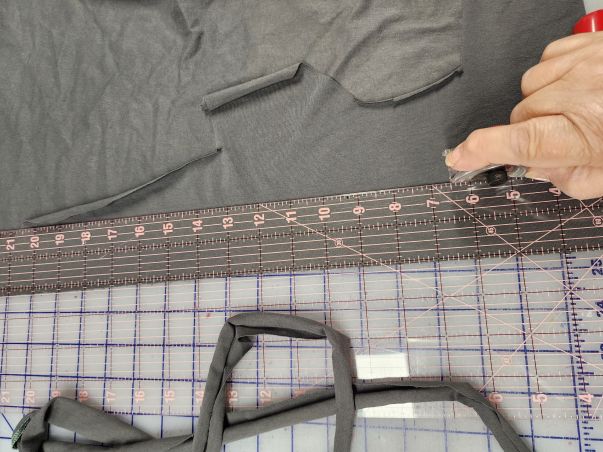
Once the pieces were cut out, measurements were taken to cut 2″ wide piping strips that would be folded in half and inserted into the ⅝” seam in order to get a ⅜” piped insert. As you can see in the gallery photos, both front and back of the top, attached at the shoulders, were piped.
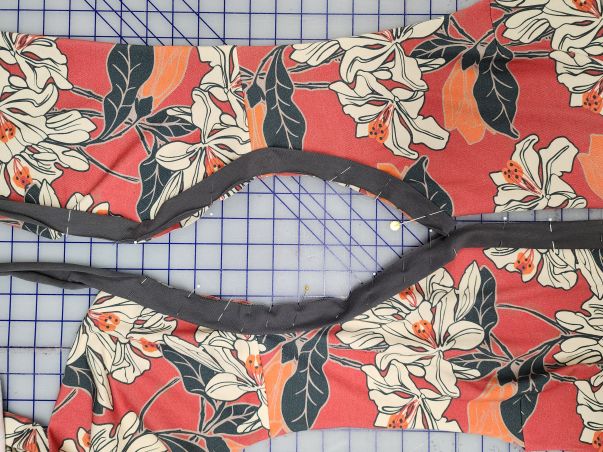
Place and Pin the Piping
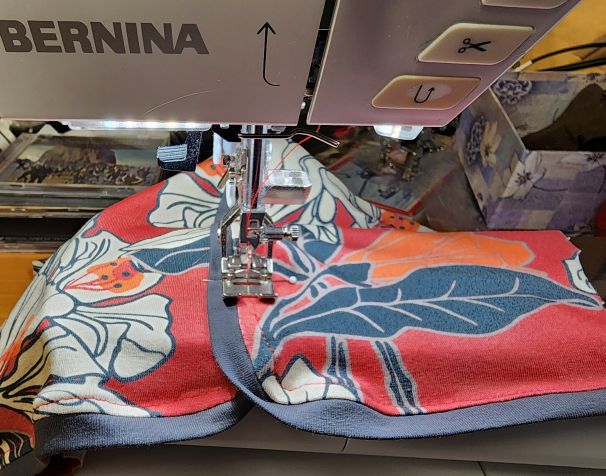
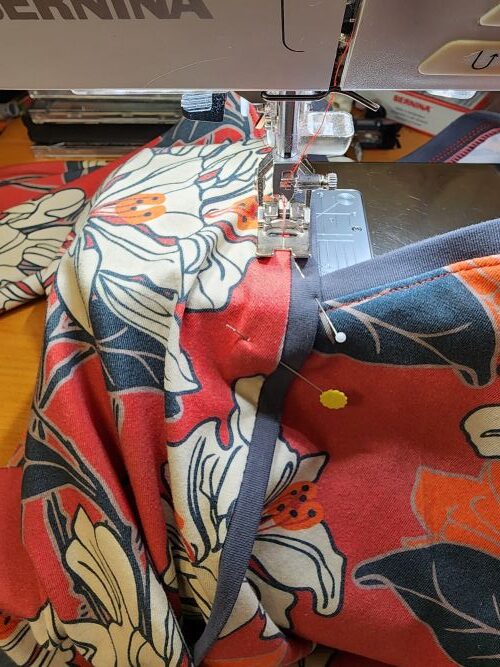
One front and the opposite back were piped up their identified side and around the neckline. So when the fronts and backs were stacked and then topstitched together the piping looks continuous. ( I had tried this technique over the summer on a linen top you will see another day and knew it would work)
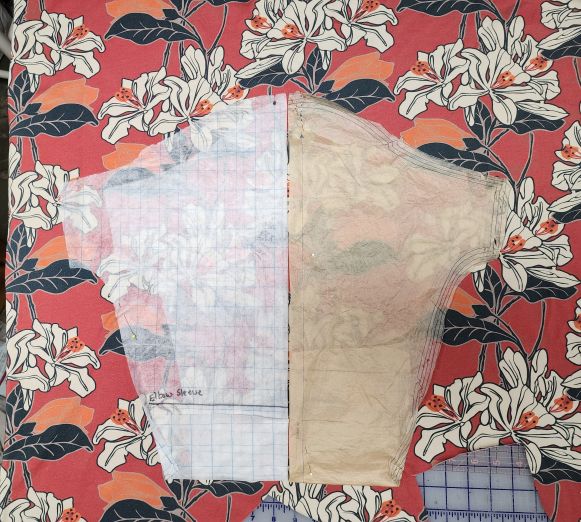
The sleeves, cut in two pieces, were similarly piped down a center front seam and around the hem edge to the side seam. The back sleeves were piped around the hem and up a couple of inches so there would be a little slit at each cuff. They were assembled with a stacked center sleeve seam that ended a couple inches above the piping to create the sleeve slit.
Once the basic assembly of the top was finished, I was smitten with the results. A strong vertical line or two never hurts a garment, if you ask me. Plus it allows the print to sing without taking over the entire top.
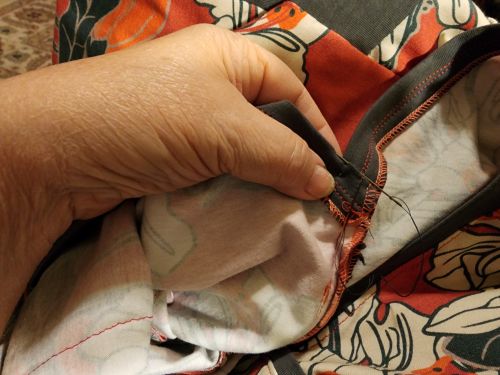
The inside of the top was finished neatly by hand tacking the V neck edges and the tops of the cuff slits, which helps to keep it tidy on the outside, too.
Take the Large Print Knit Challenge
Managing a big print is often a challenge but can result in some terrific tops. Keep an eye on Social Media this week to see some more examples of wonderful, pieced knits. Give it a try yourself! we currently have some lovely knit print bundles to tempt you and give you an opportunity to create your own knit print magic.
Need to up your game when sewing knits? Our virtual on demand class will walk you through Fit for Art’s great techniques to sew knit tops successfully. You can work at your own pace and learn to enjoy the process.
Happy Sewing, RAE


Lovely.