
As we continue to show you some of the secrets of the Sewing Quilted Patchwork Jackets book, here is a look at preparing and attaching the reversible collar in Project #10, the reversible quilted vest. Because this is the only vest, we will also take a peek at how to finish and attach the sides.
This was a fun project Rae created with her grandson in mind, so the vest is made in a kid’s Opus size 12. He is now old enough that he probably would not be caught dead in it, but when we began planning the book, he was in love with this fun Legends of the National Parks fabric graciously provided by Riley Blake Designs.
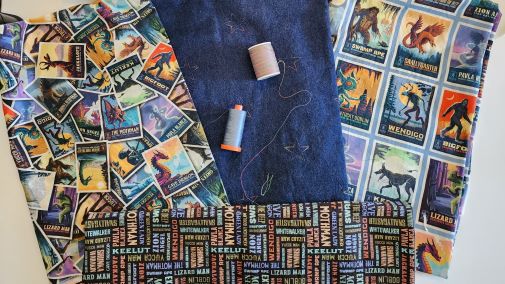
In the book, we show you just a few photos of the process of putting on the collar, but it is tricky enough that Rae will walk you through the process with photos that were left on the cutting floor when the book was complete.
Creating the Body Section
Begin by quilting and joining the fronts to the backs at the shoulders. Because this is a reversible quilted vest, there is both a right side that is pieced from cotton prints and a reverse side in denim. For this project, once the layers were cut, stacked, pressed and pinned, the lower sections were quilted from the printed “right” side. The quilting follows the rectangle-printed images for each national park.
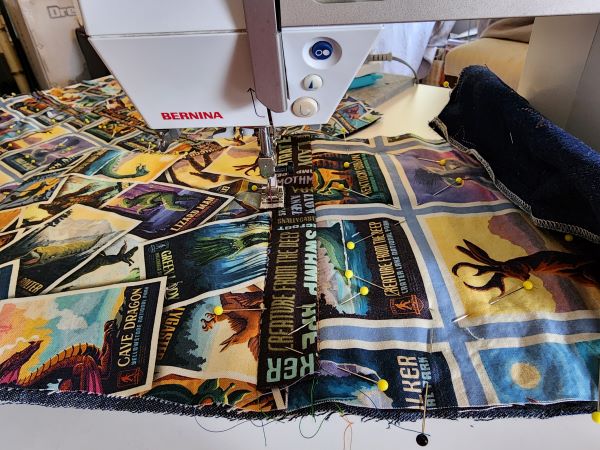
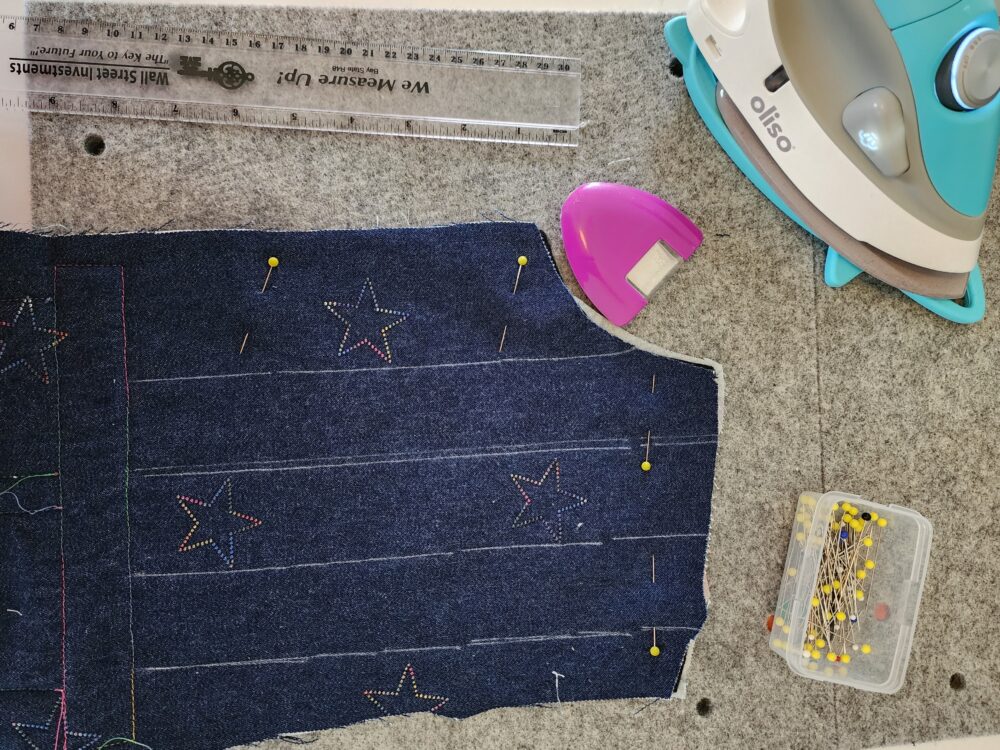
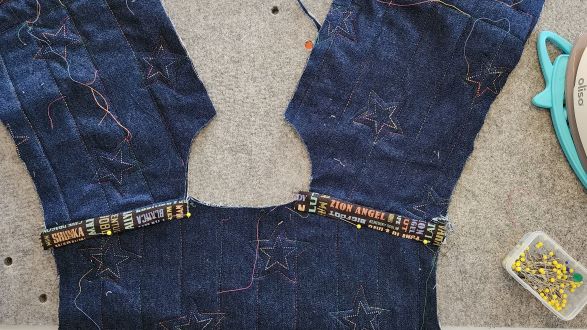
The upper side of the fronts and back were quilted from the reverse, denim side, so the stars could be echo quilted. Once the quilting was finished, the pieces were recut to size using the pattern piece. (This is a good reminder that all vest pieces were cut out with an extra ½” around the perimeter to accommodate shrinkage during the quilting process.) The shoulder seams were sewn together from the reverse, denim side. After grading the seam allowances and removing the batting, a binding was used to cover the shoulder seams using the reversible binding method.
Prepare the Collar
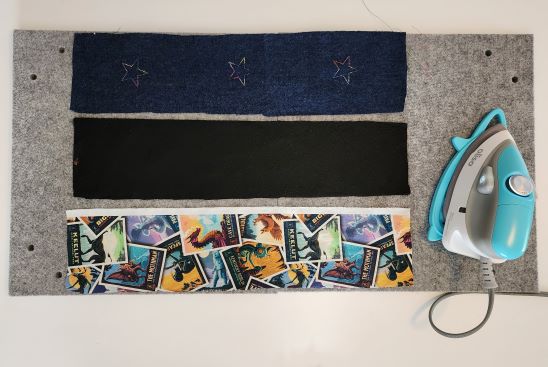
Next, the collar layers, which include the denim (reverse side), printed cotton (right side) and batting, were prepared. The layers were stacked, pressed flat, pinned and then quilted. The denim was fussy cut to place three stars across the collar. Prior to quilting, a couple of quilting lines were drawn onto the collar, framing the stars so the collar would be well quilted.
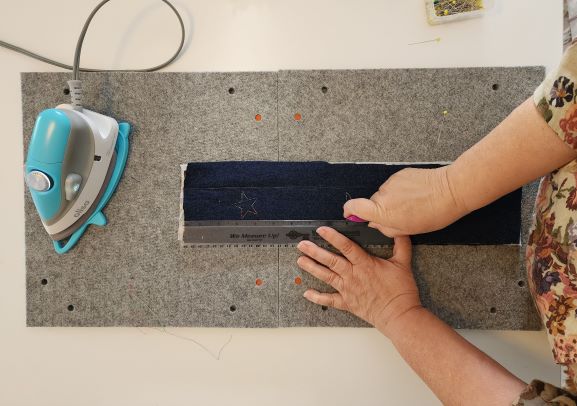
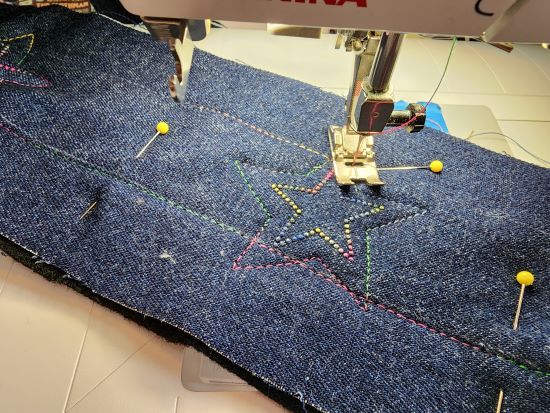
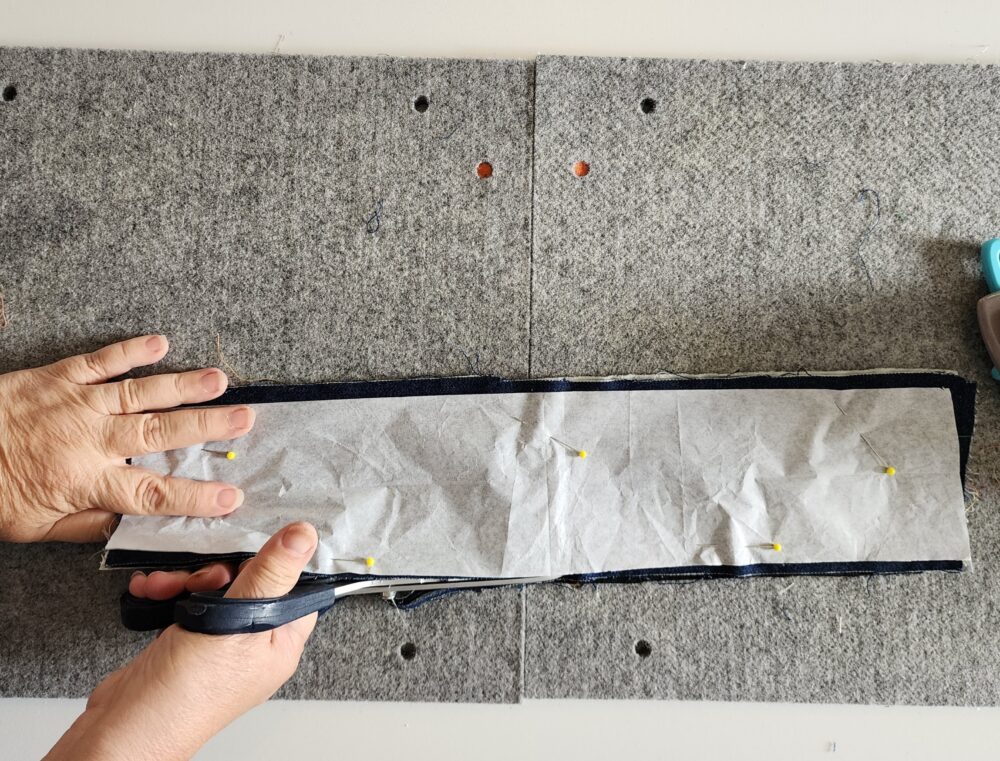
Using the collar pattern piece, the quilted and pressed collar was recut to the correct size. The shoulder placement dots were also transferred to the collar.
Attaching the Collar Is Tricky
Take your time to ease the collar into the vest, or jacket, neckline. The trick with attaching a collar is that the collar seems too long to be applied to the curved neckline. If measured, it is true that they match at the ⅝” seam line, but there will be lots of lumpy collar in the seam allowance once it is pinned in place.
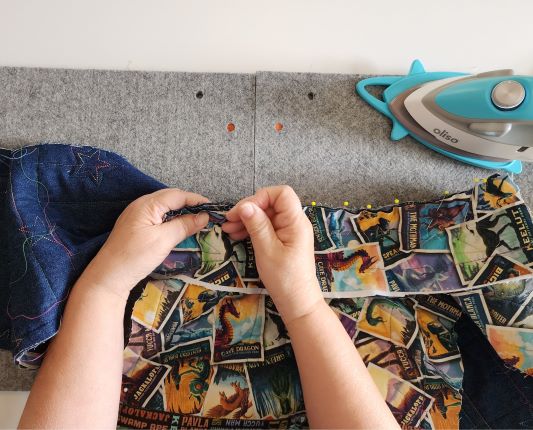
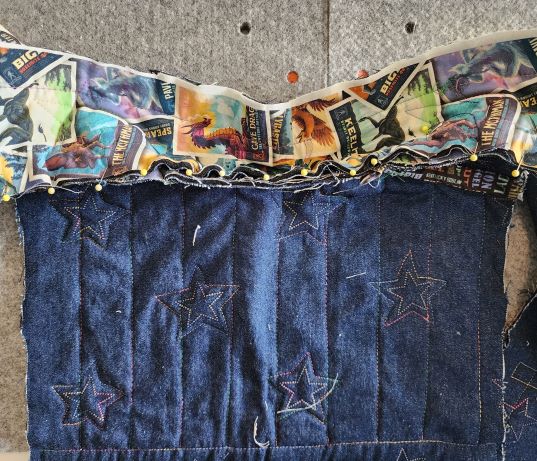
The collar was stitched carefully along the seam line and checked for any little tucks or problems on each side of both the collar and the vest before proceeding.
If you are paying close attention, you’ll notice that the collar was pinned onto the right side of the vest with its right side up in the photos above. Ultimately the collar was re-pinned and sewn to the vest with the print sides together, as seen in the photos below. Rae changed her mind mid-stream, preferring to get a contrast when the collar is turned down!
Finishing the Collar Edges
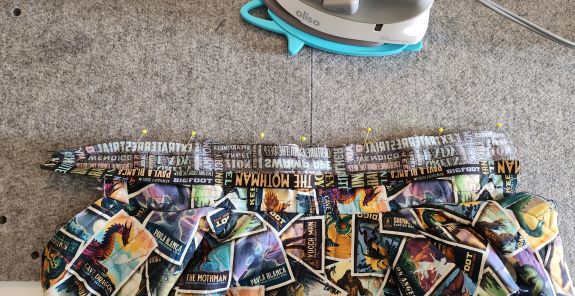
To finish, the collar was bound along the top edge and also along the seam that attaches the collar to the vest.
Because the top of the collar is straight, the fabric with words on it was used as a binding cut on the straight grain to finish the top edge of the collar. It was easy to apply as nothing has to be cut away. The seam allowances and batting inside the binding give the collar its shape.
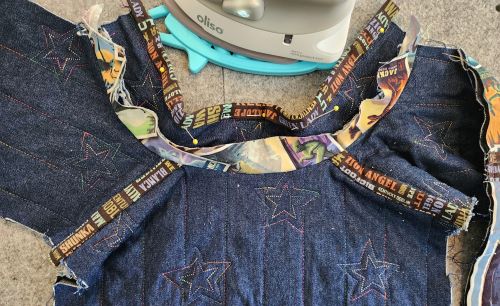
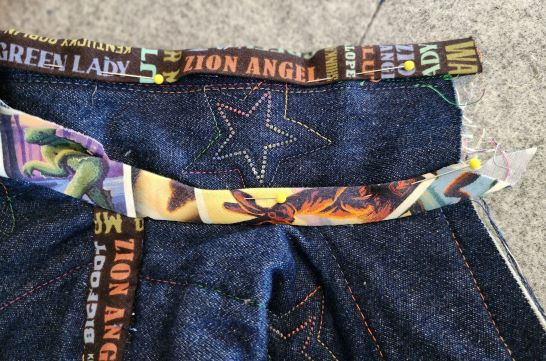
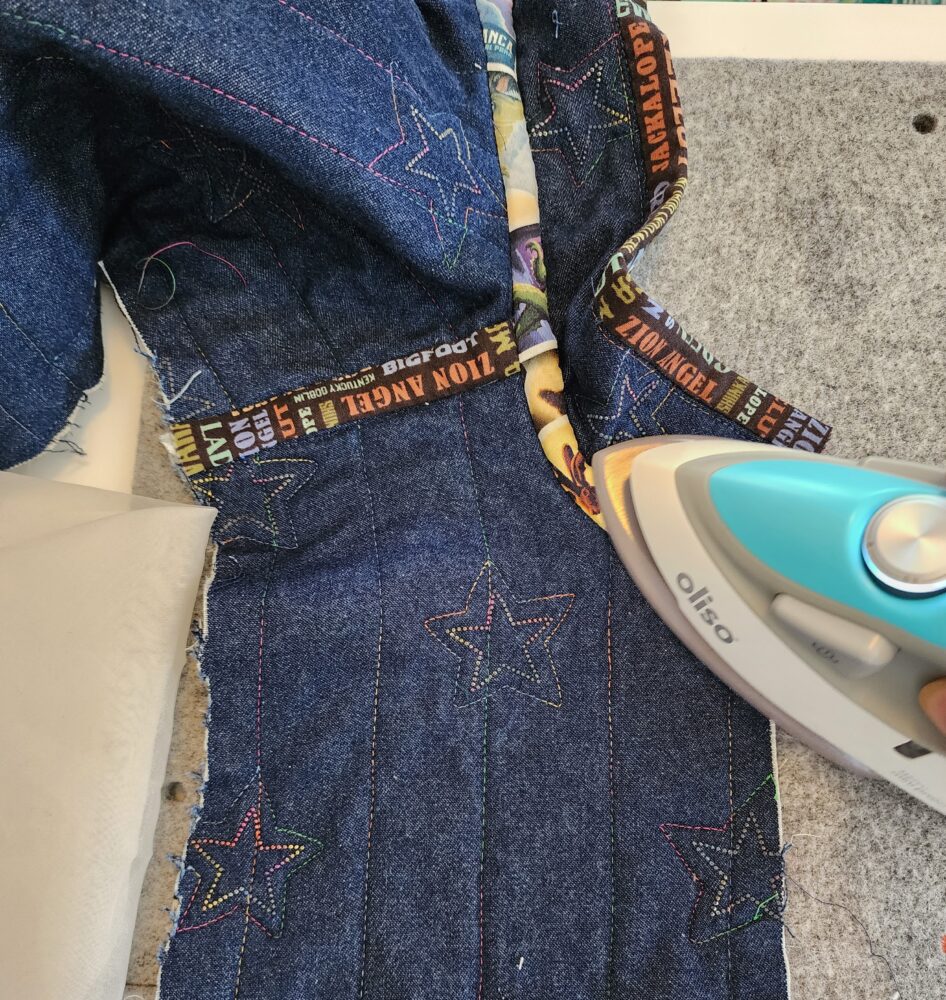
The curvy neck seam was bound with fabric cut on the bias in order to accomplish a smooth finish. Once the binding was stitched to the collar and vest, the multi-layer seam allowances were graded and trimmed to keep the neck from becoming too thick.
The edges of the center front and collar were finished with a bias binding as well. Keep an eye on social media to see the steps to a clean finished edge at the top of the collar.
Add the Sides and Finish the Vest
Once the collar was finished, the pockets were built and added to the vest. The pockets are well illustrated in the book.
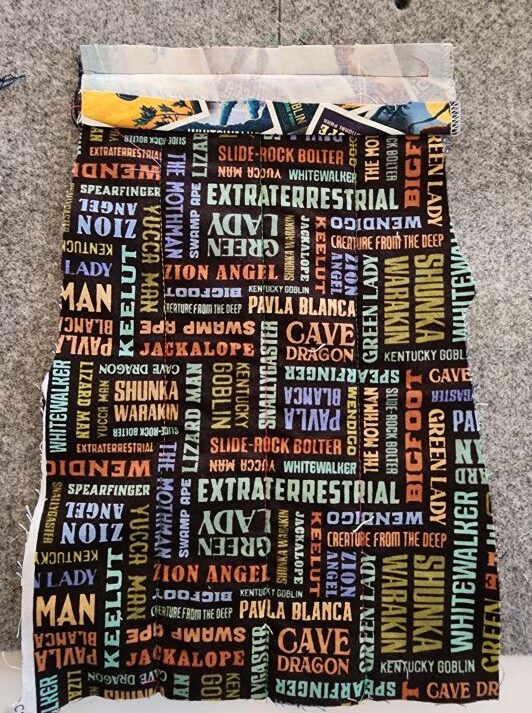
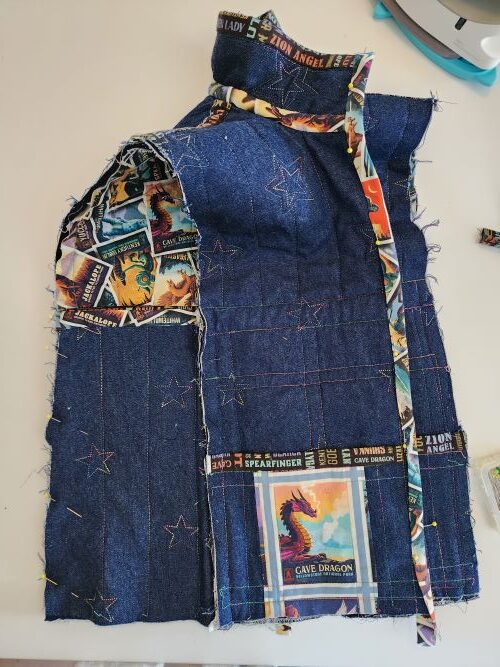
The sides of the vest were quilted, then bound across the top armhole edge before being inserted into the vest. This, too, is shown clearly in the book, as well as the binding steps that follow. Finally, the side seams and the armhole edges of the vest are covered with bias binding on the vest’s reverse side. If you are making a reversible vest, be sure to try it on and check the fit before binding this long finish!
Make One Yourself
While a reversible garment can be quite a puzzle, it’s well worth trying if you have fun fabrics and perhaps a special kid or adult who would love a reversible vest. Take your time preparing and attaching the reversible collar, basting first if helpful, and then celebrate the results! For additional inspiration, visit the Photo Gallery to see more vests and reversible quilted jackets.
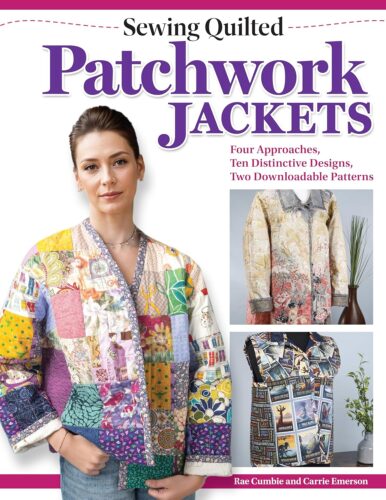
We have plenty of books in stock! Order now if you have not yet gotten your own copy or want to gift one to a friend during the holidays. They are signed and can be personalized; simply drop a note in the comments section when you place your order.




My son is 26 and I’m in the process of making him a quilt with this fabric and the Bigfoot panel that goes with it! Lol
Ginger, that sounds fabulous. It is great fabric!