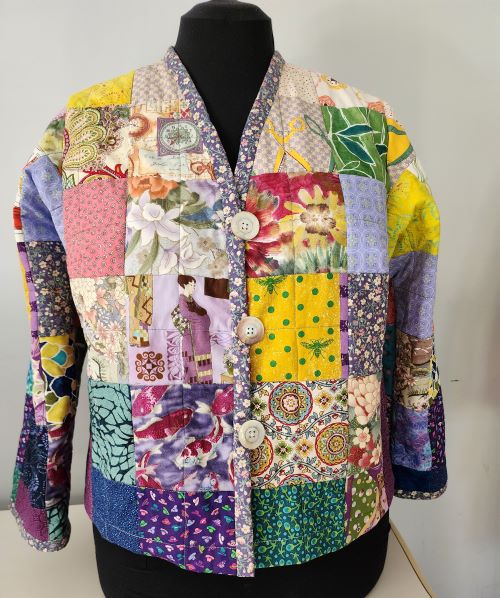
We are just back from Road2VA Quilter’s Conference and Showcase where we talked a lot about the samples from our book. In this blog we will take a look at making the Assorted Patchwork Jacket sleeves. This jacket is Project #3 in Sewing Quilted Patchwork Jackets, but it was the first one Rae made for the book and it’s a great introduction to simple square patchwork. We will review stitching up the 4 square patches and using them to create the sleeve, which is a bit odd shaped for classic 4-square. Here is Rae to tell you about it.
Cut Precise 5″ Square Patches
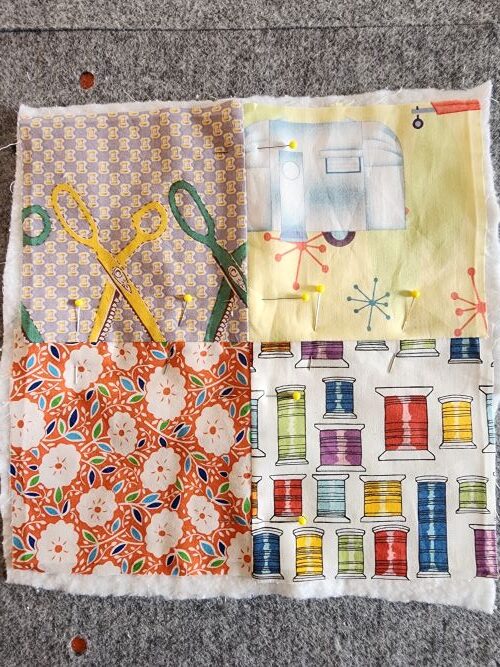
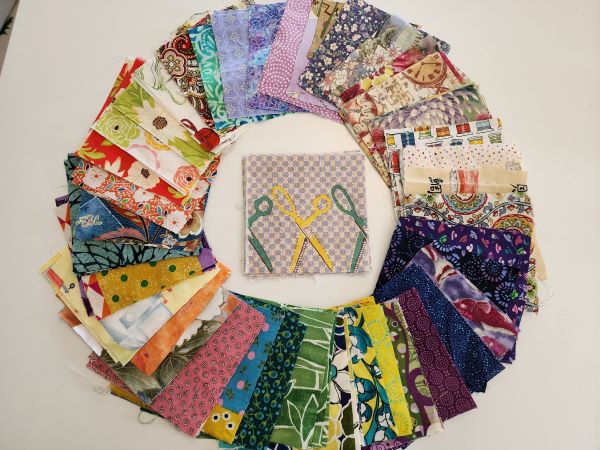
The first step to creating this jacket after testing the pattern for fit, was cutting out all the patches. They are 5″ square patches, so if you have a precut charm pack or two around, they work perfectly for this project. I cut squares from scraps in my very extensive stash, trying to find pieces that were predominantly yellow, purple, green, and blue. The jacket is quite an explosion of color! If you look carefully, the color starts out with lighter blocks near the face and progressively gets darker as it moves toward the hem.
Create Sleeves with the Patches

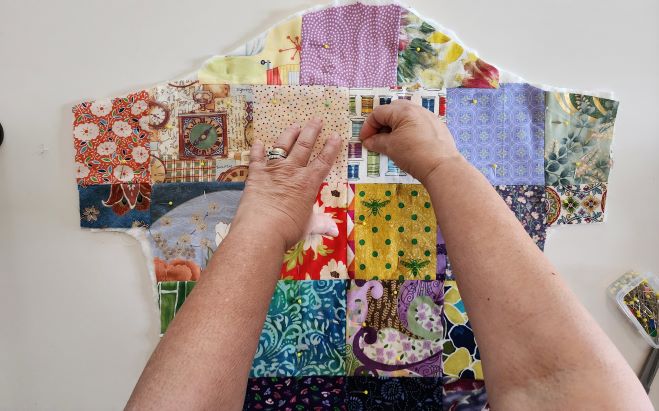
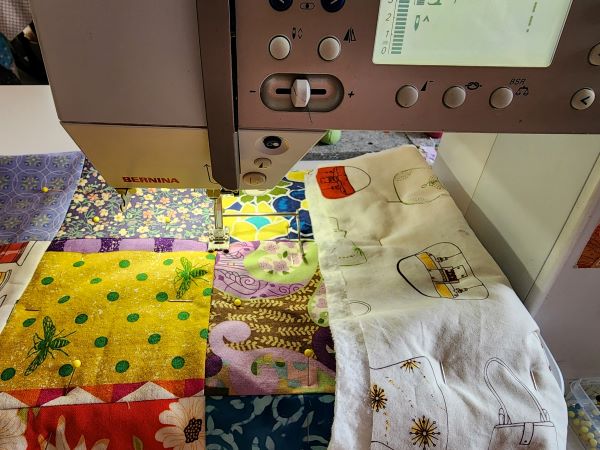
To make 4-square patches, stitch sets of two together, then sew them together along the long edge. Be sure to press well after each 1/4″ seam is made, alternating the direction of the seam allowances to opposite sides to reduce the bulk in the quilt block. If you are mostly a garment maker, be sure to find a way to help you make these very small seams consistently so all the blocks will fit together. A line or edge on one of your machine feet might indicate 1/4″, or even a piece of blue painter’s tape on the machine.
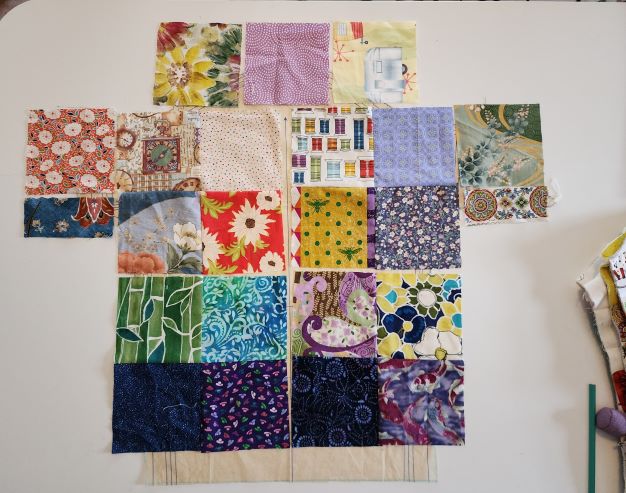
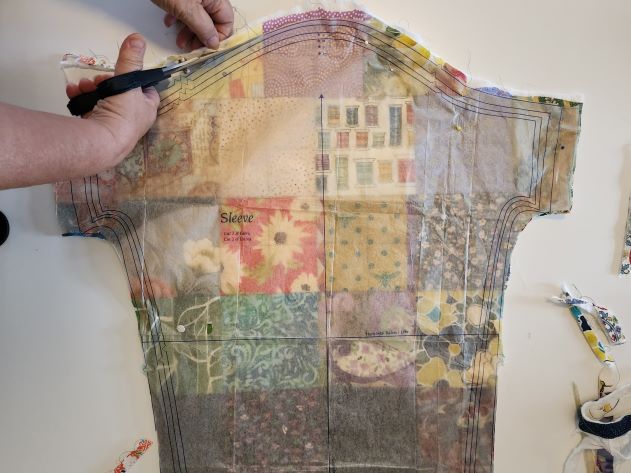
Arranging the blocks for the sleeve was a bit of a puzzle in order to reduce waste in the unusually shaped Opus sleeve. As you see, the bulk of the sleeve was built with 4 of the 4-square patches on the sleeve pattern. An offset row of 3 patches was added at the top to fill in the sleeve cap and 1 1/2 patches were placed on each side where the sleeve pattern extends to the edge of the square armhole.
Cut the Batting and Lining
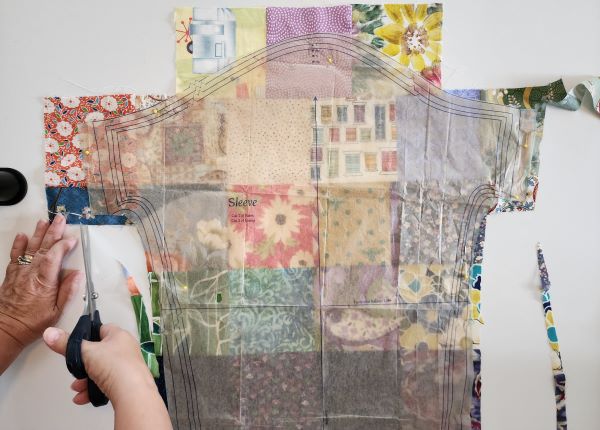
Once the blocks for each sleeve were stitched together, the pattern was placed on top, trimming the patchwork fabric to match the pattern with an extra 1/2″ all around to allow for shrinkage while quilting.
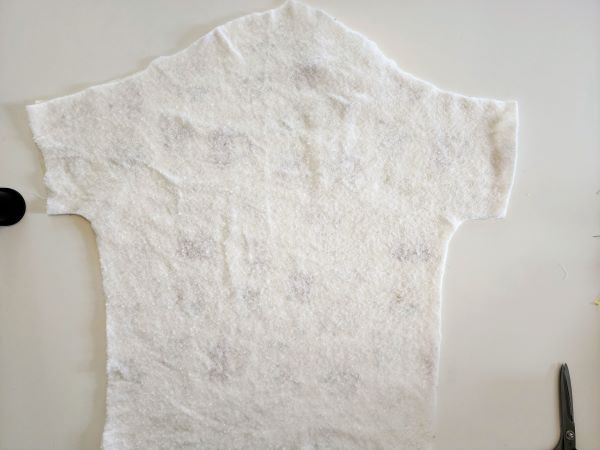
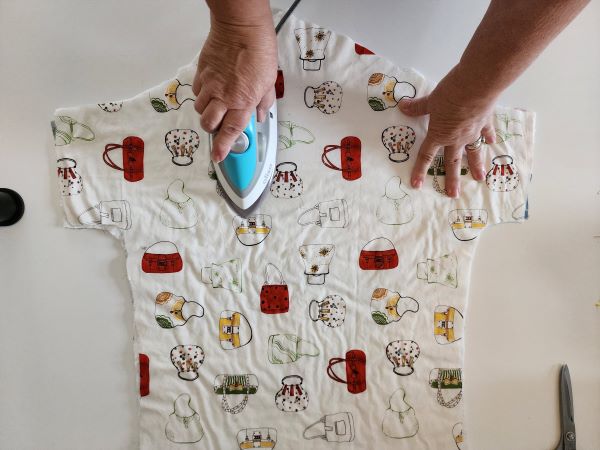
Using this trimmed piece as a guide, I cut out the Hobbs Cotton batting and the cotton print for the lining. Then the sleeve sandwich was assembled and pressed well to remove any air bubbles and creases before quilting. Add a few pins to anchor the pieces together.
Quilt the Layers Together
This jacket was quilted by stitching in the ditch of each row and column of patches. Then another grid of quilting was run down the middle of each row and column of patches, creating 4 smaller squares within each patch. A seam guide bar, which comes with many machines and with walking feet, helps guide stitching for those interior lines. Remember to leave 1″ unquilted around the perimeter of the sleeve to make trimming the batting out of finished seams easier. (You can quilt all the way to the hem edge of the sleeve since no batting needs to be removed.)
After quilting, trim away excess fabric, batting and lining that extend beyond the pattern so the sleeve will fit just right into the jacket.
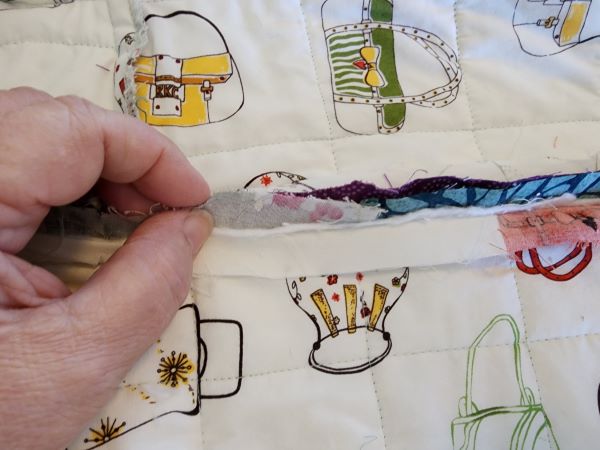
After sewing the underarm seam, remove batting from the seam allowance before finishing the seams. In this case, the seam allowances were simply finished with the serger. Once the sleeves are fully assembled, follow the basic Opus Construction to make the rest of the jacket.
See the Hem on Social!
Keep an eye on Social Media this week to see how the sleeve was finished with a binding along the hem edge. That gives the option for a long sleeve or a rolled back cuff look.
This is a pretty easy system of patchwork, if you are looking to make a jacket but not quite ready for complex piecing. There are lots more great tips in the book to help you finish this fun project, but now your Assorted Patchwork Jacket Sleeves are ready to go!
Happy Sewing, RAE