
When planning your first quilted jacket – keep it simple! This month we focus on the first quilted jacket project in Sewing Quilted Patchwork Jackets, the Wholecloth Jacket. Project #1 was intentionally kept simple to introduce the steps for preparing the quilted jacket sections and constructing the Opus Jacket. Whether you are a quilter new to garment sewing or a garment sewer new to quilting, choose a simpler project to get comfortable with these steps before launching into a more complex jacket or coat. How do you keep it simple?
Choose Wholecloth Fabrics
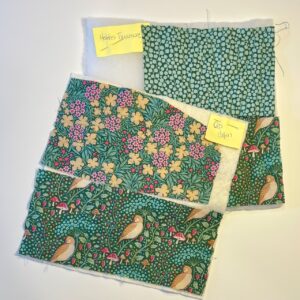
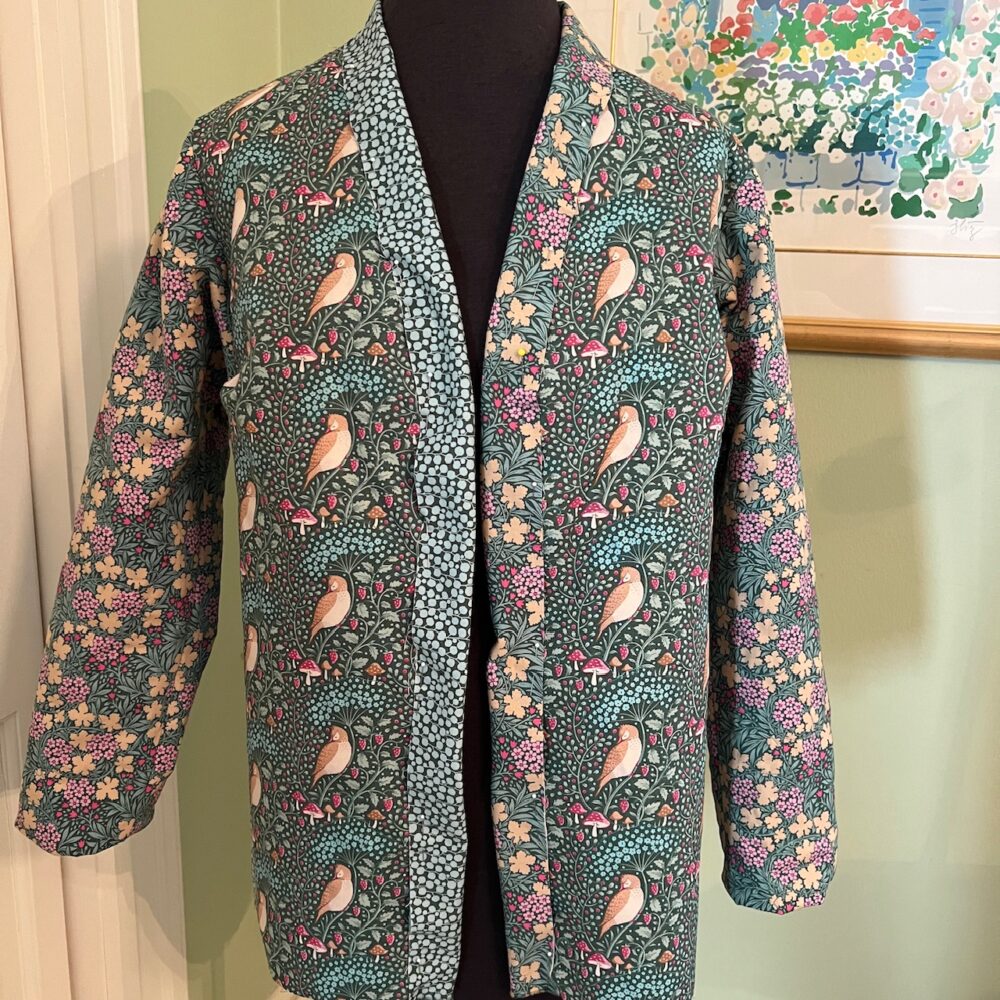
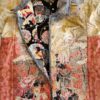
In the quilting world, a wholecloth quilt is one in which the quilt top is a single piece of fabric. For the purposes of quilted jackets, we mean that the outer layer of each jacket section is a single piece of fabric, without any piecing or patchwork. That doesn’t have to mean that one is restricted to a single fabric, however! The jacket in project #1 combines three prints from a collection of coordinating fabrics, in this case the Hibernation Series by Tilda’s World.

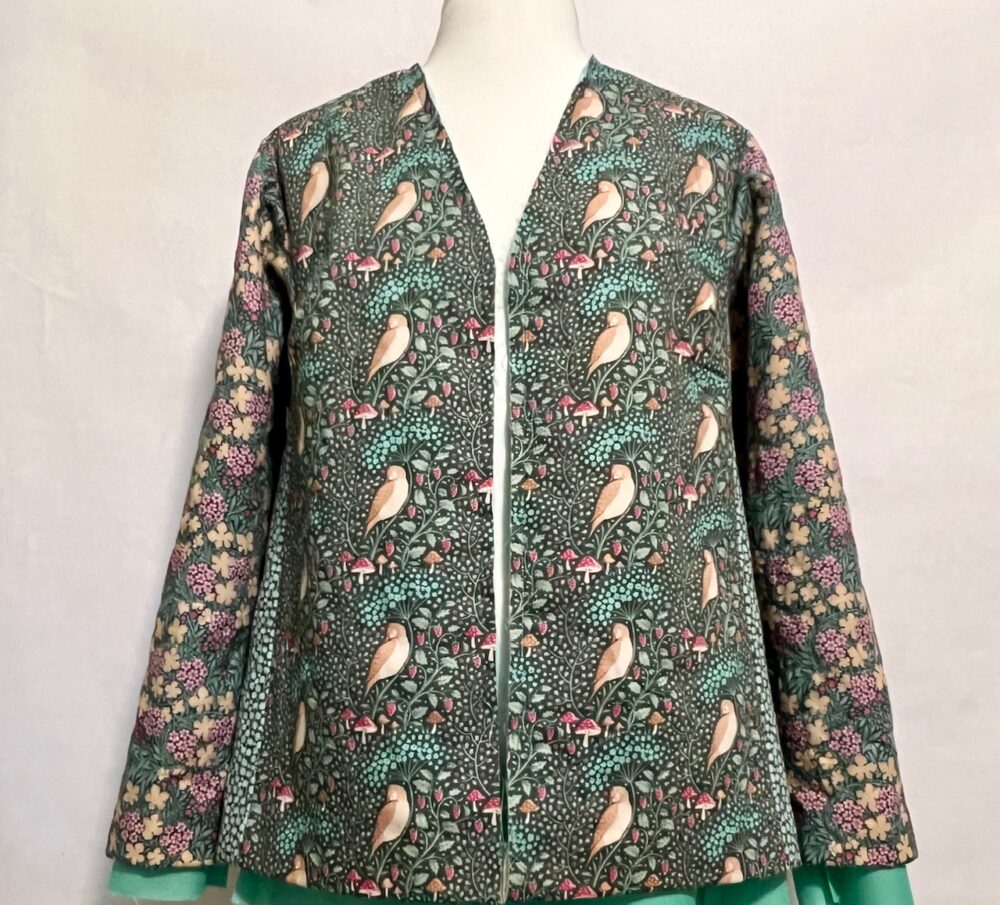
Whether combining fabrics from a manufacturer’s design collection or assembling your own collection, keep in mind the design guidelines presented in the planning section of the book – namely, primary and secondary design spaces, balance, scale, and color placement. We typically place the largest scale, strongest color, or favored motif on the primary spaces of a jacket’s front and back sections. Prints in a smaller scale, more subtle colors, or allover design are then assigned to secondary spaces, the sleeve or side sections. For the Sleepybird Wholecloth Jacket, Carrie’s favorite print from the collection, Sleepybird, was used for the fronts and back, a multi-color floral print, Autumnbloom, was chosen for the sleeves, and the simplest two-color print, Eucalyptus, for the sides.
For another wholecloth sample in the book, project #7, all of the kid’s jacket sections were cut from a single quilting fabric, a simple white on white blender. The complexity in this project was advanced by adding a layer of raw-edge collage rectangles over the wholecloth sections. Read more about this project in Inspiration and Materials for Kids Modern.
Choose a Free-hanging Lining
Keep the first quilted jacket project simple by choosing a Front Band Style jacket with a free-hanging lining. Because of the lining, quilting involves only 2 layers, the outer and middle layers. Most helpfully, the free-hanging lining hides all manner of quilting “sins” on the back of the middle layer including messy stitches, thread knots and tails, and eliminates the need to finish seam allowances attractively.

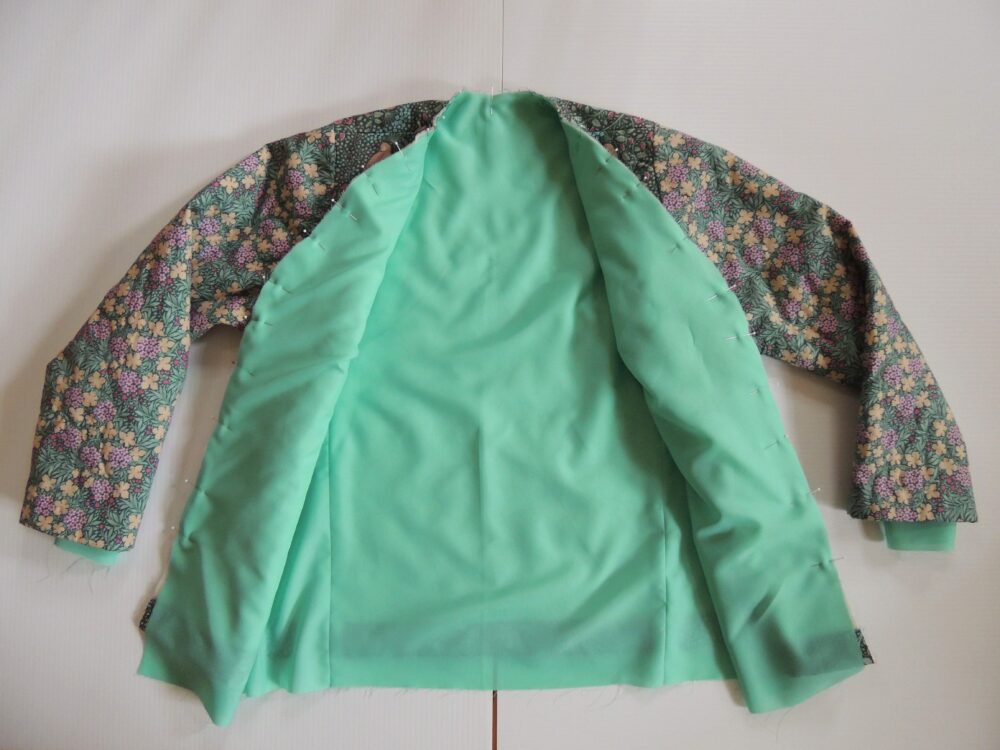
A free-hanging lining is easy to insert into the assembled jacket, and the Front Band finishes it off without a need for facing or binding. All these factors make a free-hanging lining a great first choice for sewists still gaining confidence with their quilting skills.
Choose Comfortable Quilting Style
While the style of quilting chosen for each project is shared in the details of the book, you have the discretion to select a preferred quilting method for your quilted jacket or coat. For your first project, choose a style of quilting that is comfortable for you! Take into consideration the appearance of your fabrics, what style of stitching might complement them, the density of quilting desired, and of course your quilting confidence.
What’s most important is that you test your thread and stitch choices on samples before quilting the jacket sections. Pin together some quilt “sandwiches” with decent sized scraps of leftover fabric and batting, then stitch liberally with the threads and styles you are considering. When ready to move on to stitching the jacket sections, start with a less conspicuous area, such as the sides, while you gain confidence.
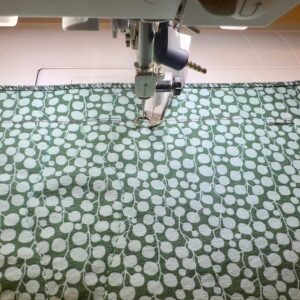
For this jacket, Carrie free motion quilted each front, back and sleeve section lightly, loosely following the vines in the prints to outline the bird and floral motifs. She used a comparable flowing free-motion line to quilt the side panels. If you are more comfortable with a standard sewing foot and straight lines, consider channel stitching parallel lines, like the front, back and sleeves of the Jelly Roll coat (project #2) or stitching a grid of straight lines as in the Assorted Patchwork Jacket (project #3).

One More Tip to Simplify Quilting
Don’t forget to stop stitching at least 1 inch away from each edge of a jacket section that will be sewn into a seam! This makes it easier to clip the batting out of the seam allowances to reduce bulk before finishing them. So, before beginning to quilt the jacket sections, we find it helpful to give ourselves a visual reminder of where to stop stitching. Simply mark around each jacket section 1” from the edge using removable pen or pencil marks (test on fabric scraps first!), chalk, pins, or whatever method you prefer.
Choose a Simple Closure

New garment sewers are frequently intimidated by buttonholes, so consider using snaps instead. For project #1, we chose inconspicuous clear plastic snaps. The snaps can easily be replaced with buttons and buttonholes later, if desired. Both reversible quilted jacket projects (#5 Collage Coat and #10 Vest) feature large decorative metal snaps, because snaps are an easy way to make a closure that works for both sides of the garment.
A Peek Behind the Scenes
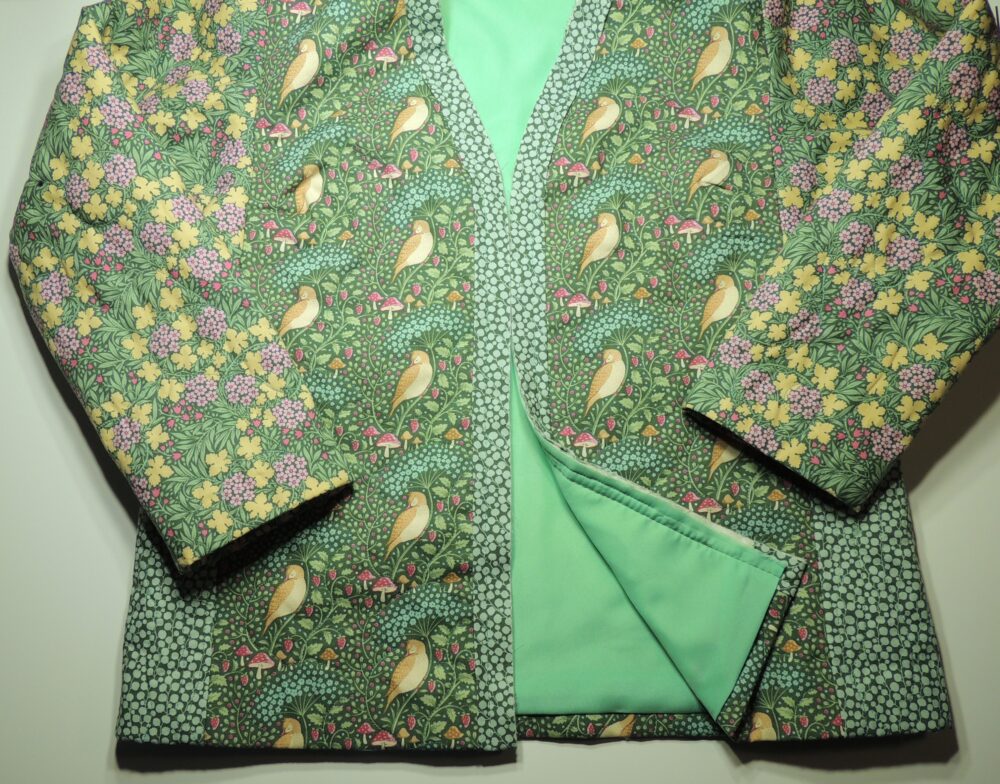
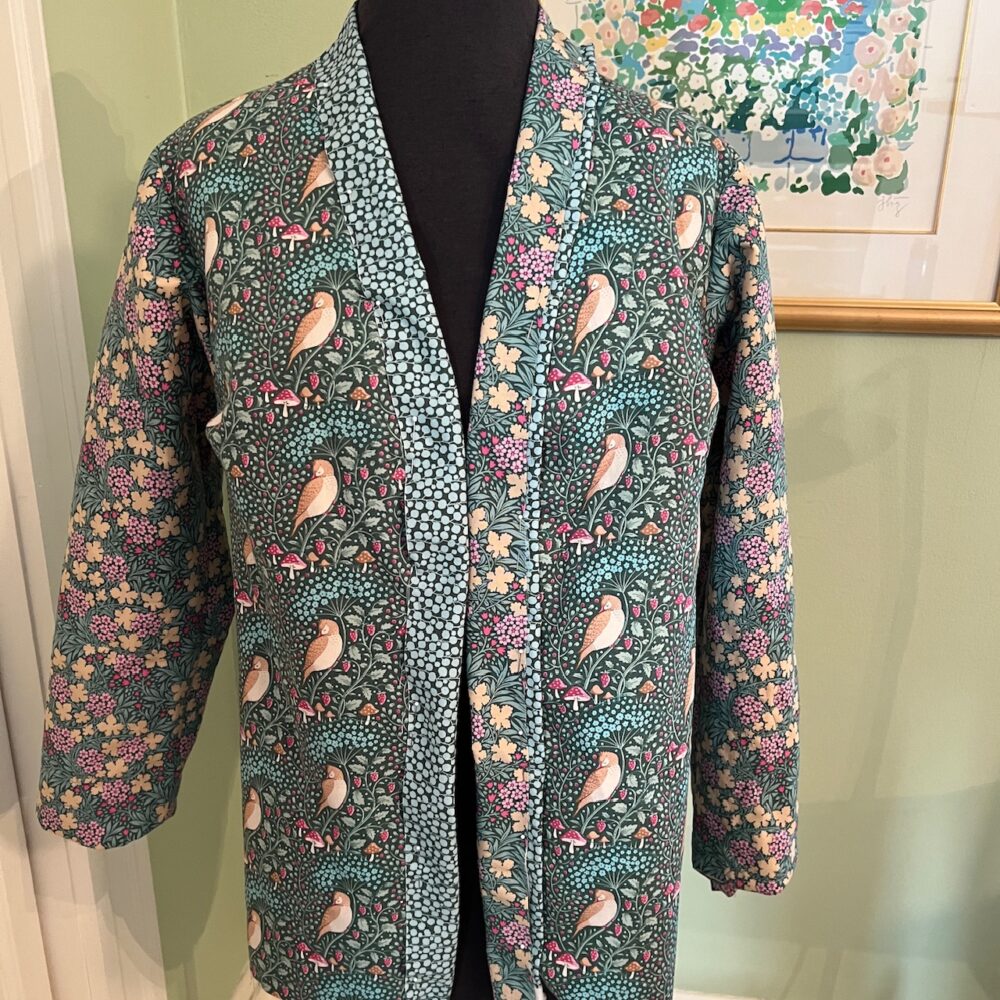
At the outset of this quilted jacket project, Carrie intended to repeat the Eucalyptus fabric in the jacket’s front band. After assembling the jacket, she stepped back to look at it with a strip of Eucalyptus draped in place; she was not enthusiastic about the look. Next Carrie mocked up a band in the Autumnbloom fabric to compare, but neither fabric alone wowed her! A suggestion from Rae led Carrie to a solution incorporating both fabrics. A strip of Eucalyptus flat piping was inserted into the center front seam where the band joins the fronts. Just this narrow strip of piping was enough to tie the whole project together and give it a little punch! Don’t you agree?

So, give yourself permission to make changes along the way to please the artist in you! This change required a little backtracking, releasing the hem and lining a few inches to either side of center front, to insert the piping. But it was well worth the effort for satisfaction with the finished jacket.
Did you keep the first one simple, or dive into a more complex project? How did it go? We’d love to see photos and hear more about your quilted jacket journey.
Happy Quilting, Carrie


Your choice on the front band was perfect. Just a subtle use of the 2 coordinating fabrics.