Carrie recently packed her sewing machine to travel to Florida on a visit with her mother and aunt, hence the title, Have Sewing Machine, will Travel. Earlier in the month they had each purchased a kit to make a quilted table runner and were eager create. Since Carrie was already planning a trip down, she decided to help them to sew up their projects while visiting. No sewing tools or equipment were on hand because they were wintering in Florida, so all the necessary quilting accoutrements had to come too. What an adventure!
Packing to Sew
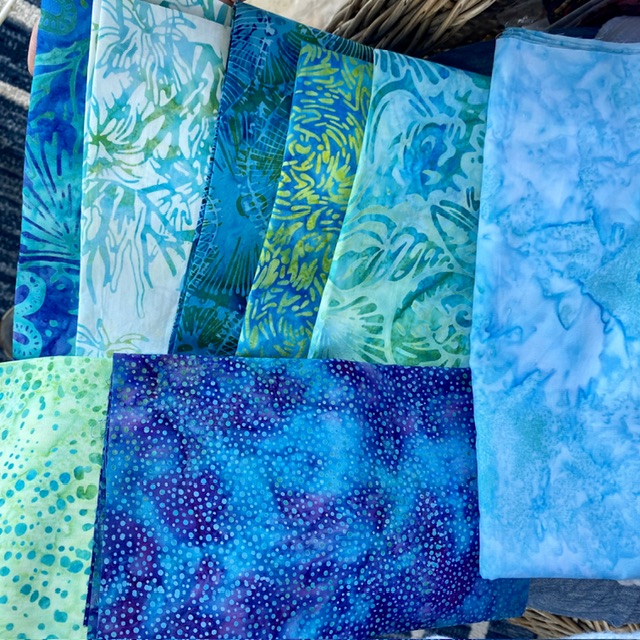
To get ready to pack, Carrie asked the ladies to take a photo of their kit fabrics and instructions. This allowed her to select needed supplies from her stash including threads to match the fabrics, potential backing fabrics, and batting.
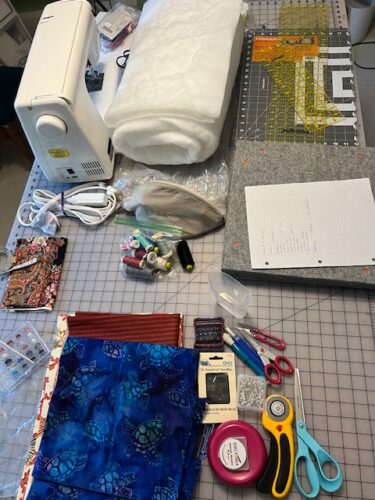
Next she laid out everything she would need to help them sew and quilt a table runner:
- sewing machine, needles, bobbins, specialty feet, power and extension cords;
- standard sewing supplies such as pins, pin holder, seam ripper, measuring tape, snips and scissors;
- cutting board, rotary cutter and rulers;
- travel iron and ironing mats.
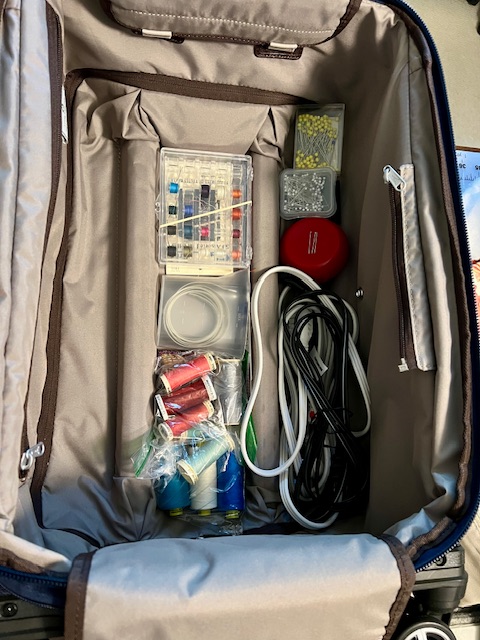
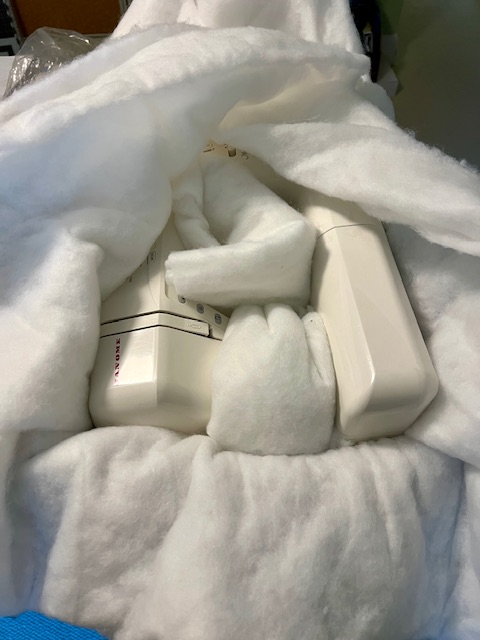
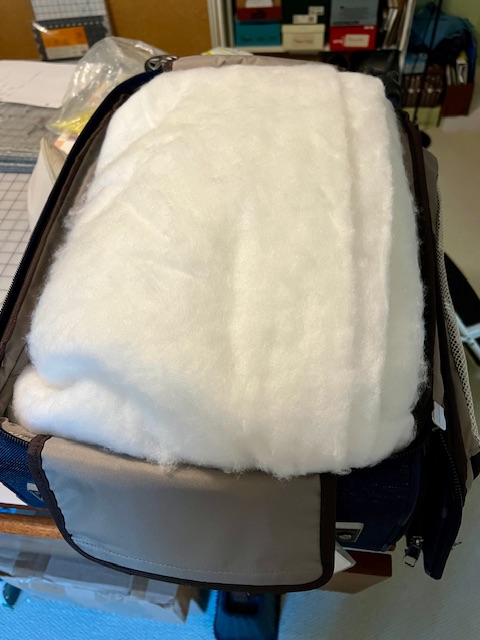
Carrie planned to pack it all in a roll-aboard suitcase, protecting the machine with the batting for the projects. Of course, it did not all fit. The sharp tools would need to go in Carrie’s checked luggage along with the cutting mat and ruler. The travel iron and felt mats were left at home and replaced with a steam iron and table top ironing board picked up at a big box store on the way from the airport.
Piecing and Pressing
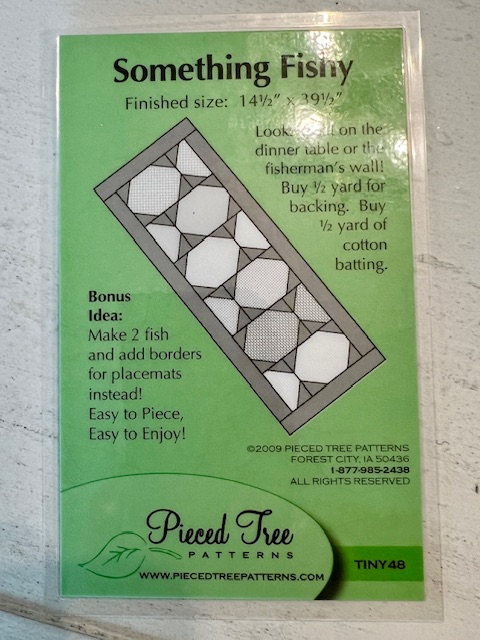
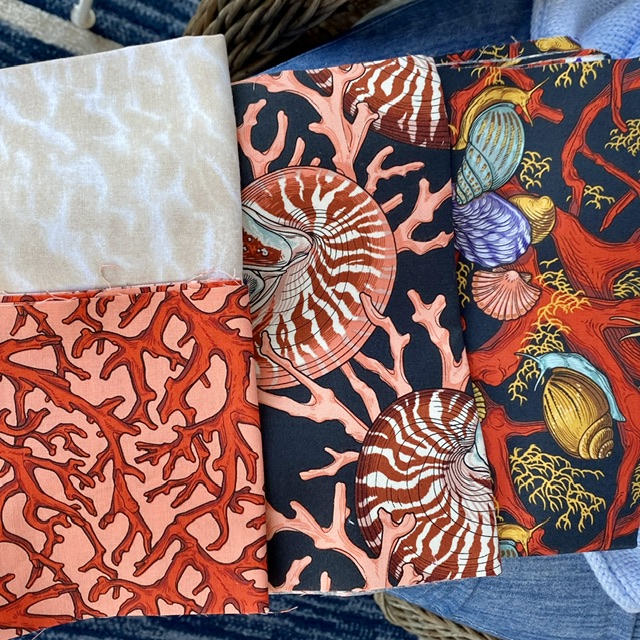
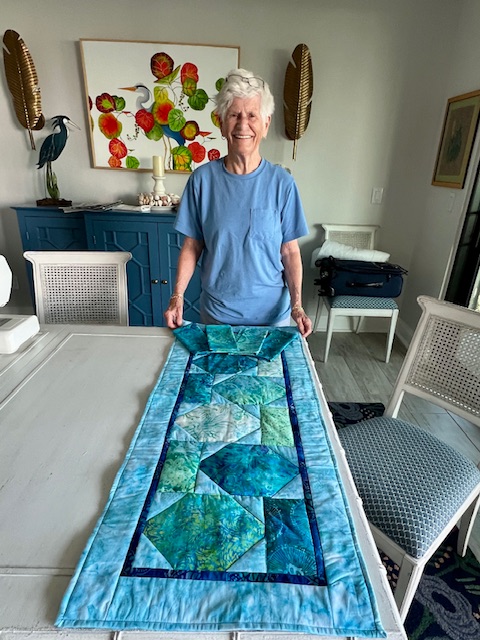
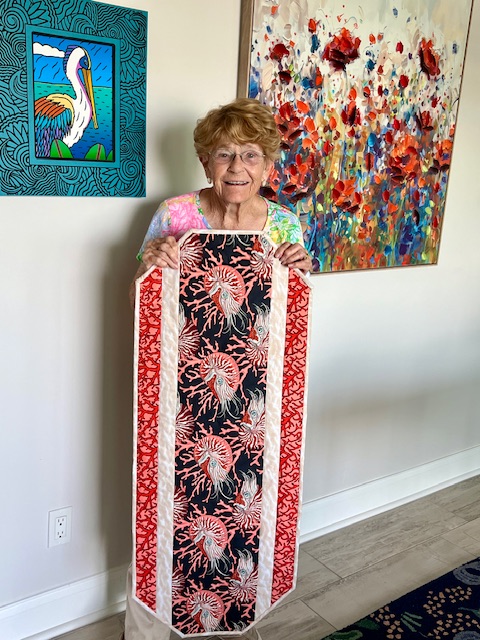
We got right to work on the table runners the day after arrival. Since the ladies were not experienced with the rotary cutter, Carrie took charge of that step. Sally’s project, “The Big Easy,” required long strips of the featured fabrics that had drawn her eye. Peg’s project required cutting numerous blocks. The kit “Something Fishy” had appealed to Peg because of the fabric colors – ocean blues and greens, not the fish motifs, so we planned minor modifications.
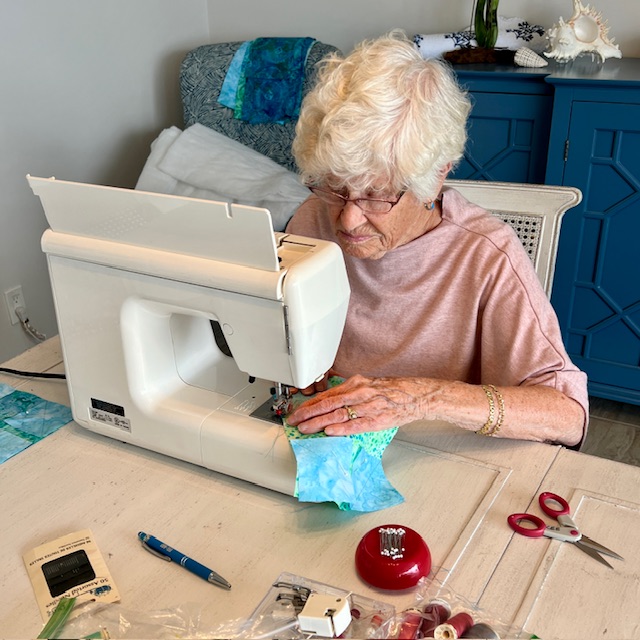
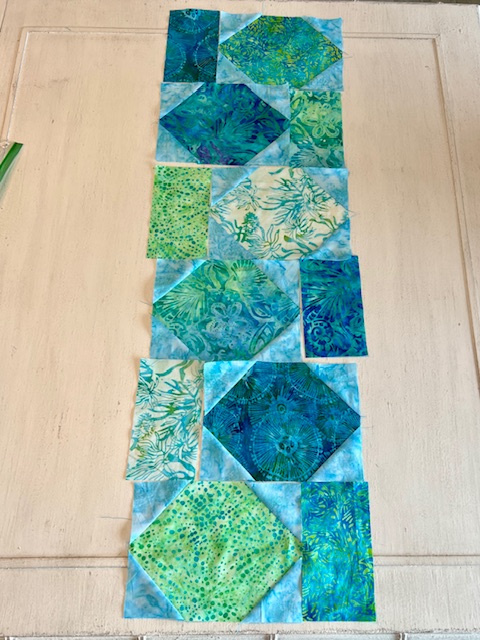
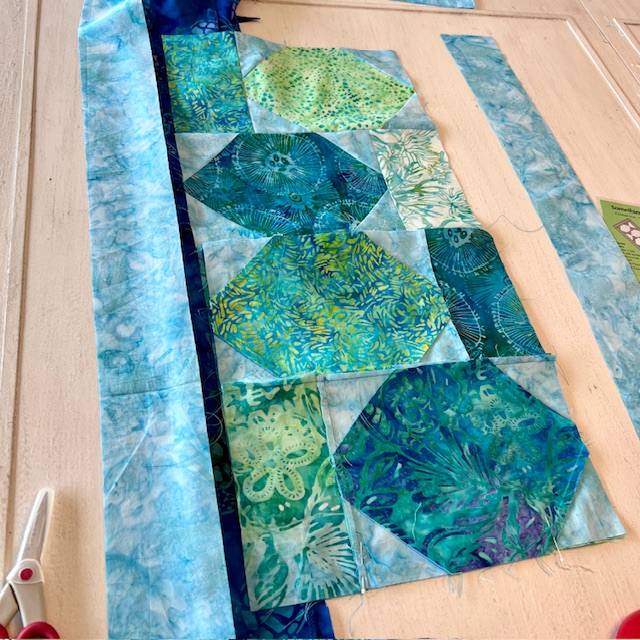
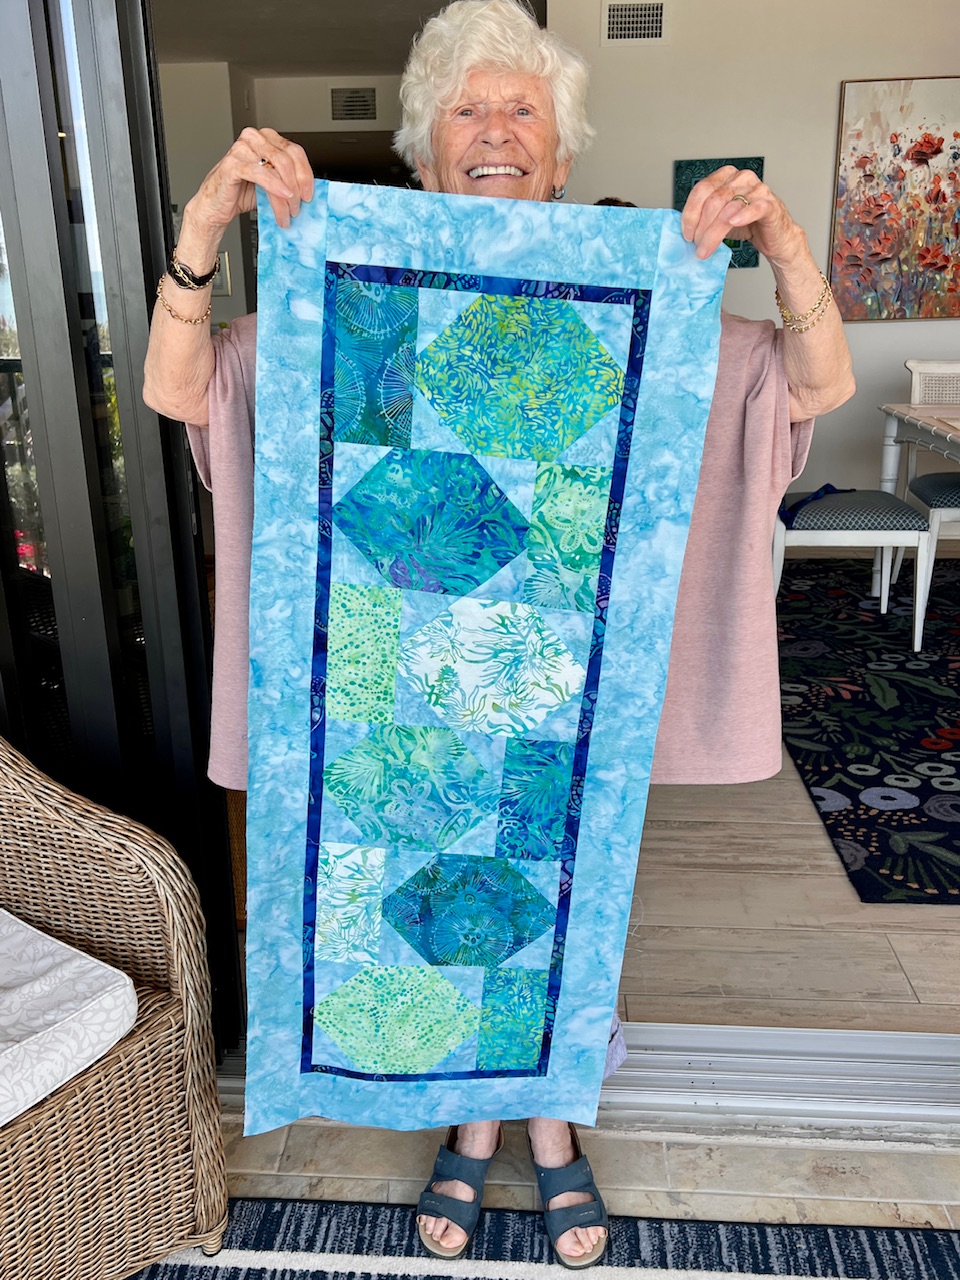
Because their color palettes were so different, we focused on piecing one project at a time. Peg mastered piecing together the blocks in the logical order, pressing seams as she went. After the 6 hexagonal blocks were assembled, we laid them out to play with order and placement of blocks. Once the central portion of the runner was pieced together, she decided to add an internal border to set off the pieced blocks with the darker blue batik fabric from SewBatik Carrie had brought for the backing. Finally, we added the outer border in sea blue. Peg was thrilled to see the quilt top come together all in one day! Sally also stitched and pressed her quilt top together on day one.
Quilting and Binding
Day two began with cutting the backings and battings for each project and pinning the layers together to prepare for quilting. Learning to quilt the three layers proved to be a greater challenge than sewing the pieces together, but they persisted. Sally quilted along fabric seams and then outlined the nautilus motifs in the central fabric. Peg stitched in the ditch around the inner border, then outlined the hexagons and rectangles to accent the blocks.

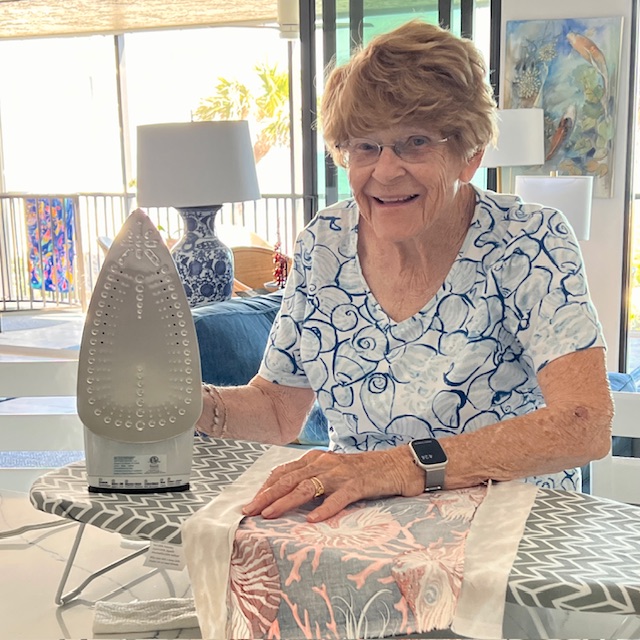
On day three, the ladies stitched binding strips together, then pressed them in preparation for binding the table runners. Carrie trimmed and tidied the quilted runners with the rotary cutter and ruler, helping Sally choose the right place to cut the diagonal corners. After the bindings were stitched around the edge of the each runner, the ladies pressed and pinned them in preparation for a final pass of stitching-in-the-ditch to secure the bindings. Peg even stitched up matching napkins with the leftover fat quarter pieces.
Here are the very proud sewists with their finished table runners! We hear that the runners are already in use, dressing up the dinner table. This project brought much needed joy into all of our days!
Have your ever taken a sewing machine while traveling by plane? How did it go? Carrie had been nervous about hefting the very heavy suitcase into overhead bins, but kind gentlemen cheerfully helped her get it up and back down on both flights. On the trip from Baltimore to Florida, the TSA team didn’t bat an eye as her luggage was scanned, but on the way home it was pulled aside for closer examination. Happy to report that the TSA agent carefully unpacked the machine, swabbed it, ran it back through the scanner alone in a tub, and then helped Carrie get everything securely repacked before sending her on her way. So no hesitation for us – have sewing machine, will travel!
If you are a garment sewer new to quilting, a small project such a quilted table runner, placemats, or tote bag, is a great way to gain confidence in your quilting skills before launching into Sewing a Patchwork Quilted Jacket.


I have flown with my machine so many times and no issues. Once the male TSA screener told me that when he was in the US Navy, he used to make extra money by sewing/repairing items for his mates. I usually carry my machine on board in a roller board and store it in the compartment above the seats. If it is a very small plane (usually the ones where it is only one seat on one side of the plane), they sometime have to check it at the gate. Still no issues as I just pick it up leaving the plane. I always put my cutting tools in my checked baggage.
You are brave to tackle all of that but I’m sure the ladies loved it! Good job!