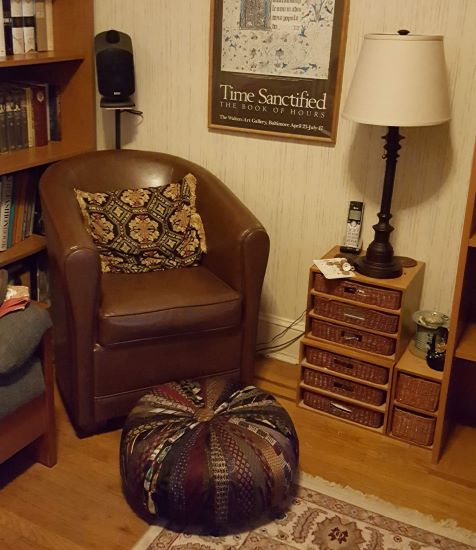
Hand stitching, quilting and mending seem to take up more time in my garment sewing practice. The more I do, the more I realize I needed a good spot to settle into and sew. How fun that a Tuffet sewing project could help me find sewing comfort and joy!
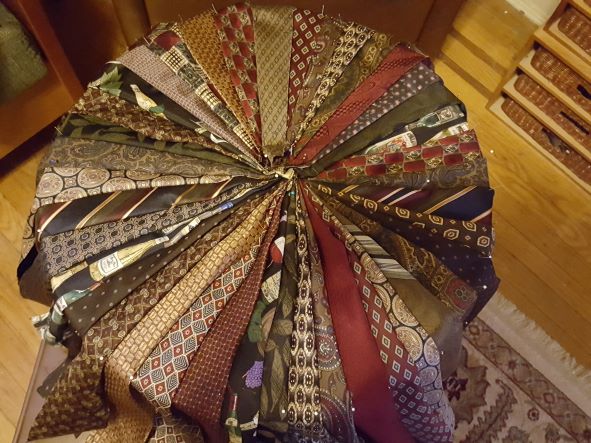
The most satisfying place for me to sew by hand was a comfortable chair next to a table in my second floor zoom studio. But my family gathers in the TV room in the evenings and on weekends. I like stitching but I like company too.
Here is the Story
During the pandemic, the TV room was reconfigured and I negotiated a corner to set up a comfortable supportive chair, a good lamp, a surface to hold tools and a foot rest. Once it all settled into place, I realized the foot rest was too high. My back, and thus my stitching time, was not perfect.
I began to explore interesting foot stool options and landed upon the tuffet sewing project as an option I could personalize. If you are not a regular visitor to quilt stores, you might not be familiar with these adorable stools designed to be covered in your chosen fabric, mixing several prints. It sounded like a fun and easy project. I suspect that Little Miss Muffet’s Tuffet was covered with cute colorful prints, but Pinterest inspired me to cover my tuffett in old ties.
The Materials you Need
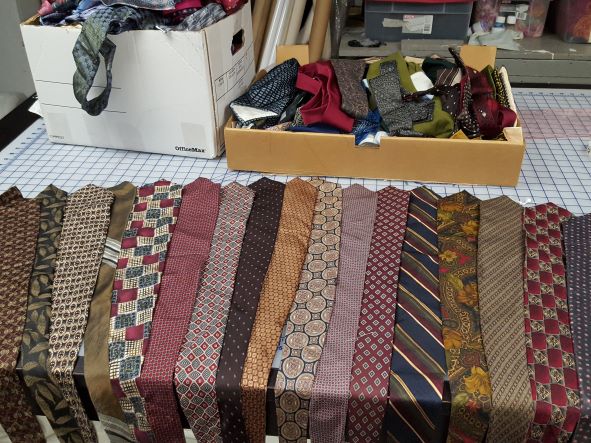
The two large boxes of old ties in the studio yielded plenty of fun fabric options. The Tuffet Kit and Optional Tuffet legs were ordered. (I ordered my kit online, but they are also available at many craft stores and local quilt shops.) I sorted the ties in the TV room so I could choose ones that best matched the room’s neutral colors. The do-it-yourself kit arrived quickly and included the foam form, wooden base, directions, pattern, and a batting wrap.
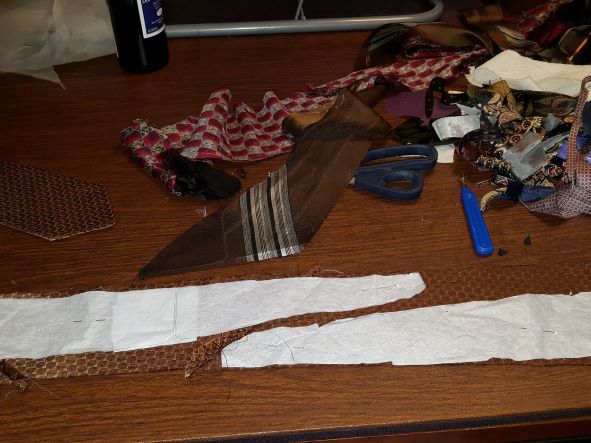
My tuffet cover has 40 fun sections. I used about 24 ties. Most were large enough to cut two sections from the deconstructed ties. Knowing that this stool was going to get used a lot, I also cut Envy Silk fusible interfacing pieces to support each section before and after construction.
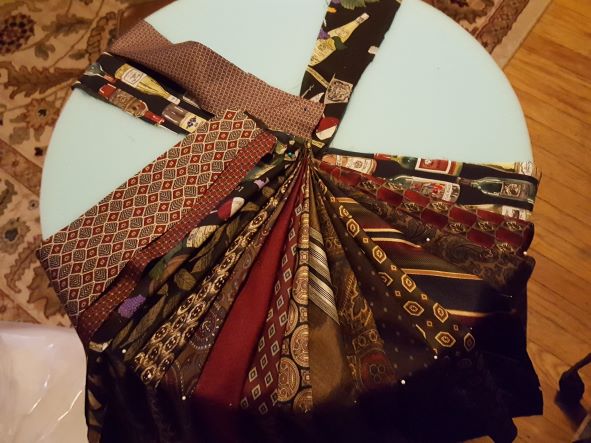
The Sewing was Easy
Once the cover was complete, I tied it around the wood and foam base and hand stitched some upholstery braid to cover the raw edges. Then I asked my husband to take the lead, wielding the drill to attach all the pieces and create holes in the base into which to tie the large button center.
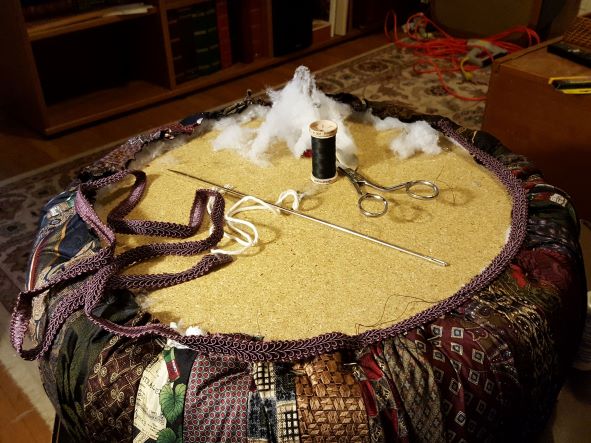
The Project was a Success
What an adventure! It was a time-consuming project, but I am really enjoying this decorative stool. It delights me visually and when I put my feet on the stool, my lap is perfectly situated to hold whatever hand work project I need to finish.
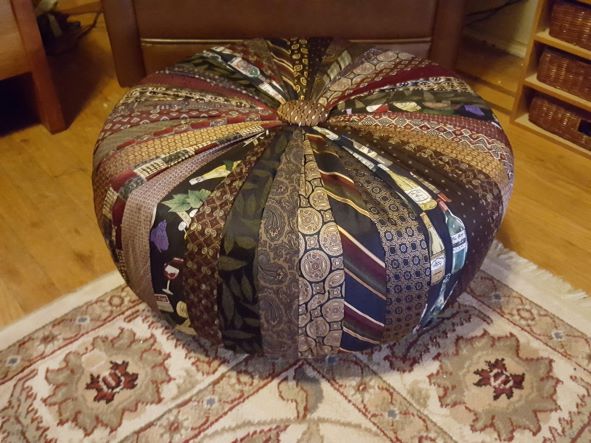
Have you created a sewing corner for comfortable hand sewing and ripping? What other types of sewing do you enjoy in addition to your garment sewing projects? We would love to see your creations
Happy Sewing, RAE


What a great job on your tuffet! 🙂
Love the tuffet. I have always wanted to make one of those. Your use of the ties was brilliant.
So very attractive! Great idea on using the ties!